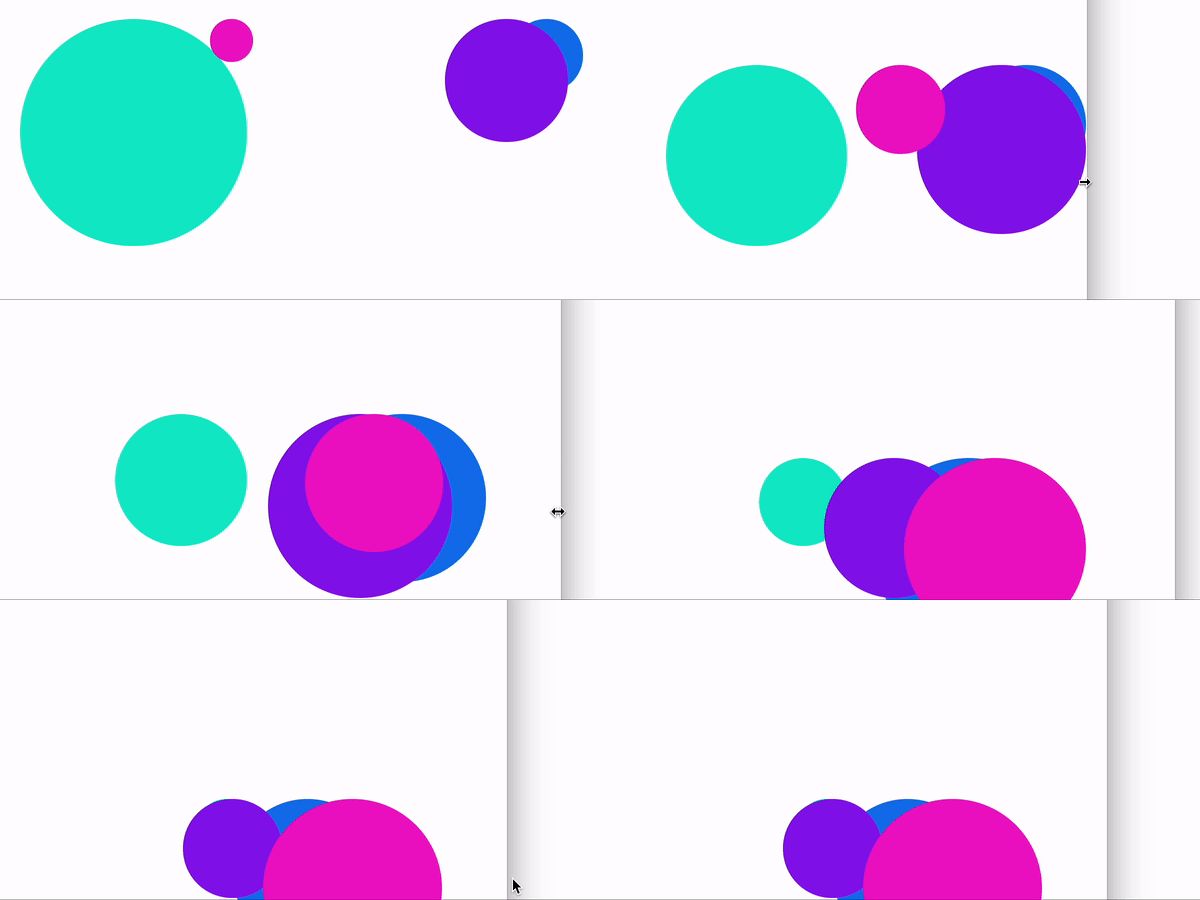
💡학습목표
resize()메서드를 이용해 창에 닿으면 공이 튕겨나가는 기능을 구현하는 것을 통해 윈도우 크기가 바뀔 때 일어나는 이벤트를 제어하는 문법을 이해한다.
💡HTML
<body>
  <div class="box"></div>
  <div class="box"></div>
  <div class="box"></div>
  <div class="box"></div>
</body>
💡CSS
.box{
  position: absolute;
  background: #10ebca;
  border-radius: 100%;
}

.box:nth-child(1) {
  width: 50px;
  height: 50px;
  left: 500px;
  background: #1076eb;
}

.box:nth-child(2) {
  width: 250px;
  height: 250px;
  left: 10px;
  background: #10ebca;
}

.box:nth-child(3) {
  width: 100px;
  height: 100px;
  left: 500px;
  background: #8c10eb;
}

.box:nth-child(4) {
  width: 20px;
  height: 20px;
  left: 200px;
  background: #eb10c6;
}
💡Jquery
$(function () {
  $('.box').each(function (i) {
    //1. 변수설정
    //box 크기 증감
    let = trans = '+';
    //box x,y 축 이동거리 증감
    let leftDir = '+';
    let topDir = '+';
    let thisElem = $(this);

    //2. window창의 크기가 변화되면 실행
    $(window).resize(function () {
      //3. offset() 메서드로 좌표가져오기
      let thisOffset = thisElem.offset();

      //4. 크기 증감 조건식
      if (thisElem.width() > 200) {
        trans = '-';
      } else if (thisElem.width() < 50) {
        trans = '+';
      }

      //5. 크기 조정
      thisElem.css({
        width: trans + '=1px',
        height: trans + '=1px',
      });

      //6. x축 이동조건식, 좌표조정
      //원이 윈도우 바깥으로 나가지않기 위해 너비만큼 빼줌
      if (thisElem.offset().left > $(window).width() - thisElem.width()) {
        leftDir = '-';
        thisElem.css('left', $(window).width() - thisElem.width());
      } else if (thisElem.offset().left < 0) {
        leftDir = '+';
      }

      //7. y축 이동조건식, 좌표조정
      if (thisElem.offset().top > $(window).height() - thisElem.height()) {
        topDir = '-';
        thisElem.css('top', $(window).height() - thisElem.height());
      } else if (thisElem.offset().top < 0) {
        topDir = '+';
      }

      thisElem.css({
        left: leftDir + '=1px',
        top: topDir + '=1px',
      });
    });
  });
});
💡.resize()
.resize()
- 윈도우 크기가 바뀔 때 어떤 작업을 할 수 있게 한다.
- syntax
$( window ).resize( function() {
// do somthing
} );
