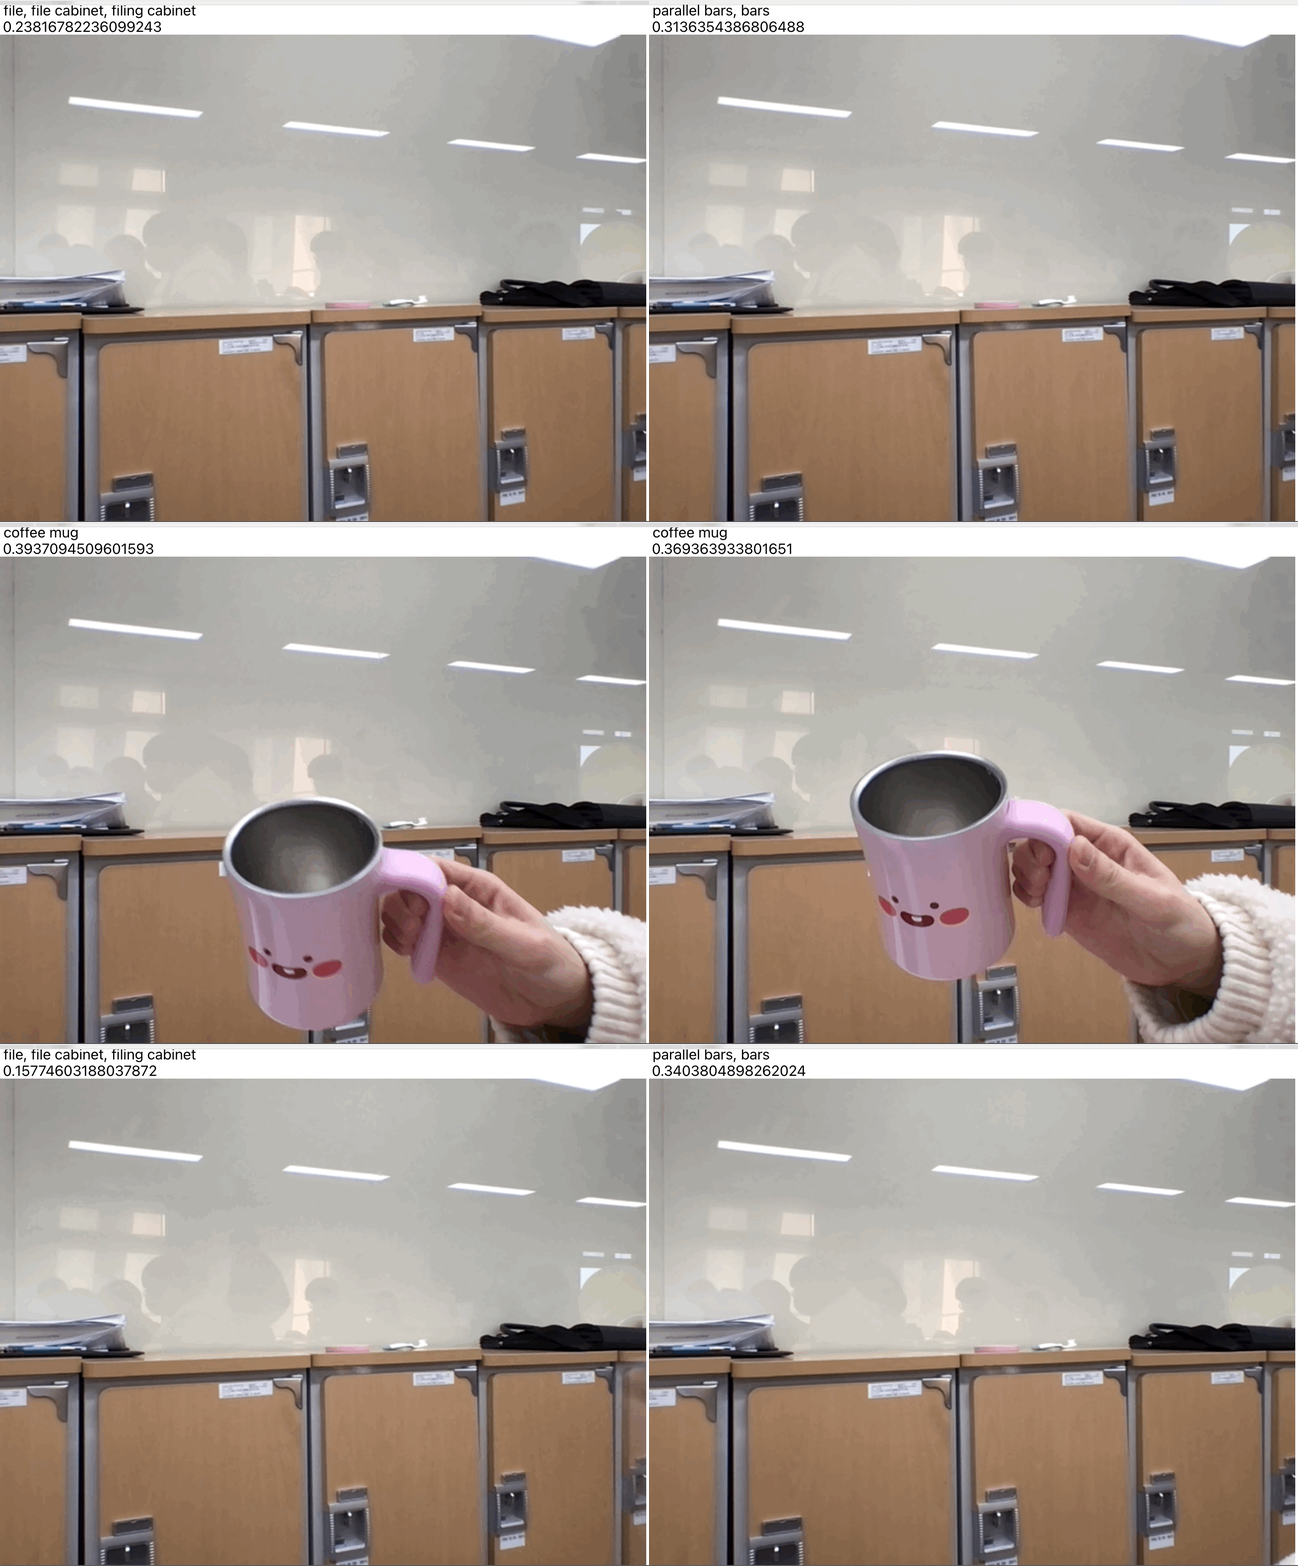
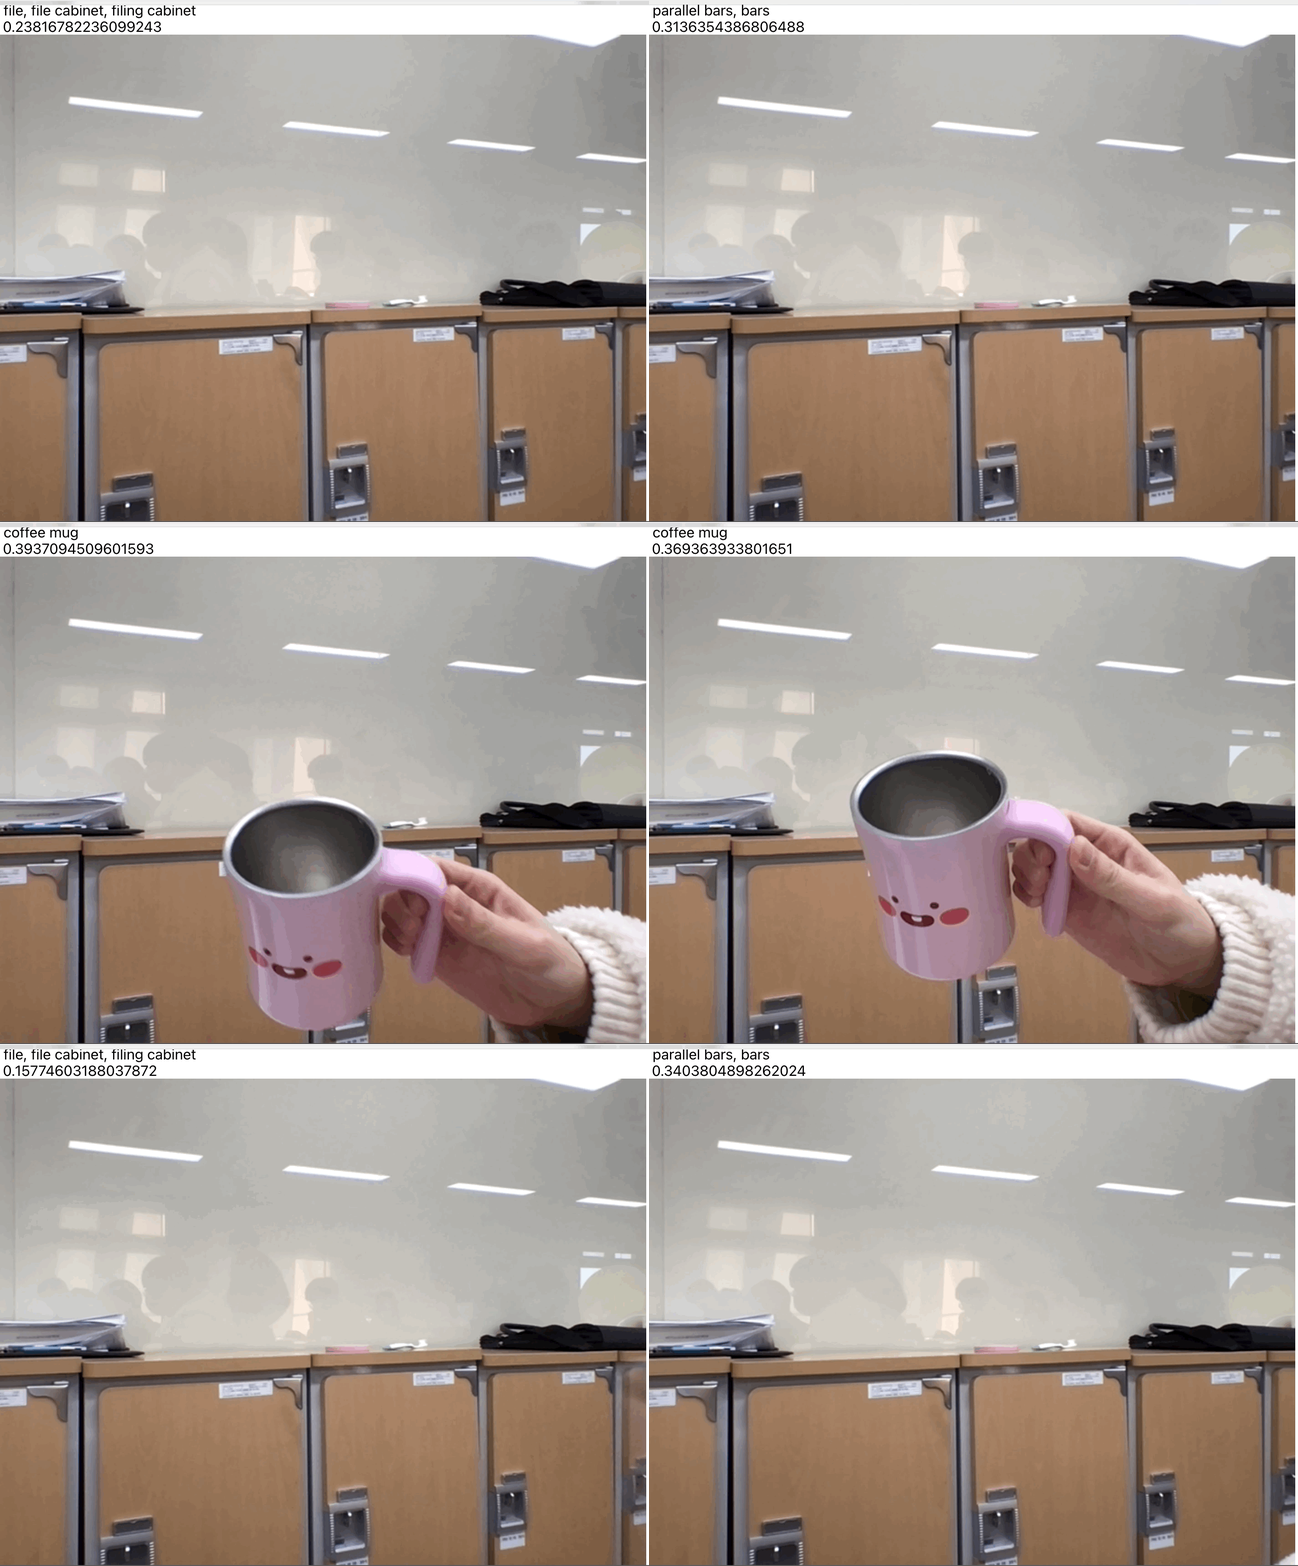
우리가 만들 결과물을 봐봐요. 엄청 신기하지 않나요?
필요한 패키지 부터 먼저 설치를 해요!
.png)
꼭 2가지 패키지를 설치하여 주세요.
yarn add @tensorflow-models/mobilenet
yarn add @tensorflow/tfjs
시작해보기 (ImageClassifier.js)
.png)
이렇게 3가지를 파일 상단에 불러와주세요.
일단 기본틀을 만들어 줘요.
.png)
Dom에 직접적으로 접근을 해야 하기때문에 Ref를 꼭 사용해주어야 해요.
1. 이제 run 안 함수를 꾸며줄 차례에요.
.png)
mobilent.load() <-- 모델을 로드합니다.
Tensorflow.js에 있는 데이터 API를 이용하여 이미지를 캡처할 수 있는 개체를 생성해요.
2. 위에서 정의해준 아이들을 사용할 차례에요.
.png)
prediction 은 예측되어진 사물을 뜻하며, probability는 확률 수치를 (0 ~ 1) 사이에서 보여줍니다.
꼭 메모리 해제를 시켜주세요. --> img.dispose();
다음 프레임을 기다리며 계속 진행합니다.
3. useEffect를 사용하여 run() 함수를 실행시켜요!
.png)
그럼 이제 결과물을 볼까요?
아! App.js에 우리가 만든 ImageClassifier 이 친구를 (꼭꼭) 불러와주세요!
4. 짜잔

캠 사이즈가 작거나 안 나오는 경우 사이즈를 조절하면 돼요.
전체 소스 코드
/* eslint-disable jsx-a11y/alt-text */
import React from 'react';
import * as mobilenet from '@tensorflow-models/mobilenet';
import * as tf from '@tensorflow/tfjs';

const ImageClassifier = () => {
  let net;
  const camera = React.useRef();
  const figures = React.useRef();
  const webcamElement = camera.current;

  const run = async () => {
    net = await mobilenet.load();

    const webcam = await tf.data.webcam(webcamElement, {
      resizeWidth: 220,
      resizeHeight: 227,
    });
    while (true) {
      const img = await webcam.capture();
      const result = await net.classify(img);

      if (figures.current) {
        figures.current.innerText = `prediction : ${result[0].className} \n probability: ${result[0].probability}`;
      }

      img.dispose();

      await tf.nextFrame();
    }
  };

React.useEffect(()=> {
  run();
});

  return (
    <>
      <div ref={figures}></div>
      <video
        autoPlay
        playsInline
        muted={true}
        ref={camera}
        width="870"
        height="534"
      />
    </>
  );
};

export default ImageClassifier;


멋져요 ! 👍👍