
ES6
활용 자료
https://www.youtube.com/watch?v=NCwa_xi0UucVar vs Let vs Const
Variable Scope (변수의 범위)
- Var, Let, Const 모두 변수를 정의하는 기능을 갖고 있다. 그러나 각각의 변수가 영향을 미치는 영역이 다르다.
- 특별한 경우가 아니라면 Const를 사용하자. Let은 변수를 변경해야 될 경우에만 사용하자.
function sayHello() {
  for (var i = 0; i < 5; i++) {
    console.log(i);
  }
}
Ternary Operator
다음과 같은 if함수가 가장 흔하게 많이 쓰인다:
let age = 20;

if(age >= 18) {
	console.log('adult');
} else {
	console.log('under-aged');
}
조건이 있고 조건을 충족할 경우 행동1 그렇지 않을 경우 행동2 같은 식이다. 이를 ternary operator로 축약해서 다음과 같이 표현할 수 있다:
let age = 20;

console.log((age >= 18) ? 'adult' : 'under-aged');
Objects
ES6 이전의 object는 아래와 같이 썼다.
const person = {
  name: 'Mosh',
  walk: function() {}
}
ES6 이후 object안에 있는 함수, 즉 method를 아래와 같이 더 간단히 쓸 수 있다.
const person = {
  name: 'Mosh',
  walk() {}
};
Object의 method를 reference로 사용하는 것과 method 함수를 실행하는 것의 차이
아래와 같은 object가 있다.
const person = {
  name: 'Mosh',
  walk() {
		console.log(person);
	}
};
만약 method를 단순히 value로써 부르고 싶다면:
let foo = person.walk

console.log(foo)
//returns
f walk() {
	console.log(person);
}
만약 method를 함수로써 실행하고 싶다면:
let foo = person.walk();

console.log(foo)
//returns
{name: 'Mosh', walk: f}
this
아래와 같이 function 안에 this 가 있으면 이는 글로벌 오브젝트 즉 DOM을 부르고,
function kate(){
  console.log(this)
}

kate();

//returns
Window {parent: Window, opener: null, top: Window, length: 0, frames: Window, …}
아래와 같이 method 안에 this가 있으면 이는 그 method의 parent 오브젝트를 부른다.
const person = {
  name: 'Mosh',
  walk() {
    console.log(this);
  }
};

const bazinga = person.walk;

console.log(bazinga)

//returns
{name: 'Mosh', walk: f}
자바스크립트에서 function은 오브젝트이다.
이게 무슨 뜻이 나면 아래와 같은 느낌이다.
const function = {
	a: 'propoerty 1',
	b() {};
}
즉 생성한 function 안에는 이미 자바스크립트에서 내장해서 만들어놓은 property와 method가 있다.
위에서 사용한 예시에서 우리가 만든 walk()라는 method또한 object이다. 즉 person.walk;는 오브젝트인거다.
const person = {
  name: 'Mosh',
  walk() {
    console.log(this);
  }
};

const bazinga = person.walk;
.bind method
.bind는 function을 오브젝트에 엮기 위해서 사용된다.
const person = {
  name: 'Mosh',
  walk() {
    console.log(this);
  }
};

const bazinga = person.walk.bind(person);
위와 같이 person.walk.bind(person); 을 하면 bazinga(); 함수를 person오브젝트에 묶게 된다. 그러면 bazinga(); 함수를 실행해도 global 오브젝트가 아닌 person 오브젝트가 호출이 된다.
Arrow function
es6에서는 함수 표현을 ⇒를 활용해 더 간단히 할 수 있다. 예를 들면 아래와 같은 함수를:
const square = function(number) {
  console.log (number * number)
}
아래와 같이 표현할 수 있다.
const square = number => console.log(number*number)만약 parameter가 2개 이상이면 아래와 같이:
const multiply = (number1, number2) => console.log(number1*number2)만약 parameter가 0개 라면 아래와 같이:
const multiply = () => console.log(2*2)만약 함수의 body에 한가지 밖에 return하지 않는다면:
const multiply = () => 2*2.filter()
.filter() method는 array안에 있는 내용 중 원하는 조건의 내용만 가져올 수 있다. 복잡한 for 반복문과 if 조건문 없이도 가져올 수 있는게 장점. 예를 들면 아래와 같이 사용된다:
const jobs = [
  { id: 1, isActive: true },
  { id: 2, isActive: true },
  { id: 3, isActive: false },
  { id: 4, isActive: true }
];

const activeJobs = jobs.filter(function(_job) { return _job.isActive; })

console.log(activeJobs)
//returns
[{id: 1, isActive: true},{id: 2, isActive: true},{id: 4, isActive: true}]
위의 activeJobs 부분을 arrow function을 활용하여 더 간단히 하면:
const activeJobs = jobs.filter(_job => _job.isActive);Parameters와 argument의 차이점
- Parameter: Function의 괄호 안에 들어가는 변수
- Argument: 실제 변수에 들어가는 값
아래의 예시에서 height, width는 parameter. 그리고 3, 4는 argument
//parameter
function calcArea(height, width) {
	return(height * width)
}

//argument
calcArea(3, 4)
Callback Function
콜백 함수란 함수의 argument로 들어가 어떤 명령이 수행되고 나서 실행되는 함수를 이야기한다. 아래의 예시에서 message 함수는 3초가 지난 후 실행이 된다. 여기서 message는 콜백함수이다.
const message = function() {
  console.log('this is a message shown after 3 seconds')
}

setTimeout(message, 3000);
또 다른 예를 들어보자. 아래에서 함수 greeting은 processUserInput의 인자로 들어간다. 따라서 processUserInput의 prompt가 먼저 떠서 그 안에 이름을 넣으면 그다음으로 greeting 함수가 실행이 되면 'hello'+이름 이 나오는 alert이 뜬다. 여기서 greeting은 콜백 함수이다.
function greeting(name) {
  alert('hello' + name);
}

function processUserInput(callback) {
  const name = prompt('Please enter your name');
  callback(name);
}

processUserInput(greeting);
만약 콜백 함수가 object 안 method의 body로 쓰인다고 하더라도 콜백 함수는 method가 아닌 독립 함수로 인식이 된다. 예를 들면 아래와 같이 person 이라는 object 안에 talk() method가 있고 method의 바디에 콜백함수 function()이 있다고 해보자. 여기서 person.talk();를 실행하면 parent 오브젝트인 person이 안나오고 글로벌 오브젝트인 windows가 나온다. 콜백함수는 method()가 아닌 독립함수로 인식되기 때문이다.
const person = {
  talk() {
    setTimeout(function(){
      console.log("this",this);
    }, 1000);
  }
}

person.talk();
Array.map()
Array.map()은 array 안에 있는 각각의 element에 map(function(){}) 안에 들어오는 콜백 함수를 적용시키도록 한다. 예를 들면 아래에서 color.map()을 사용하면 colors 안의 'red', 'green', 'blue'에 리스트 태그를 각각 붙여서 다시 array 형식으로 호출할 수 있도록 해준다.
const colors = ['red','green','blue'];
const items = colors.map(color => `<li> ${color} </li>`)

console.log(items);

//returns
["<li> red </li>", "<li> green </li>", "<li> blue </li>"]
Object Destructuring
오브젝트 안에 property를 불러와야 될때가 있다. 아래의 예를 보자:
const address = {
  street: "a",
  city: "b",
  country: "c",
};
위의 예에서 만약 street, city, country를 각각 불러오고 싶다고 하면 자바스크립트에서는 다음과 같이 적을 것이다:
const street = address.street;
const city = address.city;
const country = address.coutnry;
이는 반복적이고 비효율적이다. 그래서 es6 에서는 object destructuring이라는 것이 소개되었다. 아래의 예시를 보자:
const { street, city, country } = address이렇게 하면 그 전에 const street = address.street; 하는 방식과 똑같은 결과를 가져온다.
console.log(street);
// returns
a
만약 street property를 street 대신 다른 변수 이름으로 불러오고 싶다고 한다면 아래와 같이 하면 된다:
const { street : st } = address위와 같이 하면 console.log(st)를 할경우 a값을 불러온다.
.concat()
.concat method는 두개의 array를 합칠때 사용된다.
const first = [1, 2, 3];
const second = [4, 5, 6];

const combined = first.concat(second);
console.log(combined);

//returns
[1, 2, 3, 4, 5, 6]
Spread Operator
위의 .concat()대신 두개의 array를 합칠때 사용된다. syntax는 array이름 앞에 ... (점 세개)를 붙이면 된다. 아래를 참고하자:
const first = [1, 2, 3]
const second = [4, 5, 6]

const combined = [...first, ...second]
//returns
[1, 2, 3, 4, 5, 6]
object를 합칠때도 spread를 사용을 할 수 있다.
const first = {name: 'john', city: 'seoul', age: '24'}
const second = {job: 'desinger'}

const combined = {...first, ...second, hobby: 'programming'}
console.log(combined)
//returns
{name: 'john', city: 'seoul', age: '24', job: 'desinger', hobby: 'programming'}
또한 길 수 있는 object를 클론(복사) 할때도 용이하다.
const clone = {...first}Classes
아래와 같이 person 이라는 array가 있다고 해보자. 이 array의 name property는 'James'고 method는 walk 이다.
const person = {
	name: 'James',
	walk () {
		console.log('walk');
	}
}
여기서 person2, person3를 만들고 싶다면 우리는 다음과 같이 복사 붙여넣기를 해야된다:
const person = {
	name: 'James',
	walk () {
		console.log('walk');
	}
}

const person2 = {
	name: 'Cameron',
	walk () {
		console.log('walk');
	}
}

const person3 = {
	name: 'Andy',
	walk () {
		console.log('walk');
	}
}
이는 비효율적이다. 이를 해결하기 위해 나온 것이 class이다. class는 위와 같은 여러 person의 property를 만들기 위해서 하나의 person이라는 템플릿을 만들어 놓고 이름만 넣으면 되도록 하게 해주는 함수이다. (자바스크립트에서 함수에는 functional 함수 → 우리가 흔히 아는 function (){} 형태의 함수와 여기서 소개하는 class 함수가 있다.) 위의 functional 함수를 class함수로 바꾸면 아래와 같이 된다:
class Person {
	constructor (name){
		this.name = name;
	}

	walk () {
		console.log('walk')
	}
}
이렇게 하면 템플릿이 만들어진다. 이제 'James'를 person array의 property name의 값으로 넣는다고 해보자. 그럼 이렇게 하면 된다:
const person = new Person('James')Inheritance
위의 Person 클래스 아래에 teach() method와 walk() method를 갖고 있는 Teacher 클래스를 하나 더 만든다고 생각해 보자:
class Person {
  constructor(name, job) {
    this.name = name;
    this.job = job;
  }

  walk() {
    console.log("walk");
  }
}

class Teacher {
	constructor(name, job) {
	    this.name = name;
	    this.job = job;
	  }

	teach() {
    console.log("teach");
  }

	walk() {
    console.log("walk");
  }
}
위를 보면 Teacher 클래스의 teach() method 이외의 constructor와 walk() method는 Person 클래스에서 복사해 붙여넣은 것을 알 수 있다. 이는 비효율적이다. 이를 해결해주는 것이 inheritance이다. Inheritance는 부모 클래스가 갖고 있는 method들을 받아올 수 있도록 해준다. 이를 사용하는 방법은 다음과 같다:
class Person {
  constructor(name, job) {
    this.name = name;
    this.job = job;
  }

  walk() {
    console.log("walk");
  }
}

class Teacher extends Person {
	teach() {
	    console.log("teach");
	  }
}
위를 보면 extends Person 으로 Person 클래스로부터 constructor() method와 walk() method를 가져온 것을 알 수 있다. 확인해보기 위해 다음과 같이 해보자:
const teacher = new Teacher('John','Teacher');
console.log(teacher)

//returns
{name:'John',job:'Teacher'}
여기서 Person 클래스로부터 inherit 하고 있는 Teacher 클래스에 major property를 만들어서 추가하고 싶다고 한다면 Teacher 클래스에 다음과 같이 constructor() method를 만든다고 생각해 볼 수 있다:
class Teacher extends Person {
	constructor(name, job, major) {
	this.major = major;
}

	teach() {
		console.log("teach")
	}
}
하지만 위와 같이 하면 Person에서 만들어 놓은 constructor(name, job)이 Teacher에서 만든 constructor(name, job)과 충돌되어 에러메세지가 뜬다. 이를 해결하기 위해 Person에서 만들어놓은 constructor를 가져와야 된다. 이는 다음과 같이 할 수 있다:
class Teacher extends Person {
	constsructor(name, job, major){
	super(name, job)
	this.name = name;
	this.job = job;
	this.major = major
	}
}
위와 같이 super()를 넣고 받아오는 property를 괄호 안에 넣으면 된다.
Modules
지금 까지 작성한 클래스들을 다시 다 모아보면 다음과 같다:
class Person {
constructor(name, job) {
this.name = name;
this.job = job;
}
walk() {
console.log("walk");
}
}
class Teacher extends Person {
constructor(name, degree) {
super(name);
this.degree = degree;
}
teach() {
console.log("teach!");
}
}
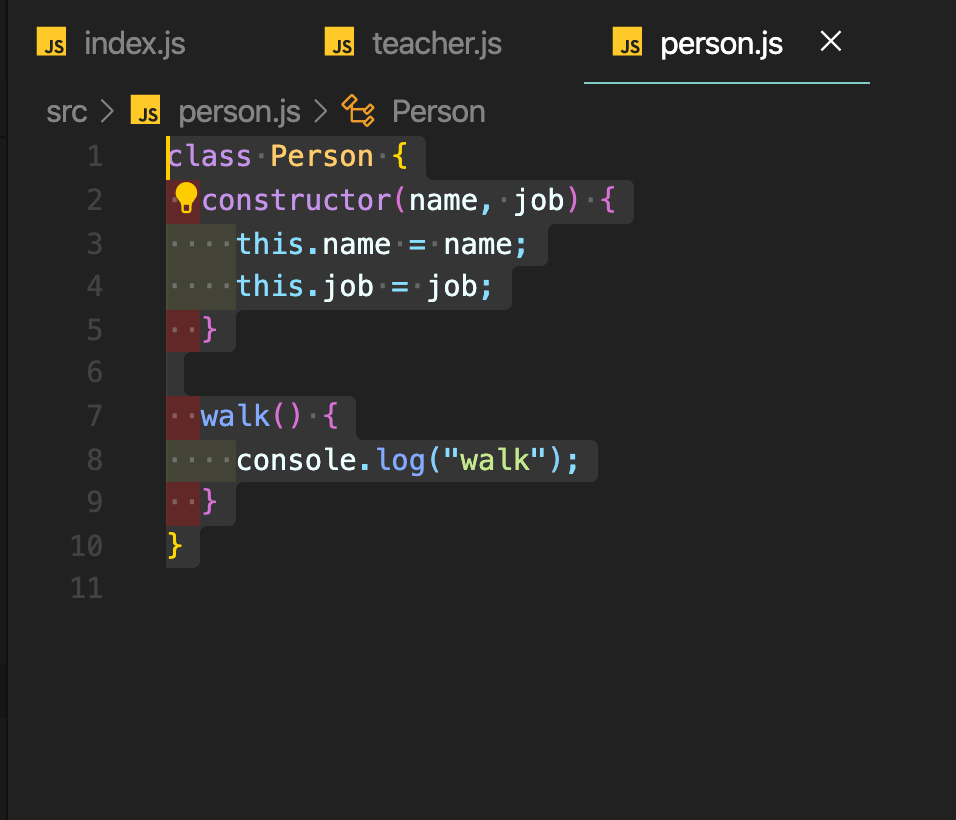
const teacher = new Teacher();실제 복잡한 웹사이트를 개발할 때에는 위와 같이 한 장소에 다 코드를 만들면 코드가 복잡해지고 헷갈려져 코드를 다루는게 힘들어진다. 이를 방지하기 위해서 다음과 같이 각각의 클래스마다 고유한 자바스크립트 파일을 만들어 놓는 것을 모듈화라고 한다. 아래에 보면 Person 클래스와 Teacher클래스 그리고 두 클래스를 활용하는 코드를 각각 다른 3개의 파일에 모듈화 하여 저장하는 것을 볼 수 있다:
위와 같이 각각의 클래스를 모듈화하여 고유의 파일에 저장을 하면 저장된 파일의 코드들, 즉 우리가 작성한 클래스들은 다른 파일에서 접근을 할 수 없다. 이를 해결하기 위해서 각각의 파일들을 public 파일로 만들어 줘야 한다. 이는 다음과 같이 할 수 있다:
- person.js 에서 Person 클래스 export
export class Person {
  constructor(name, job) {
    this.name = name;
    this.job = job;
  }

  walk() {
    console.log("walk");
  }
}- teacher.js 에서 Teacher 클래스 export
export class Teacher extends Person {
  constructor(name, degree) {
    super(name);
    this.degree = degree;
  }

  teach() {
    console.log("teach!");
  }
}
이렇게 하면 Person 클래스와 Teacher 클래스를 다른 파일에서도 사용할 수 있게 된다. 이제 다른 파일에서 사용을 하려면 각각의 클래스를 가져오는 코드를 맨위에 만들어줘야 된다. 다음과 같다:
- teacher.js에서 Teacher 클래스 가져오기
import { Teacher } from "./teacher";

const teacher = new Teacher();
teacher.teach();- person.js에서 Person 클래스 가져오기
import { Person } from './person';

export class Teacher extends Person {
  constructor(name, degree) {
    super(name);
    this.degree = degree;
  }

  teach() {
    console.log("teach!");
  }
}
Default export 와 named export
모듈을 export하는 방식에는 위의 두가지가 있다. 각각의 용도는 다음과 같다:
- default export: 하나의 object를 가져오는 방법
- named export: function을 가져오는 방법
default export는 다음과 같이 할 수 있다:
- Teacher 오브젝트를 export
export default class Teacher extends Person {
  constructor(name, degree) {
    super(name);
    this.degree = degree;
  }
}- Teacher 오브젝트를 teacher.js 에서 import
import Teacher from "./teacher";default export와 named export를 둘다 가져올 수도 있다. 아래의 teacher.js에서 오브젝트인 Teacher와 함수인 sayHello를 가져오려고 한다고 해보자:
export default class Teacher extends Person {
	constructor(name, degree) {
		super(name);
		this.degree = dgree;
	}
}

function sayHello () {
	console.log('hello')
}
sayHello 함수 앞에 export를 적어준 후:
export default class Teacher extends Person {
	constructor(name, degree) {
		super(name);
		this.degree = dgree;
	}
}

export function sayHello () {
	console.log('hello')
}
import쪽은 다음과 같이 하면 된다:
import Teacher, { sayHello } from "./teacher"