Navigation
화면 구성을 쉽게 구현하고 화면의 흐름을 시각적으로 보여줄 수 있는 구성 요소이다.
[구성요소]
NavGraph(탐색 그래프): 모든 탐색 관련 정보가 하나의 중심 위치에 모여 있는 XML 리소스
NavHost: 탐색 그래프에서 대상을 표시하는 빈 컨테이너.
NavController: NavHost에서 앱 탐색을 관리하는 객체로, 대상 콘텐츠의 전환을 설정, 관리, 조정한다.
의존성 추가
implementation 'androidx.navigation:navigation-fragment-ktx:2.3.0'
implementation 'androidx.navigation:navigation-ui-ktx:2.3.0'
했더니 에러가 떴다.
찾아보니 대충 뭐가 중복되어서 하나를 따로 지정해서 작성해줘야 한다는 의미같다.

implementation("androidx.lifecycle:lifecycle-viewmodel-ktx:2.5.0")추가 해주었더니 정상적으로 작동했다.
Navigation graph 만들기
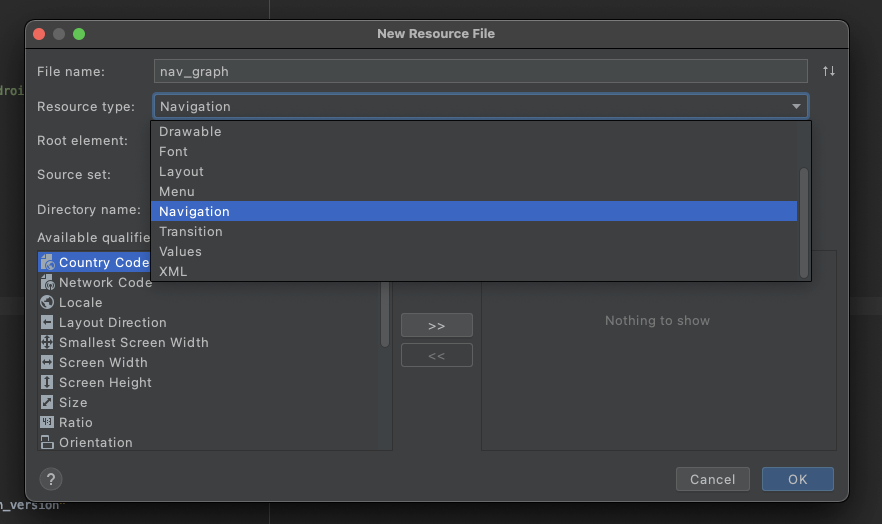
res에서 new -> Android Resource File -> resource type에서 Navigation를 선택하고 생성하면 res에 navigation 폴더안에 navigation graph가 생성된다.
navigation xml 파일은 다음과 같다.
<?xml version="1.0" encoding="utf-8"?>
<navigation xmlns:android="http://schemas.android.com/apk/res/android"
    xmlns:app="http://schemas.android.com/apk/res-auto"
    xmlns:tools="http://schemas.android.com/tools"
    android:id="@+id/settingFragment"
    app:startDestination="@id/settingFragment">

    <fragment
        android:id="@+id/gameFragment"
        android:name="com.example.fruitcardgame.GameFragment"
        android:label="GameFragment"
        tools:layout="@layout/game_activity">
    </fragment>
    <fragment
        android:id="@+id/settingFragment"
        android:name="com.example.fruitcardgame.SettingFragment"
        android:label="SettingFragment"
        tools:layout="@layout/setting_fragment">
        <action
            android:id="@+id/action_settingFragment_to_webViewFragment"
            app:destination="@id/webViewFragment" />
    </fragment>
    <fragment
        android:id="@+id/webViewFragment"
        android:name="com.example.fruitcardgame.WebViewFragment"
        android:label="WebViewFragment"
        tools:layout="@layout/webview_fragment"/>
</navigation>
다음으로 bottom navigation menu xml 파일을 설정하면된다.
각 item들의 id는 navigation xml 파일에서의 각각 fragment의 id와 동일해야지만 해당 메뉴와 fragment가 연결이 된다.
Menu xml 설정하기(Bottom Navigation)
res에서 new -> Android Resource File -> resource type에서 menu 선택하고 생성하면 res에 menu 폴더안에 munu xml이 생성된다.
<?xml version="1.0" encoding="utf-8"?>
<menu xmlns:android="http://schemas.android.com/apk/res/android">
    <item
        android:id="@+id/gameFragment"
        android:enabled="true"
        android:icon="@android:drawable/ic_menu_slideshow"
        android:title="게임"/>
    <item
        android:id="@+id/settingFragment"
        android:enabled="true"
        android:icon="@android:drawable/ic_menu_manage"
        android:title="설정"/>
</menu>
Bottom navigation을 보여줄 acitivty 설정하기
override fun onCreate(savedInstanceState: Bundle?) {
    	super.onCreate(savedInstanceState)
        val navHostFragment = supportFragmentManager.findFragmentById(R.id.nav_host_fragment) as NavHostFragment
        val navController = navHostFragment.findNavController()
        binding!!.bnvMain.setupWithNavController(navController)
해당 activity의 xml 파일은 다음과 같다.
<?xml version="1.0" encoding="utf-8"?>
<androidx.constraintlayout.widget.ConstraintLayout xmlns:android="http://schemas.android.com/apk/res/android"
    xmlns:app="http://schemas.android.com/apk/res-auto"
    android:layout_width="match_parent"
    android:layout_height="match_parent">

    <androidx.fragment.app.FragmentContainerView
        android:id="@+id/nav_host_fragment"
        android:layout_width="0dp"
        android:layout_height="0dp"
        android:name="androidx.navigation.fragment.NavHostFragment"
        app:layout_constraintBottom_toTopOf="@+id/bnv_main"
        app:layout_constraintLeft_toLeftOf="parent"
        app:layout_constraintRight_toRightOf="parent"
        app:layout_constraintTop_toTopOf="parent"
        app:defaultNavHost="true"
        app:navGraph="@navigation/nav_graph"/>

    <com.google.android.material.bottomnavigation.BottomNavigationView
        android:id="@+id/bnv_main"
        android:layout_width="match_parent"
        android:layout_height="wrap_content"
        app:layout_constraintBottom_toBottomOf="parent"
        app:layout_constraintStart_toStartOf="parent"
        app:menu="@menu/bottom_navigation_menu" />

</androidx.constraintlayout.widget.ConstraintLayout>
navigation graph
navigation graph
navigation graph
navigation graph
webView
manifest에 인터넷 권한 추가
<uses-permission android:name="android.permission.INTERNET"/> <WebView
android:id="@+id/mWebView"
android:layout_width="fill_parent"
android:layout_height="fill_parent">
</WebView>fragment webView
binding!!.webView.settings.javaScriptEnabled=true
binding!!.webView.webViewClient = WebViewClient() binding!!.webView.loadUrl("https://boostcamp.connect.or.kr")유니코드
❤️ -> UTF-16: \u2764\ufe0f
Log.d("FruitCard", "\u2764\ufe0f")Logcat에 ❤️이 출력된다.
Fisher-Yates(피셔 예이츠 셔플 알고리즘)
동작원리
1. 무작위로 추출할 대상 인덱스를 도출하고, 그 값을 j라 선언한다.
2. 현재 순회 중인 array[i]에 array[j] 값을 집어 넣는다.
3. 이전에 array[i] 값을 저장한 변수 value는 array[j]에 할당시켜 서로 교환할 수 있게 한다.
Fisher-Yates
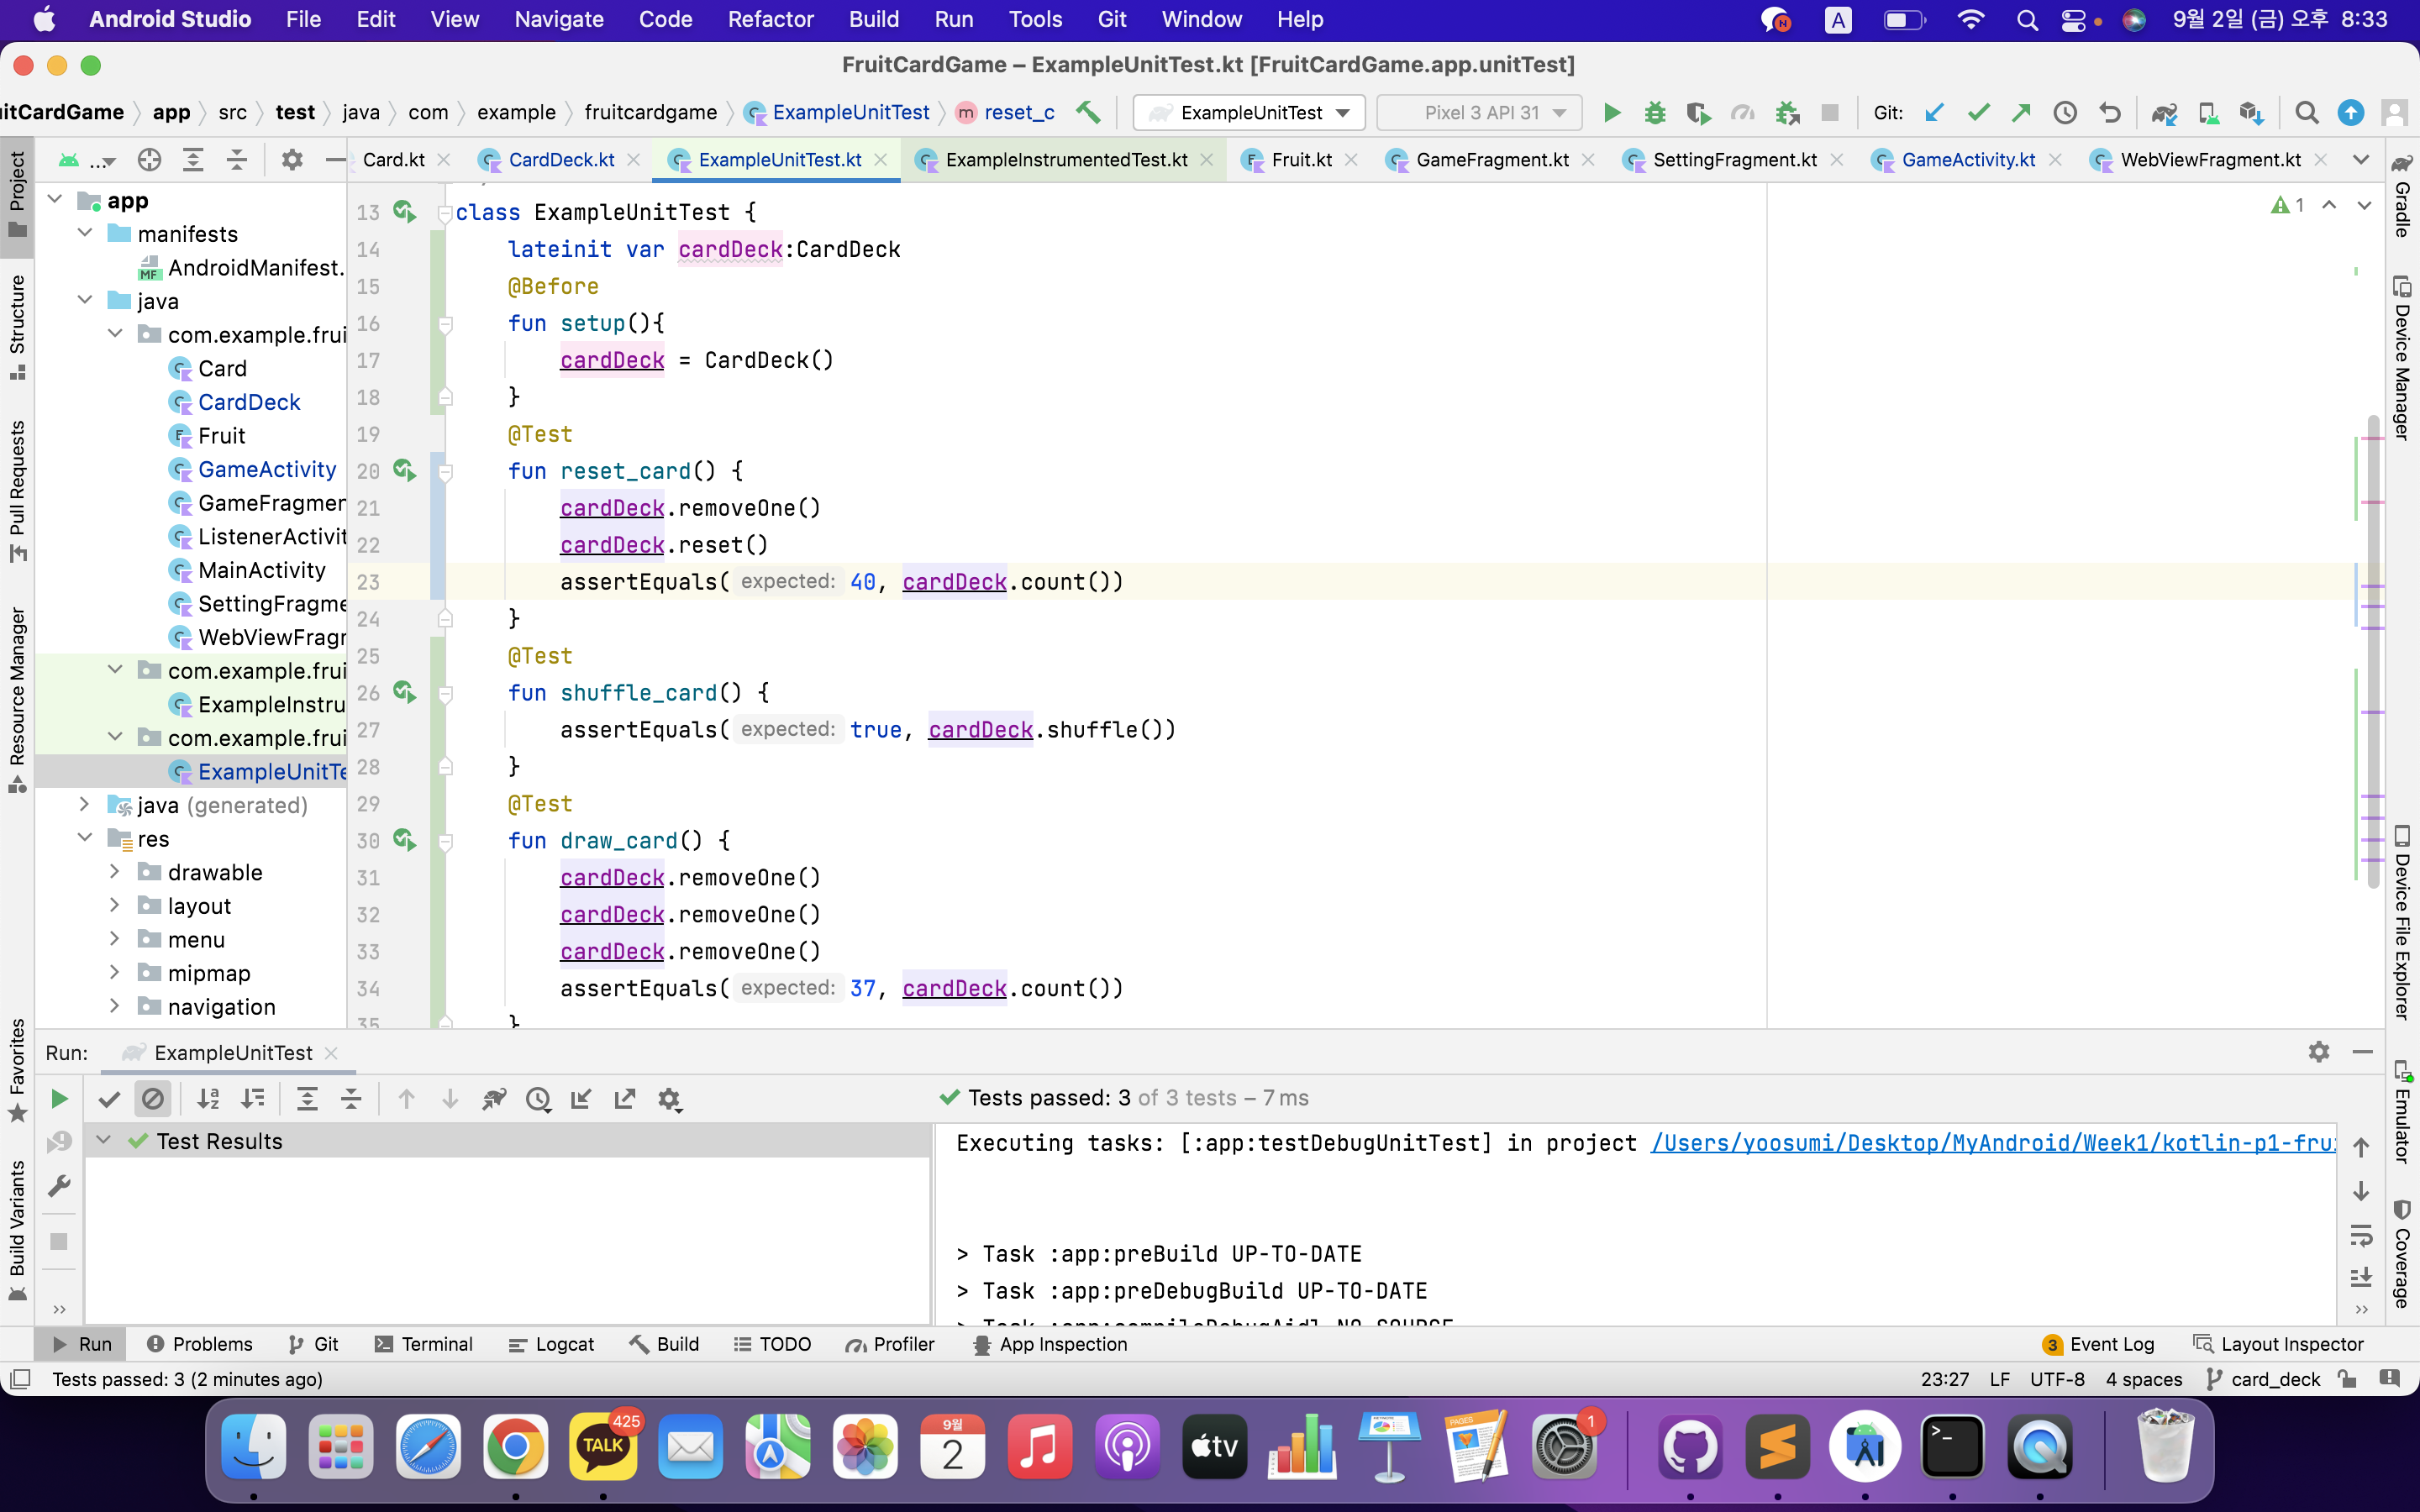
단위 테스트