
🚩 React fullcalendar
React를 하면서 달력을 만들어야 하는 일이 생겼다. 그렇다면 달력은 어떻게 만들어야 할까 고민하던 때에 등장한 fullcalendar 한 번 사용해 보려고 한다.
📌 fullcalendar 설치
fullcalendar 공식문서 <== 여기서 더욱 자세히 사용방법을 알 수 있다.
npx create-react-app을 이용해서 react 파일을 생성해준다.
fullcalendar 모듈 설치
npm install --save @fullcalendar/react @fullcalendar/core @fullcalendar/daygrid
 npm install style-loader css-loader sass-loader node-sass --save
모듈까지 설치해 줬다면 준비는 끝났다.
scr밑에 calendar.js파일을 만들어 준다( .jsx 여도 상관없다)
calendar.jsx
import React, { Component } from 'react';
import FullCalendar from '@fullcalendar/react';
import dayGridPlugin from '@fullcalendar/daygrid';

class MyCalendar extends Component {
    render() {
        return (
          <div className="App">
            <FullCalendar
              defaultView="dayGridMonth"
              plugins={[ dayGridPlugin ]}
            />
          </div>
        );
    }
}
export default MyCalendar;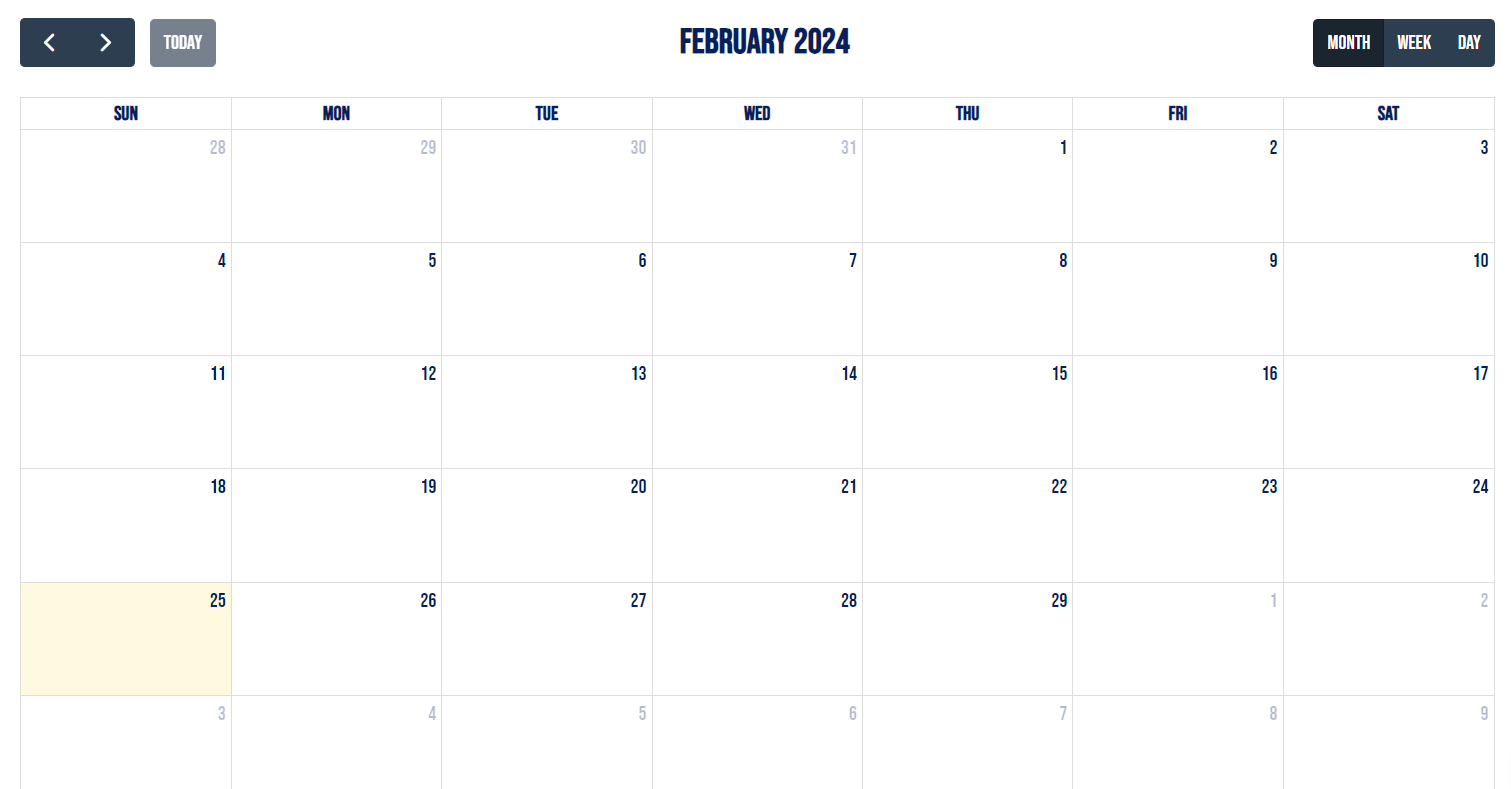
이렇게 작성을 해준 후 npm start로 실행해 보면 달력이 나오는 것을 확인할 수 있다.
📌 달력에 다양한 이벤트 추가
나는 기본 달력 이외에도 달력에 할 일을 추가 할 수 있게 구현하고 싶어서 다양한 시도를 해보았다.
1번째 이벤트
events={[

        { title: 'event 1', date: '2024-02-01' }
        { title: 'event 2', date: '2024-02-02' }
]}
플러그인 밑에 바로 events속성을 추가해 주게 되면 해당 날짜에 event1이라는 제목과 함께 event가 나타나게 된다.
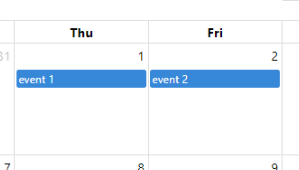
이렇게 자신이 설정한 날짜에 뜨게 될 것이다.
2번째 이벤트
나는 내가 임으로 넣어놓은 event가 나오게 하는 것이 아닌 내가 직접 입력한 event가 나오도록 구현해 보았다.
handleSave = () => {
    const { newEvent } = this.state;
    // 새 이벤트 생성
    const event = {
        title: `${newEvent.content_title}- ${newEvent.description}`,
        start: newEvent.start,
        end: newEvent.end,
        location: newEvent.location
    };
    this.setState((prevState) => ({
        events: [...prevState.events, event],
        newEvent: { content_title: '', description: '', location: '', start: '', end: '' },
        showModal: false
    }));
};
나는 직접 일정 추가하는란 안에 제목, 시작날짜, 끝나는 날짜, 장소를 넣기 위해서 event안에 이름을 주었고 일정 추가하기 버튼을 눌렀을 때 이벤트들이 나오도록 구현하였다.
-
이런식으로 저 밑에 일정 추가하기 버튼을 누르면 해당 창이 뜨게 된다.

-
날짜 선택을 눌렀을 때는 달력과, 시간을 설정할 수 있게 나타내었다.

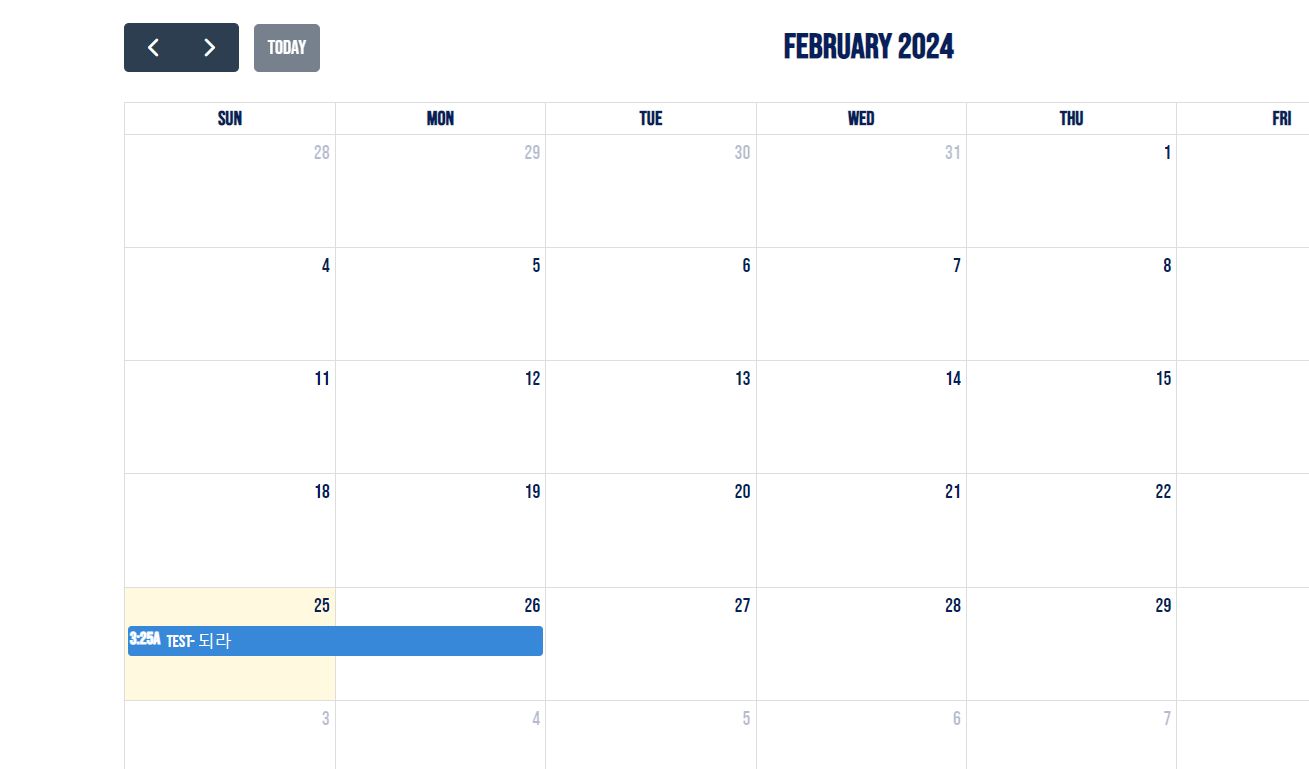
- 그리고 저장을 누르게 되면 시간, 제목, 일정 설명과 함께 달력에 나타나게 된다.
3번째 이벤트
내가 설정한 event를 넣고 나서 내가 그 이벤트를 클릭하면 자세한 정보가 나오게 하는 칸을 구현하였다.
  handleEventClick = (clickInfo) => {
        const event = clickInfo.event;
        const mouseX = clickInfo.jsEvent.clientX;
        const mouseY = clickInfo.jsEvent.clientY - 90;
        this.setState({ selectedEvent: event, mouseX, mouseY });
    };

    showEventDetails = () => {
        const { selectedEvent, mouseX, mouseY } = this.state;
        if (selectedEvent && mouseX !== undefined && mouseY !== undefined) {
            console.log("Start Date:", selectedEvent.start);
            console.log("End Date:", selectedEvent.end);

            const startDate = selectedEvent.start && format(selectedEvent.start, 'HH:mm', { timeZone: 'Asia/Seoul' });
            const endDate = selectedEvent.end && format(selectedEvent.end, 'HH:mm', { timeZone: 'Asia/Seoul' });

            return (
                <div className="event-details" style={{ position: 'absolute', left: mouseX, top: mouseY }}>
                    <h2>{selectedEvent.title}</h2>
                    <div className='time_place'>
                    <p>장소: {selectedEvent.extendedProps && selectedEvent.extendedProps.location}</p>
                    <p>시간: {startDate} ~ {endDate}</p>
                    </div>
                    <button onClick={() => this.setState({ selectedEvent: null, mouseX: undefined, mouseY: undefined })}>닫기</button>
                </div>
            );
        }
        return null;
    };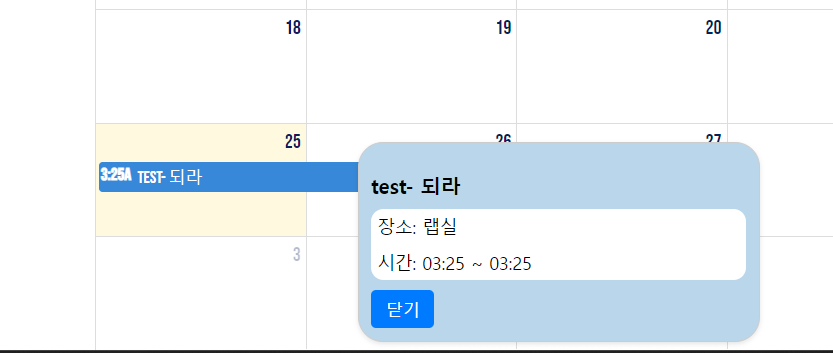
이런식으로 25일에 저장되어있는 event를 클릭하면 내가 정한 제목 - 내용 그리고 그 밑에 내가 설정한 장소와 시간이 나오게된다.
이 코드들에서 포인트는 내가 되라 라는 이벤트를 클릭했을 때 클릭한 그 바로 옆에 해당 창이 뜨게하는 것이다.
내 현재 마우스의 위치를 일단 가져온다
 const event = clickInfo.event;
        const mouseX = clickInfo.jsEvent.clientX; // 클릭한 마우스의 x 좌표
const mouseY = clickInfo.jsEvent.clientY - 90; // 클릭한 마우스의 y 좌표clickInfo.jsEvent를 통해서 클릭했을 때의 마우스의 위치를 가져온다.
y좌표는 자신이 원하는 방향으로 나오도록 나처럼 -90 이런식으로 맞춰주어도 된다.
그 다음 이 코드에서 2번째 포인트는 바로 날짜를 가져오는 것이다.
js에서는 시간을 가져올때 영국시간을 중심으로 두고 가져오기 때문에 우리가 아는 시간과 조금 다르게 표시가 된다. 하지만 그렇게 보면 우리가 불편하기 때문에 나는 바꾸어 주었다.
const startDate = selectedEvent.start && format(selectedEvent.start, 'HH:mm', { timeZone: 'Asia/Seoul' });
const endDate = selectedEvent.end && format(selectedEvent.end, 'HH:mm', { timeZone: 'Asia/Seoul' });
이런식으로 timeZome을 아시아 서울로 설정하면 우리가 보는 시간으로 가져올 수 있다.
'HH:mm' 이렇게 나타내면 현재 시간과 분을 가져올 수 있다.
YYYY-MM 이렇게 쓰면 현재 년도와 날짜도 가져올 수 있다.
원하는 것만 쓰면 될 듯하다.
npm install @fullcalendar/react @fullcalendar/daygrid @fullcalendar/timegrid @fullcalendar/interaction date-fns react내가 install했던 것들...
이렇게 하면 달력에서 어느정도 구현은 했다고 할 수 있을 듯 하다.
참고
https://dhdl-it.tistory.com/60
https://fullcalendar.io/docs/react
https://jiyumi00.tistory.com/52