과정명 : 대구 AI 스쿨 일반과정
강의 : 웹프로그래밍김인권_41네이버모바일1_210619(2/2)
주제 : html / css
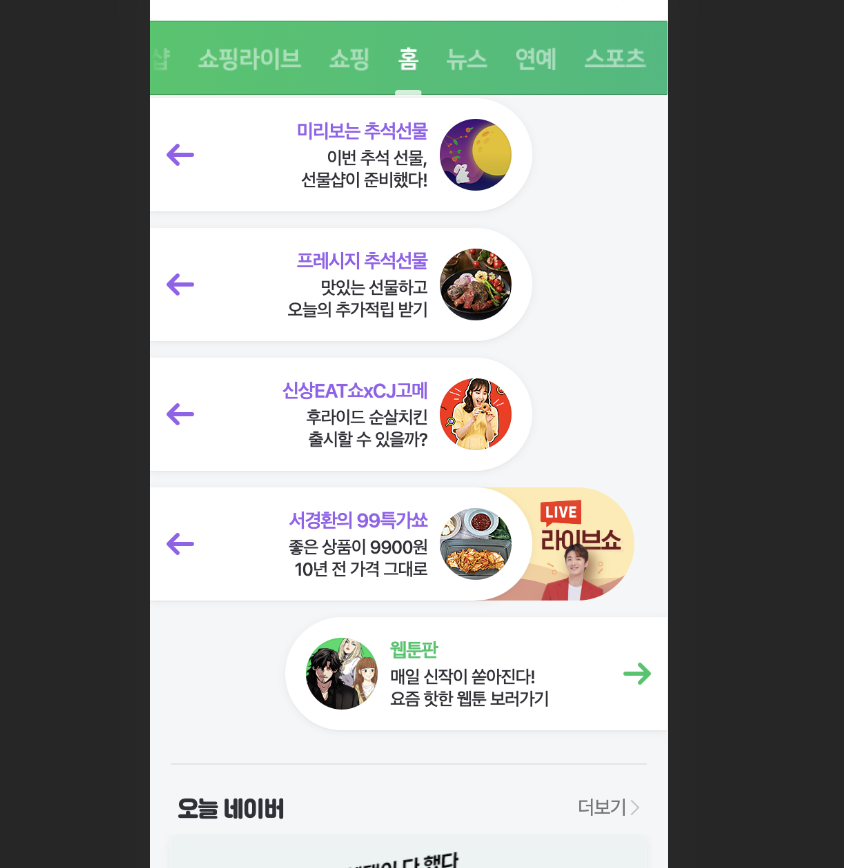
네이버 모바일 페이지 카피
네이버 모바일 페이지의 메인, 마무리 과정이다.

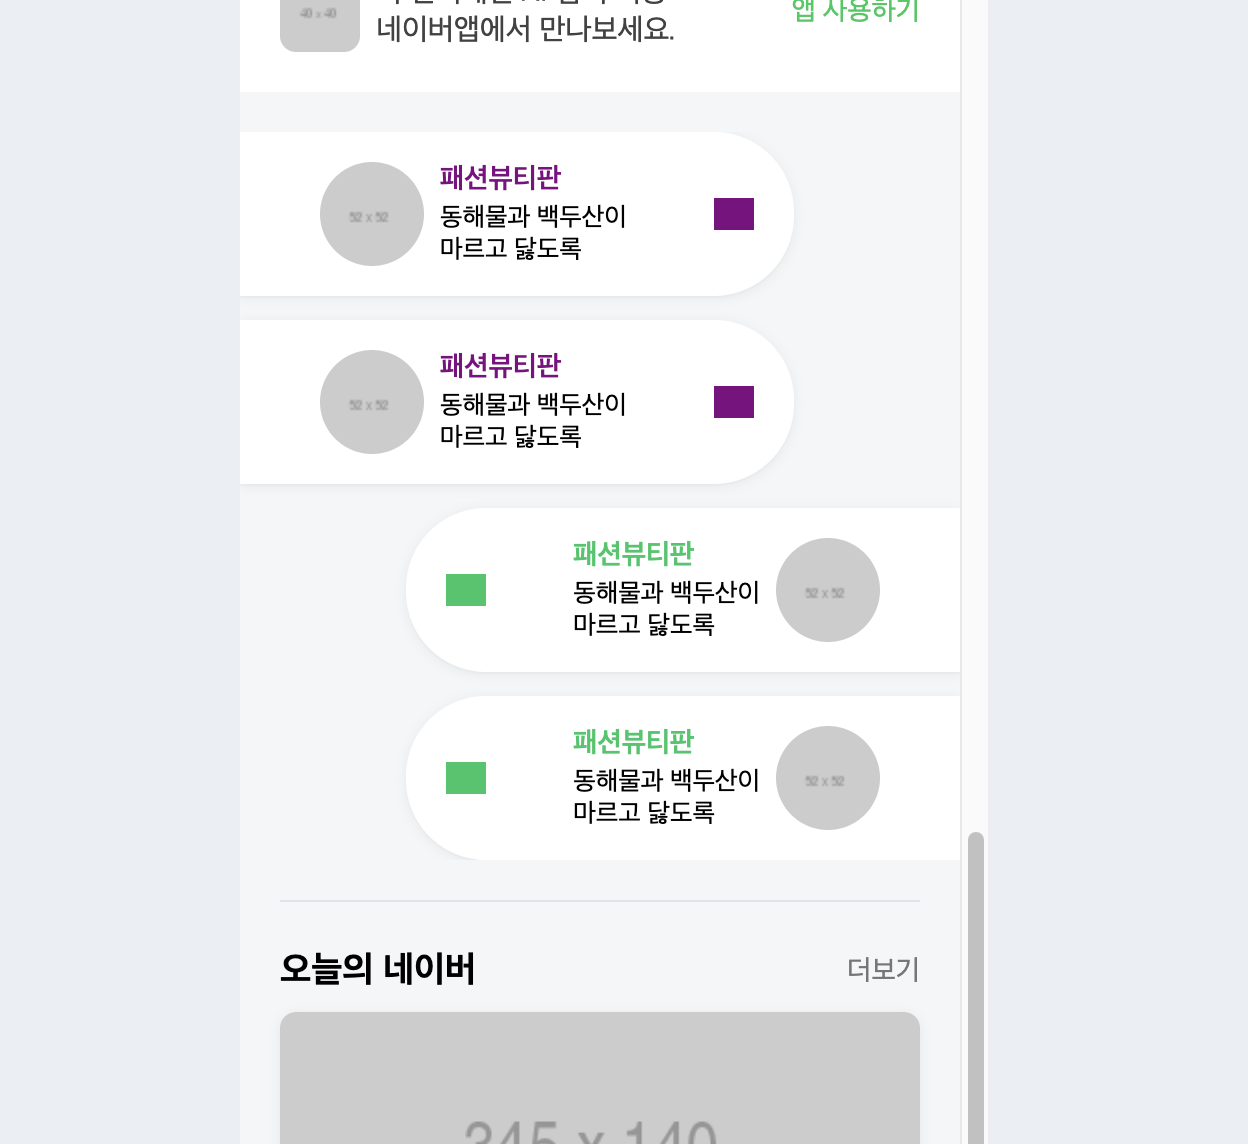
광고를 담은 오브젝트들이 채팅창과 같이 배치되는 영역이다. 각각의 오브젝트들이 유사한 디자인을 가지고 있지만 배치된 방향에 따라 디테일한 부분에서 차이가 있다.
<li class="left-list">
	<a href="#">
		<div class="content-wrap">
			<img src="https://via.placeholder.com/52">
			<div class="txt-wrap">
				<h3>패션뷰티판</h3>
				<p>
					동해물과 백두산이<br>
					마르고 닳도록
				</p>
			</div>
		</div>
		<i class="icon-arrow icon-arrow-left"></i>
	</a>
</li>

<li class="right-list">
	<a href="#">
		<i class="icon-arrow icon-arrow-right"></i>
		<div class="content-wrap">
			<div class="txt-wrap">
				<h3>패션뷰티판</h3>
				<p>
					동해물과 백두산이<br>
					마르고 닳도록
				</p>
			</div>
			<img src="https://via.placeholder.com/52">
		</div>
	</a>
</li>li태그를 먼저 선택자로 구분하여준다. 좌우로 배치되는 방향에 따라 li태그의 자식태그 또한 재배치한다.
#talk {
	padding: 20px 0;
}

#talk ul {
	overflow: hidden;
}

#talk ul li {
	position: relative;
	width: 277px;
	background-color: #ffffff;
	box-shadow: 0 1px 6px 0 rgb(0 0 0 / 6%), 0 1px 0 0 rgb(0 0 0 / 2%);

	padding: 15px 0;
	margin-bottom: 12px;
}

#talk ul li:last-child {
	margin-bottom: 0;
}

#talk ul li a {
	display: flex;
	flex-wrap: wrap;
	justify-content: space-between;
	align-items: center;

	padding: 0 20px;

	color: #000000;
}

#talk ul li .icon-arrow {
	display: inline-block;
	width: 20px;
	height: 16px;
}

#talk ul li img {
	width: 52px;
	height: 52px;
	border-radius: 50%;
}

#talk ul .left-list .content-wrap .txt-wrap {}

#talk ul .left-list .content-wrap .txt-wrap h3 {
	font-size: 14px;
	font-weight: 600;
}

#talk ul .content-wrap .txt-wrap p {
	font-size: 13px;
	line-height: 16px;

	margin-top: 3px;
}

#talk ul .left-list {
	float: left;
	border-top-right-radius: 40px;
	border-bottom-right-radius: 40px;
}


#talk ul .left-list .icon-arrow-left {
	background-color: purple;
}

#talk ul .left-list .content-wrap {
	display: flex;
	flex-wrap: wrap;
	align-items: center;

	padding: 0 20px;
}


#talk ul .left-list .content-wrap .txt-wrap h3 {
	font-size: 14px;
	font-weight: 600;
	color: purple;
}

#talk ul .left-list .content-wrap img {
	margin-right: 8px;
}


#talk ul .right-list {
	float: right;
	border-top-left-radius: 40px;
	border-bottom-left-radius: 40px;
}

#talk ul .right-list .icon-arrow-right {
	background-color: #0ac666;
}

#talk ul .right-list .content-wrap {
	display: flex;
	flex-wrap: wrap;
	justify-content: flex-end;
	align-items: center;

	padding: 0 20px;
}

#talk ul .right-list .content-wrap .txt-wrap h3 {
	font-size: 14px;
	font-weight: 600;
	color: #0ac666;
}

#talk ul .right-list .content-wrap img {
	margin-left: 8px;
}
공통된 디자인 작업, 왼쪽에 배치되는 오브젝트, 오른쪽에 배치되는 오브젝트 순으로 디자인작업을 진행한다. 커스텀 작업이라고 해봤자 flex의 정렬방향 폰트의 색, margin속성의 변경 등이다. 오브젝트가 배치되는 방향에 상관없이 li 태그의 안쪽으로 향하는 부분에 border-radius속성을 적용해 주었다.
border-radius 속성의 세밀한 사용방법
border-top-left-radius: 40px;
border-radius속성과 top, botton, left, right를 함께 사용하여 원한는 곳만 속성을 적용 시킬 수 있다.

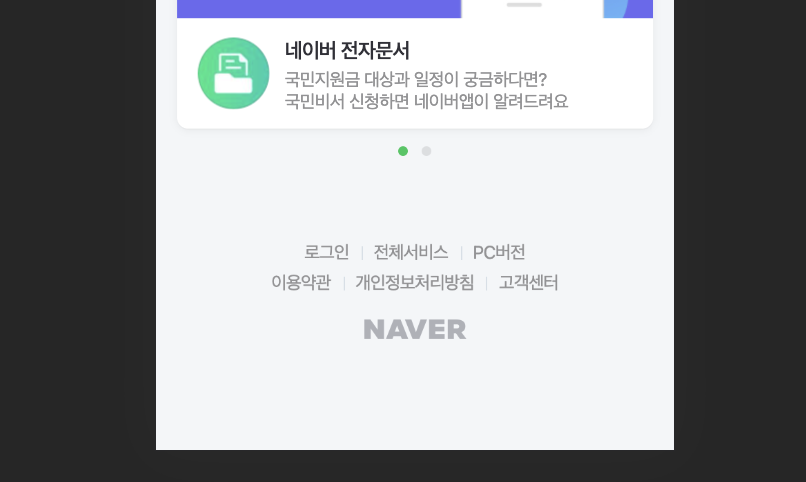
네이버 모바일 메인페이지의 footer영역은 익숙한 디자인을 가지고 있다.
<footer id="footer">
	<div class="txt-wrap">
		<div class="link">
			<a href="#">로그인</a>
			<a href="#">전체서비스</a>
			<a href="#">PC버전</a>
		</div>

		<div class="link">
			<a href="#">이용약관</a>
			<a href="#">개인정보처리방침</a>
			<a href="#">고객센터</a>
		</div>
	</div>

	<h1>
		<a href="#">
			<img src="https://via.placeholder.com/74x14">
		</a>
	</h1>
 </footer>
#footer {
padding: 35px 0 80px;
}
#footer .txt-wrap {
text-align: center;
}
#footer .txt-wrap a {
position: relative;
display: inline-block;
padding: 3px 9px;
color: #929294;
font-size: 13px;
font-weight: 400;
letter-spacing: -0.5;
}
#footer .txt-wrap .link a:before {
content: '';
display:block;
position: absolute;
width: 1px;
height: 10px;
background-color: #d7dfe7;
top: 7px;
left: 0;
}
#footer .txt-wrap .link a:nth-child(1):before,
#footer .txt-wrap .link a:nth-child(4):before {
content: initial;
}
#footer h1 {
text-align: center;
}
#footer h1 img {
width: 74px;
height: 24px;
}footer영역의 메뉴들은 a태그로 만들었다. :before속성으로 경계를 만들어주고 첫번째 a태그, 네번째 a태그에는 경계를 제거하는 :nth-child속성을 함께 적용하였다.
처음 디자인 작업을 진행할때 a태그의 줄바꿈을 위해 <br>태그를 사용하였다. 텍스트의 줄바꿈에만 사용되는 줄 알았는데 <br>태그는 html문서 전반에서 줄바꿈 기능을 수행하는 것 같다. <br>태그의 사용은 또 :nth-child속성에도 영향을 주었는데 <br>태그의 사용으로 a태그의 연속성이 깨져 네번째 a태그의 :before속성을 제거하지 못했다.
결국 지금과 a태그를 나누어 div태그로 감싼 후, 기존의 속성들이 제대로 적용되도록 해주었다. 또 한가지 새롭게 알게된 사실은 다른 영역의 오브젝트에 nth-child속성이 적용되는 것이다. 같은 선택자를 사용했지만 엄연히 다른 영역으로 분리시켰음에도 불구하고 태그의 연속성이 유지되는 것은 좀 신기했다. 활용도가 높은 팁을 알게된 것 같다.
Review
복잡한 구조를 가진 웹 페이지는 필연적으로 많은 분량의 코드와 함께 제작되는 것 같다. html과 css의 속성들을 배우는 공부가 쇠를 달구는 작업이라면, 간결한 코드를 사용하여 원하는 결과물을 얻어내는 방법을 익히는 것은 쇠를 두들겨 모양을 내는 과정이라 생각한다. 쇠를 달구는 것 그리고 그 쇠를 두들기는 것, 어느것 하나 쉬운일이 없겠지만 요령으로 피할 수 없는 부분이다.
쉽게 익히지 못해도 상관없다. 계속 달구고 두드리는 것에는 장사가 없다고 했다.
