Python 부트캠프(멀티잇 데이터 분석&엔지니어링 캠프) 에서 배운 django수업을 기반으로 직접 2023년 8월경 다른 블로그에 작성한 글을 가져왔습니다.
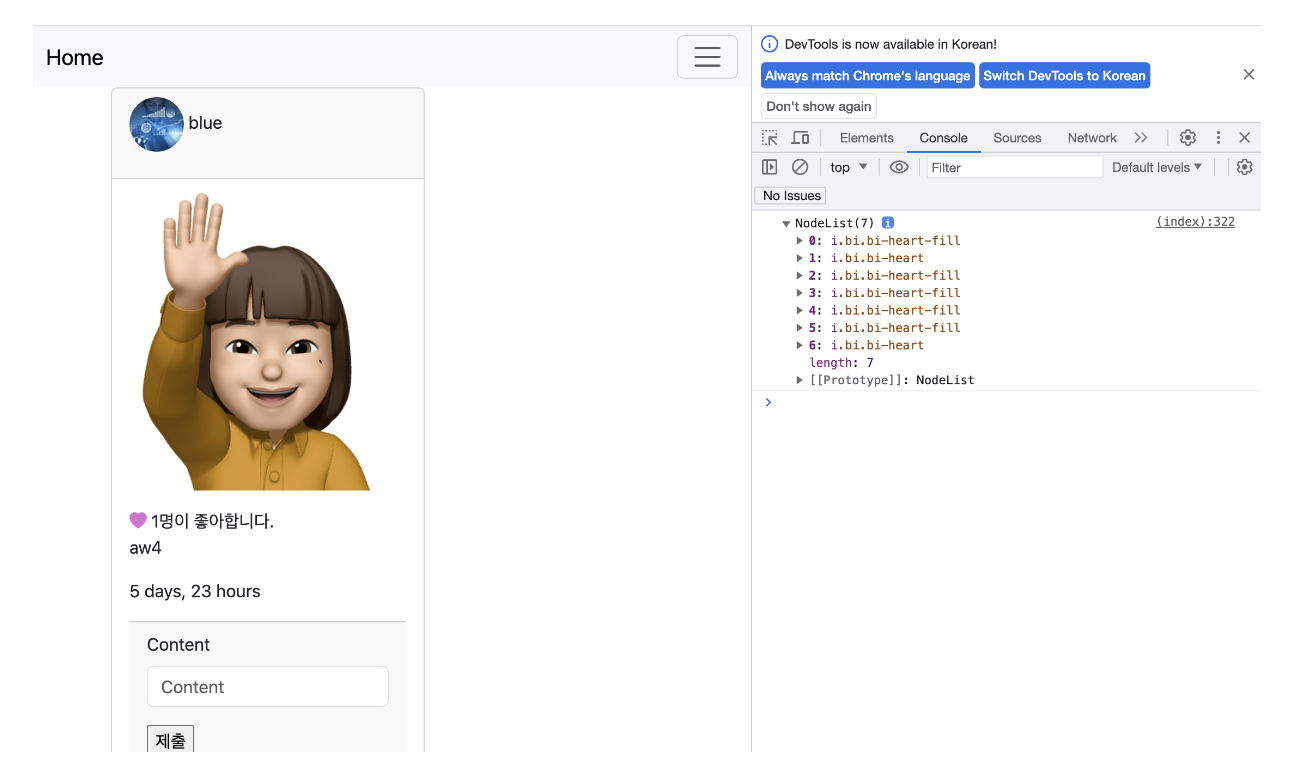
좋아요버튼 동적구현
posts>templates>index.html
구조화
{% extends 'base.html' %}

{% block body %}

    {% for post in posts %}
        {% include '_card.html' %}
    {% endfor %}

    <script>
        스크립트 작성
    </script>
{% endblock %}
일단확인
{% extends 'base.html' %}

{% block body %}

    {% for post in posts %}
        {% include '_card.html' %}
    {% endfor %}

    <script>
        const likeButtons = document.querySelectorAll('i')
        console.log(likeButtons)
    </script>
{% endblock %}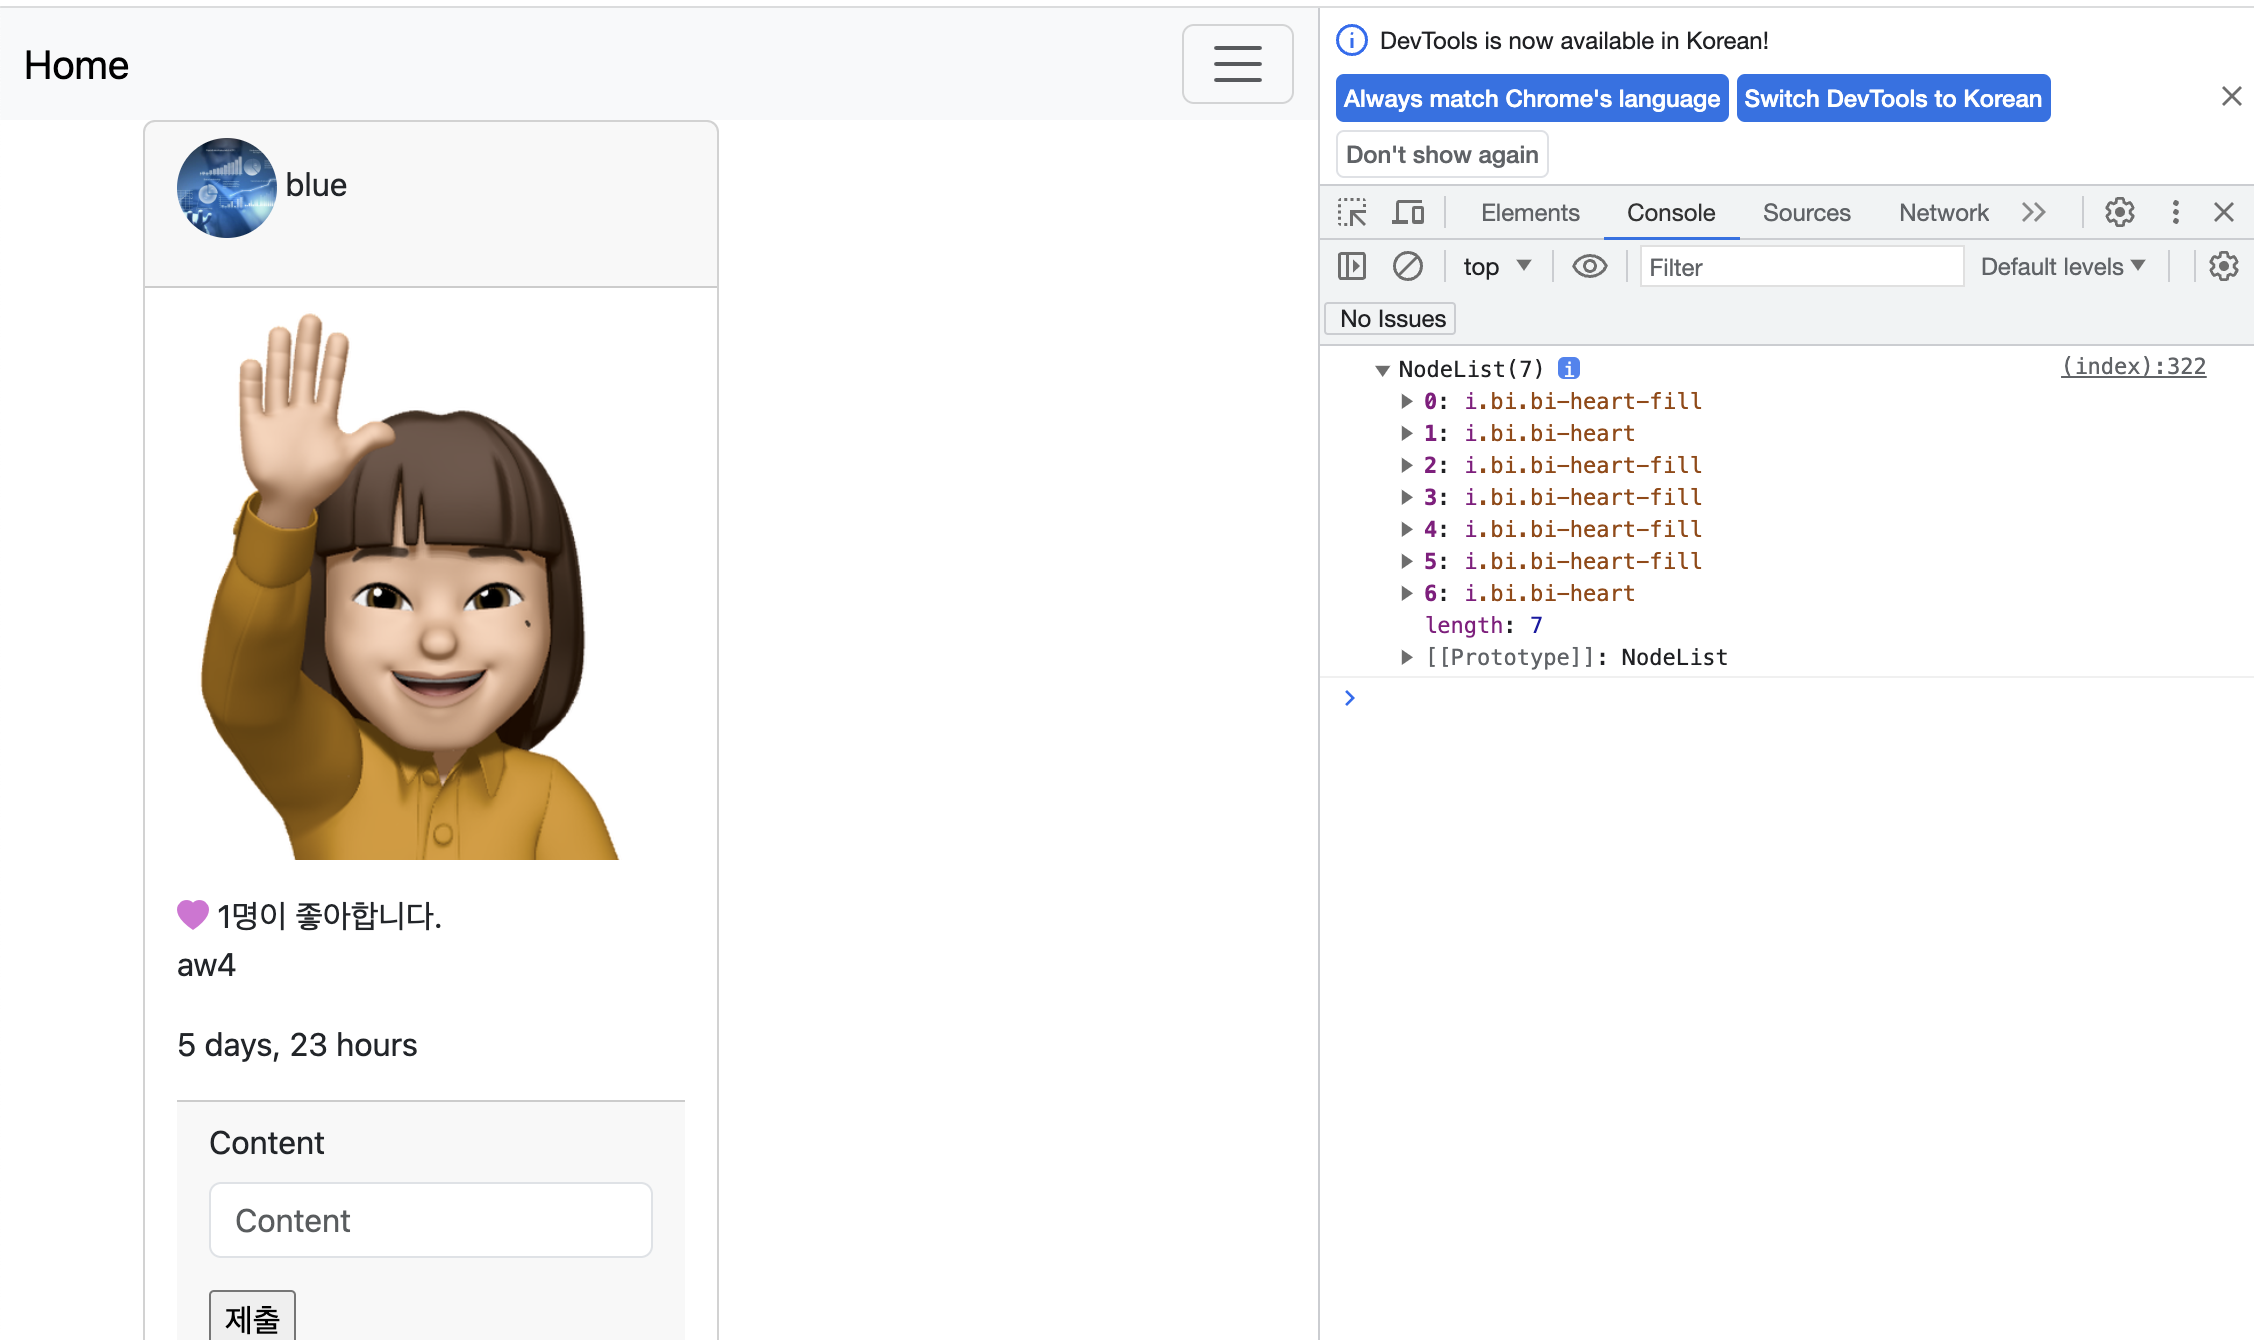
한 화면에 보이는 i 태그들을 가져온거다.
조금 더 명확하게 해주자
_card_html
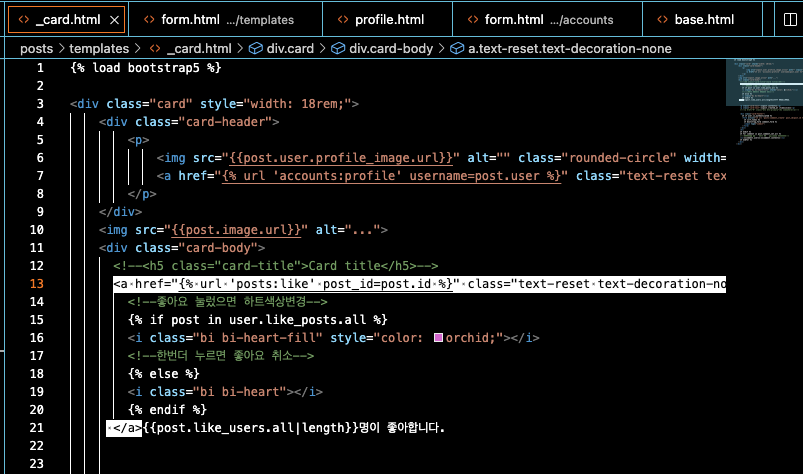
a 태그를 없애자.
index.html
{% extends 'base.html' %}

{% block body %}

    {% for post in posts %}
        {% include '_card.html' %}
    {% endfor %}

    <script>
        const likeButtons = document.querySelectorAll('i,heart')
        console.log(likeButtons)
    </script>
{% endblock %}
index.html
{% extends 'base.html' %}

{% block body %}

    {% for post in posts %}
        {% include '_card.html' %}
    {% endfor %}

    <script>
        const likeButtons = document.querySelectorAll('i,heart')
        // console.log(likeButtons)

        likeButtons.forEach(likeButton => {
             console.log(likeButton);
        });
    </script>

{% endblock %}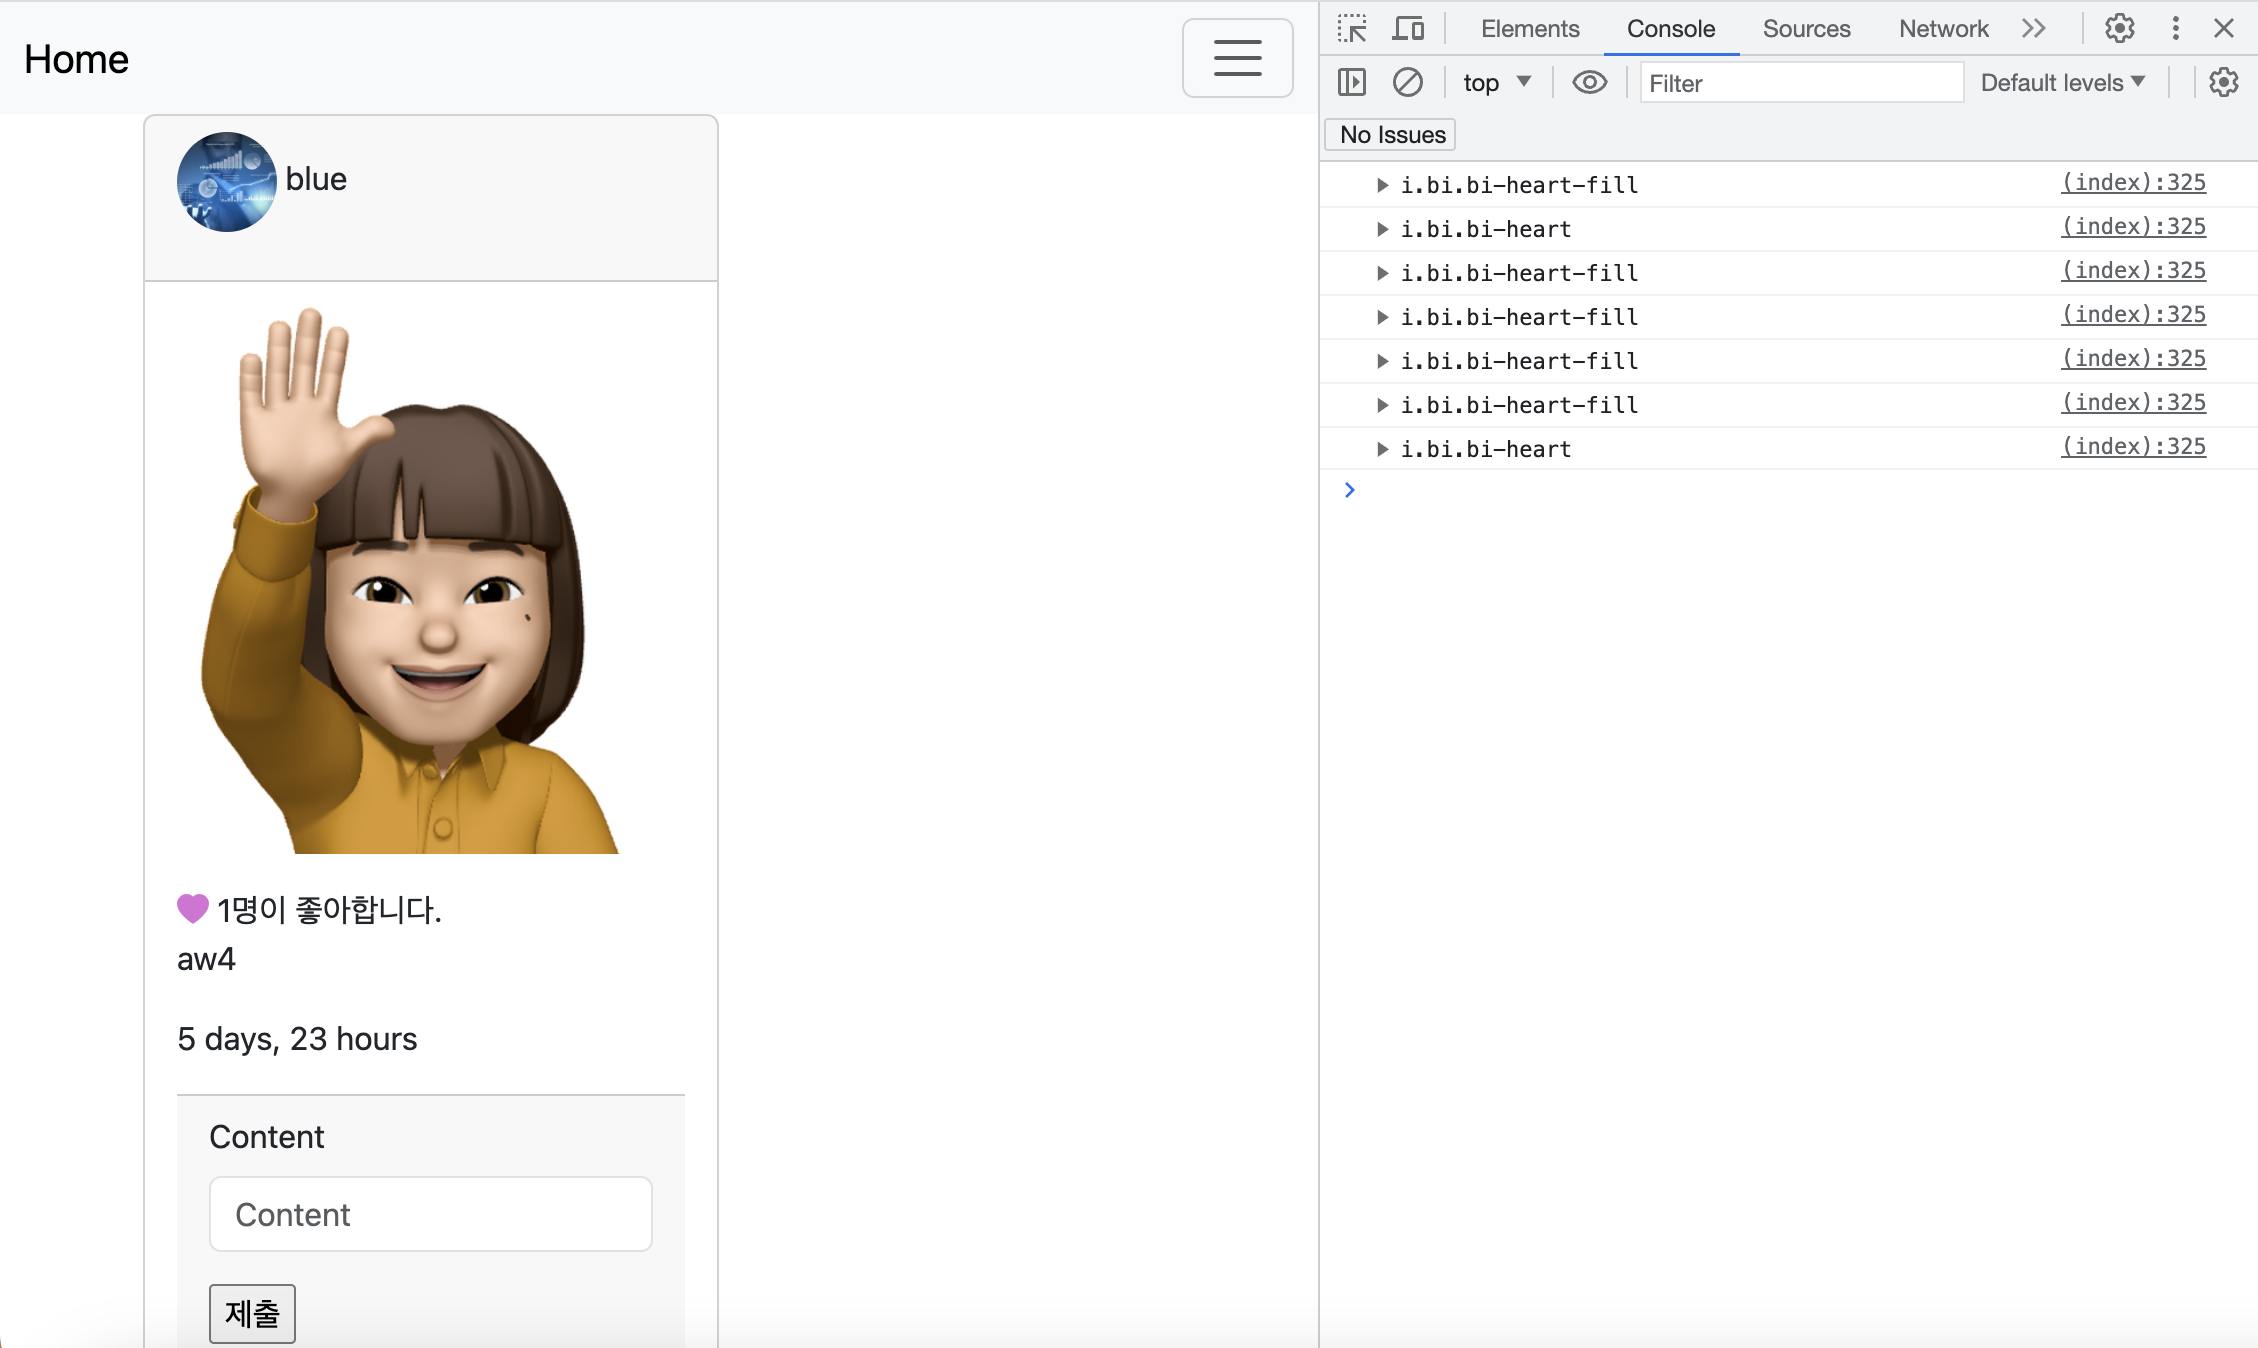
이제 하트 클릭하면 트랙킹 하게 해보자
{% extends 'base.html' %}

{% block body %}

    {% for post in posts %}
        {% include '_card.html' %}
    {% endfor %}

    <script>
        const likeButtons = document.querySelectorAll('i,heart')
        // console.log(likeButtons)

        likeButtons.forEach(likeButton => {
            // console.log(likeButton);
            likeButton.addEventListener('click',(event)=> {
                console.log(event)
            })
        });
    </script>
{% endblock %}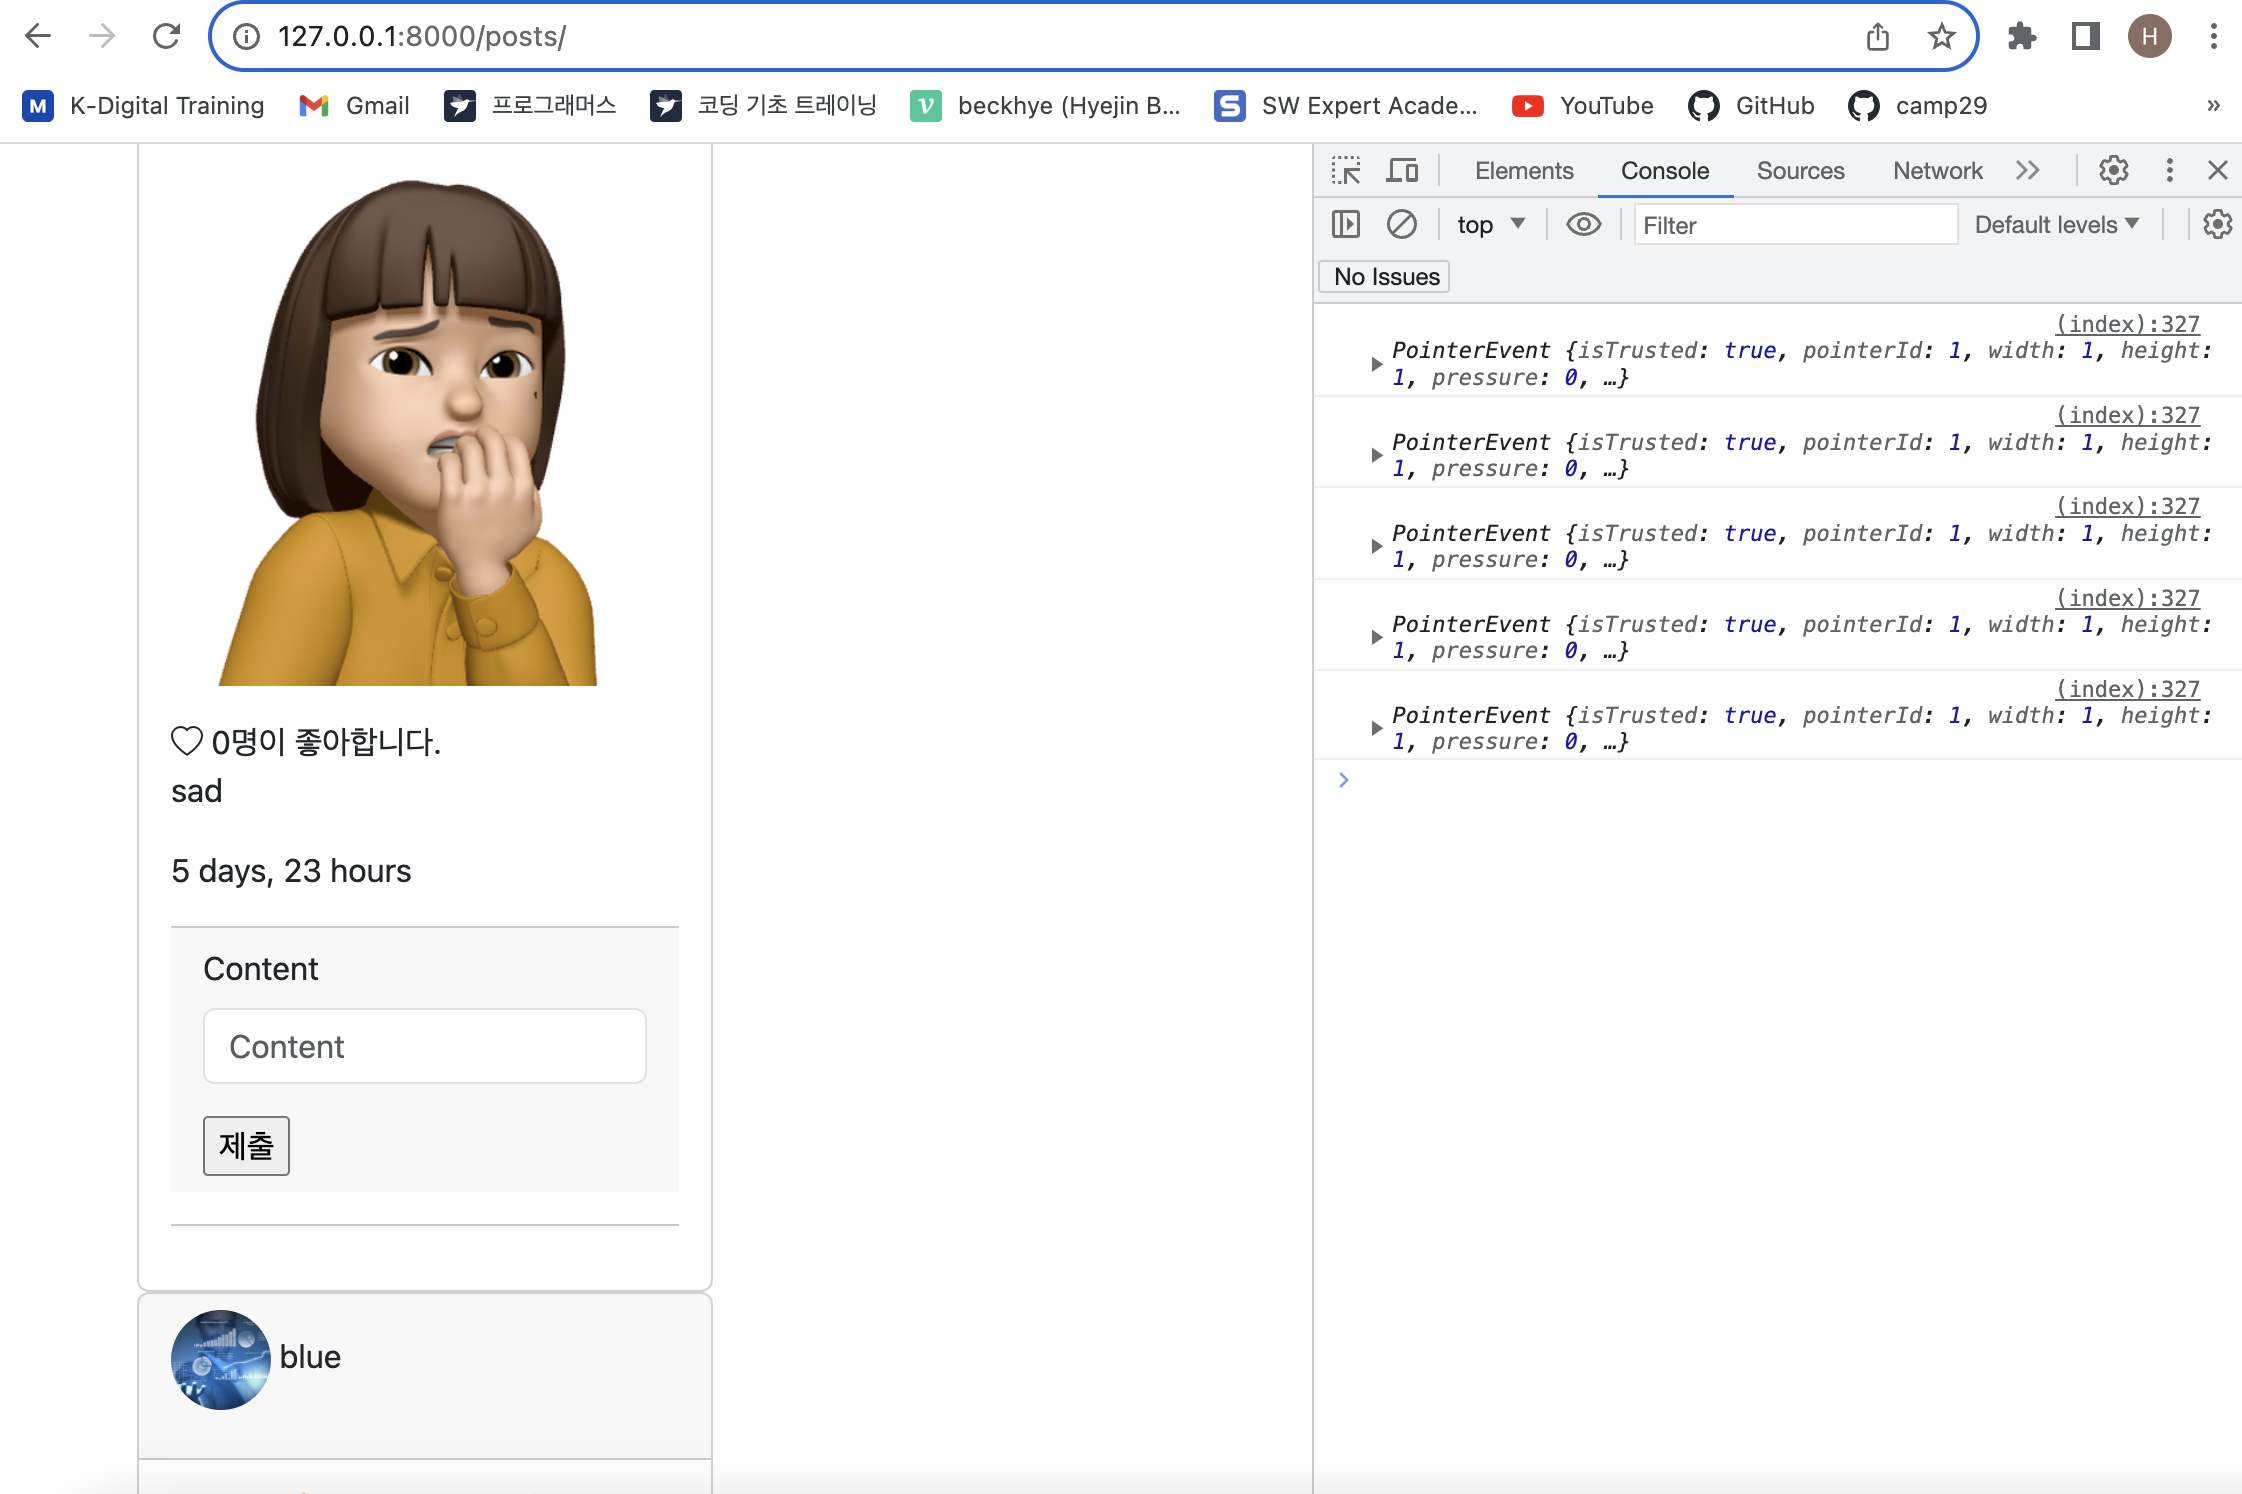
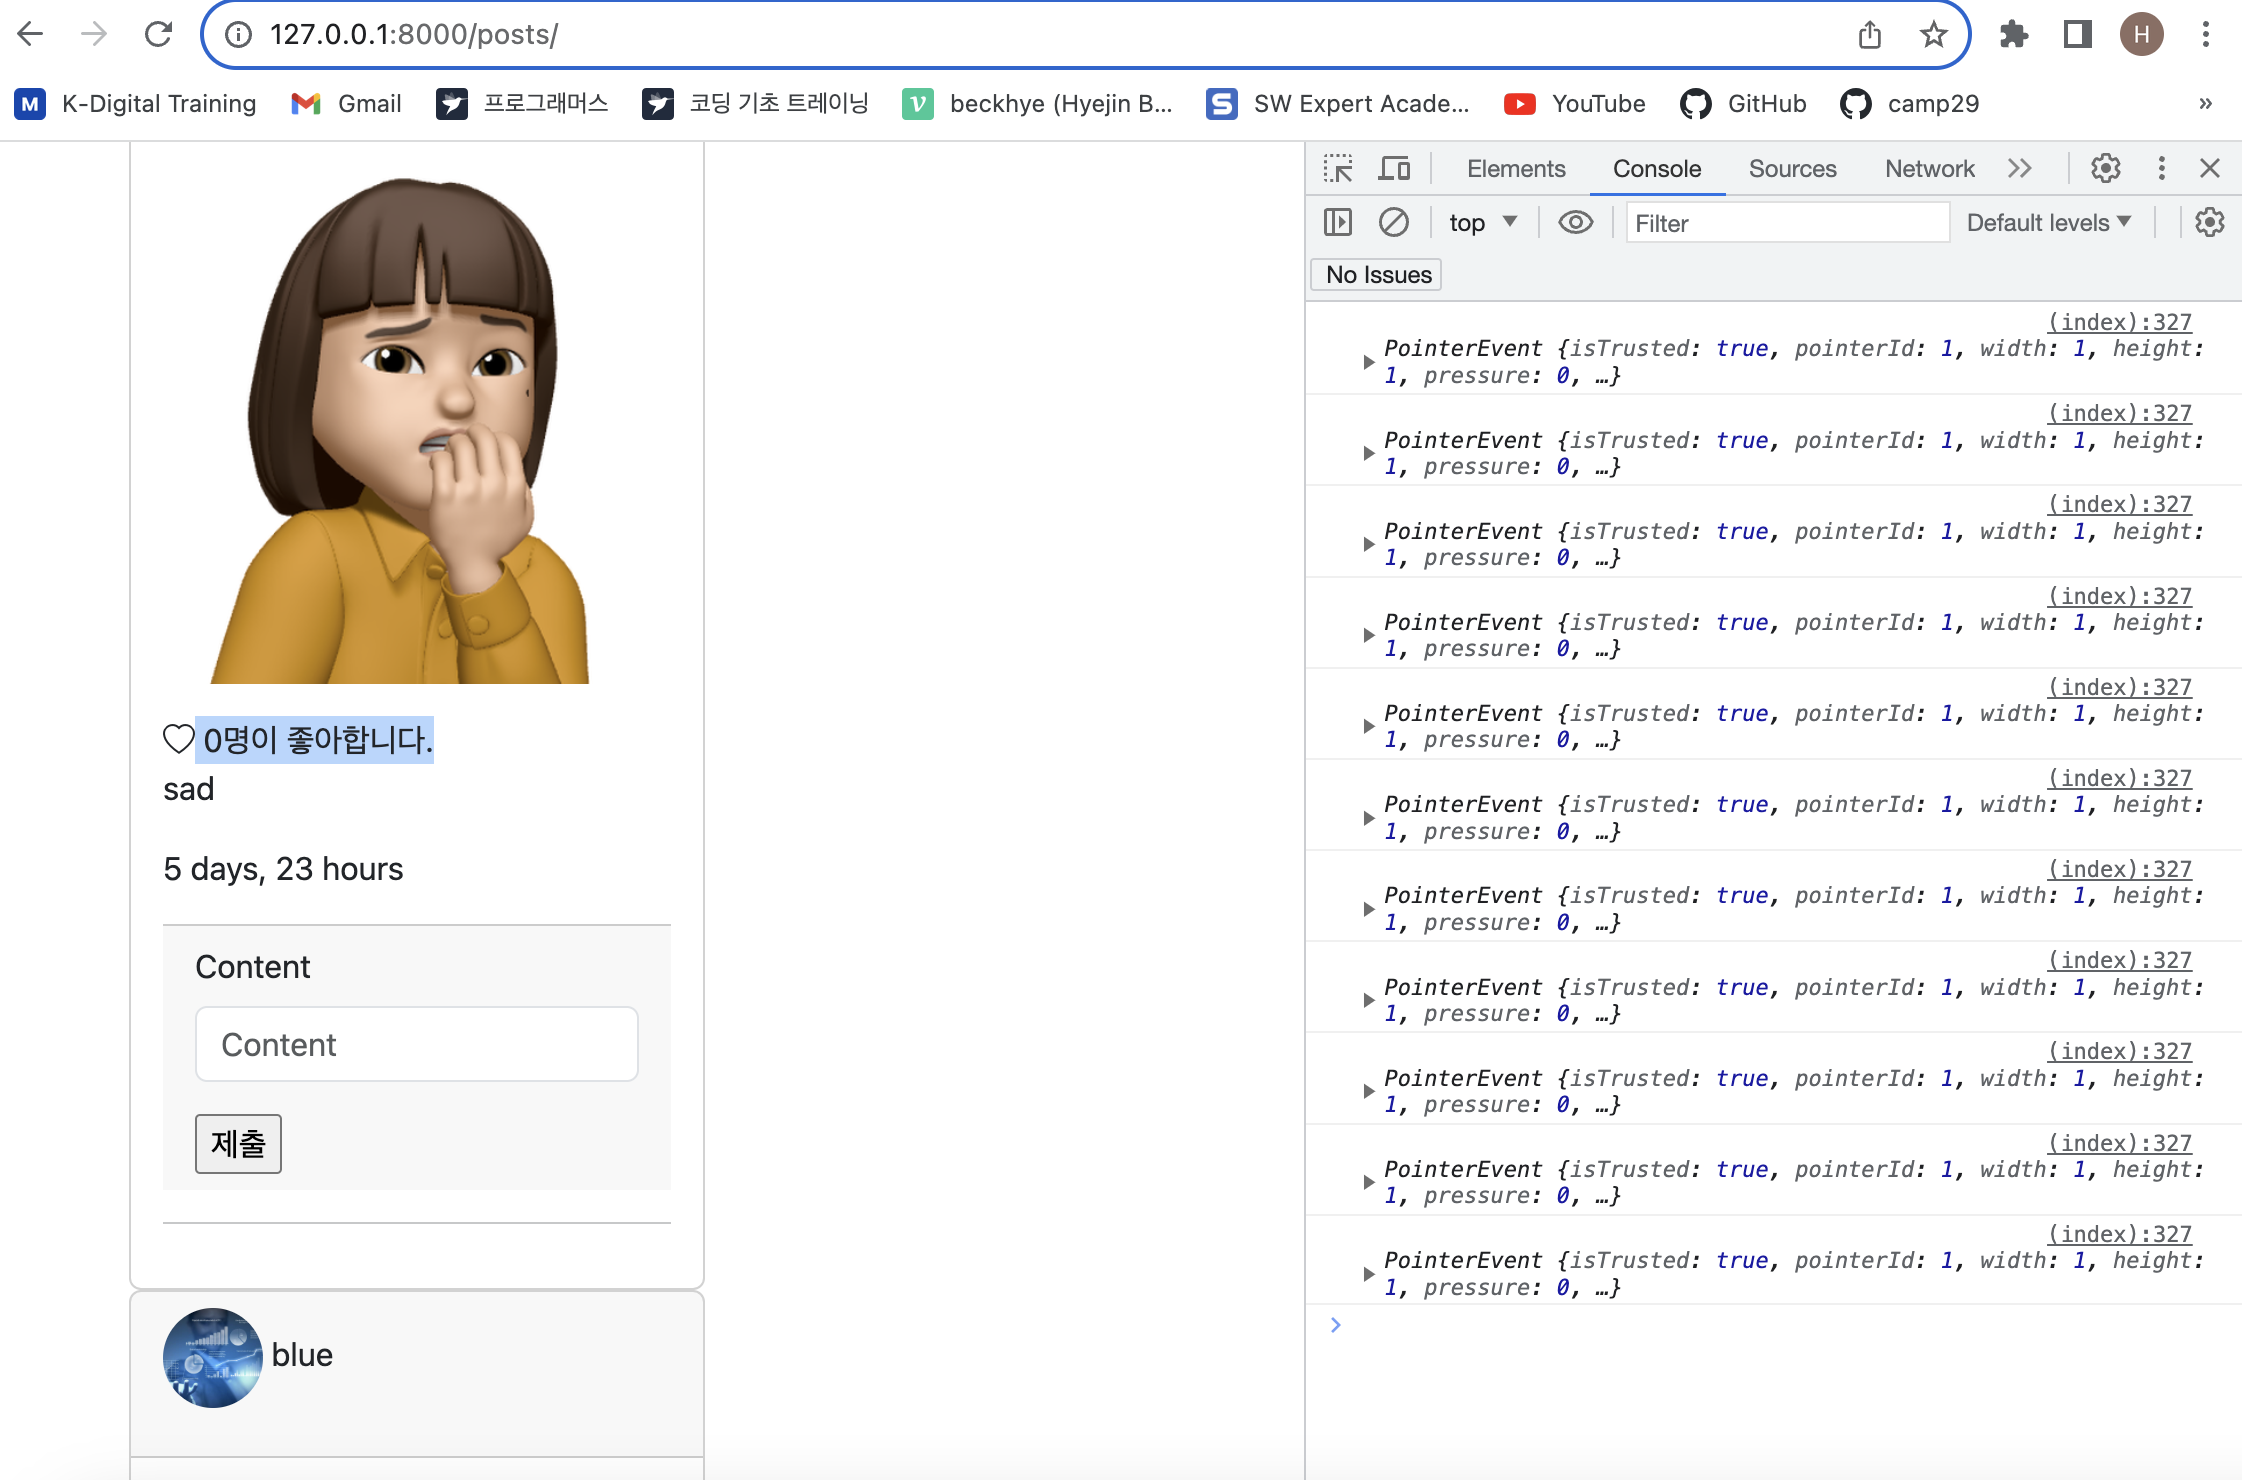
클릭하면 늘어남
그런데 빨갛게 변경된다던지는 이제 해야함
posts/1 의 하트를 누르며 해당페이지에 맞게 보낼거고
posts/2 번게시물의 하트를 누르면 2번으로 보낼거다.
몇번째id 값인지 이제 추가해줄거다
_card.html 에서 data-post="" 추가
1
<i class="bi bi-heart-fill" style="color: orchid;" data-post-id=""></i> data-어쩌구 이면
javascrip 의 변수 어디로 접근할수 있다.
_card.html 에서 data-post="" 추가
2
        <!--좋아요 눌렀으면 하트색상변경-->
      {% if post in user.like_posts.all %}
        <i class="bi bi-heart-fill" style="color: orchid;" data-post-id="{{post.id}}"></i>
        <!--한번더 누르면 좋아요 취소-->
      {% else %}
        <i class="bi bi-heart" data-post-id="{{post.id}}" "></i>
      {% endif %}
      {{post.like_users.all|length}}명이 좋아합니다.
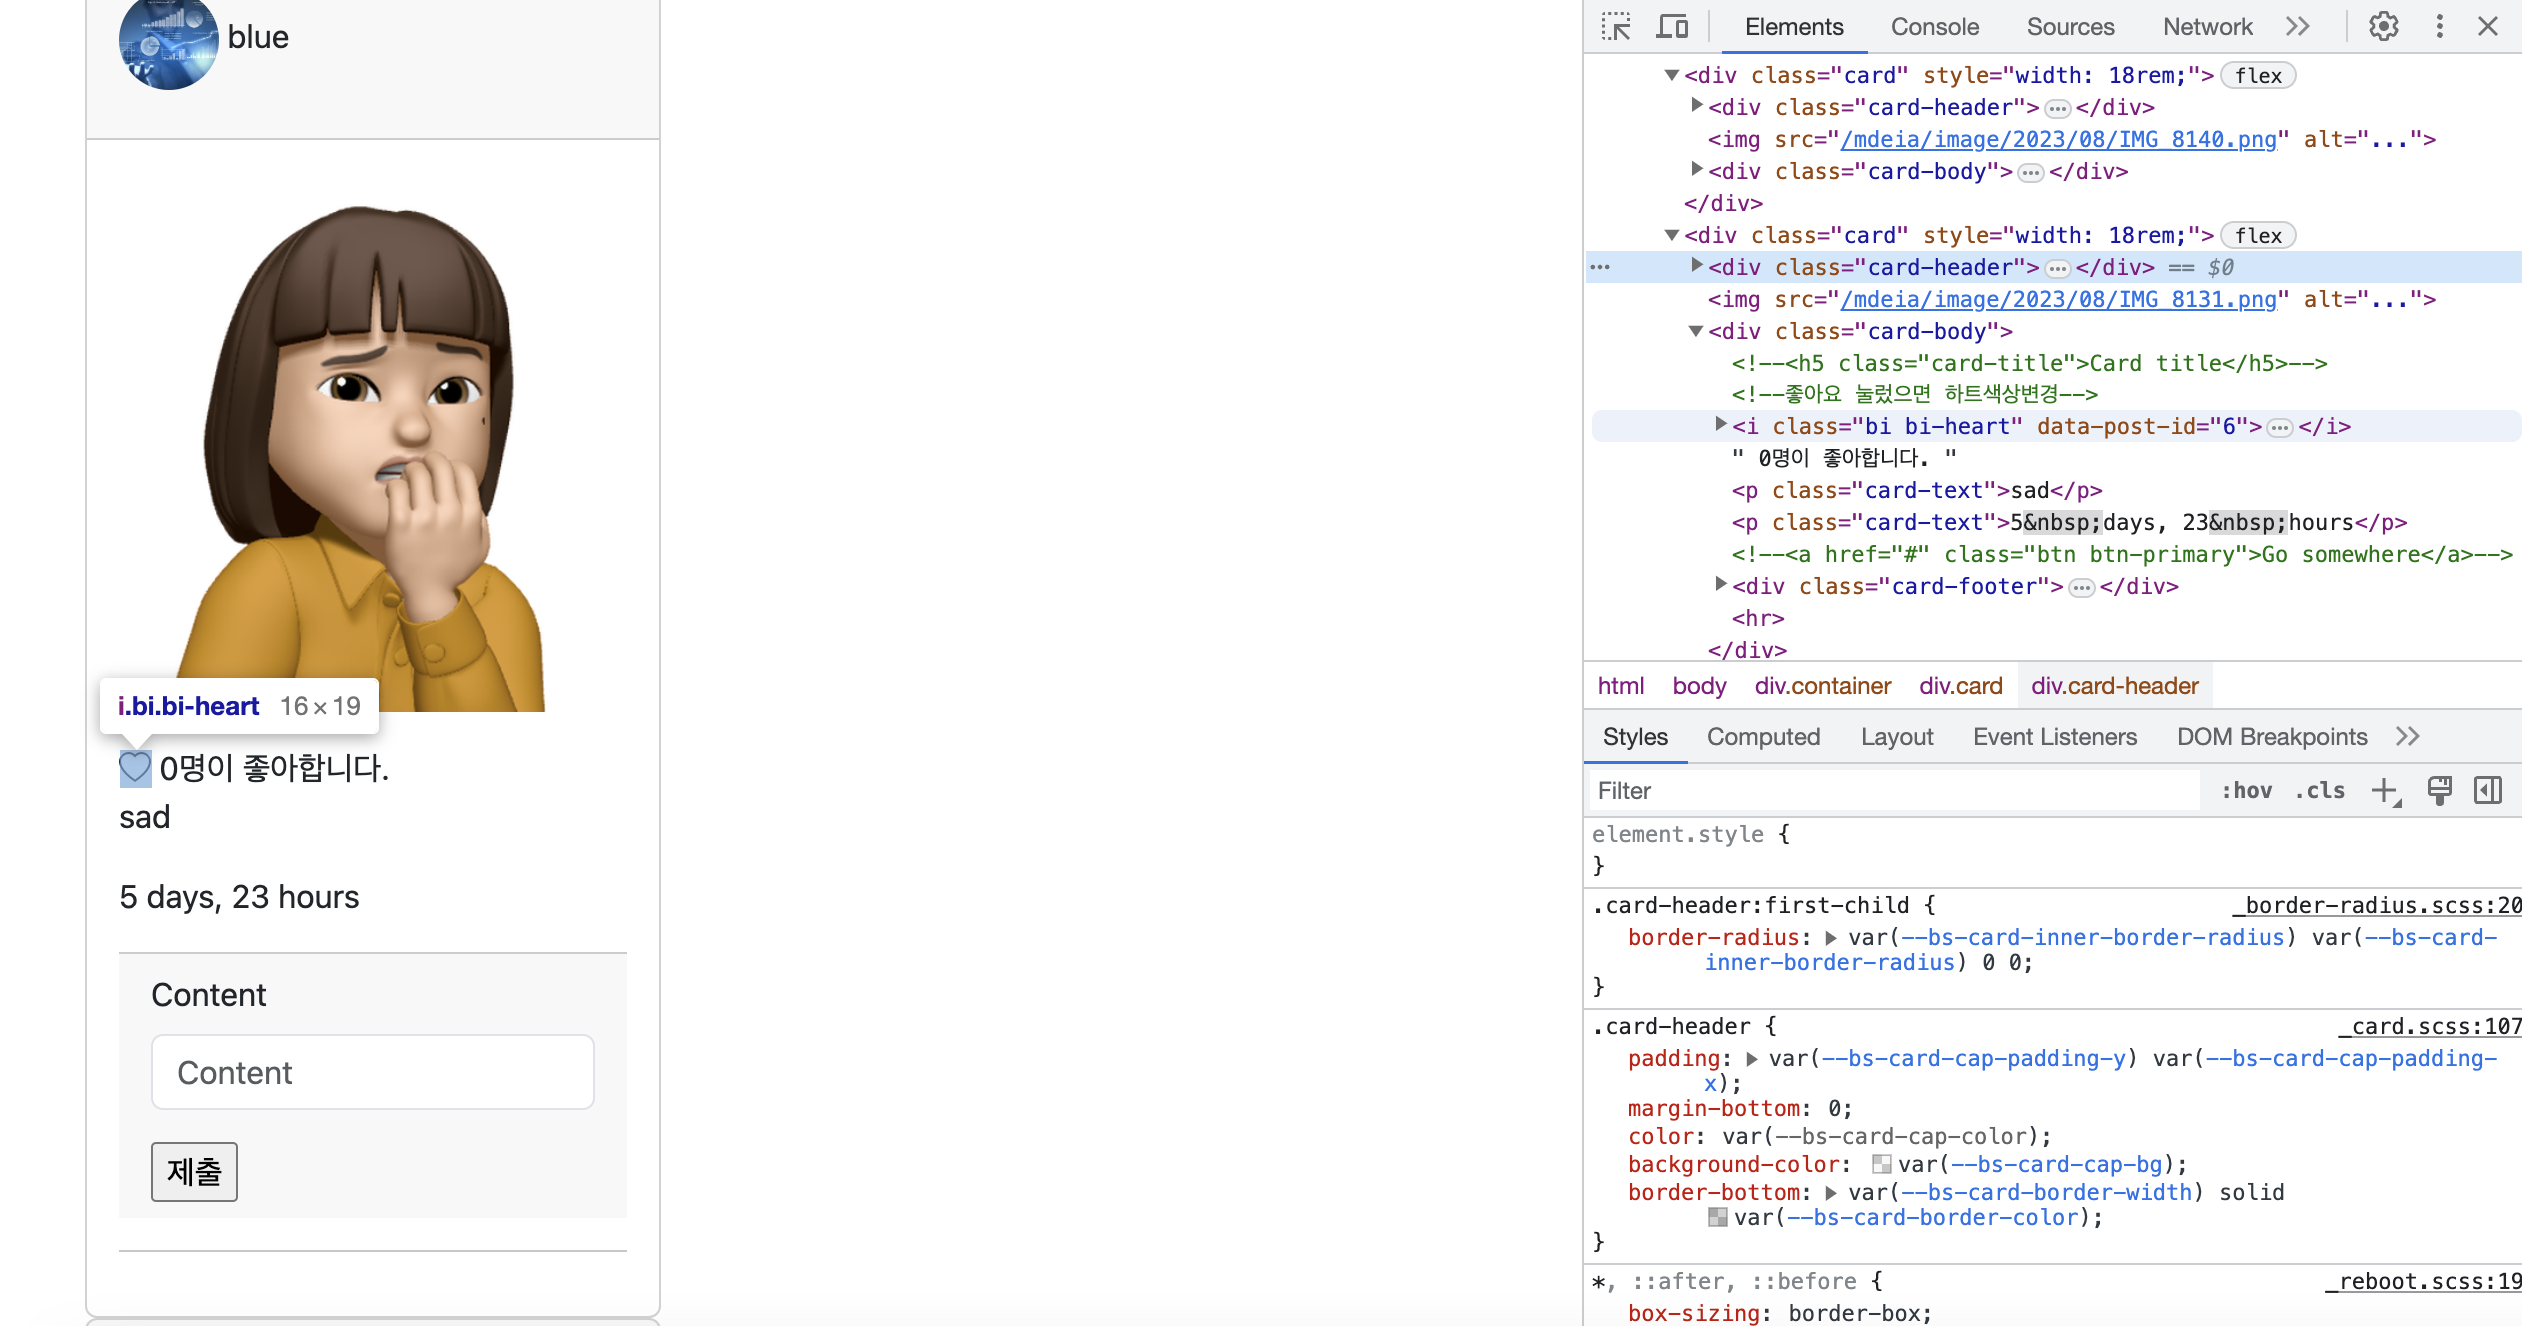
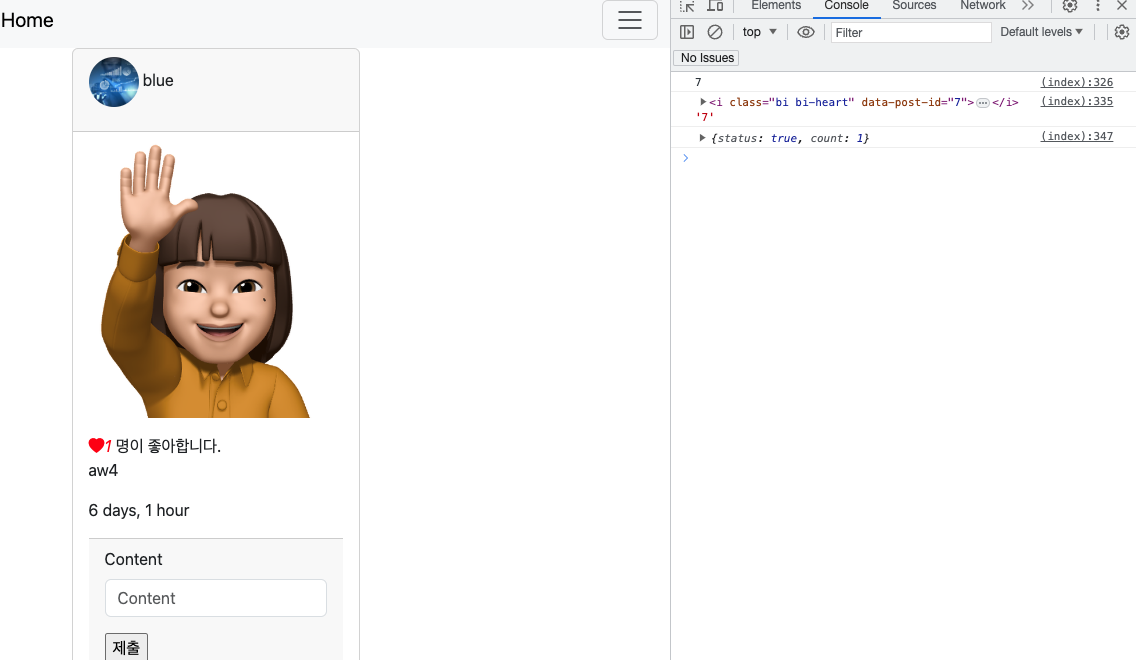
이제 웹화면의 6번째 게시글의 하트를 클릭하면
6번째라고 트랙킹 된다. (물론 빨갛게 시각적으로 바뀌거나 하진 않는다)
버튼 기능구현
index.html
    <script>
        const likeButtons = document.querySelectorAll('i,heart')
        // console.log(likeButtons)

        likeButtons.forEach(likeButton => {
            // console.log(likeButton);
            likeButton.addEventListener('click',(event)=> {
                console.log(event.target.dataset.postID)
            })
        });
    </script>
indexhtml
{% extends 'base.html' %}

{% block body %}

    {% for post in posts %}
        {% include '_card.html' %}
    {% endfor %}

    <script>
        const likeButtons = document.querySelectorAll('i,heart')
        // console.log(likeButtons)

        likeButtons.forEach(likeButton => {
            // console.log(likeButton);
            likeButton.addEventListener('click',(event)=>{
                let postID = event.target.dataset.postId
                console.log(postID)

                likeRequest(event.target, postID)
                // 위에서 event.target 이게 좋아요

            })
        });

        let likeRequest = (button, postID) => {
            console.log(button,postID)
            // django 서버에 좋아요버튼 눌렀다고 요청을 보낸다.

            // django 서버의 응답에 따라 좋아요 버튼 수정한다.
        }

    </script>
{% endblock %}
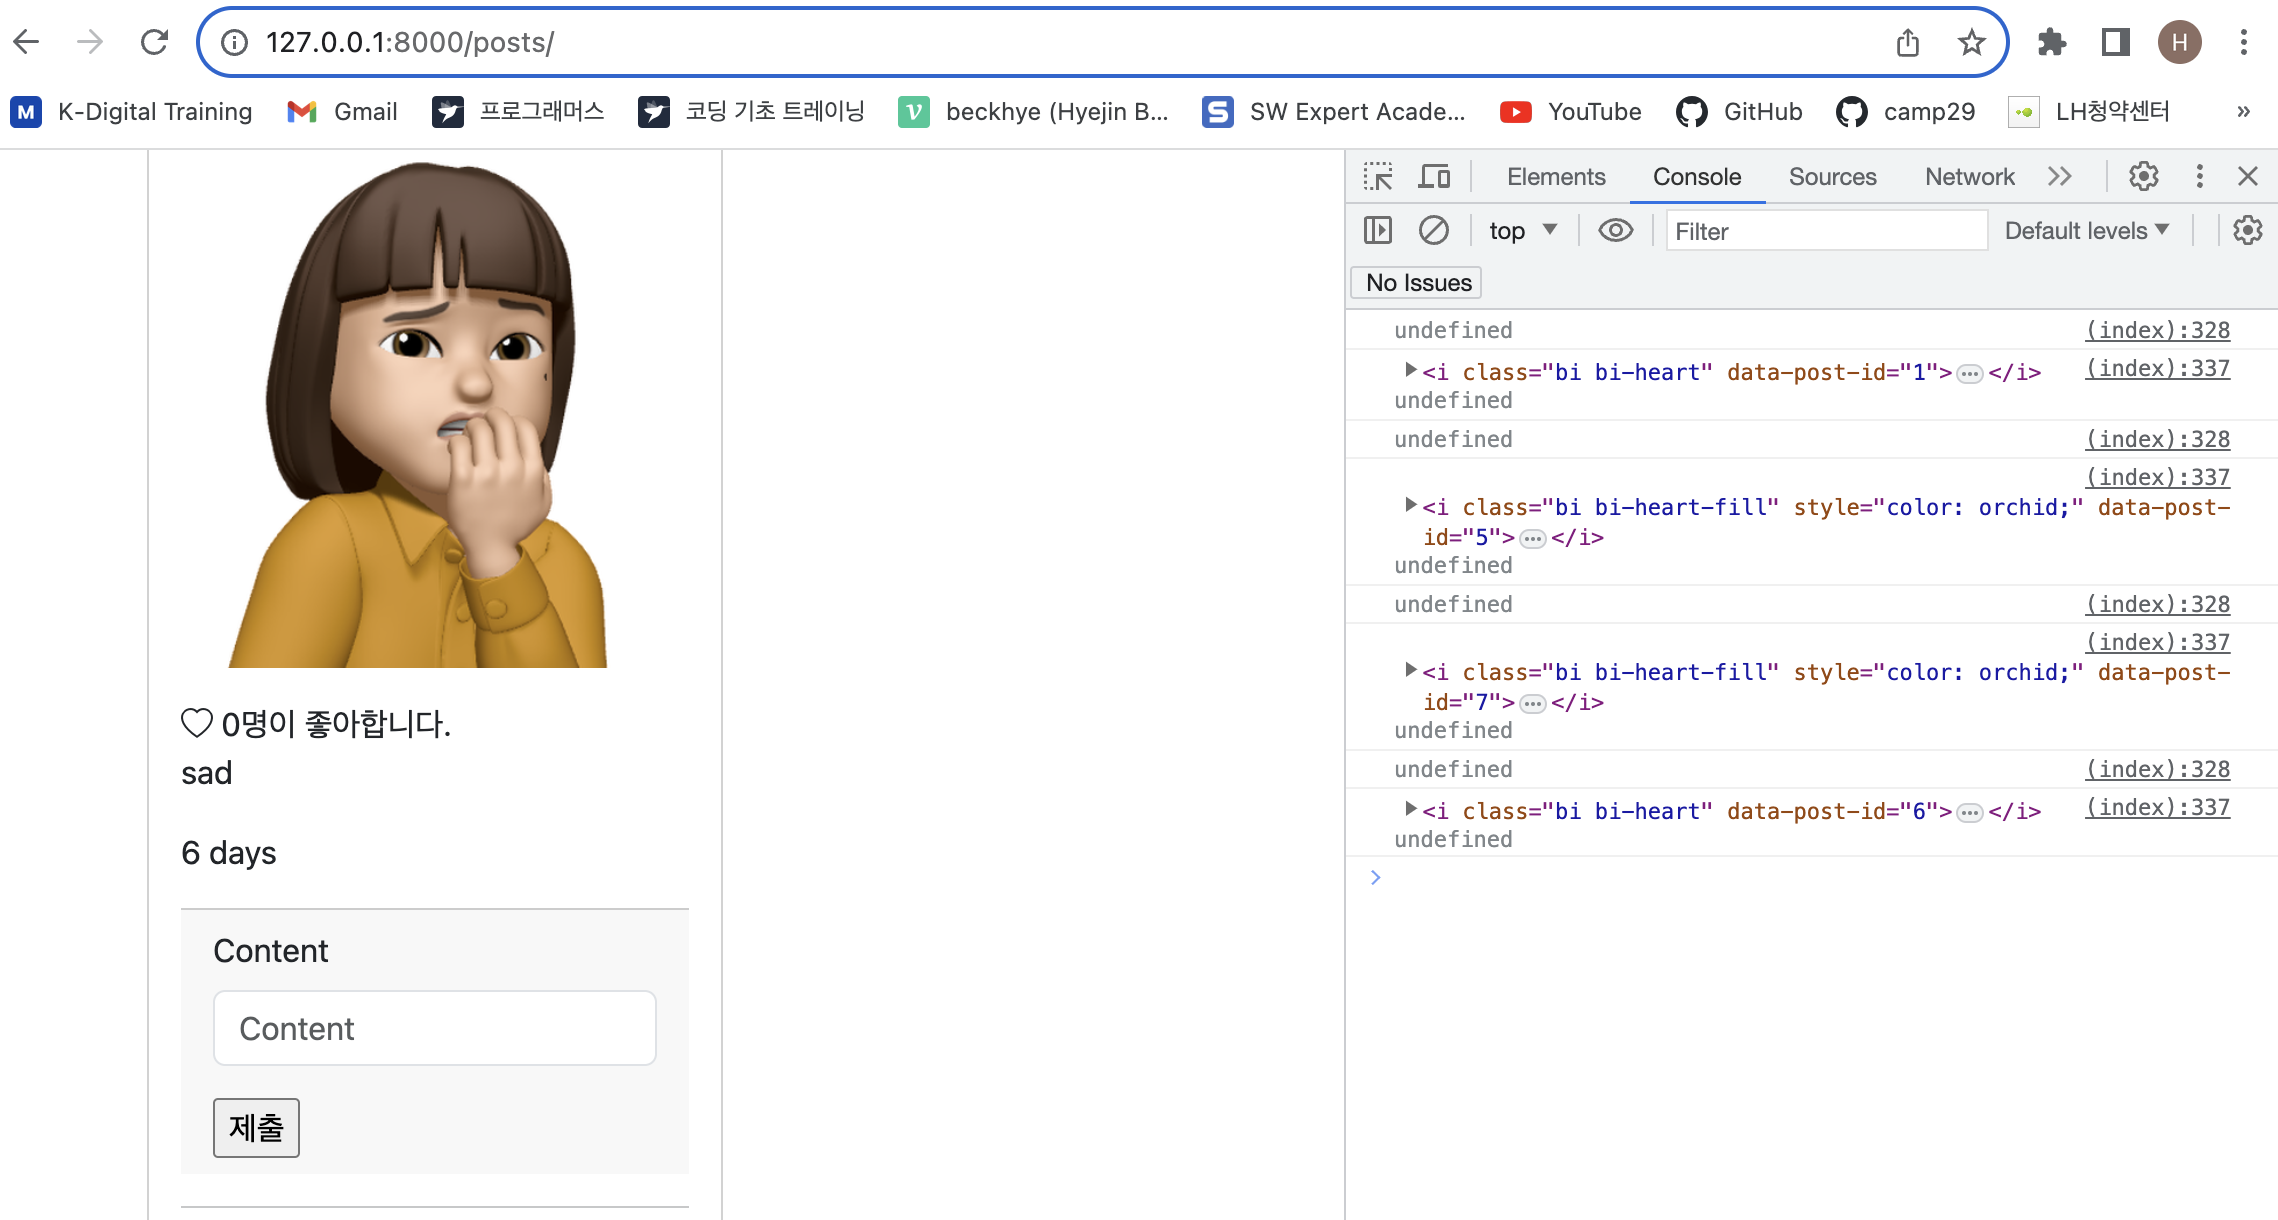
일단 클릭할때마다 트랙킹
index.html
        let likeRequest = (button, postID) => {
            console.log(button,postID)
            // django 서버에 좋아요버튼 눌렀다고 요청을 보낸다.
            let likeURL = `/posts/${postID}/like-async/`

            // 여기서 잠깐! javascript 에서는 URL 주소를 빽틱 ` 으로 감싸줘야한다.
            // django 에서는 ' 그냥 따옴표
            let respone = fetch(likeURL)
            // 이제 url 주소를 만들어주자


            // django 서버의 응답에 따라 좋아요 버튼 수정한다.
        }

    </script>
{% endblock %}posts>urls.py
path('<int:post_id>/like-async/',views.like_async, name='like_async'),posts>views.py 일단 테스트용
def like_async(request, post_id):
print('hello')posts>views.py 작성해보자
from django.http import JsonResponse


def like_async(request, post_id):
    context = {
        'message': post_id,
    }

    return JsonResponse(context)
        # 이건 데이터 그 자체를 return 해줌
    # html 문서를 return 할 필요가 없음
좋아요 버튼을 눌러보자
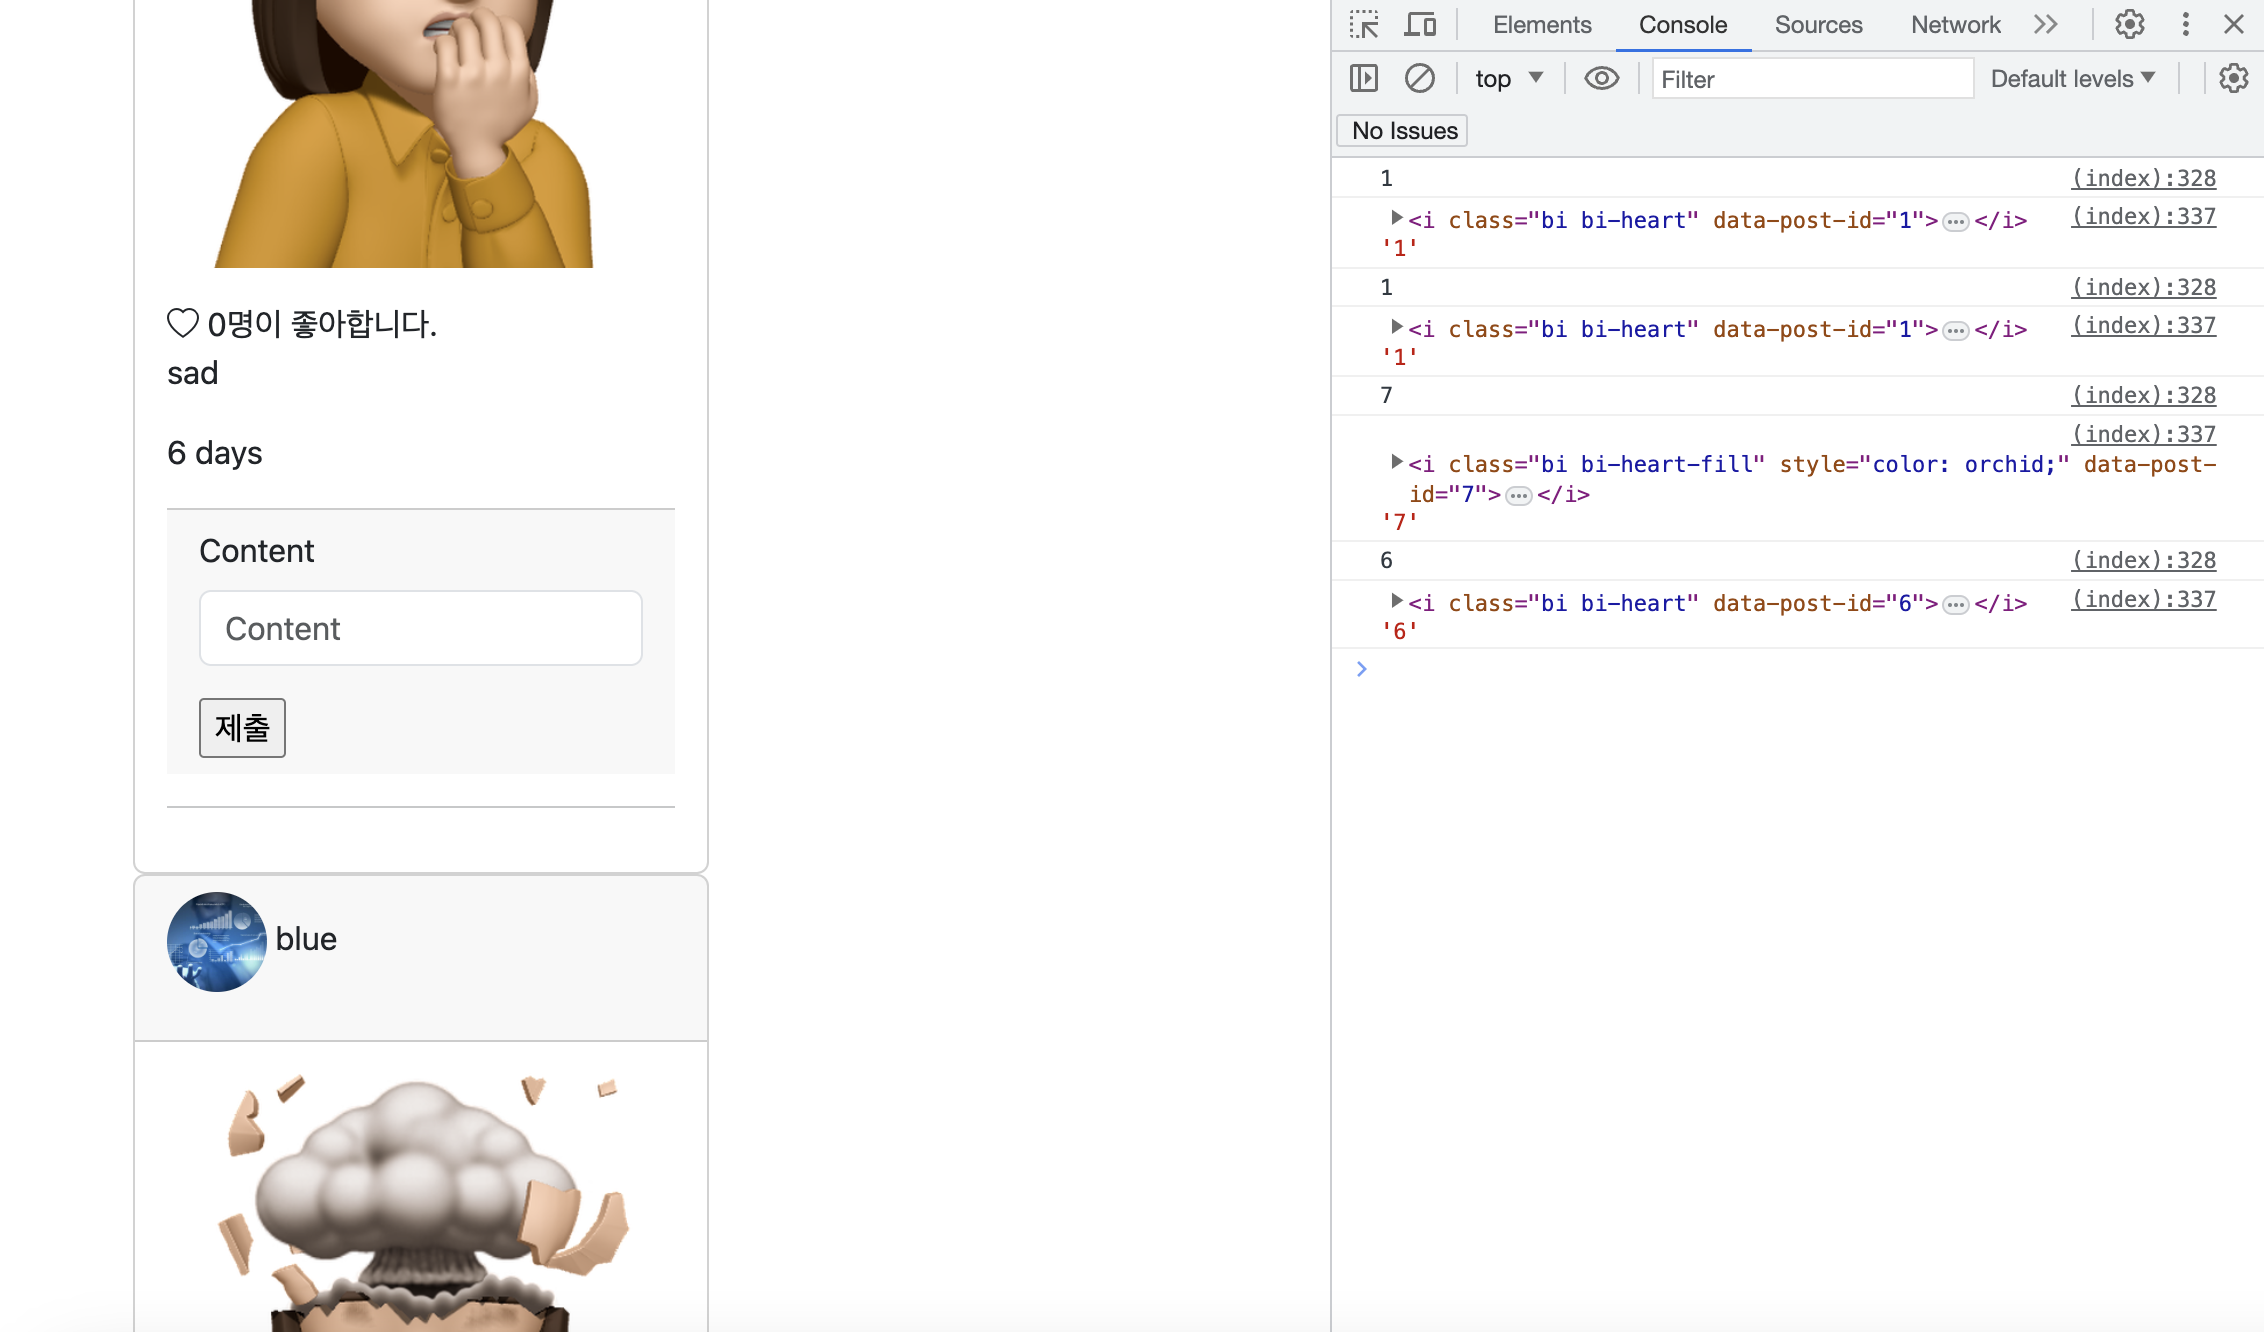
index.html
let likeRequest = async (button, postID) => {
            console.log(button,postID)
            // django 서버에 좋아요버튼 눌렀다고 요청을 보낸다.
            let likeURL = `/posts/${postID}/like-async/`

            // 여기서 잠깐! javascript 에서는 URL 주소를 빽틱 ` 으로 감싸줘야한다.
            // django 에서는 ' 그냥 따옴표
            let response = await fetch(likeURL)
            // 이제 url 주소를 만들어주자 urls.py
            // 위의 fetch 라는게 인터넷속도에 따라 얼마나 걸릴지 몰라, 비동기 처리 해줘야함
            // 위에 likeRequest = async 추가

            let result = await response.json()
            console.log(result)
            // 내가 어떤 정보를 클릭했는지 화면 출력할수있게


            // django 서버의 응답에 따라 좋아요 버튼 수정한다.
        }

    </script>
{% endblock %}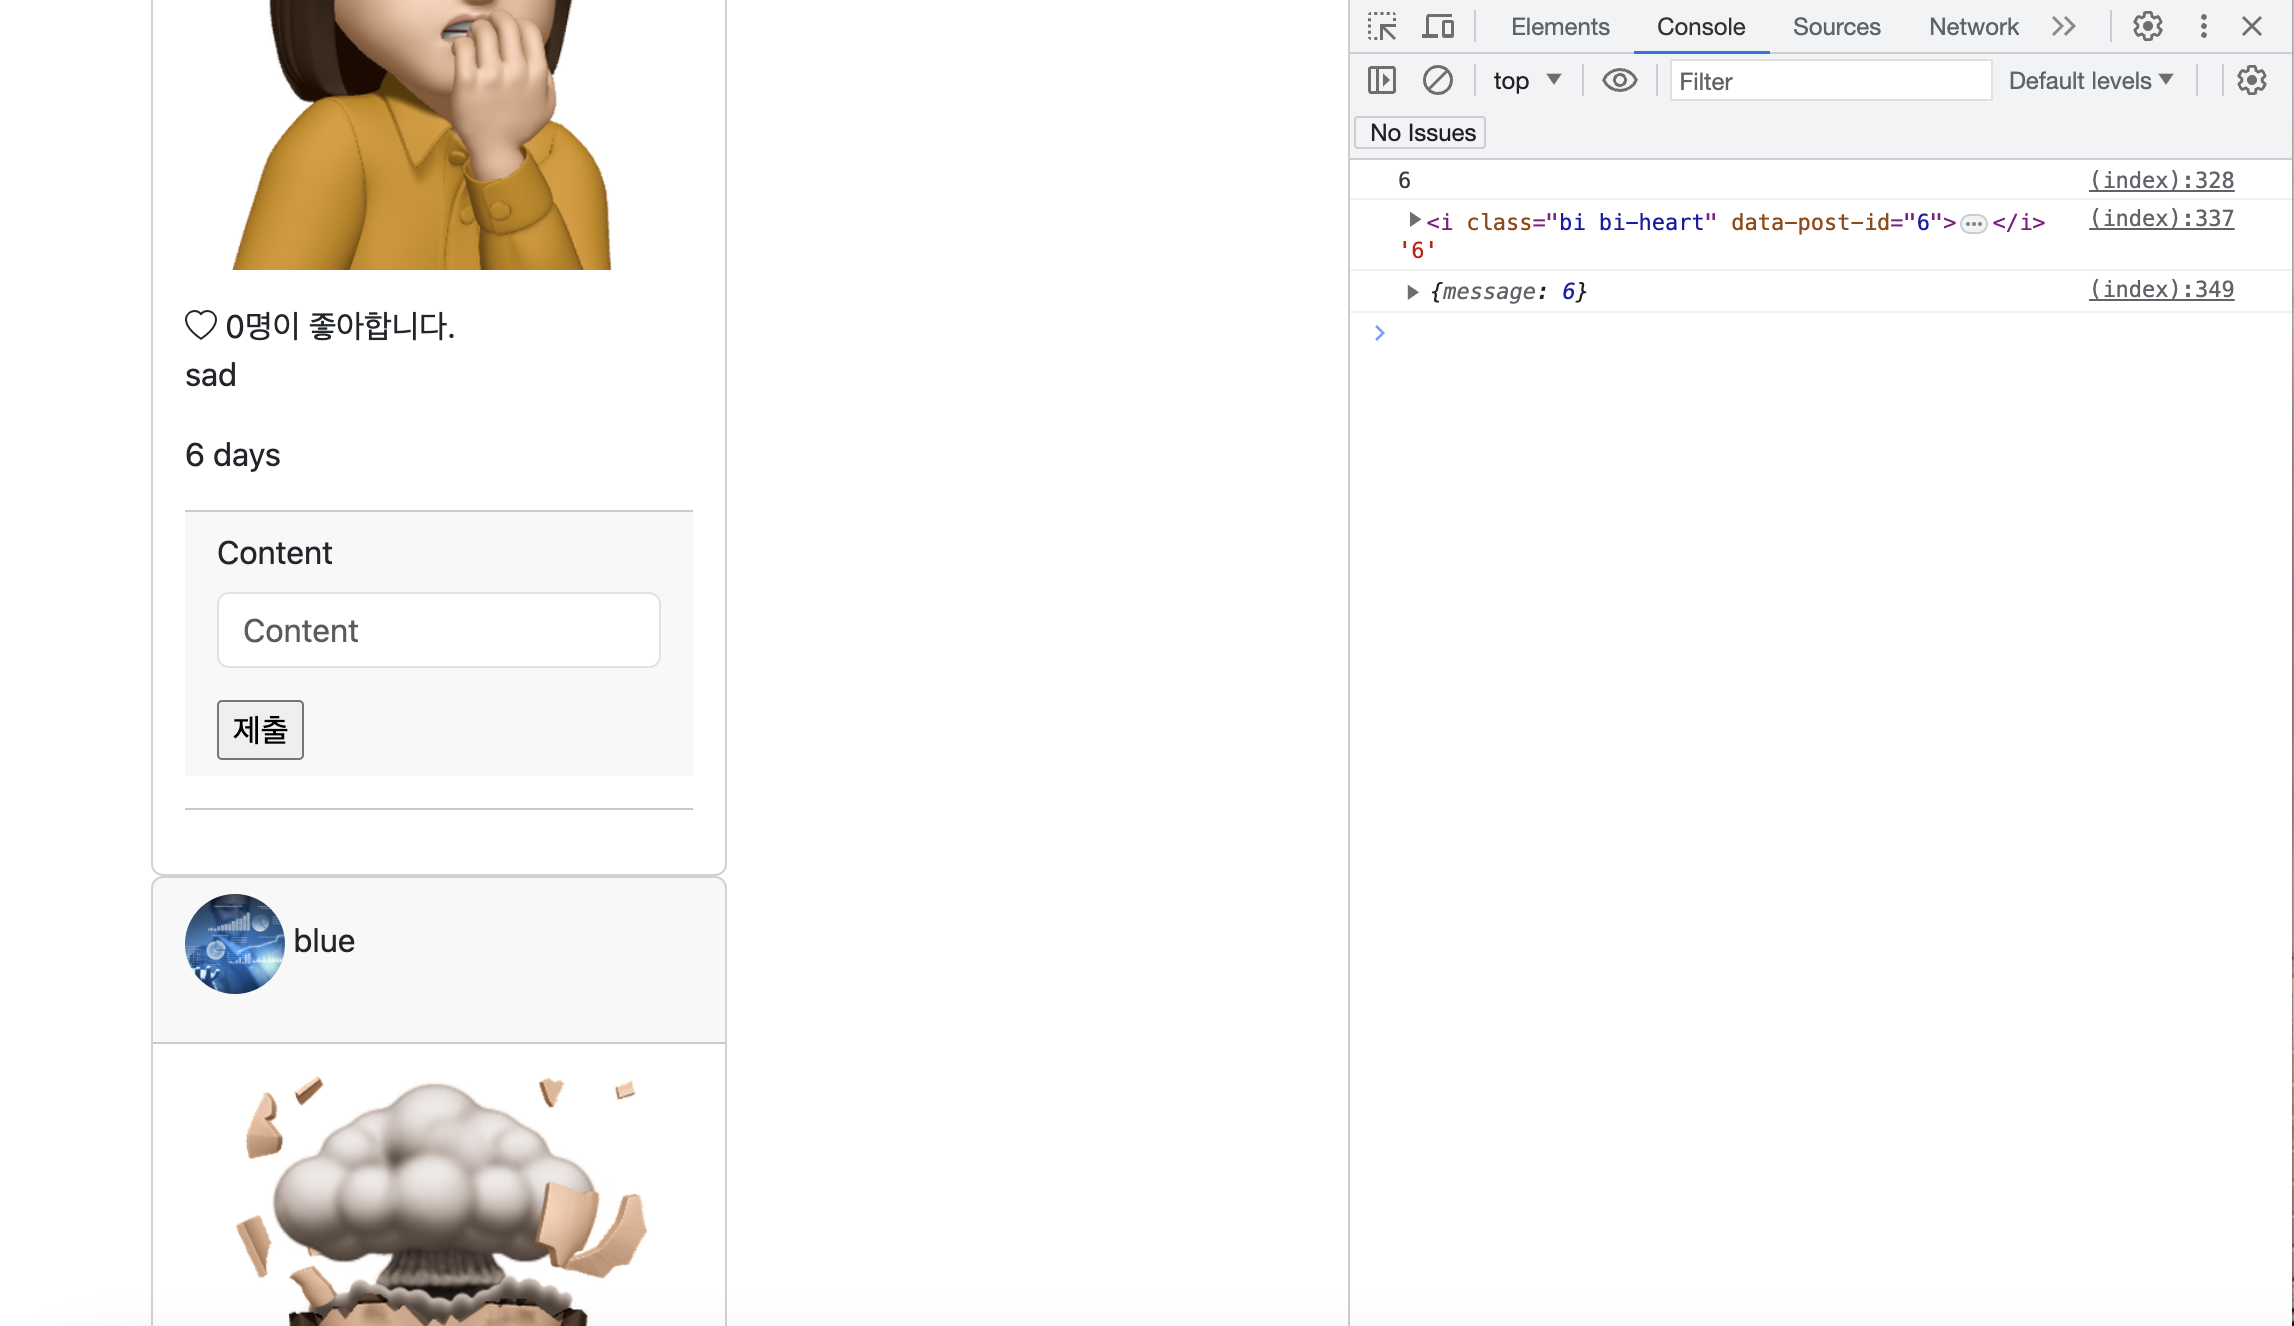
views.py
def like_async(request, post_id):
    # context = {
    #     'message': post_id,
    # }

    user = request.user
    post = Post.objects.get(id=post_id)

    if user in post.like_users.all():
        post.like_users.remove(user)
    else:
        post.like_users.add(user)
        status = True

    context = {
        'status': status,
    }

    return JsonResponse(context)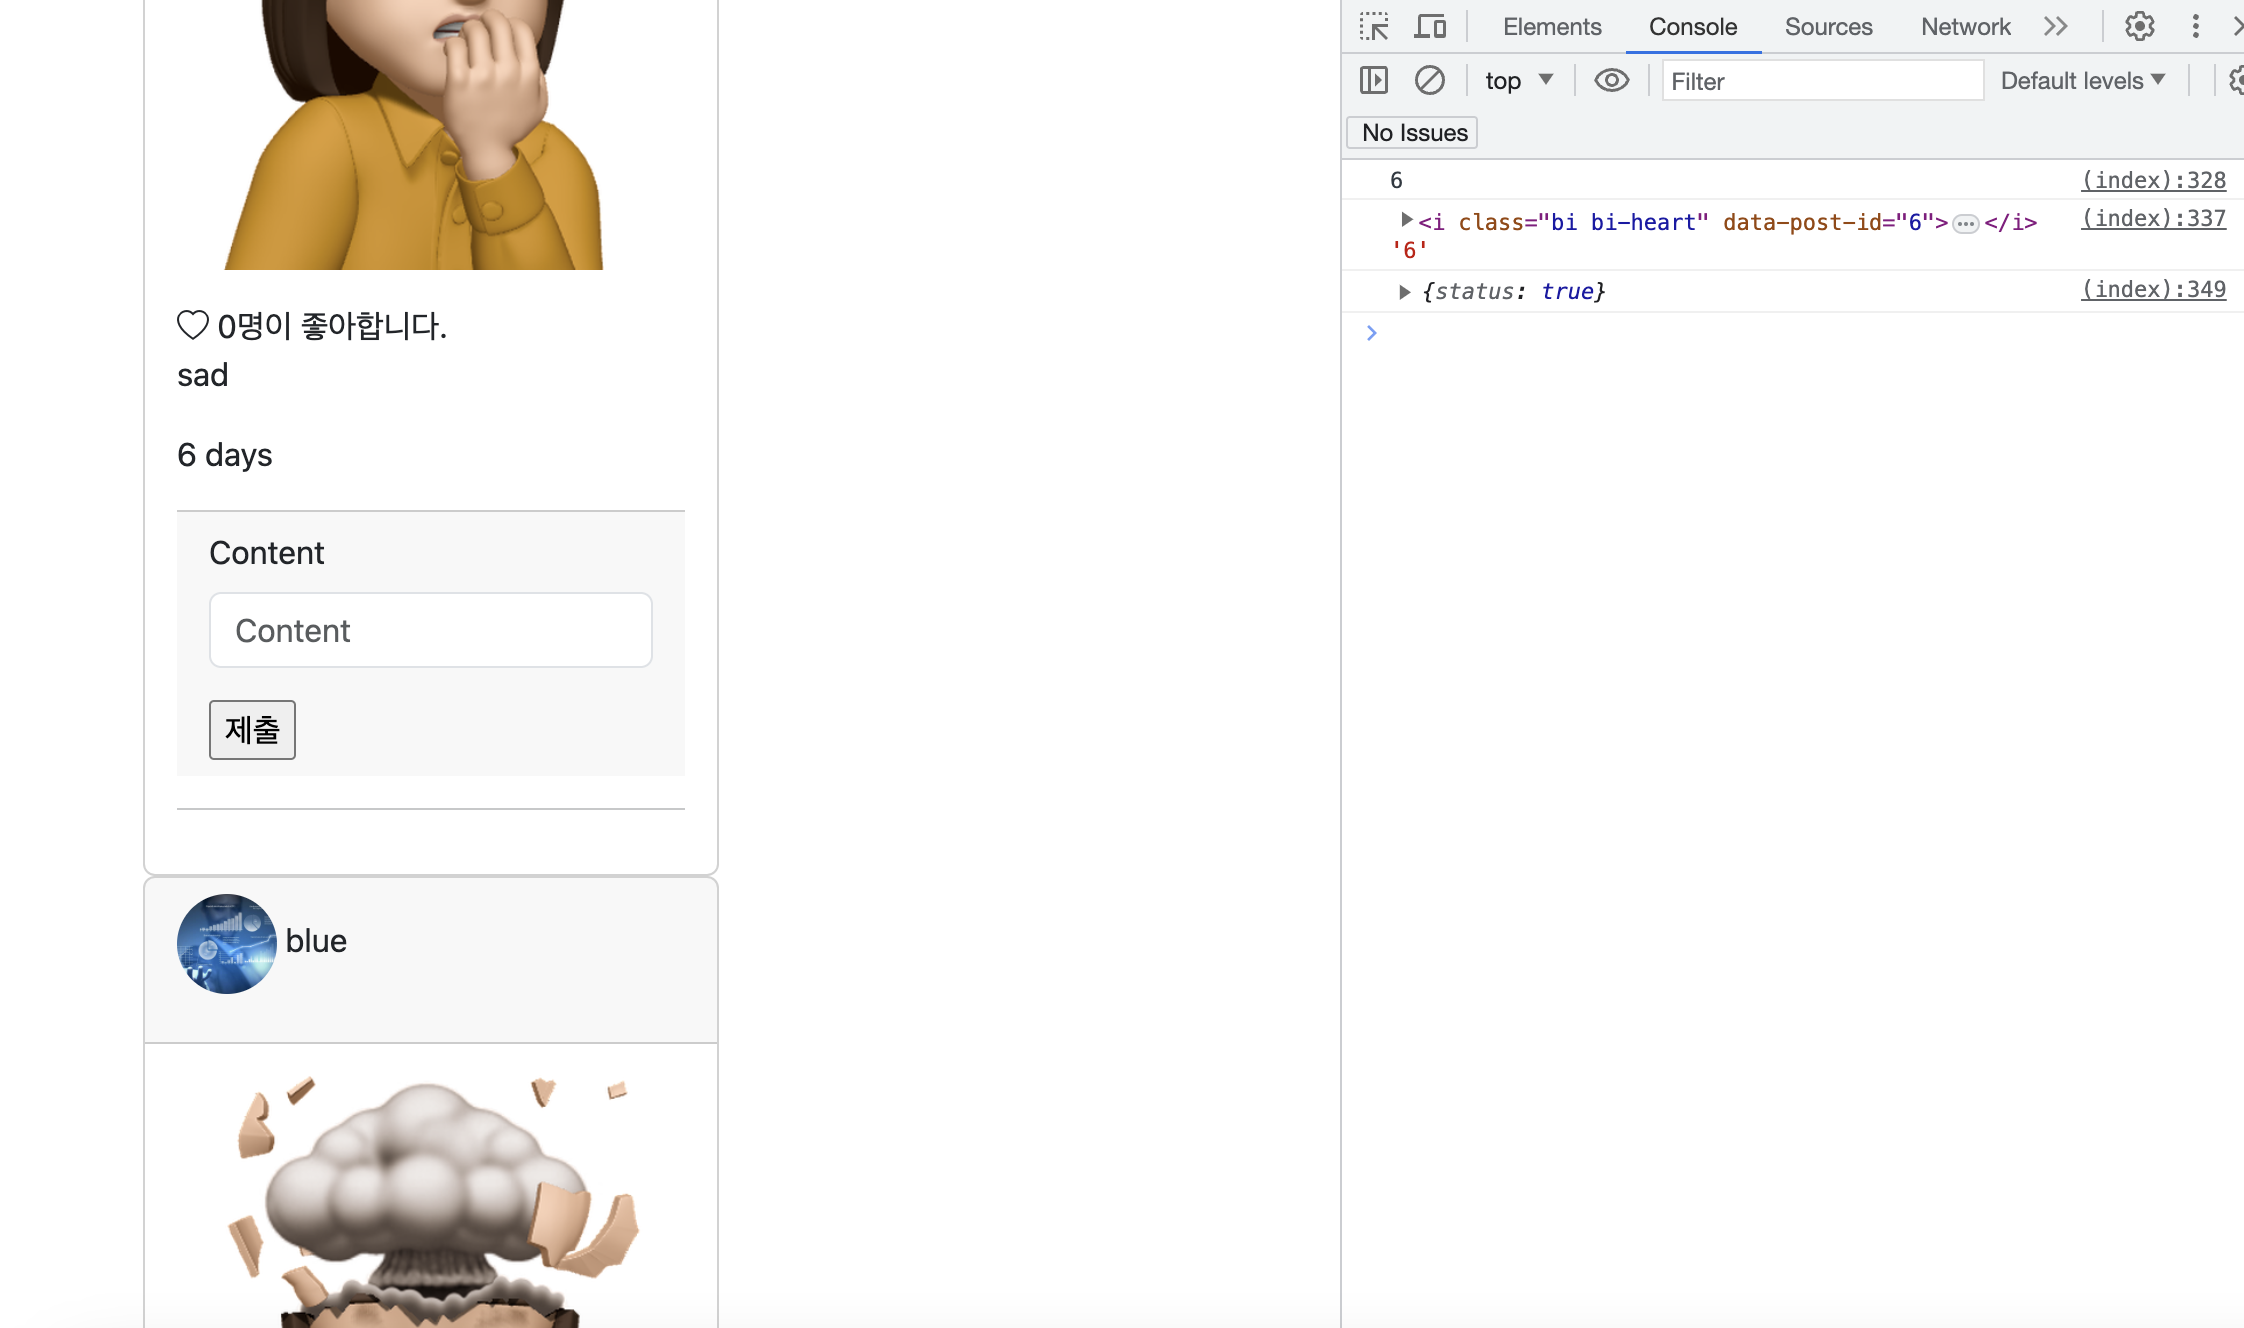
이제 db 접근 완료
좋아요 클릭하면 db에 반영했다는거다
status: True
다만, 아직 좋아요 취소 는 미반영
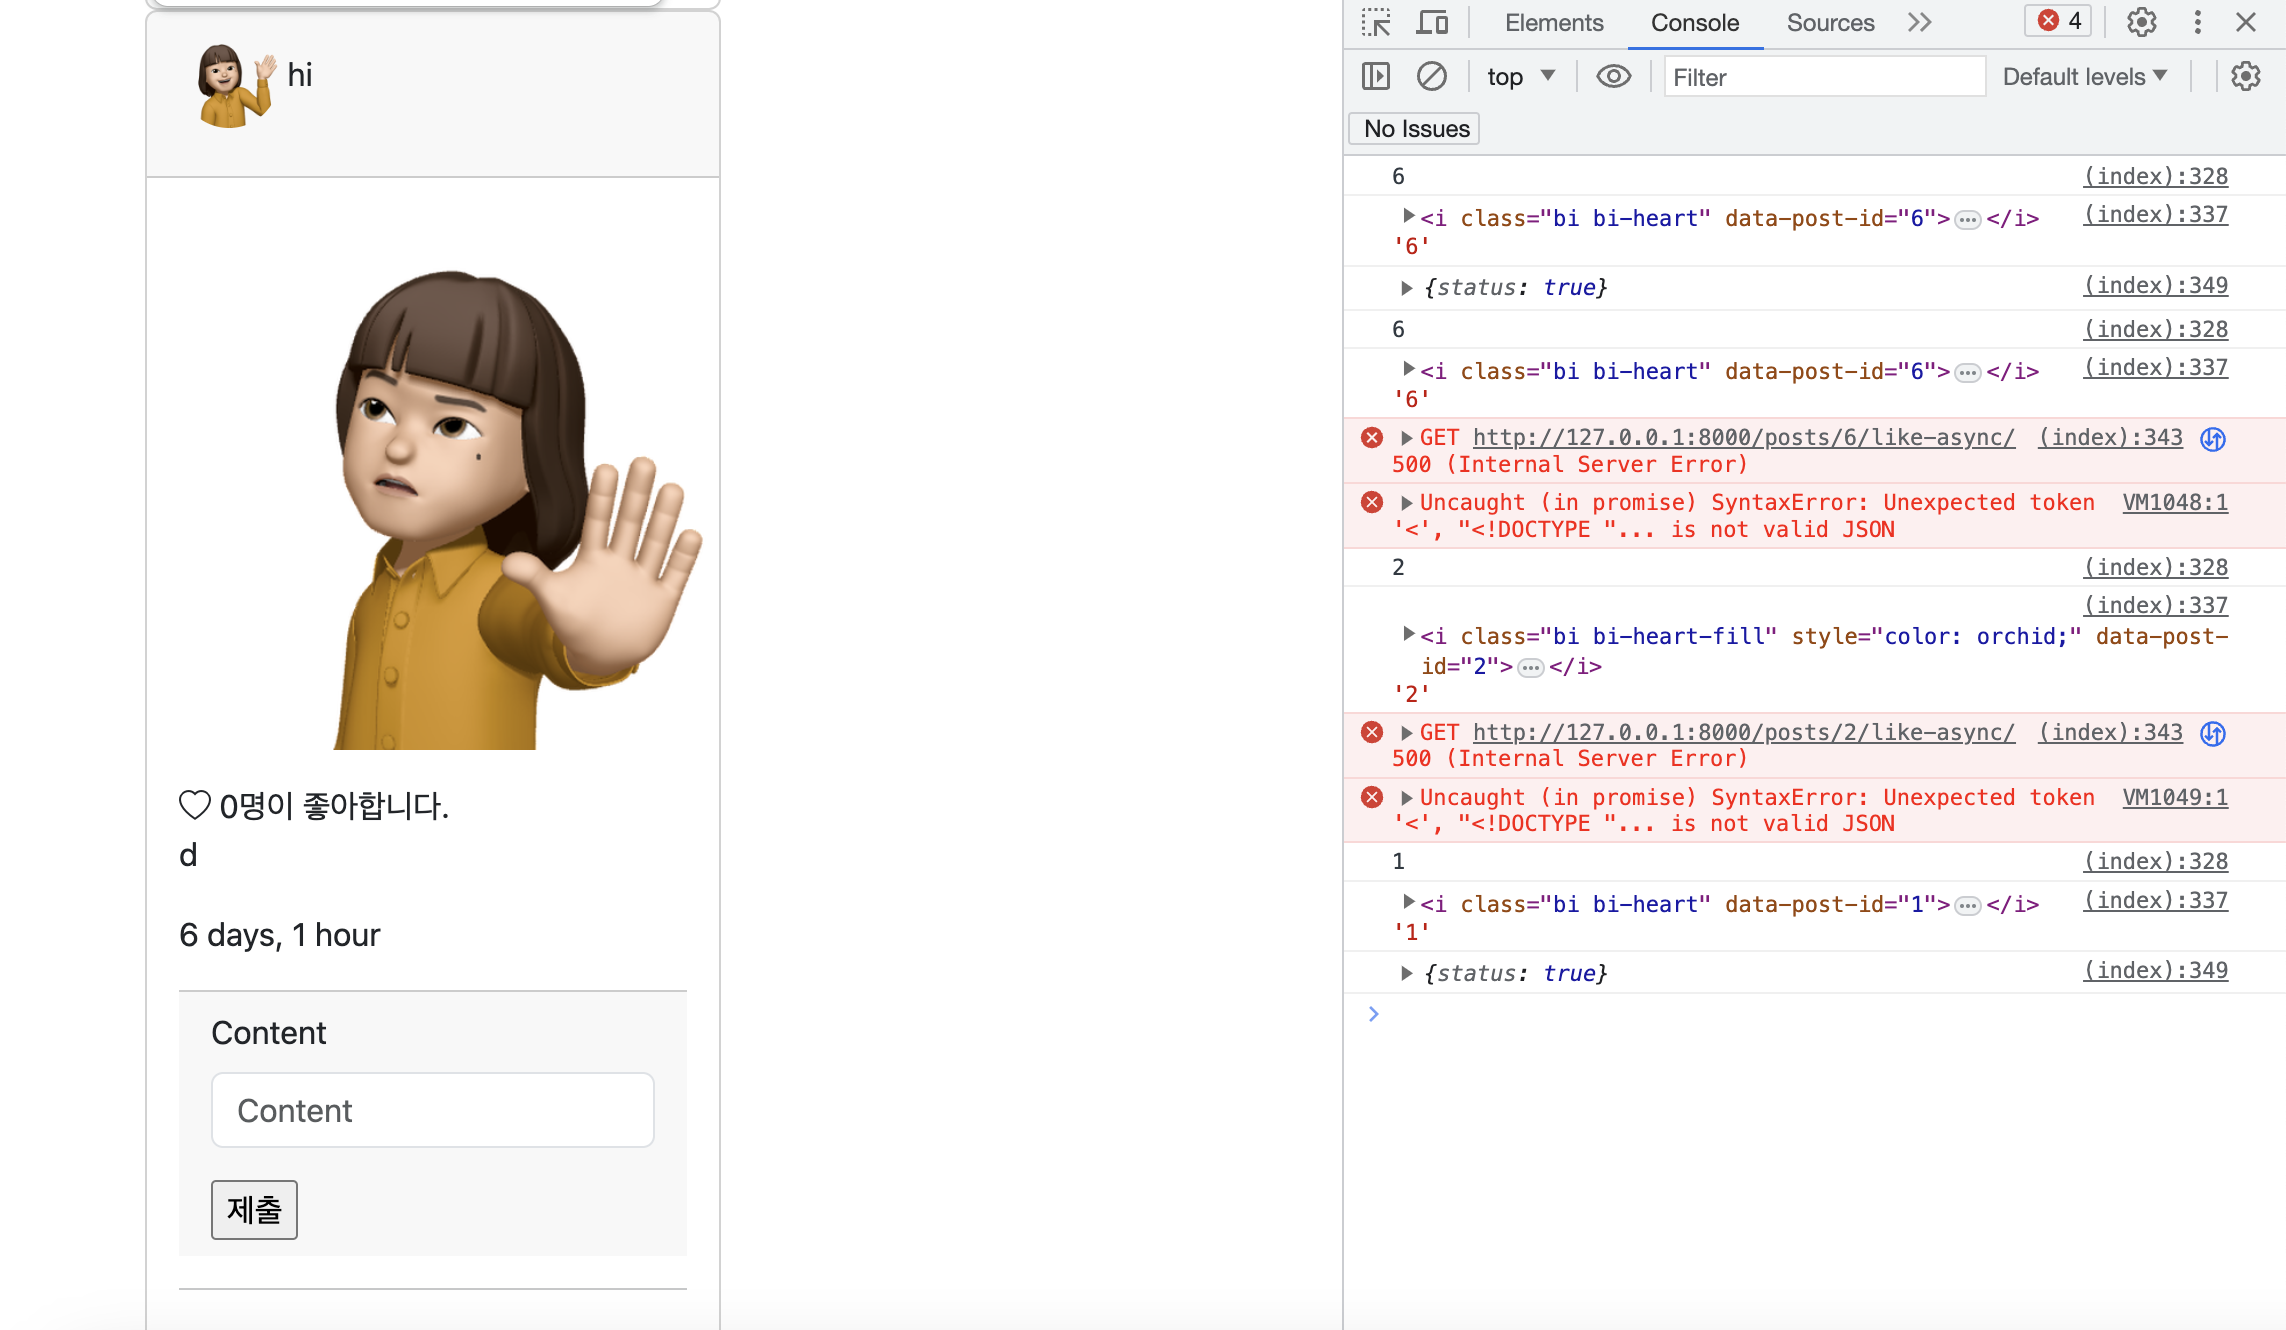
좋아요 취소 db
status = False 추가
def like_async(request, post_id):
    # context = {
    #     'message': post_id,
    # }
    status = False
    user = request.user
    post = Post.objects.get(id=post_id)

    if user in post.like_users.all():
        post.like_users.remove(user)
    else:
        post.like_users.add(user)
        status = True

    context = {
        'status': status,
    }

    return JsonResponse(context)
    # 이건 데이터 그 자체를 return 해줌
    # html 문서를 return 할 필요가 없음
기능구현
index.html
            if (result.status){
                좋아요 누른상태
            } else {
                좋아요 취소한 상태
            }

            // django 서버의 응답에 따라 좋아요 버튼 수정한다.
        }

    </script>
{% endblock %}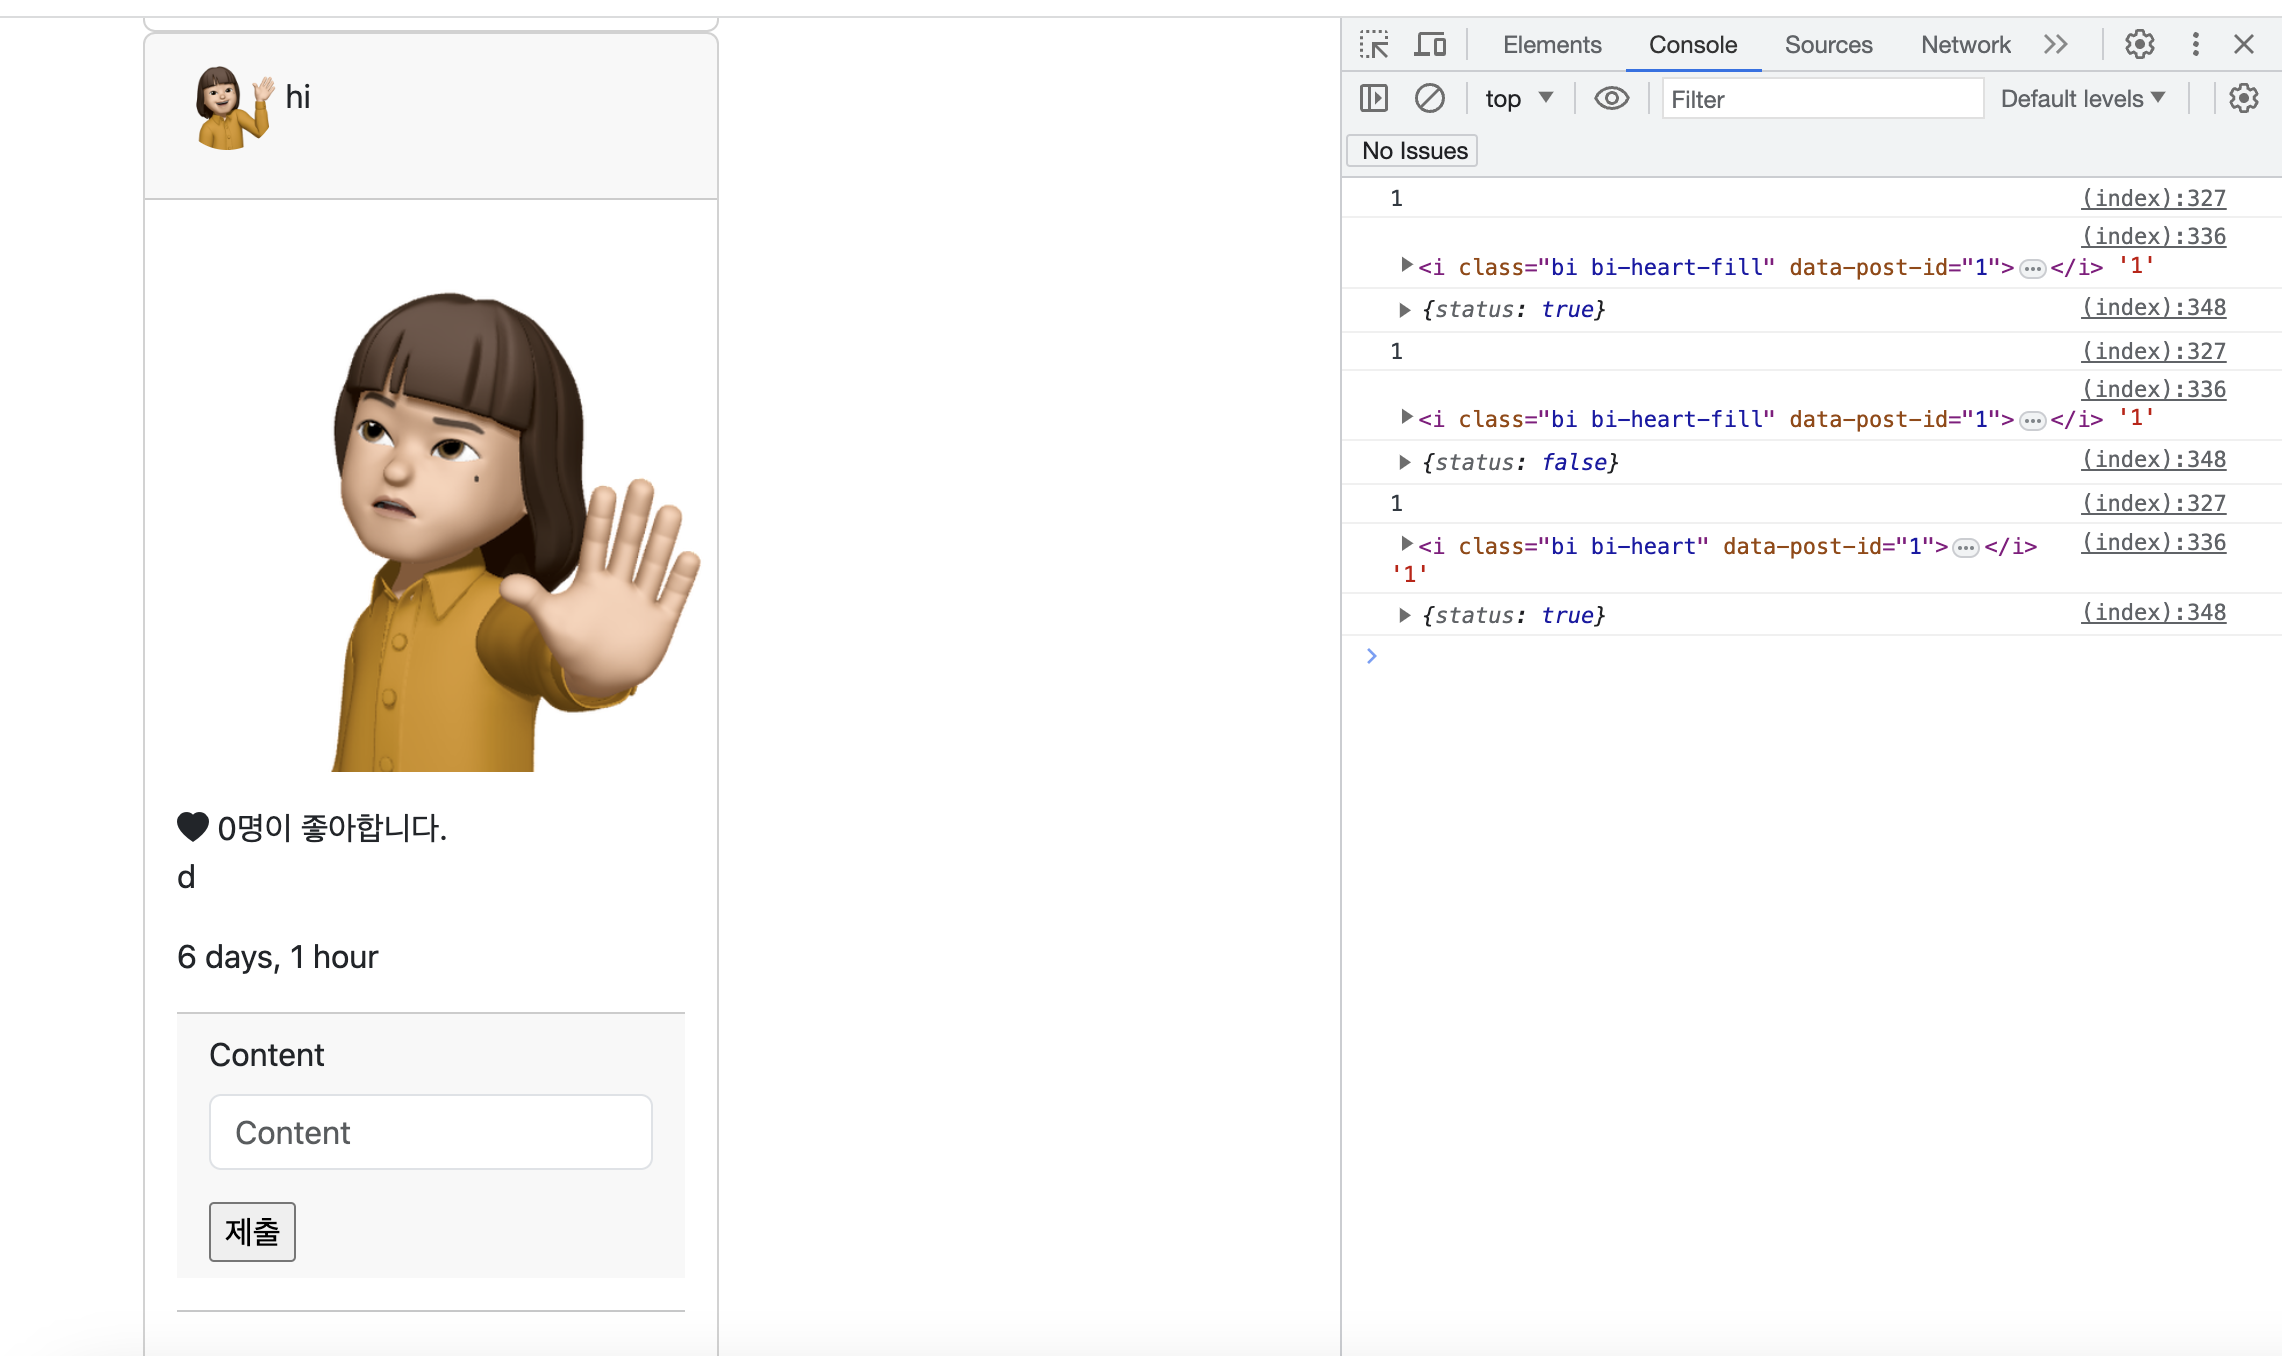
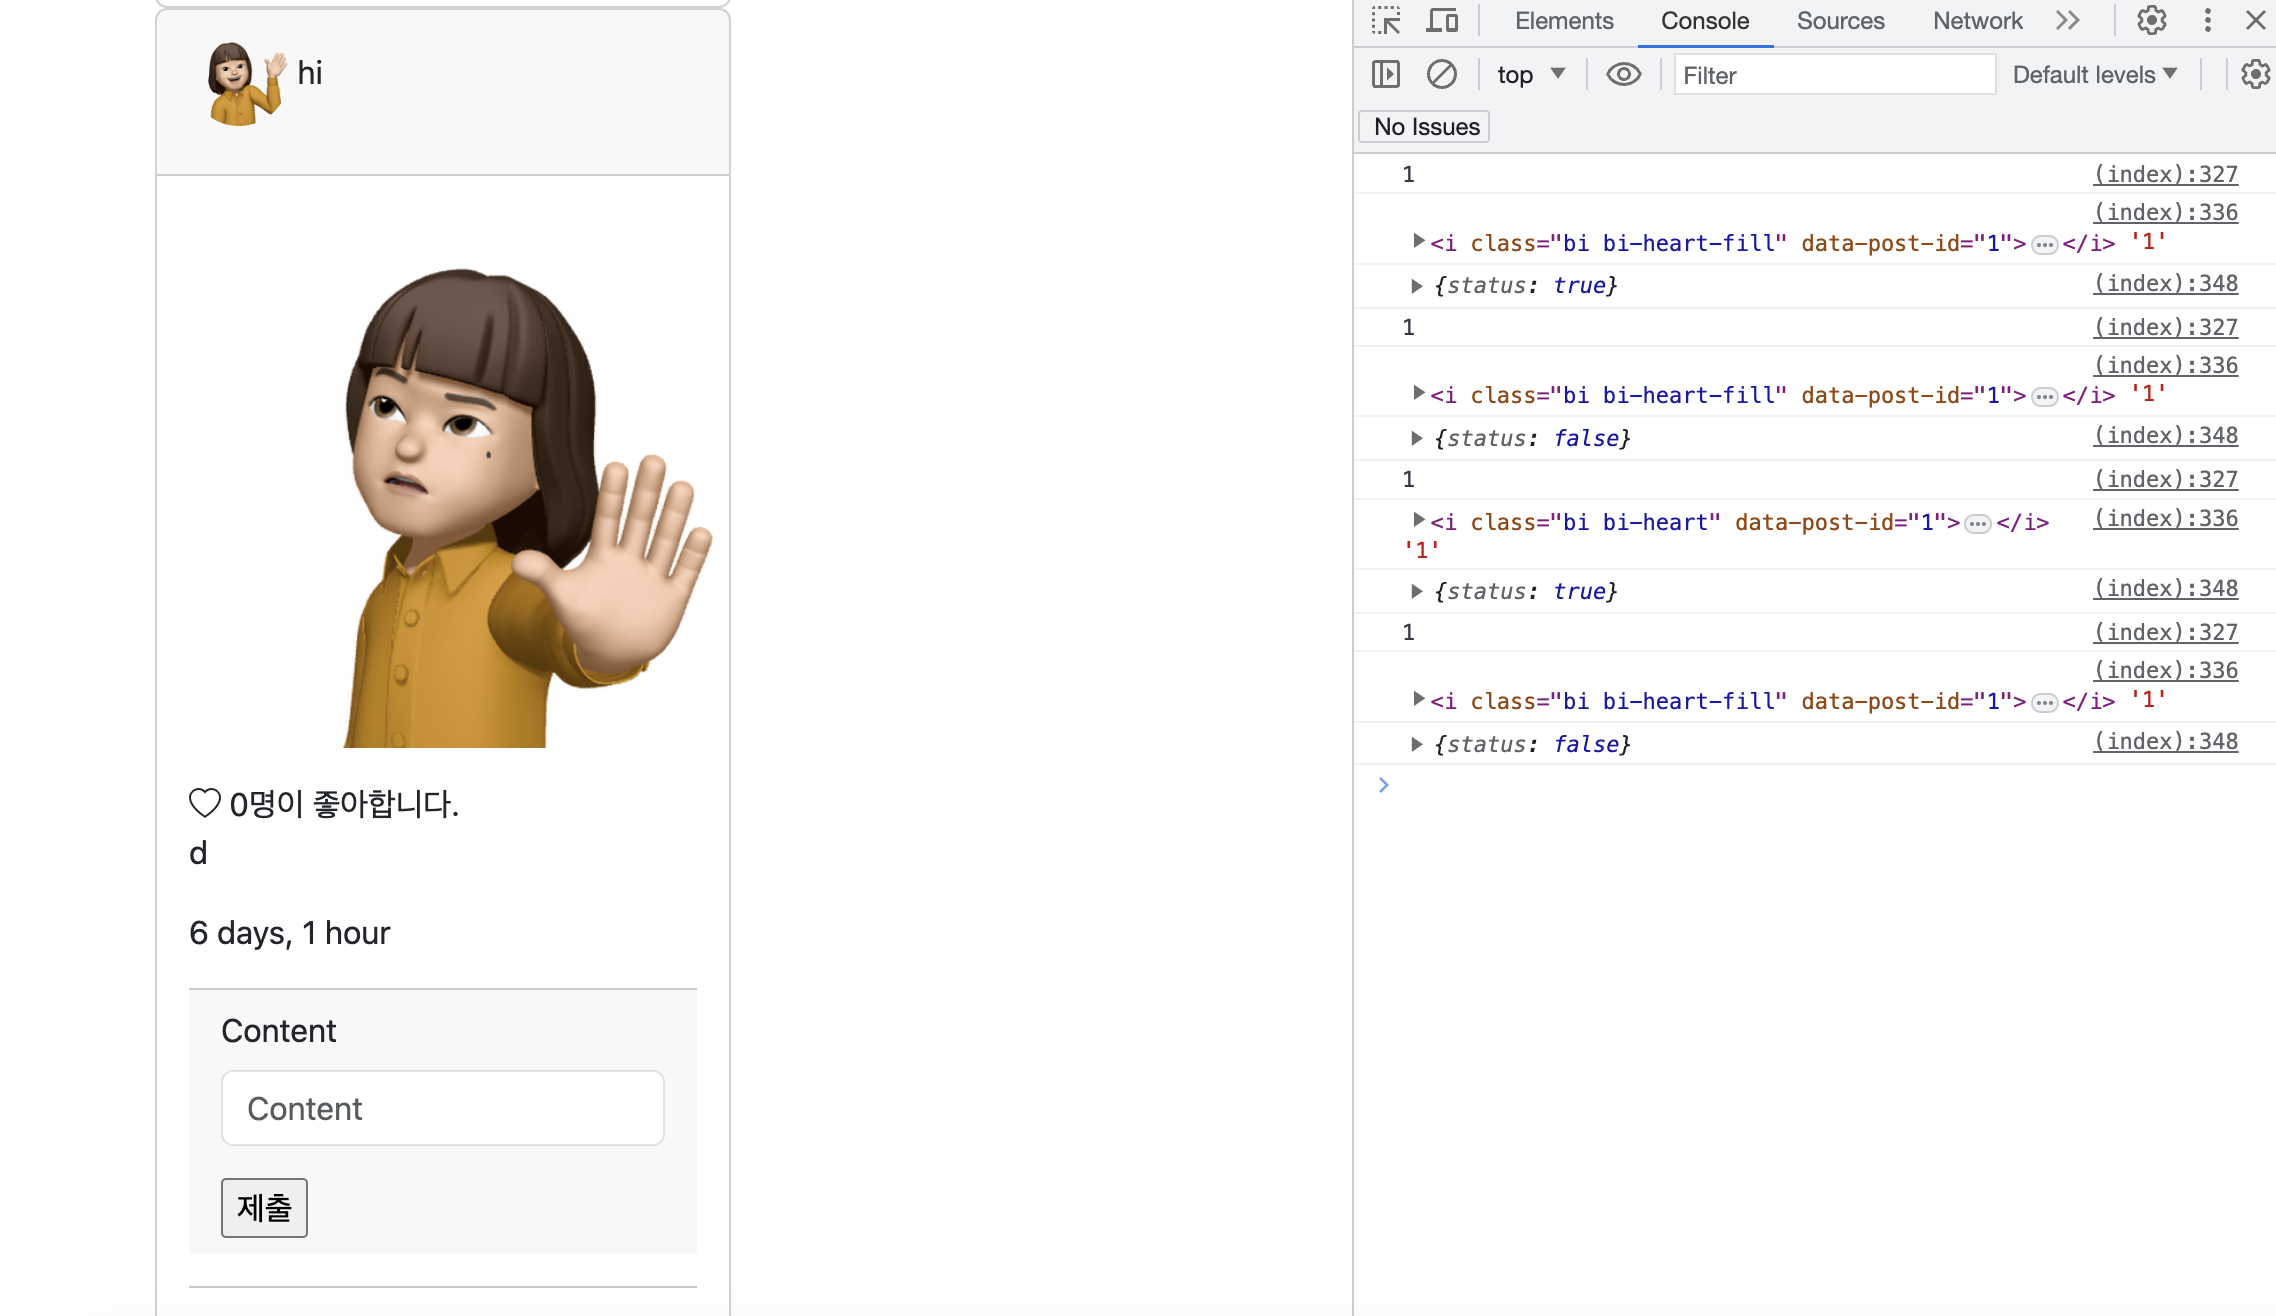
index.html
            if (result.status){
                // 좋아요 누른상태 True
                button.classList.remove('bi-heart')
                button.classList.add('bi-heart-fill')
                button.style.color = 'red'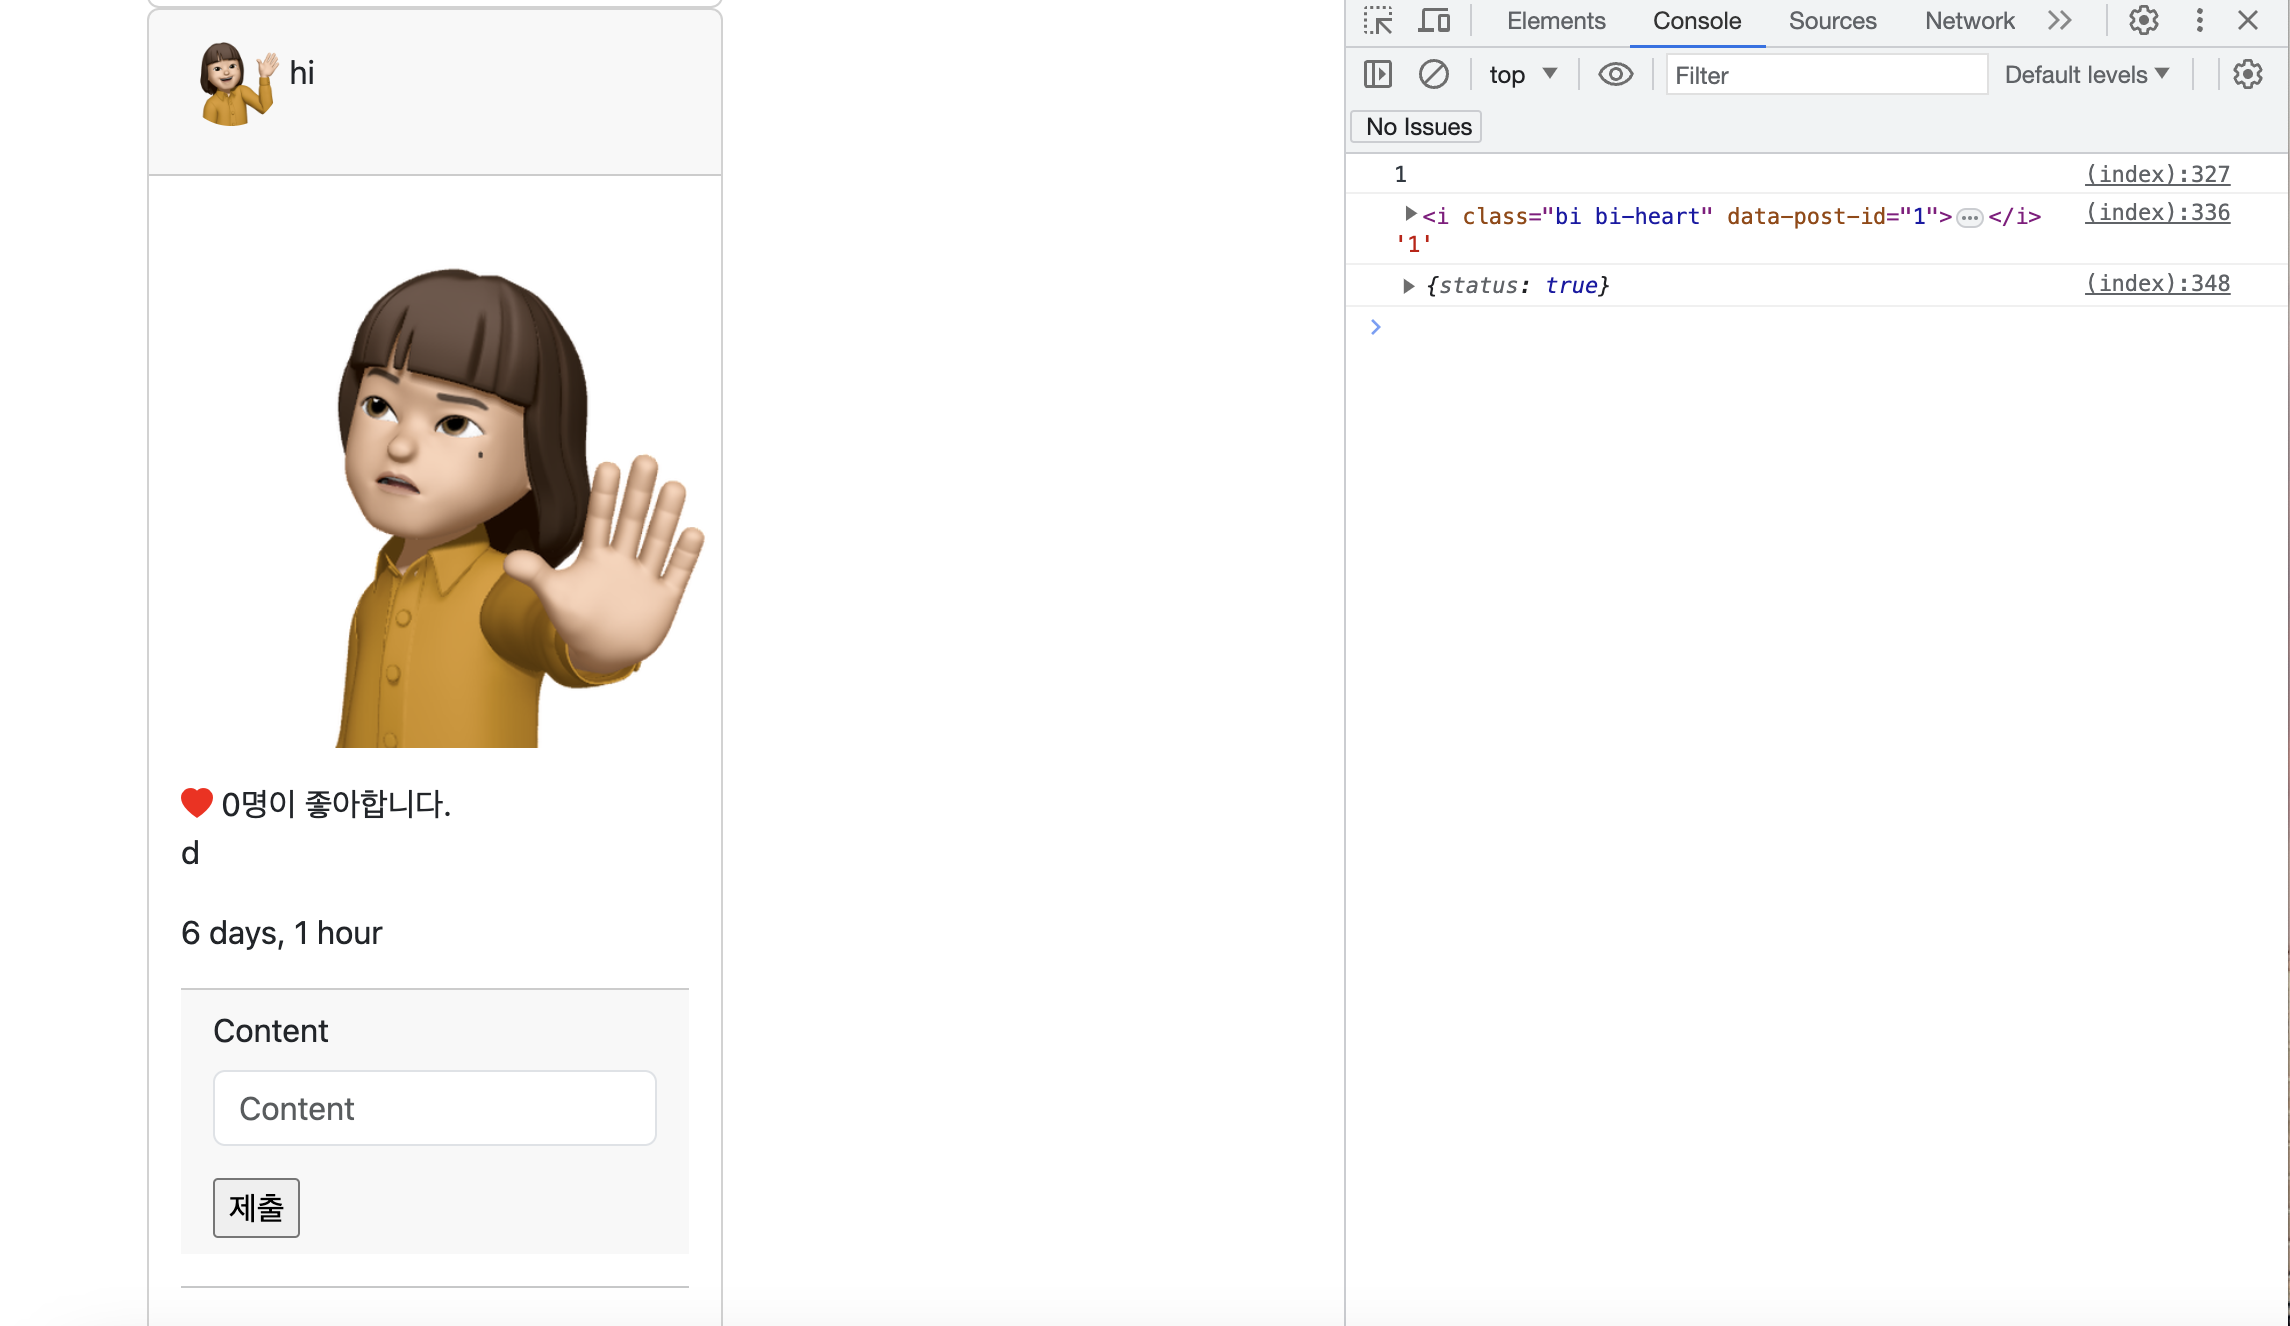
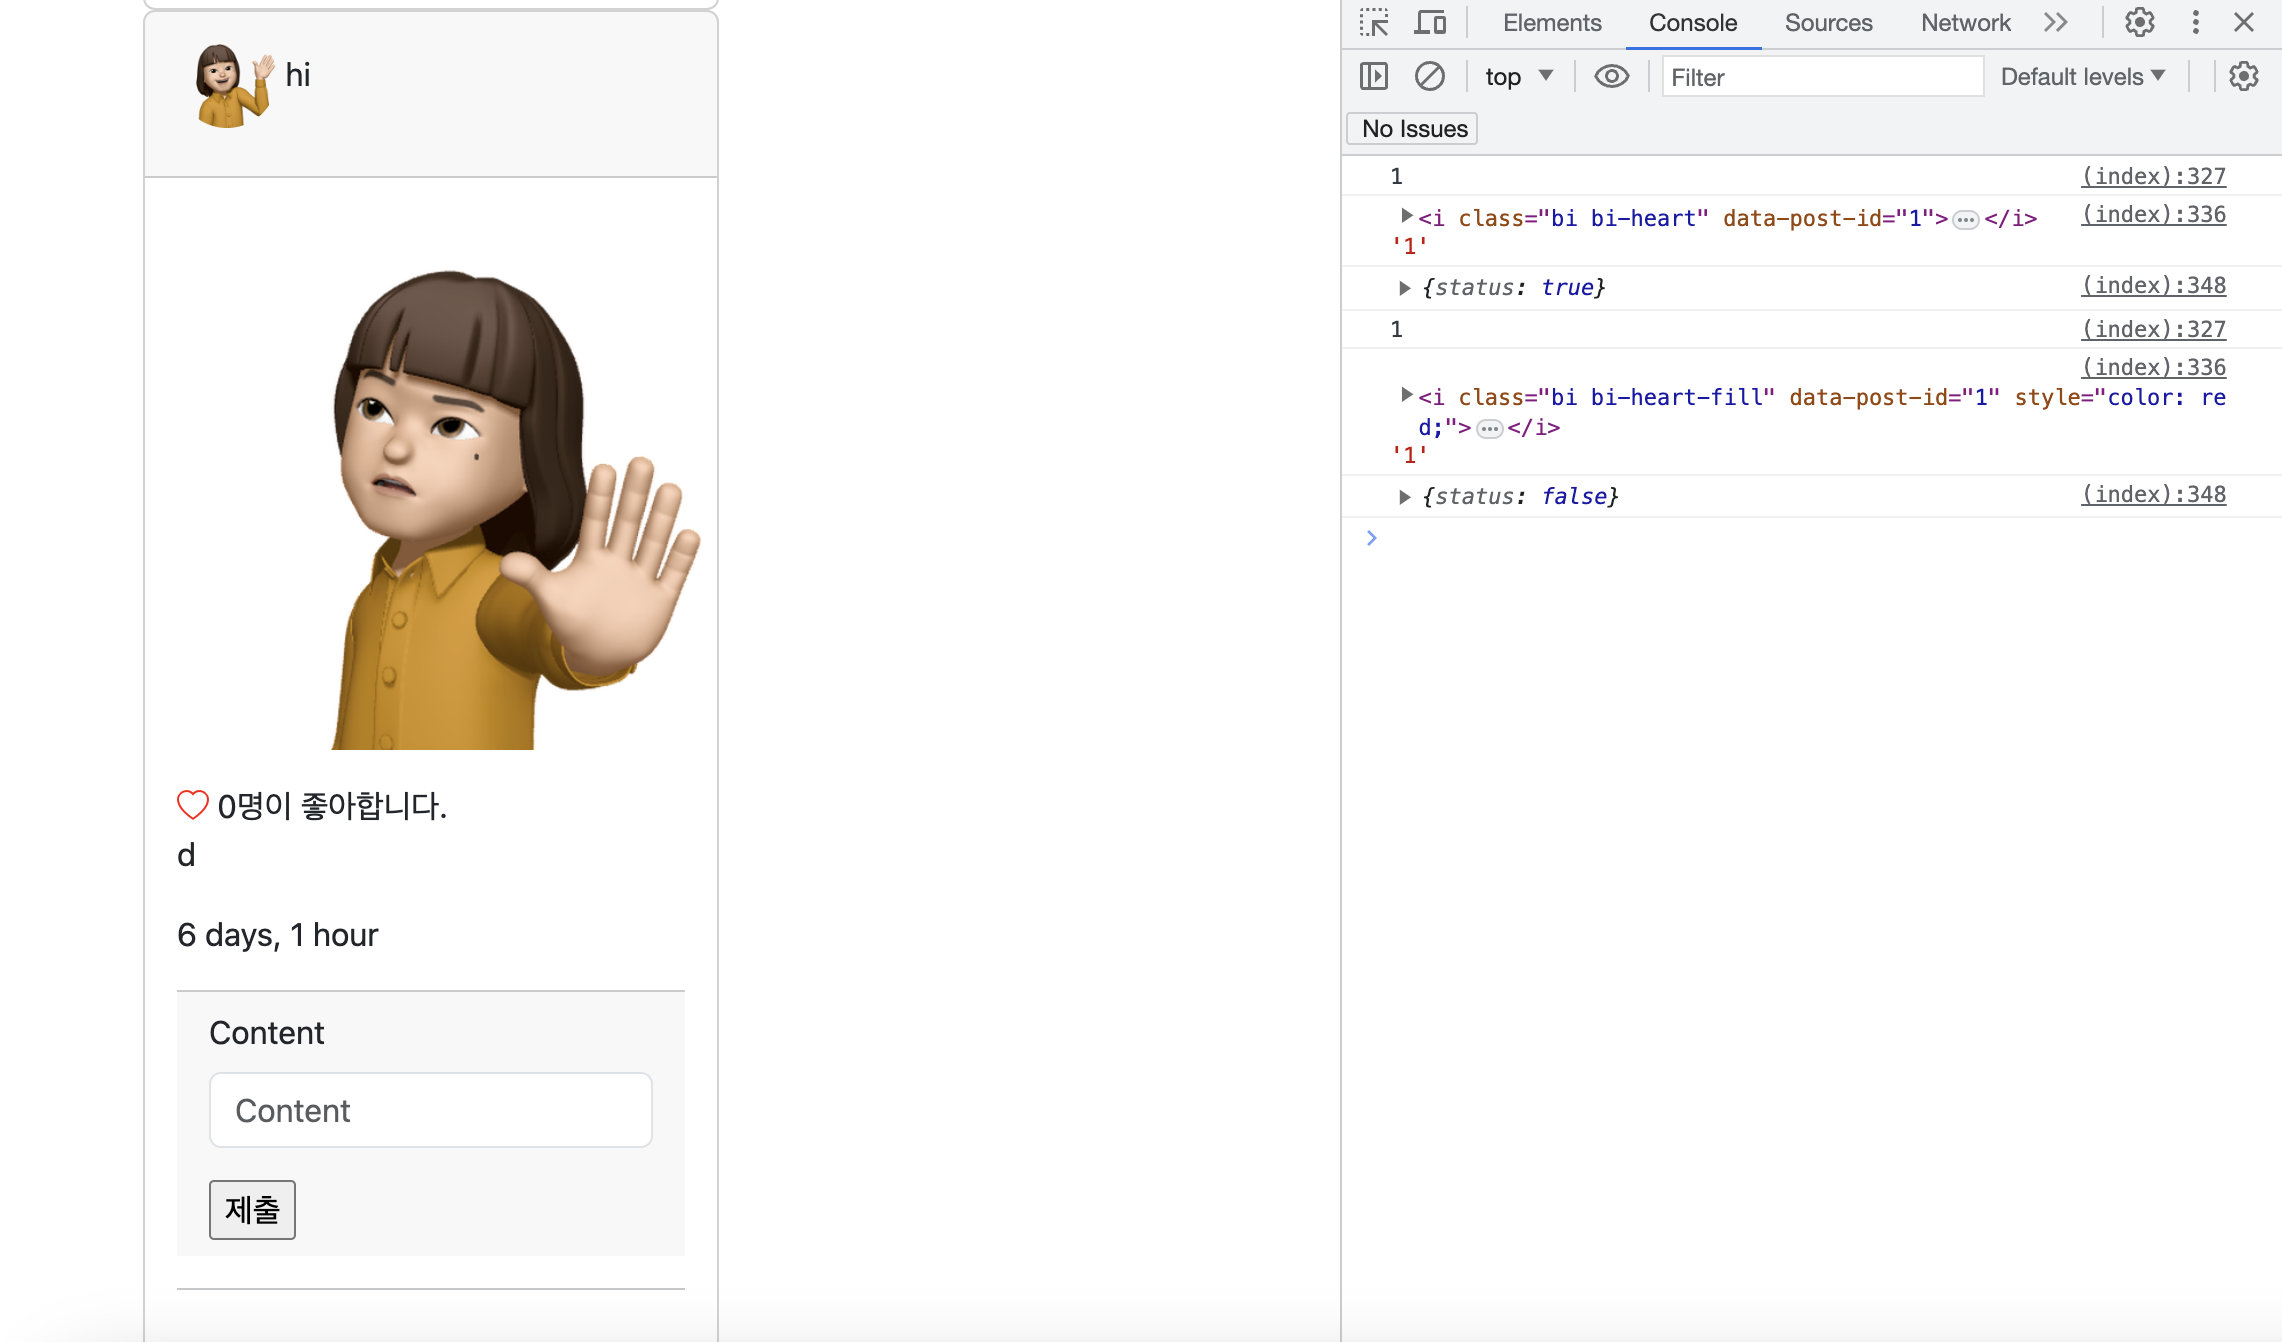
좋아요수 카운트 세기
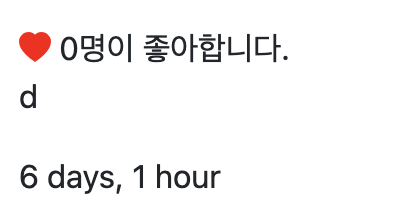
좋아요 하트 클릭하면, 숫자 카운트 되게 변경
_card.html
{post.like_users.all|length}} 변경 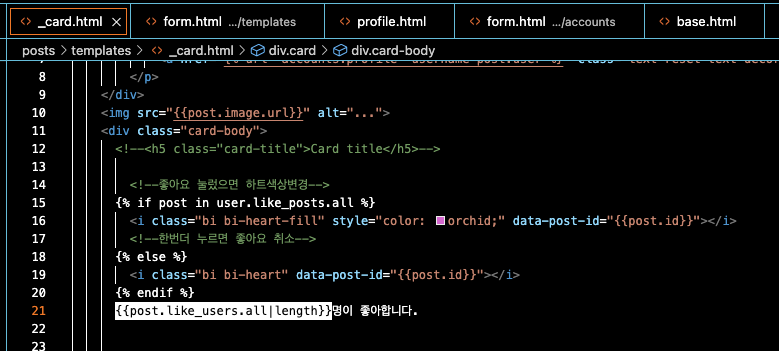
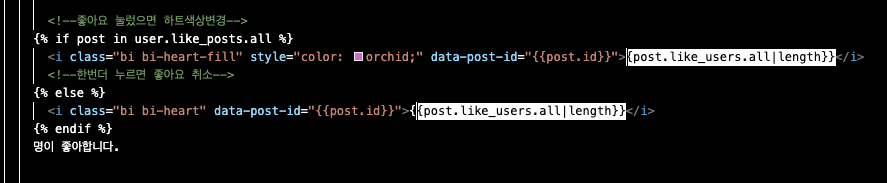
views.py
context 에
count': len(post.like_user.all())
추가
def like_async(request, post_id):
    # context = {
    #     'message': post_id,
    # }
    status = False
    user = request.user
    post = Post.objects.get(id=post_id)

    if user in post.like_users.all():
        post.like_users.remove(user)
    else:
        post.like_users.add(user)
        status = True

    context = {
        'status': status,
        'count': len(post.like_users.all())
    }

    return JsonResponse(context)
    # 이건 데이터 그 자체를 return 해줌
    # html 문서를 return 할 필요가 없음
index.html
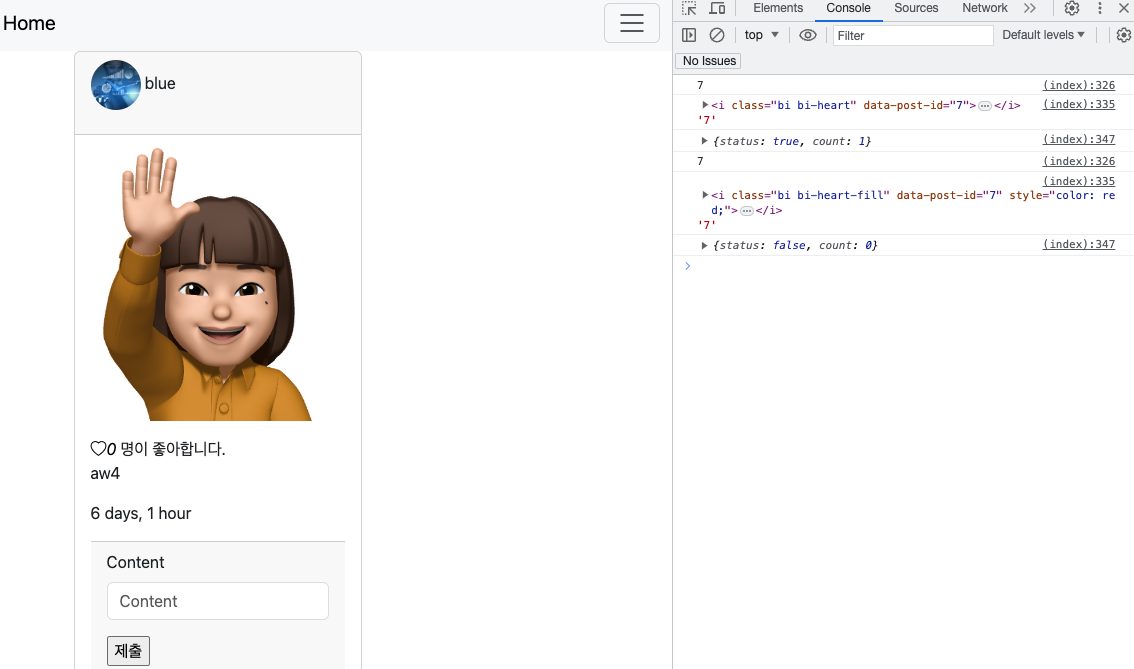
button.innnerHTML = result.count 추가
            if (result.status){
                // 좋아요 누른상태 True
                button.classList.remove('bi-heart')
                button.classList.add('bi-heart-fill')
                button.style.color = 'red'
                button.innerHTML = result.count
            } else {
                // 좋아요 취소한 상태 False
                button.classList.remove('bi-heart-fill')
                button.classList.add('bi-heart')
                button.innerHTML = result.count
            }

            // django 서버의 응답에 따라 좋아요 버튼 수정한다.
        }
로그아웃
urls.py
path('logout/',views.logout,name='logout'), logout 순서를 login 바로 아래로 해야한다.
