
이 글에서는 React (+ typescript, vite) 기반으로 크롬 확장 프로그램을 만드는 방법에 대해 다룹니다
목차
- 개요
- 프로젝트 초기 설정
- 프로젝트 구조 설정
- Manifest 파일 작성
- 확장프로그램 샘플 팝업
- Vite 설정
- Background Script 작성
- Content Script 작성
- 타입스크립트 확장
- 빌드 및 테스트
- 예제 소스 코드
1. 개요
사이드 프로젝트로 재학중인 방송통신 대학교 학습도우미 확장 프로그램을 개발 하였습니다
확장 프로그램을 만들기 위한 기본 세팅을 기록하기 위해 글을 작성합니다

사전 준비
- Node.js 18 이상
- 패키지 매니저 (npm, yarn, pnpm 등 이 글에서는 편의를 위해 npm으로 진행합니다)
- 크롬 브라우저
2. 프로젝트 초기 설정
2.1 Vite 프로젝트 생성
npm create vite@latest sample-chrome-extension -- --template react-ts
cd sample-chrome-extension
npm install
2.2 크롬 확장 프로그램 관련 의존성 설치
# Chrome API 타입 정의
npm install @types/chrome --save-dev

# 빌드 및 개발에 필요한 추가 패키지
npm install @crxjs/vite-plugin --save-dev
3. 프로젝트 구조 설정
크롬 확장 프로그램을 만들기 위한 최소한의 추가 설정 파일들 입니다
sample-chrome-extension/
├── public/
│   └── manifest.json          # 확장 프로그램 설정
├── src/
│   ├── background/
│   │   └── background.ts      # 백그라운드 스크립트
│   ├── content/
│   │   ├── content.ts         # 웹페이지 조작 스크립트
│   │   └── content.css        # 웹페이지 스타일
│   └── types/
│       └── chrome.d.ts        # TypeScript 타입 확장
├── popup.html                 # 확장 프로그램 실행 시 보여질 샘플 팝업
├── vite.config.ts             # 크롬 확장용 빌드 설정 추가가 필요함
크롬 확장 프로그램의 핵심 구성 요소
manifest.json
- 확장 프로그램 설정에 필요한 내용입니다
- 어떤 권한이 필요한지, 어떤 스크립트를 실행할지 크롬에 전달할 수 있습니다
- 이 파일이 없으면 확장 프로그램으로 인식되지 않습니다
background.ts
- 브라우저가 실행되는 동안 백그라운드에서 계속 돌아가는 스크립트입니다
- 탭 변경 감지, 데이터 저장, 이벤트 처리 등을 할 수 있습니다
- 웹페이지와 상관없이 항상 실행됨
content.ts
- 실제 웹페이지에 삽입되어 DOM을 조작하는 스크립트를 작성합니다
- 버튼 추가, 텍스트 변경, 레이아웃 수정 등이 가능합니다
chrome.d.ts
- 크롬 API 타입에 대한 확장에 필요합니다
vite.config.ts
- 일반 웹앱과 다르게 여러 진입점을 가지므로 여기에 대한 추가 설정이 필요합니다
4. Manifest 파일 작성
public/manifest.json 생성:
{
  "manifest_version": 3,
  "name": "기본 크롬 확장 프로그램",
  "version": "1.0.0",
  "description": "React + TypeScript + Vite 기본 확장 프로그램",

  "permissions": [
    "activeTab",
    "tabs"
  ],

  "background": {
    "service_worker": "src/background/background.ts",
    "type": "module"
  },

  "content_scripts": [
    {
      "matches": ["<all_urls>"],
      "js": ["src/content/content.ts"]
    }
  ],

  "action": {
    "default_title": "기본 크롬 확장 프로그램",
    "default_popup": "popup.html"
  }
}
Manifest 주요 항목 설명
- manifest_version: 3: 메니페스트 버전 설정
- permissions: ["activeTab"]: 현재 활성 탭에만 접근 권한 (최소한의 권한)
- background.service_worker: 백그라운드에서 실행될 스크립트
- content_scripts.matches: ["<all_urls>"]: 모든 웹사이트에서 실행 (일부만 지정도 가능)
- action: [default_title]: 확장 프로그램 팝업 타이틀
- action: [default_popup]: 확장 프로그램 팝업 파일
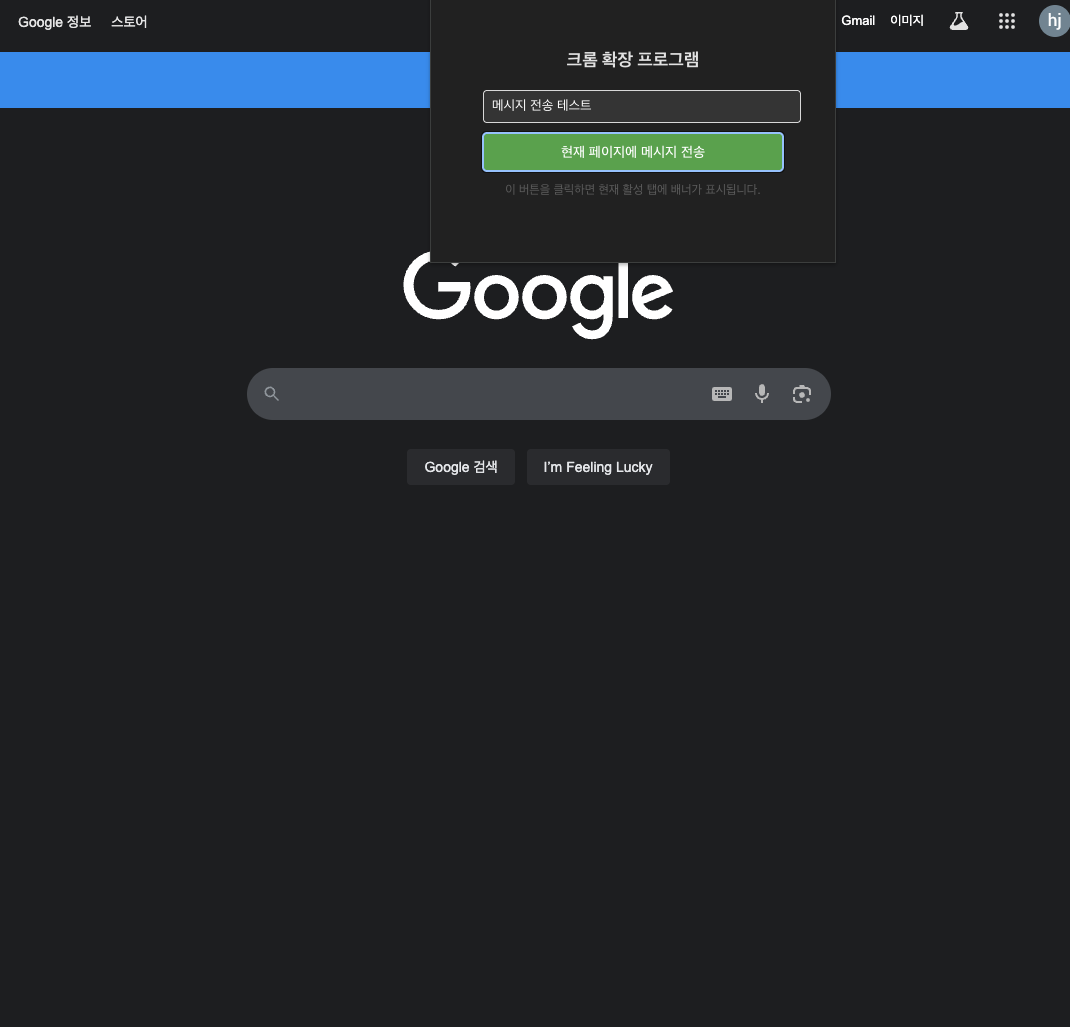
5. 확장프로그램 샘플 팝업
확장 프로그램 아이콘을 클릭했을 때 나타나는 팝업 UI를 만들어보겠습니다
먼저 public/popup.html 파일을 생성합니다
(main.tsx는 app.tsx를 렌더링 합니다)
<!DOCTYPE html>
<html lang="ko">
  <head>
    <meta charset="UTF-8" />
    <meta name="viewport" content="width=device-width, initial-scale=1.0" />
    <title>Chrome Extension Popup</title>
  </head>
  <body>
    <div id="root"></div>
    <script type="module" src="/src/main.tsx"></script>
  </body>
</html
그리고 src/App.tsx 파일을 아래와 같이 수정합니다
import { useState } from 'react'
import './App.css'

function App() {
  const [message, setMessage] = useState('')

  const sendMessageToPage = () => {
    chrome.tabs.query({ active: true, currentWindow: true }, (tabs) => {
      const activeTab = tabs[0]
      if (activeTab?.id) {
        chrome.tabs.sendMessage(activeTab.id, {
          action: 'showBanner',
          message: message || '크롬 확장 프로그램에서 보낸 메시지!'
        }, (response) => {
          console.log('Response:', response)
        })
      }
    })
  }

  return (
    <div style={{ width: '300px', padding: '20px' }}>
      <h1 style={{ fontSize: '18px', marginBottom: '20px' }}>크롬 확장 프로그램</h1>

      <input
        type="text"
        placeholder="메시지를 입력하세요"
        value={message}
        onChange={(e) => setMessage(e.target.value)}
        style={{
          width: '100%',
          padding: '8px',
          marginBottom: '10px',
          borderRadius: '4px',
          border: '1px solid #ddd'
        }}
      />

      <button
        onClick={sendMessageToPage}
        style={{
          width: '100%',
          padding: '10px',
          backgroundColor: '#4CAF50',
          color: 'white',
          border: 'none',
          borderRadius: '4px',
          cursor: 'pointer',
          fontSize: '14px'
        }}
      >
        현재 페이지에 메시지 전송
      </button>

      <p style={{ fontSize: '12px', color: '#666', marginTop: '10px' }}>
        이 버튼을 클릭하면 현재 활성 탭에 배너가 표시됩니다.
      </p>
    </div>
  )
}

export default App
6. Vite 설정
vite.config.ts 수정:
import { defineConfig } from 'vite'
import react from '@vitejs/plugin-react'
import { crx } from '@crxjs/vite-plugin'
import manifest from './public/manifest.json'

export default defineConfig({
  plugins: [
    react(),
    crx({ manifest })  // 크롬 확장 빌드 플러그인
  ],
  // 크롬 확장은 file:// 프로토콜 사용하므로 상대경로 필요
  base: './'
})
Vite 설정 포인트
- crx({ manifest }): manifest.json을 읽어서 크롬 확장 형태로 빌드
- base: './': 크롬 확장은 절대경로가 아닌 상대경로 사용
- 이 설정으로
npm run build시 dist 폴더에 크롬 확장 형태로 빌드됨
7. Background Script 작성
src/background/background.ts:
// 확장 프로그램 설치 시 실행
chrome.runtime.onInstalled.addListener(() => {
  console.log('크롬 확장 프로그램이 설치되었습니다!')
})

// 탭이 업데이트될 때 실행 (페이지 로드 완료 시)
chrome.tabs.onUpdated.addListener((tabId, changeInfo, tab) => {
  // 페이지 로딩 완료 시에만 실행
  if (changeInfo.status === 'complete' && tab.url) {
    console.log('페이지 로드 완료:', tab.url)

    // content script에 메시지 전송
    chrome.tabs.sendMessage(tabId, {
      action: 'pageLoaded',
      url: tab.url
    }).catch(() => {
      // content script가 아직 로드되지 않은 경우 에러 방지
      console.log('content script에 메시지 전송 실패 (정상적인 경우)')
    })
  }
})

// content script로부터 메시지 수신
chrome.runtime.onMessage.addListener((request, _sender, sendResponse) => {
  console.log('content script에서 메시지 받음:', request)

  // 간단한 응답 전송
  sendResponse({ success: true, timestamp: Date.now() })
})
Background Script 핵심 개념
- Service Worker: Manifest V3에서는 백그라운드 페이지 대신 Service Worker 사용
- 이벤트 기반: 특정 이벤트(설치, 탭 변경 등)가 발생할 때만 실행
- 메시지 허브: content script와 다른 부분들 간의 통신 중계
- 데이터 관리: chrome.storage API를 통한 데이터 저장/읽기
8. Content Script 작성
src/content/content.ts:
// 콘솔에 메시지 출력 (확장 프로그램이 실행됨을 확인)
console.log('크롬 확장 프로그램이 실행되었습니다!')

// 간단한 알림 배너 추가
function addNotificationBanner() {
  const banner = document.createElement('div')
  banner.innerHTML = '✅ 크롬 확장 프로그램이 정상적으로 로드되었습니다!'
  banner.style.cssText = `
    position: fixed;
    top: 0;
    left: 0;
    right: 0;
    background-color: #4CAF50;
    color: white;
    padding: 10px;
    display: flex;
    justify-content: space-around;
    z-index: 10000;
    font-family: Arial, sans-serif;
    font-size: 14px;
  `

  document.body.appendChild(banner)

  // 3초 후 자동 제거
  setTimeout(() => {
    banner.remove()
  }, 3000)
}

// background script로부터 메시지 수신
chrome.runtime.onMessage.addListener((request, _sender, sendResponse) => {
  console.log('background에서 메시지 받음:', request)

  if (request.action === 'pageLoaded') {
    addNotificationBanner()
    sendResponse({ success: true })
  }
})

// 페이지 로드 시 배너 표시
if (document.readyState === 'loading') {
  document.addEventListener('DOMContentLoaded', addNotificationBanner)
} else {
  addNotificationBanner()
}src/content/content.css:
/* 기본 스타일 리셋 - 웹사이트와 충돌 방지 */
.extension-element {
  box-sizing: border-box !important;
  font-family: Arial, sans-serif !important;
}
Content Script 핵심 개념
- DOM 조작: 웹페이지의 HTML 요소를 직접 수정/추가
- 이벤트 리스너: 사용자 행동 감지 및 반응
- 메시지 통신: background script와 데이터 주고받기
- CSS 주입: 웹페이지 스타일 수정
- 실행 시점: 페이지가 로드될 때마다 실행됨
9. 타입스크립트 확장
src/types/chrome.d.ts:
// 기본적인 Chrome API 타입 확장
declare namespace chrome {
  namespace runtime {
    interface Port {
      name: string
      onMessage: chrome.events.Event<(message: any) => void>
      postMessage: (message: any) => void
    }
  }
}

// 메시지 타입 정의
interface ChromeMessage {
  action: string
  data?: any
}참고:
@types/chrome패키지가 기본적인 타입을 제공하므로, 추가 타입이 필요한 경우 작성하면 됩니다
10. 빌드 및 테스트
10.1 개발 모드 실행
npm run dev개발 모드에서는 실시간으로 코드 변경을 확인할 수 있습니다.
10.2 프로덕션 빌드
npm run build빌드 완료 후 dist 폴더가 생성됩니다.
10.3 크롬에서 확장 프로그램 로드
- Chrome 브라우저에서
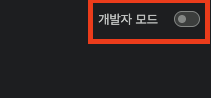
chrome://extensions/접속 - 우측 상단의 "개발자 모드" 토글 활성화
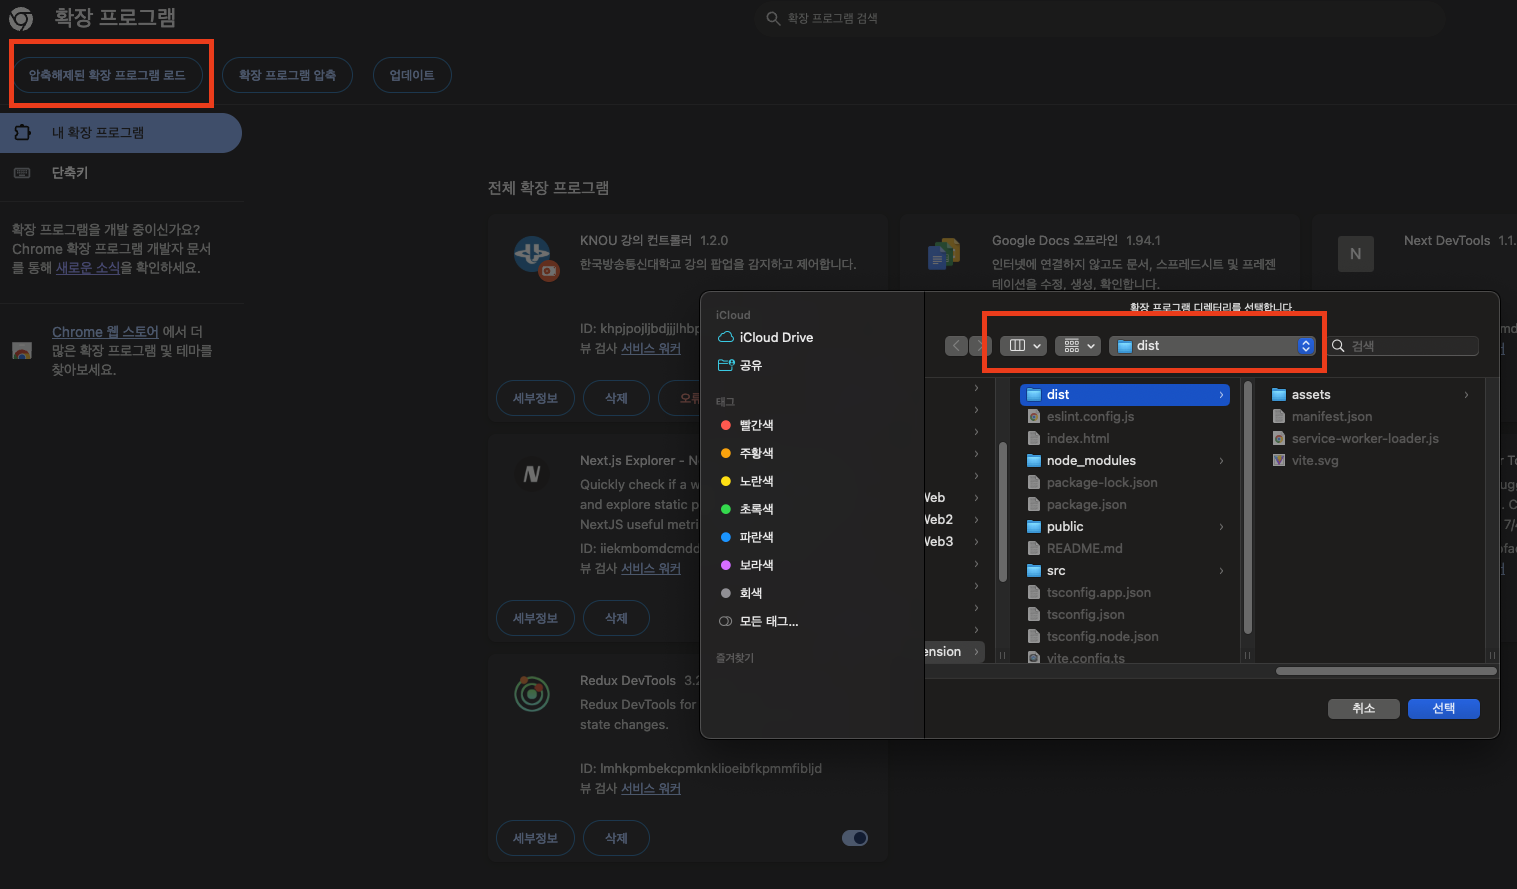
- "압축해제된 확장 프로그램을 로드합니다." 버튼 클릭
- 프로젝트의
dist폴더 선택
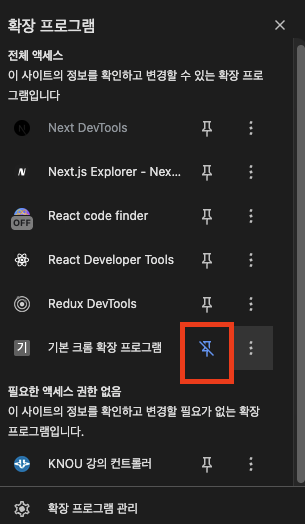
- 확장 프로그램 고정을 합니다
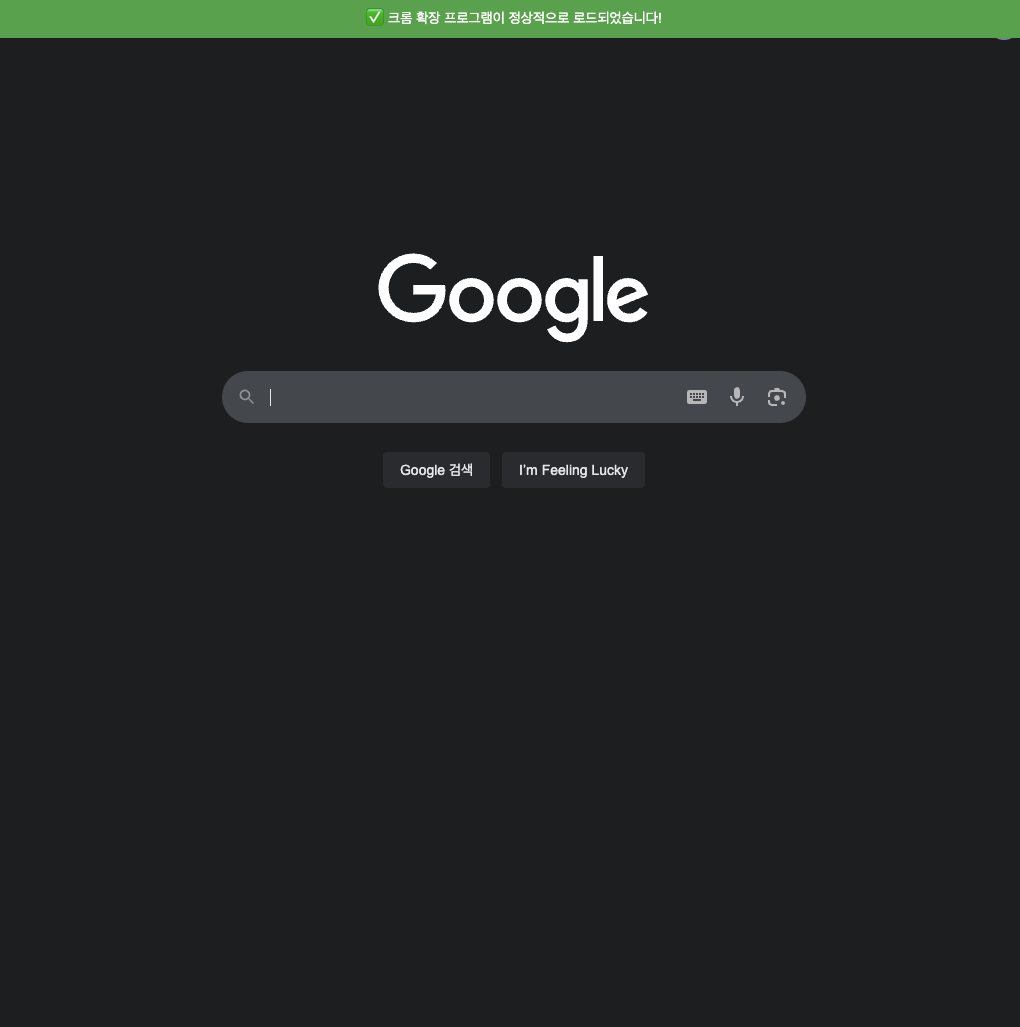
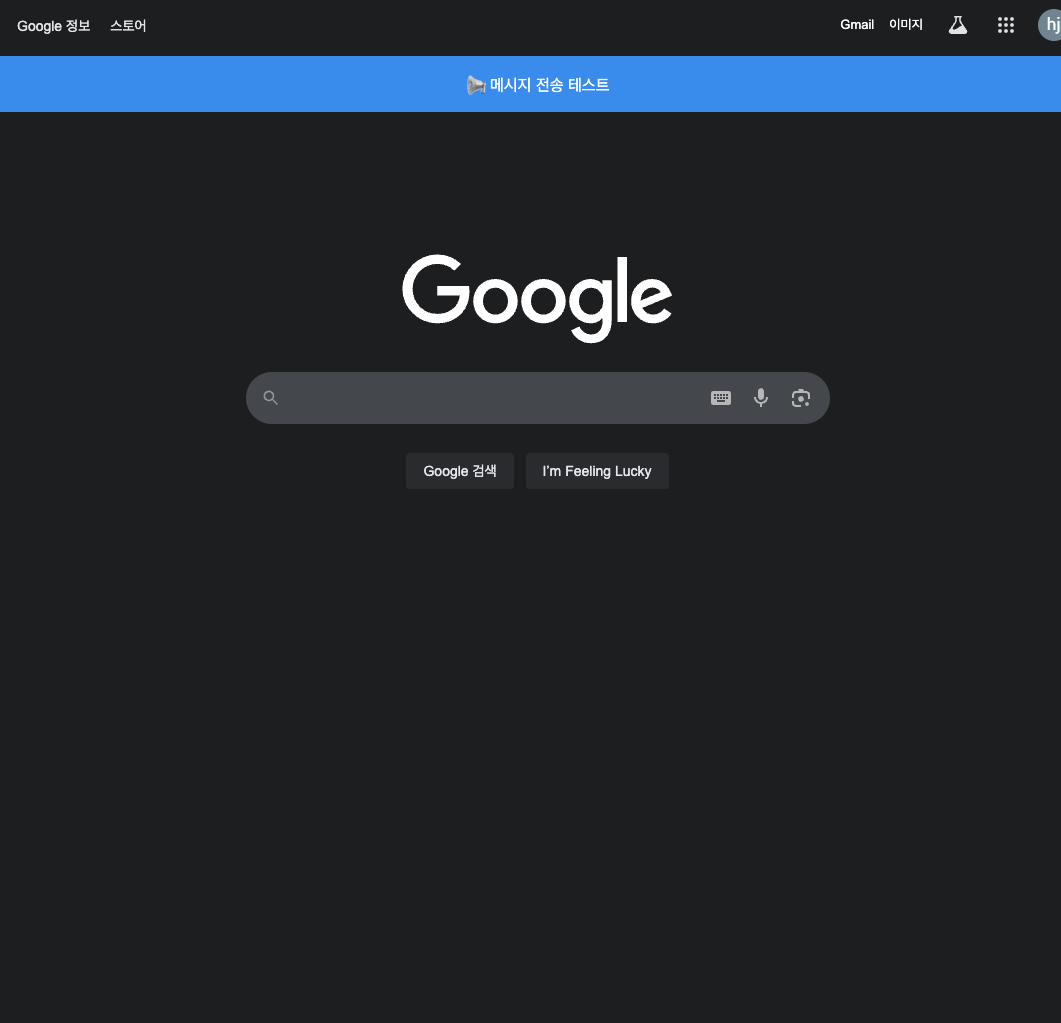
- 브라우저를 새로 열어봅니다 (아래와 같이 로드되었다는 메시지가 나오면 성공)
- 확장 프로그램을 클릭하여 팝업을 확인 후 메시지를 입력 후 전송해 봅니다 (아래 처럼 메시지 수신이 나오면 성공)
10.4 디버깅 방법
Background Script 디버깅:
chrome://extensions/→ 해당 확장 프로그램 → "뷰 검사 서비스워커" 클릭- 개발자 도구에서 console.log 확인
Content Script 디버깅:
- 웹페이지에서 F12 눌러 개발자 도구 열기
- Console 탭에서 content script의 로그 확인
일반적인 문제들:
- 권한 부족: manifest.json의 permissions 확인
- 스크립트 로드 실패: 파일 경로와 vite.config.ts 확인
- 메시지 통신 실패: sender/receiver 양쪽 모두 onMessage 리스너 확인
핵심 포인트 정리
- manifest.json: 확장 프로그램의 모든 설정이 담긴 핵심 파일
- background script: 백그라운드에서 돌아가는 이벤트 처리기
- content script: 웹페이지에 직접 삽입되어 DOM을 조작하는 스크립트
- 메시지 통신: background ↔ content 간의 데이터 교환
확장 가능한 기능들
- 사용자 설정을 위한 Options 페이지
- 빠른 접근을 위한 Popup 인터페이스
- 외부 API와의 연동
- 더 복잡한 DOM 조작 및 스타일링
11 예제 소스 코드
필터 문제인지 글이 자꾸 비공개로 바뀌어 댓글에 추가합니다

타입스크립트를 기반으로 프론트엔드와 백엔드 개발을 하고 있습니다. 인프라와 DevOps 영역도 틈틈이 공부하고 있고, 기술적 구현과 함께 비즈니스 관점에서의 고민도 놓치지 않으려 합니다
https://github.com/yhj1024/chrome-extension-sample