
Cameras

PerspectiveCamera
/*
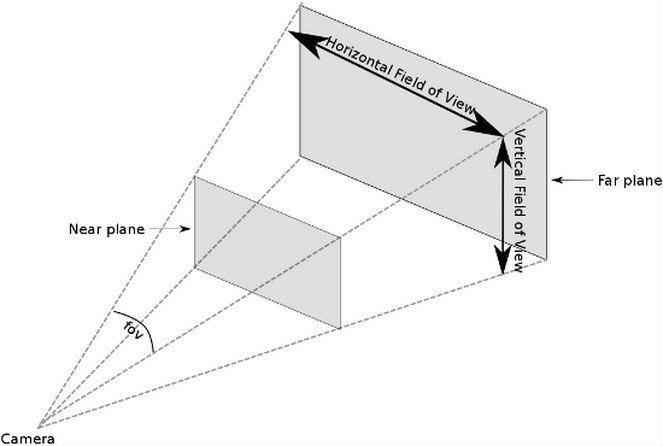
* 1st Param : Field of View(시야 또는 화각)
* 2nd Param : Aspect Ratio(화면비)
* 3nd Param : 화면에 나타나는 최소 거리
* 4nd Param : 화면에 나타나는 최대 거리
*/
const camera = new THREE.PerspectiveCamera(75, sizes.width / sizes.height, 1, 100)-
여기서 FOV는 Vertical Field of View를 의미한다.
-
near and far 값에 너무 극한의 값을 넣게 되면 (ex.
0.0001,99999999) 어떤 객체가 가깝고 먼지 계산하는데 버그가 발생할 수 있다. 이를 z-fighting 이라고 한다.
Orthographic Camera
/* 순서대로 left, right top, bottom, near, far*/
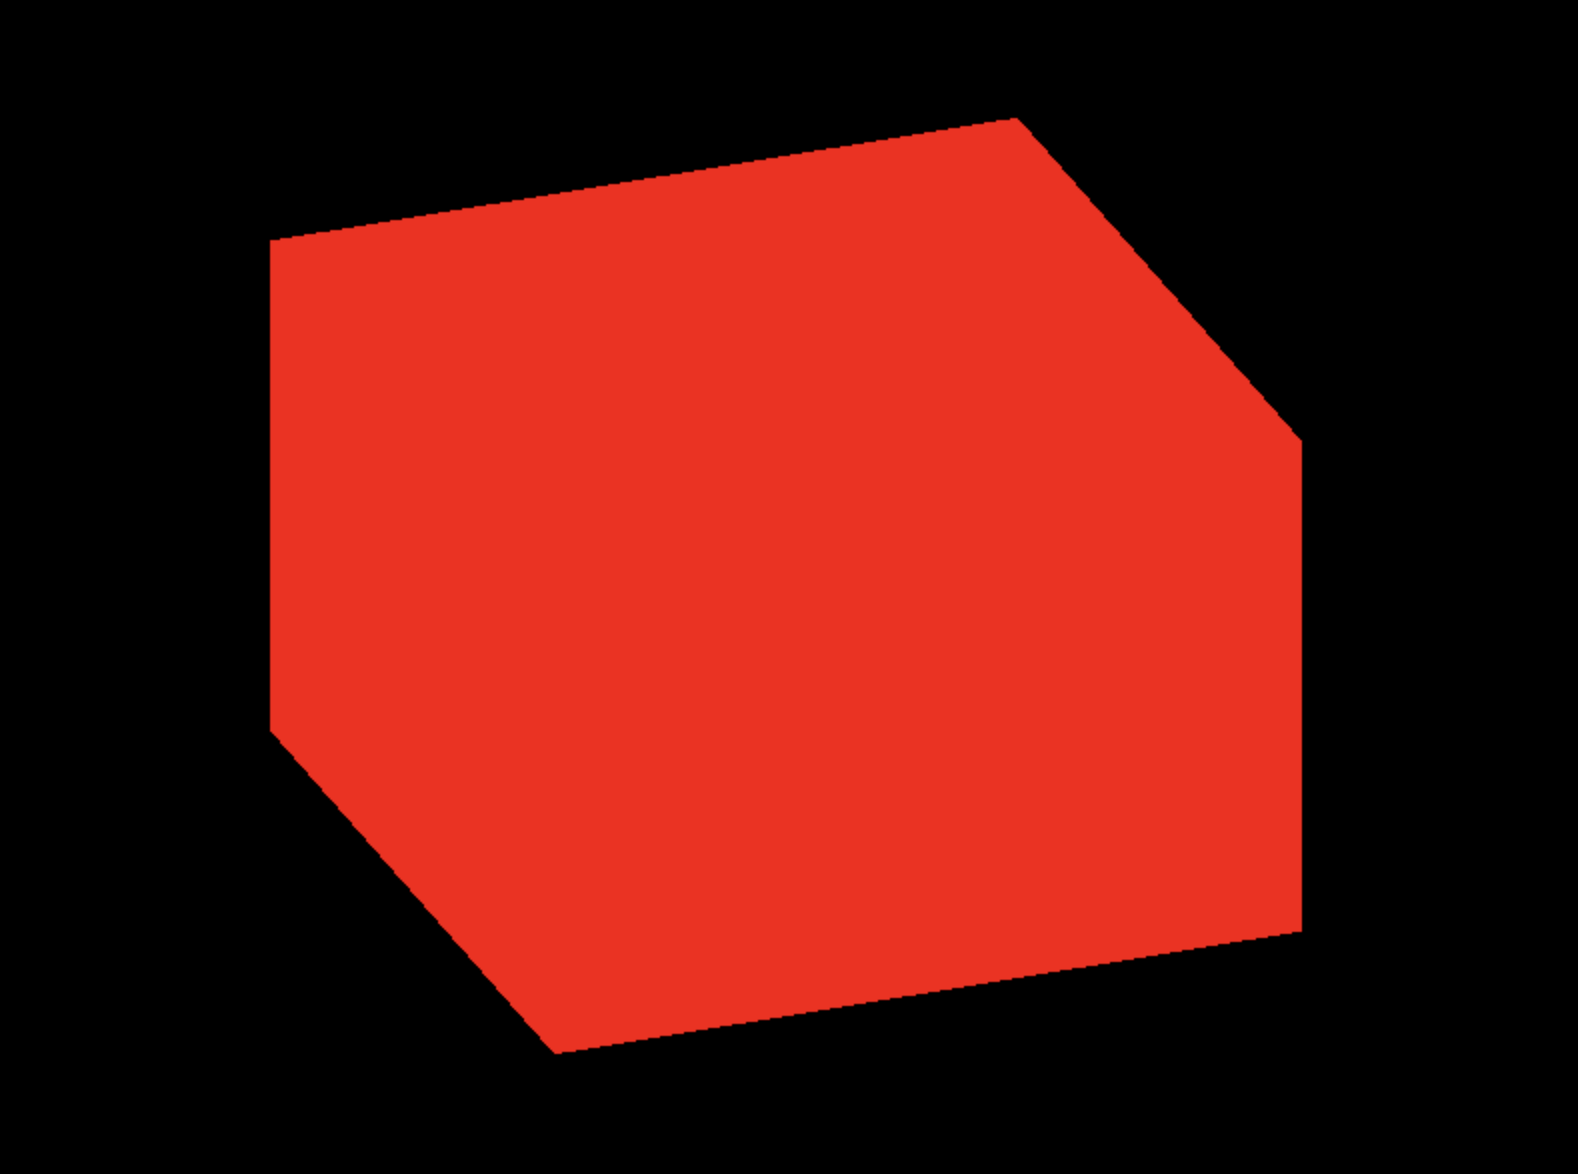
const camera = new THREE.OrthographicCamera(-1, 1, 1, -1, 1, 1000)실행하면 정육면체가 납작해진다. 카메라의 설정은 상하좌우 각각 1 단위로 정사각형의 화면을 만들어낸다. 하지만 렌더링하는 캔버스가 800*600 이기 때문에 이에 맞춰져서 화면이 눌려 보이는 것이다.
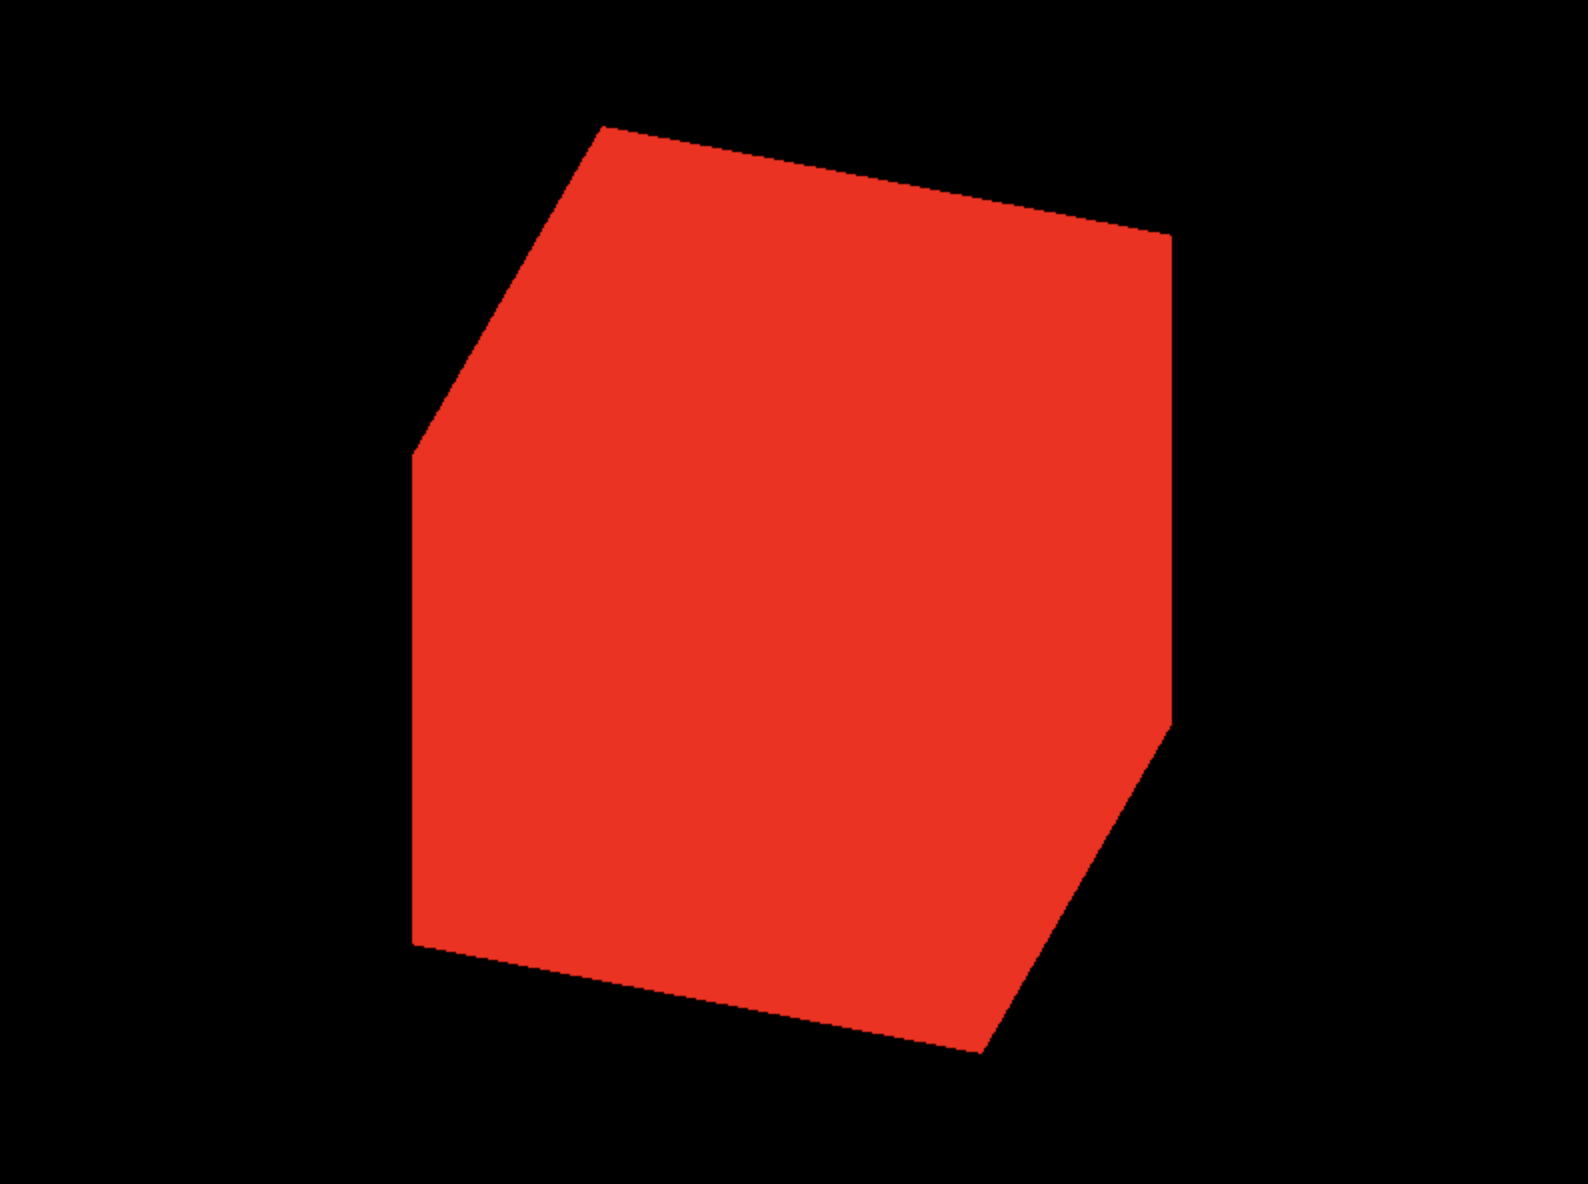
이를 해결하기 위해 aspectRatio를 지정해 줄 수 있다.
const aspectRatio = sizes.width / sizes.height
const camera = new THREE.OrthographicCamera(-1 * aspectRatio, 1 * aspectRatio, 1, -1, 1, 1000)
좌우의 길이가 화면비에 맞게 조금 늘어나기 때문에 화면이 정상적으로 렌더링 되는 것을 확인할 수 있다.
마우스의 움직임에 따라 카메라를 이동시키기
// cursor
const cursor = {
	x: 0,
	y: 0,
}

/* 마우스가 화면 중앙에 놓이는 경우 0,0, x와 y 값은 -0.5~0.5의 값을 갖는다. */
window.addEventListener('mousemove', (event) => {
	cursor.x = event.clientX / sizes.width - 0.5
	cursor.y = -(event.clientY / sizes.height - 0.5)
})
// Animation
const tick = () => {
// Update camera
camera.position.x = Math.sin(cursor.x * Math.PI * 2) * 3
camera.position.z = Math.cos(cursor.x * Math.PI * 2) * 3
camera.position.y = cursor.y * 5
camera.lookAt(mesh.position)
// Render
renderer.render(scene, camera)
window.requestAnimationFrame(tick)
}
tick()좌우로 움직이는 경우 화면의 상자를 따라 이동하는 카메라. 파이 값에 곱해주는 값을 조절하여 이동 범위를 조절할 수 있다.
Built-in controls
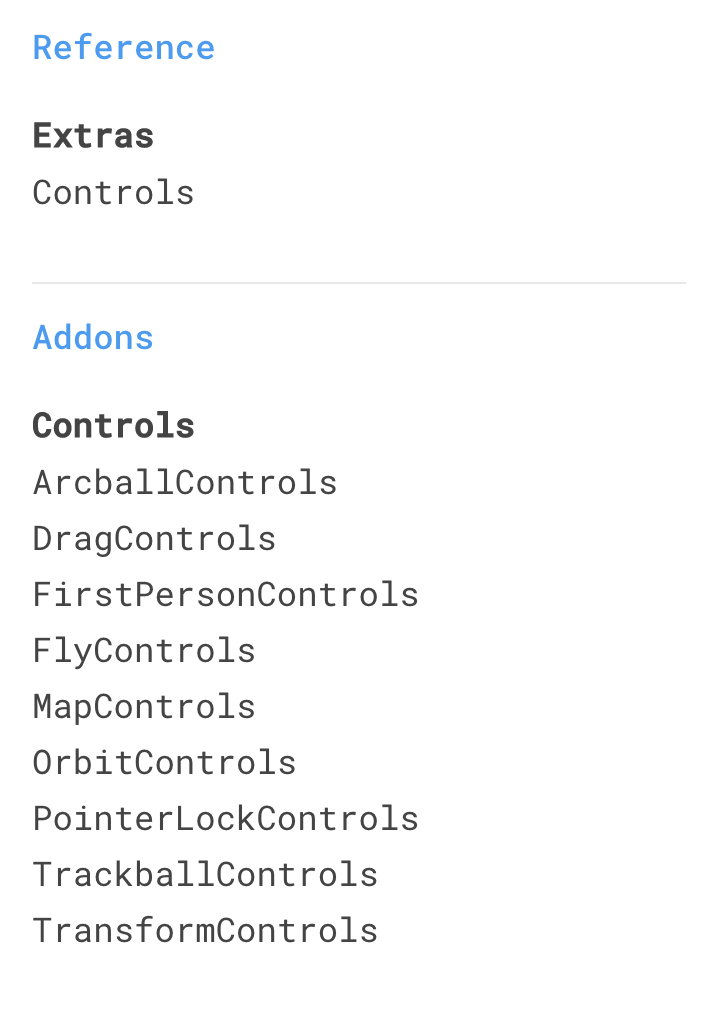
FlyControls(우주를 유영하는 느낌)FirstPersonControls(비행기가 날아다니는 느낌 - 평행하게 이동)PointerLockControls(마우스 또는 키보드로 이동 - 게임같은..)OrbitControls(중앙은 고정되고 줌인-줌아웃, 중앙을 바라보며 이동)TrackballControls(OrbitControls와 유사하지만 수직이동에 제약이 없음)TransformControls(특정 물체를 이동시키는 동작)DragControls(특정 물체를 드래그로 이동시킨다)
빌트인 컨트롤을 사용하기 위해서는 따로 add-on을 import 해주어야 한다.
import { OrbitControls } from 'three/examples/jsm/controls/OrbitControls.js'

const controls = new OrbitControls(camera, canvas)
controls.target.y = 2
controls.update() // controls을 편집한 경우 update()를 호출해야 적용된다.
자연스러운 마우스 컨트롤을 위해 다음의 옵션을 적용할 수 있다. 해당 옵션이 동작하기 위해서는 렌더링 전마다 controls.update()를 호출해주어야 한다.
controls.enableDamping = true// Animation
const tick = () => {
// update controls
controls.update()
// Render
renderer.render(scene, camera)
window.requestAnimationFrame(tick)
}
tick()Resizing & Viewport
뷰포트에 캔버스 사이즈 맞추기
렌더러의 사이즈를 화면비에 맞게 조절하고,
const canvas = document.querySelector('canvas.webgl')

const renderer = new THREE.WebGLRenderer({
	canvas,
})

const sizes = {
	width: window.innerWidth,
	height: window.innerHeight,
}

renderer.setSize(sizes.width, sizes.height)
이지~ 하게 css를 주면 되다.
* {
	margin: 0;
	padding: 0;
}

/* 스크롤시 캔버스 바깥의 하얀 부분 노출되는 것 방지 */
html,
body {
	overflow: hidden;
}

/* 캔버스 주변의 마진 제거과 focus 시 생기는 파란 테두리 제거 */
.webgl {
	position: fixed;
	top: 0;
	left: 0;
	outline: none;
}
여기까지 하면 화면을 리사이즈 할 때 캔버스의 화면이 업데이트 되지 않는 문제가 있다.
바닐라 자바스크립트의 addEventListener 를 사용해서 간단하게 해결할 수 있다.
const sizes = {
	width: window.innerWidth,
	height: window.innerHeight,
}

window.addEventListener('resize', () => {
	// Update Canvas
	sizes.width = window.innerWidth
	sizes.height = window.innerHeight

	// Update Camera
	camera.aspect = sizes.width / sizes.height
	camera.updateProjectionMatrix() // Proection Matrix를 업데이트 해준다.

	// Update Renderer
	renderer.setSize(sizes.width, sizes.height)
})
Pixel Ratio
Pixel Ratio(픽셀비)란, 소프트웨어의 하나의 픽셀에 얼마나 많은 물리적 픽셀이 대응되는지를 의미한다.
- 2 Pixel Ratio는 2*2 즉 4배의 픽셀이 렌더링된다는 것을 의미하고,
- 3 Pixel Ratio는 3*3, 9배의 픽셀이 렌더링되는 것을 의미한다.
작은 기기일수록 픽셀비가 커진다. 주로 스마트폰의 픽셀비는 5까지 간다.
픽셀비를 알기 위해서는 window.devicePixelRatio 를 사용하면 된다.
픽셀비는 2 정도면 충분하다고 한다. 따라서 특정 기기가 과도한 픽셀비를 사용하는 경우 성능을 위해 최대 2까지만 픽셀비를 적용해 주는 것이 좋다.
renderer.setPixelRatio(Math.min(window.devicePixelRatio, 2))요즘에는 여러 디바이스 간에 웹을 이동시키는 경우가 있기 때문에, resize 시에 픽셀비로 같이 업데이트 해주는 것이 좋다!!
window.addEventListener('resize', () => {
	// Update Canvas
	sizes.width = window.innerWidth
	sizes.height = window.innerHeight

	// Update Camera
	camera.aspect = sizes.width / sizes.height
	camera.updateProjectionMatrix()

	// Update Renderer
	renderer.setSize(sizes.width, sizes.height)
	renderer.setPixelRatio(Math.min(window.devicePixelRatio, 2)) // 여기!!
})
Full Screen 다루기
화면을 더블클릭하면 전체화면이 적용된다. (구 버전의 사파리는 미지원)
window.addEventListener('dblclick', () => {
	if (!document.fullscreenElement) {
		canvas.requestFullscreen()
	} else {
		document.exitFullscreen()
	}
})
구버전의 사파리와 iPhone을 지원하기 위해서는 아래와 같이 작성해주면 된다.
window.addEventListener('dblclick', () => {
	const fullscreenElement = document.fullscreenElement || document.webkitFullscreenElement

	if (!fullscreenElement) {
		if (canvas.requestFullscreen) {
			canvas.requestFullscreen()
		} else if (canvas.webkitRequestFullscreen) {
			canvas.webkitRequestFullscreen()
		}
	} else {
		if (document.exitFullscreen) {
			document.exitFullscreen()
		} else if (document.webkitExitFullscreen) {
			document.webkitExitFullscreen()
		}
	}
})