실전 수익형 웹, 앱 서비스 동물상 테스트 만들기의
2번째 영상을 통해 제작된 코드입니다.
해당 내용에 도움이 되는 부분은 링크를 걸어두었습니다!
그럼 시작하도록 하겠습니다!
2편에서는 원하는 키워드에 맞는 이미지를 Python의 가상 환경을 조성하고,
Selenium을 통한 웹 Crawling으로 다운로드 받는 코드를 작성했다.
하지만 키워드에 맞는 이미지를 한 장만 다운로드 받기위해
이렇게 고생해가며 코드를 작성하지는 않을 것이다.
이번 편에서는 전체적인 코드의 수정을 통해 정해진 수량의 이미지를
다운로드 받는 코드를 작성해 보도록 하겠다.
1. for in 반복문을 통한 다운로드
우선 저번 2편에서 작성한 코드를 잠시 보겠다.
from selenium import webdriver
from selenium.webdriver.common.keys import Keys
from selenium.webdriver.common.by import By
import time
import urllib.request

driver = webdriver.Chrome()
driver.get("https://www.google.co.kr/imghp?hl=ko&ogbl")
elem = driver.find_element(By.NAME, "q")
elem.send_keys("adidas")
elem.send_keys(Keys.RETURN)

driver.find_element_by_css_selector('.rg_i.Q4LuWd')[0].click()
# 실제 class명은 rg_i Q4LuWd이지만 by_css_selector를 사용해서
# class명의 공백을 .으로 입력하여 rg_i.Q4LuWd이 됨
# [0]은 수많은 class 중에서 index값이 0인(맨처음) 이미지를 클릭한다는 의미

time.sleep(2)

imgUrl = driver.find_element_by_xpath("/html/body/div[2]/c-wiz/div[3]/div[2]/div[3]/div/div/div[3]/div[2]/c-wiz/div/div[1]/div[1]/div[3]/div/a/img").get_attribute("src")
# imgUrl이라는 변수에 담기

opener=urllib.request.build_opener()
opener.addheaders=[('Mozilla/5.0 (Windows NT 6.1; WOW64) AppleWebKit/537.36 (KHTML, like Gecko) Chrome/102.0.5005.115 Safari/537.36')]
# 여기서 Chrome의 버전을 현재 버전의 것으로 수정
urllib.request.install_opener(opener)

urllib.request.urlretrieve(imgUrl, "test.jpg")
# imgUrl 변수를 인자로 입력
# test.jpg는 임의로 정한 이미지 명

# driver.close()
# 브라우저 종료는 잠시 주석으로 처리
위의 코드는 앞서 설명했듯이, 키워드에 맞는 이미지를 1장만을
다운로드 받는 10%(?)정도는 부족한 프로그래밍이다.
이런 상황에서 사용할 수 있는 코드는 바로!
for in 문이다.
필자의 계획은 아래와 같다.
-
검색창에 키워드 입력 후, 엔터까지 입력.
-
for in문을 통해class가rg_i Q4LuWd인 작은 이미지 클릭. -
위의 클릭 후, 2초의 텀을 두고 큰 이미지의
url얻기. -
큰 이미지의
url을 통해 이미지 다운로드. -
다운로드를 받은 이미지의 명은 번호 순으로 지정.
-
2번부터 5까지의 과정을 반복.
계획은 그럴싸하다... 하지만 유명한 명언이 떠오른다...
'누구나 그럴싸한 계획을 갖고 있다. 에러로 처맞기 전까지는'
계획대로면 확실한 답은 나오지만 에러가 안뜰지가 문제다...
위의 계획에 필요한 코드만을 따오면,
driver.find_element_by_css_selector('.rg_i.Q4LuWd')[0].click()

time.sleep(2)

imgUrl = driver.find_element_by_xpath("/html/body/div[2]/c-wiz/div[3]/div[2]/div[3]/div/div/div[3]/div[2]/c-wiz/div/div[1]/div[1]/div[3]/div/a/img").get_attribute("src")

opener=urllib.request.build_opener()
opener.addheaders=[('Mozilla/5.0 (Windows NT 6.1; WOW64) AppleWebKit/537.36 (KHTML, like Gecko) Chrome/102.0.5005.115 Safari/537.36')]

urllib.request.install_opener(opener)

urllib.request.urlretrieve(imgUrl, "test.jpg")
위의 코드에서 우선 by_css_selector 부분을 별도의 변수로 지정하고,
나머지 코드들은 반복을 돌려야 하기 때문에 for in 문에 넣겠다.
images = driver.find_elements_by_css_selector(".rg_i.Q4LuWd")
# images라는 변수에 by_css_selector 넣기

count_img = 0
# 다운로드 이미지 명을 위한 정수 지정

for image in images:

	image.click()
	# 반복문 내에 index 번호는 필요가 없으므로 삭제

    time.sleep(2)

    imgUrl = driver.find_element_by_xpath("/html/body/div[2]/c-wiz/div[3]/div[2]/div[3]/div/div/div[3]/div[2]/c-wiz/div/div[1]/div[1]/div[3]/div/a/img").get_attribute("src")

    opener = urllib.request.build_opener()
    opener.addheaders = [('User-Agent', 'Mozilla/5.0 (Windows NT 6.1; WOW64) AppleWebKit/537.36 (KHTML, like Gecko) Chrome/102.0.5005.115 Safari/537.36')]

    urllib.request.install_opener(opener)

    urllib.request.urlretrieve(imgUrl, str(count_img) + ".jpg")
    # count_img를 이미지 파일명으로 지정하기 위해 문자열 형식으로 지정

    count_img = count_img + 1
    # 다운로드 받을 이미지 파일명을 위해 count_img에 1씩 더하기
위의 코드를 실행시킨다면, 키워드에 맞는 이미지를 전부 다운로드 받을 수 있다!
Terminal을 통해 실행시킨 결과는 과연???

selenium.common.exceptions.NoSuchElementException: Message: no such element:
Unable to locate element: {"method":"css selector","selector":".n3VNCb.KAlRDb"}
(Session info: chrome=102.0.5005.115)
와우.... 결과는 나왔다...에러로써...
에러 문구를 자세히 보니 뭔가 느낌이 오는 것 같다.
오류의 내용은 정확하진 않지만 selector":".n3VNCb.KAlRDb 부분을 보면
class가 .n3VNCb.KAlRDb와는 다른 무언가가 껴있기 때문에
예기치 못한 에러로 반복문 실행이 안되는 것 같다.
그럼 저 부분의 이미지를 건너뛰고 실행하도록 유도하면 될 일이다!.
문득, Python을 배우며 잠깐 보고 지나친 try가 갑자기 떠올랐다.
no such element: Unable to locate element라는 에러가 뜬다면?
try 구문을 사용하여 except로 예외처리를 하면 되는 것이 아닌가!?
try 구문을 사용해서 코드를 수정 해보자!
images = driver.find_elements_by_css_selector(".rg_i.Q4LuWd")

count_img = 0

for image in images:
    try:
        image.click()
		# 반복문 내에 index 번호는 필요가 없으므로 삭제

    	time.sleep(2)

    	imgUrl = driver.find_element_by_xpath("/html/body/div[2]/c-wiz/div[3]/div[2]/div[3]/div/div/div[3]/div[2]/c-wiz/div/div[1]/div[1]/div[3]/div/a/img").get_attribute("src")

    	opener = urllib.request.build_opener()
    	opener.addheaders = [('User-Agent', 'Mozilla/5.0 (Windows NT 6.1; WOW64) AppleWebKit/537.36 (KHTML, like Gecko) Chrome/102.0.5005.115 Safari/537.36')]

    	urllib.request.install_opener(opener)

    	urllib.request.urlretrieve(imgUrl, str(count_img) + ".jpg")
    	# count_img를 이미지 파일명으로 지정하기 위해 문자열 형식으로 지정

    	count_img = count_img + 1
    	# 다운로드 받을 이미지 파일명을 위해 count_img에 1씩 더하기
    except:
            ["no such element: Unable to locate element"]
위의 코드의 결과는 과연!!!
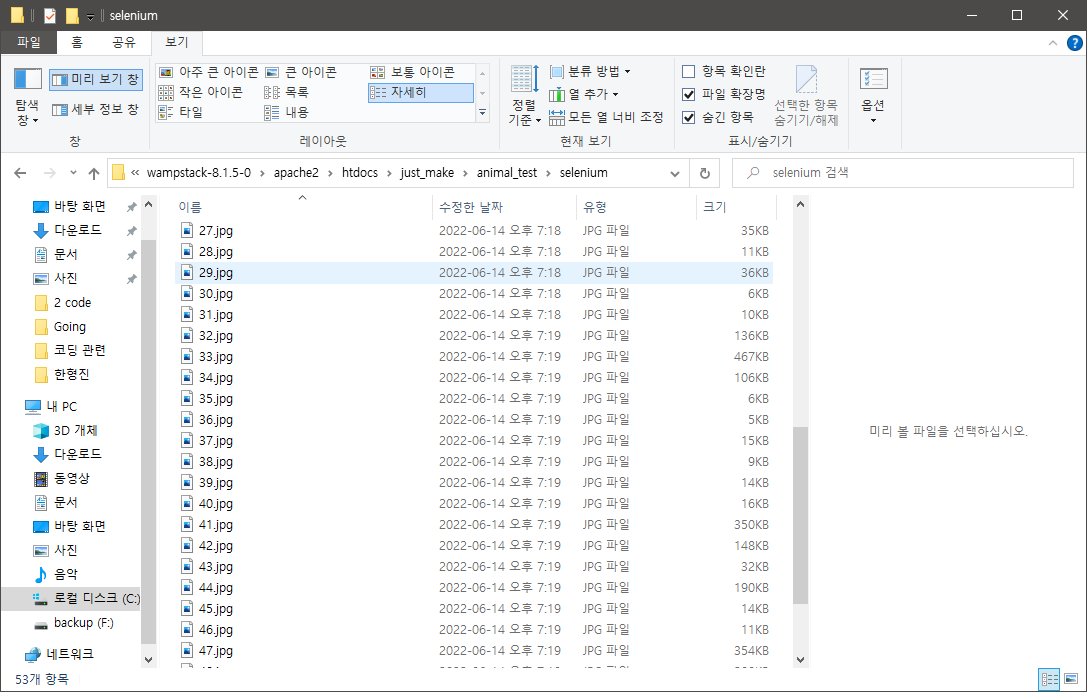
드디어 다운로드가 완료되었다!
1-1. 다운로드 파일 수 & 경로 지정
문제가 Selenium과 관련된 파일이 있는 디렉토리에 직접적으로 다운받아진다.
이 또한 간단하게 해결해보도록 하자!
urllib.request.urlretrieve(imgUrl, str(count_img) + ".jpg")위의 이미지의 다운로드 형식을 수정하면 된다!
간단하게 인자 부분에 경로를 지정해 줌으로써 해결!
urllib.request.urlretrieve(imgUrl, "/다운로드/경로/지정/" + str(count_img) + ".jpg")위의 코드처럼 수정하게 되면 끝난다.
이제 이미지의 다운로드 수를 정해보도록 하자.
앞서 다운로드 이미지의 파일명 지정을 위해 사용되는 count_img를
if문을 이용해서 개수를 정해보도록 한다.
if count_img == 200:
   break
   # count_img + 1이 200과 같아지면 반복문 종료
위의 코드와 같이 if문 추가로 간단하게 해결할 수 있었다.
2. 자동 스크롤 & 결과 더보기 클릭 적용
그러나 살짝 의아한게 에러로 걸러지는 이미지를 제외하고
48개의 이미지만이 다운받아졌다.
그 이유는 크롬 브라우저의 경우, 한 페이지의 이미지가 50개까지 로딩되기 때문이다.
그렇다면 다운로드 작업 전에 브라우저의 스크롤을
전부 내려서 모든 이미지의 로딩을 끝내고 다운로드를 실행하도록
코드를 추가해서 수정을 해보도록 하겠다.
또다시 구글링을 시작해보자!
python selenium scroll down라는 키워드를 통해 얻은 결과는?
How can I scroll a web page using selenium webdriver in python?
역시 Stack Overflow...다 나온다, 정말...
SCROLL_PAUSE_TIME = 0.5

# Get scroll height
last_height = driver.execute_script("return document.body.scrollHeight")

while True:
    # Scroll down to bottom
    driver.execute_script("window.scrollTo(0, document.body.scrollHeight);")

    # Wait to load page
    time.sleep(SCROLL_PAUSE_TIME)

    # Calculate new scroll height and compare with last scroll height
    new_height = driver.execute_script("return document.body.scrollHeight")
    if new_height == last_height:
        break
    last_height = new_height
another method (thanks to Juanse) is, select an object and

label.sendKeys(Keys.PAGE_DOWN);
위의 코드 해석을 해보자!!
SCROLL_PAUSE_TIME = 0.5

# Get scroll height
last_height = driver.execute_script("return document.body.scrollHeight")
위의 내용은 스크롤을 쭉 내린 후, 로딩 시간을 0.5초로 지정하고
자바스크립트의 문법을 사용해 현재의 브라우저 높이의 길이를 last_height에 담는다.
while True:
    # Scroll down to bottom
    driver.execute_script("window.scrollTo(0, document.body.scrollHeight);")

    # Wait to load page
    time.sleep(SCROLL_PAUSE_TIME)

    # Calculate new scroll height and compare with last scroll height
    new_height = driver.execute_script("return document.body.scrollHeight")
    if new_height == last_height:
        break
    last_height = new_height
무한 반복문을 사용해서 브라우저의 높이를 구한만큼 스크롤을 끝까지 내리고
스크롤을 내린 후, 로딩 시간동안 기다렸다가 (0.5초)
로딩이 끝난 후, 브라우저 높이를 다시 구하고 new_height에 담는다.
이렇게 new_height에 담긴 높이와
현재의 높이인 last_height에 담긴 높이가 같아지면서
더이상 스크롤을 내릴 구간이 없다면 반복문을 종료하고,
그렇지 않다면 계속해서 반복하도록 코드가 짜여져 있다.
여기서도 살짝 아쉬운게 있다.
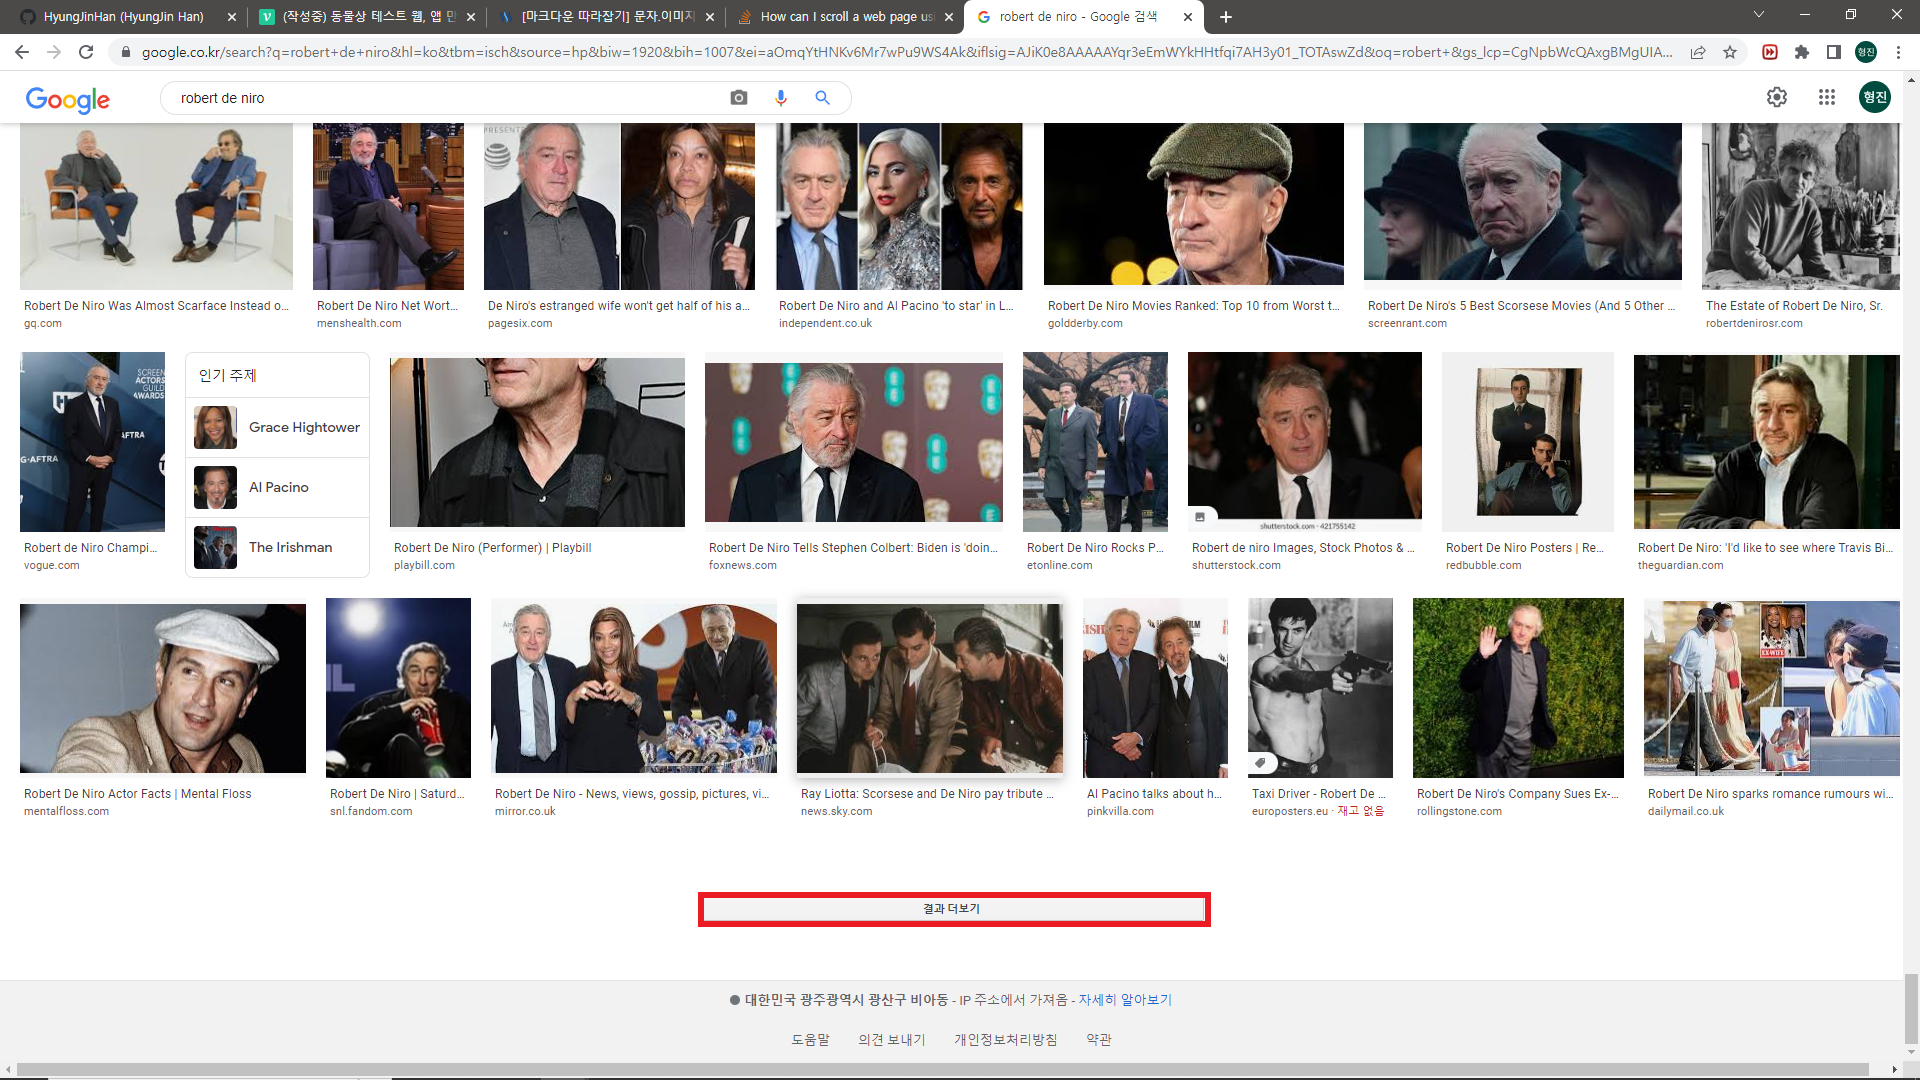
저기 함정으로 결과 더보기는 어떻게 처리한다는 것인가...
사실 이 작업은 2편에서 이미 질리도록 해봤다.
driver.find_elements_by_css_selector(".rg_i.Q4LuWd").click()위의 이부분! class명을 찾고 by_css_selector로 선택하면 된다!
차이가 있다면, 작은 이미지의 경우 선택할 요소가 여러개이기 때문에
elements를 사용했지만, 결과 더보기는 1개이기 때문에 element로 수정!
이렇게 얻은 코드를 if new_height == last_height 내에 추가를 해 보도록 한다.
if new_height == last_height:
try:
driver.find_element_by_css_selector(".mye4qd").click()
except:
break
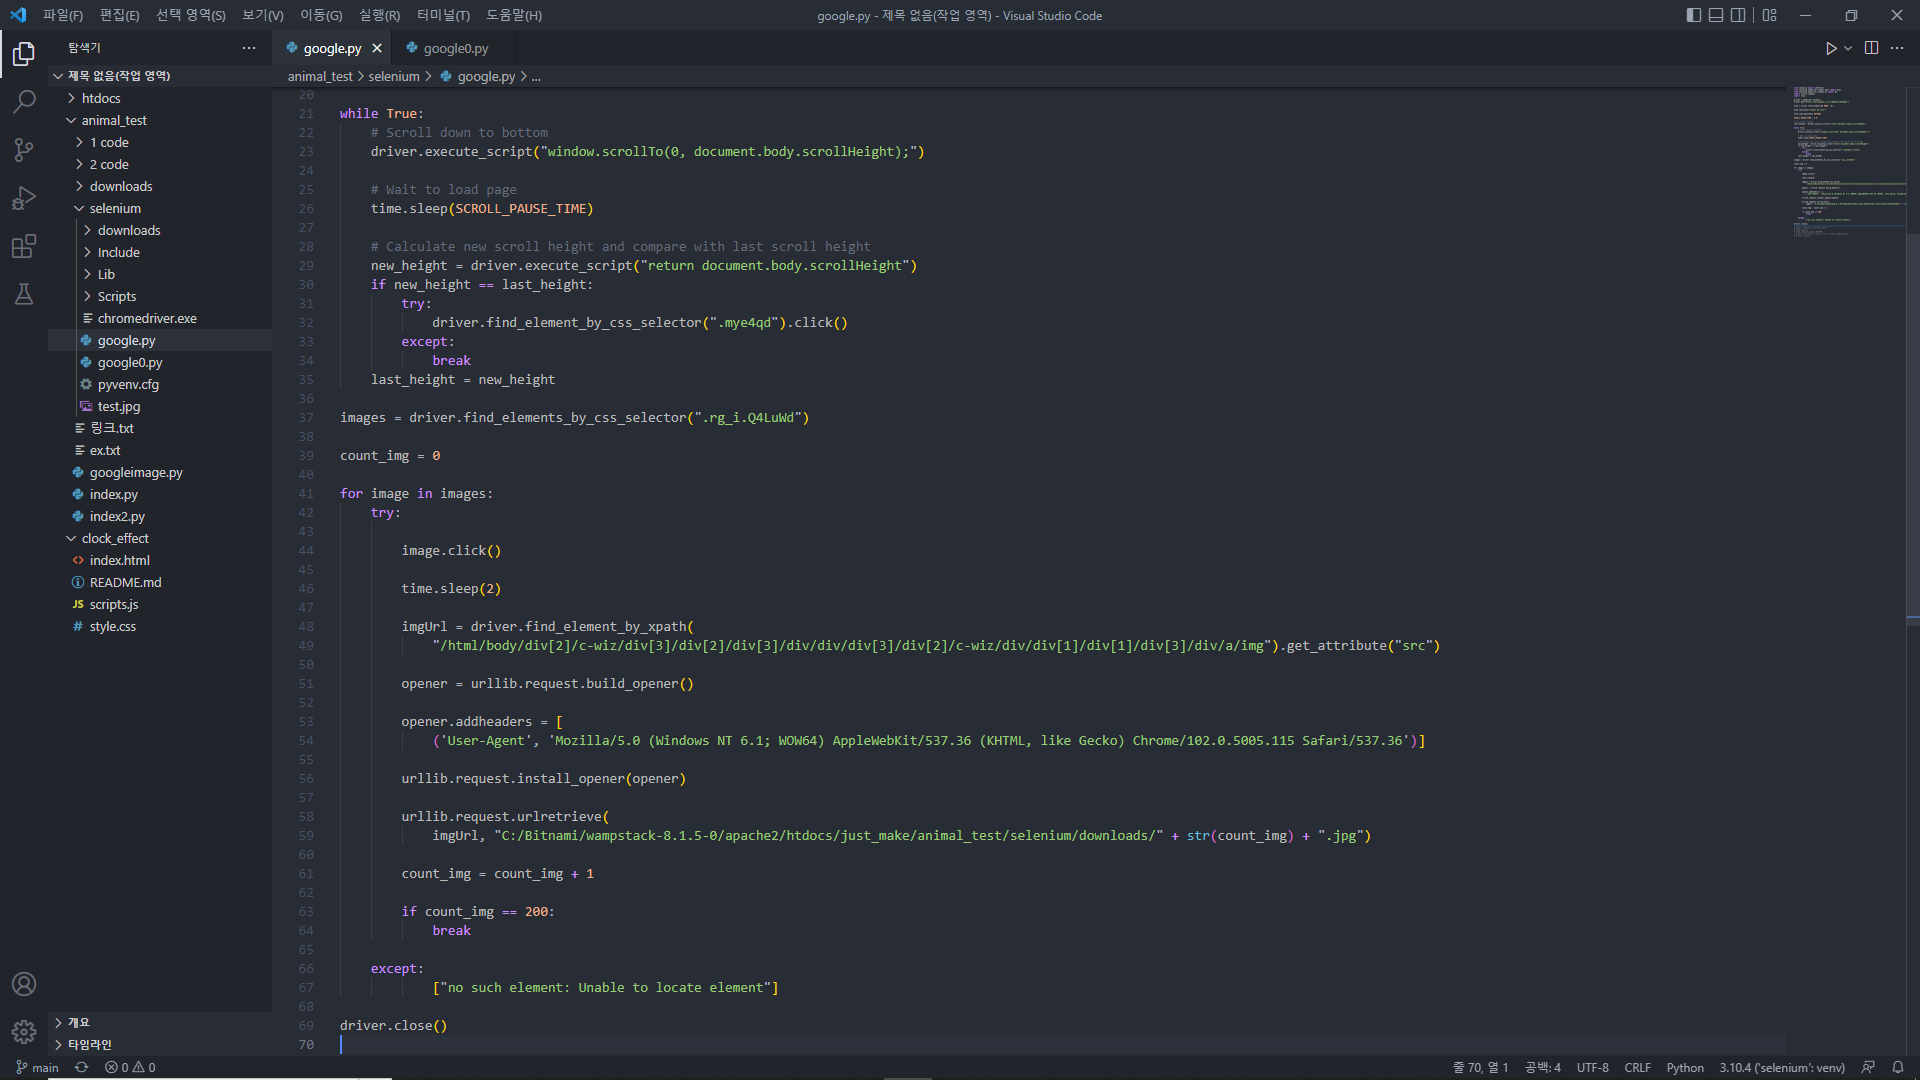
last_height = new_heigh이렇게 적용한 결과로 모든 수정을 거친 코드는
from selenium import webdriver
from selenium.webdriver.common.keys import Keys
from selenium.webdriver.common.by import By
import urllib.request
import time

driver = webdriver.Chrome()
driver.get("https://www.google.co.kr/imghp?hl=ko&ogbl")

elem = driver.find_element(By.NAME, "q")

elem.send_keys("robert de niro")

elem.send_keys(Keys.RETURN)

SCROLL_PAUSE_TIME = 0.5

# Get scroll height
last_height = driver.execute_script("return document.body.scrollHeight")

while True:
    # Scroll down to bottom
    driver.execute_script("window.scrollTo(0, document.body.scrollHeight);")

    # Wait to load page
    time.sleep(SCROLL_PAUSE_TIME)

    # Calculate new scroll height and compare with last scroll height
    new_height = driver.execute_script("return document.body.scrollHeight")
    if new_height == last_height:
        try:
            driver.find_element_by_css_selector(".mye4qd").click()
        except:
            break
    last_height = new_height

images = driver.find_elements_by_css_selector(".rg_i.Q4LuWd")

count_img = 0

for image in images:
    try:
        image.click()

        time.sleep(2)

        imgUrl = driver.find_element_by_xpath(
            "/html/body/div[2]/c-wiz/div[3]/div[2]/div[3]/div/div/div[3]/div[2]/c-wiz/div/div[1]/div[1]/div[3]/div/a/img").get_attribute("src")

        opener = urllib.request.build_opener()

        opener.addheaders = [
            ('User-Agent', 'Mozilla/5.0 (Windows NT 6.1; WOW64) AppleWebKit/537.36 (KHTML, like Gecko) Chrome/102.0.5005.115 Safari/537.36')]

        urllib.request.install_opener(opener)

        urllib.request.urlretrieve(
            imgUrl, "C:/Bitnami/wampstack-8.1.5-0/apache2/htdocs/just_make/animal_test/selenium/downloads/" + str(count_img) + ".jpg")

        count_img = count_img + 1

        if count_img == 200:
            break
    except:
            ["no such element: Unable to locate element"]

driver.close()
필자는 'robert de niro' 배우를 예시로 실행할 예정이다.
위의 코드를 Terminal을 통해 실행하게 되면??

!!!!!!


드디어 완성이다...🤣
마치며...
정말 힘들었지만, 확실한 것은 Crawling을 통한 작업에 대한 이해도가
확실히 올라간 것이 느껴진다.
전부 알고 모든 것을 이해한 것은 아니지만... 뭔가를 하기 위한
프로그래밍의 필수 요소인 구글링에 대해 다시 한번 생각하게 되었고,
생각보다 거의 모든 키워드에 맞는 요소가 나와서 엄청 놀랐다.
코딩의 세계에 첫 입문을 할 당시에는
'구글링은 말도 안된다. 내 능력으로 해내고야 말겠다!'
라는 무모한 생각을 한 나 자신을 많이 돌아보게 되었다...
이렇게 3편을 마무리하도록 하겠습니다.
꾸준히 따라서 코딩도 해보고, 이해하기 위해 노력하며
더욱더 유익한 4편으로 돌아오도록 하겠습니다!
