프로젝트 개요
소개
현재 node.js 공부하고 있는 겸 새로운 포스트 시리즈를 예정 중인데 토이 프로젝트 형식으로 개발 중인 프로젝트 개발 과정을 담을 예정이다.
자세한 프로젝트에 대한 설명은 일단 불가능해 간단히 설명하자면 근태관리 시스템 구현을 목표로 하는 중이다.
client 측은 android app 기반이고 server는 node.js + express.js 를 기반으로 백엔드 서버를 구축하고 있다.
(이번 posting 시리즈에서는 서버 위주의 포스트를 작성할 예정)
아 가장 핵심은 “MVC design pattern”을 적용한 express server이다!!.
(사실 mvc 공부하기 위해 하는 거...)
목표
크게 목표라고 할 거는 없고 mvc 패턴을 연습하는게 가장 큰 목적이다. 그리고 로그인, 회원가입과 같은 기본적인 기능을 우선적으로 구현하고 차차 주 기능들을 구현할 예정인데 일단 간단하게 요약하면 아래와 같당.
(더 목표하는 기능들은 있지만 그건 더 구현하면서 차차 담아보겠다.)
- 유저 기능
- 로그인
- 회원가입
- 자동 로그인
- oauth 소셜 로그인
- ZWT를 이용한 사용자 인증
- Sequelize (ORM)으로 database 관리
- 관리자, 근로자 구분
먼저 express 기반의 프로젝트 초기 생성 과정과 데이터베이스 설계한 과정을 작성하겠다.
1. 프로젝트 생성 및 초기화
- 프로젝트 폴더 생성 후 git 초기화

- npm i express-generator 명령어를 사용해 설치
”sudo npm i -g express-generator

- express 명령어를 사용하기 위해 -g 옵션을 줘서 전역으로 설치
- but, 전역으로 설치하면 sudo 로 권한을 줘야 함!
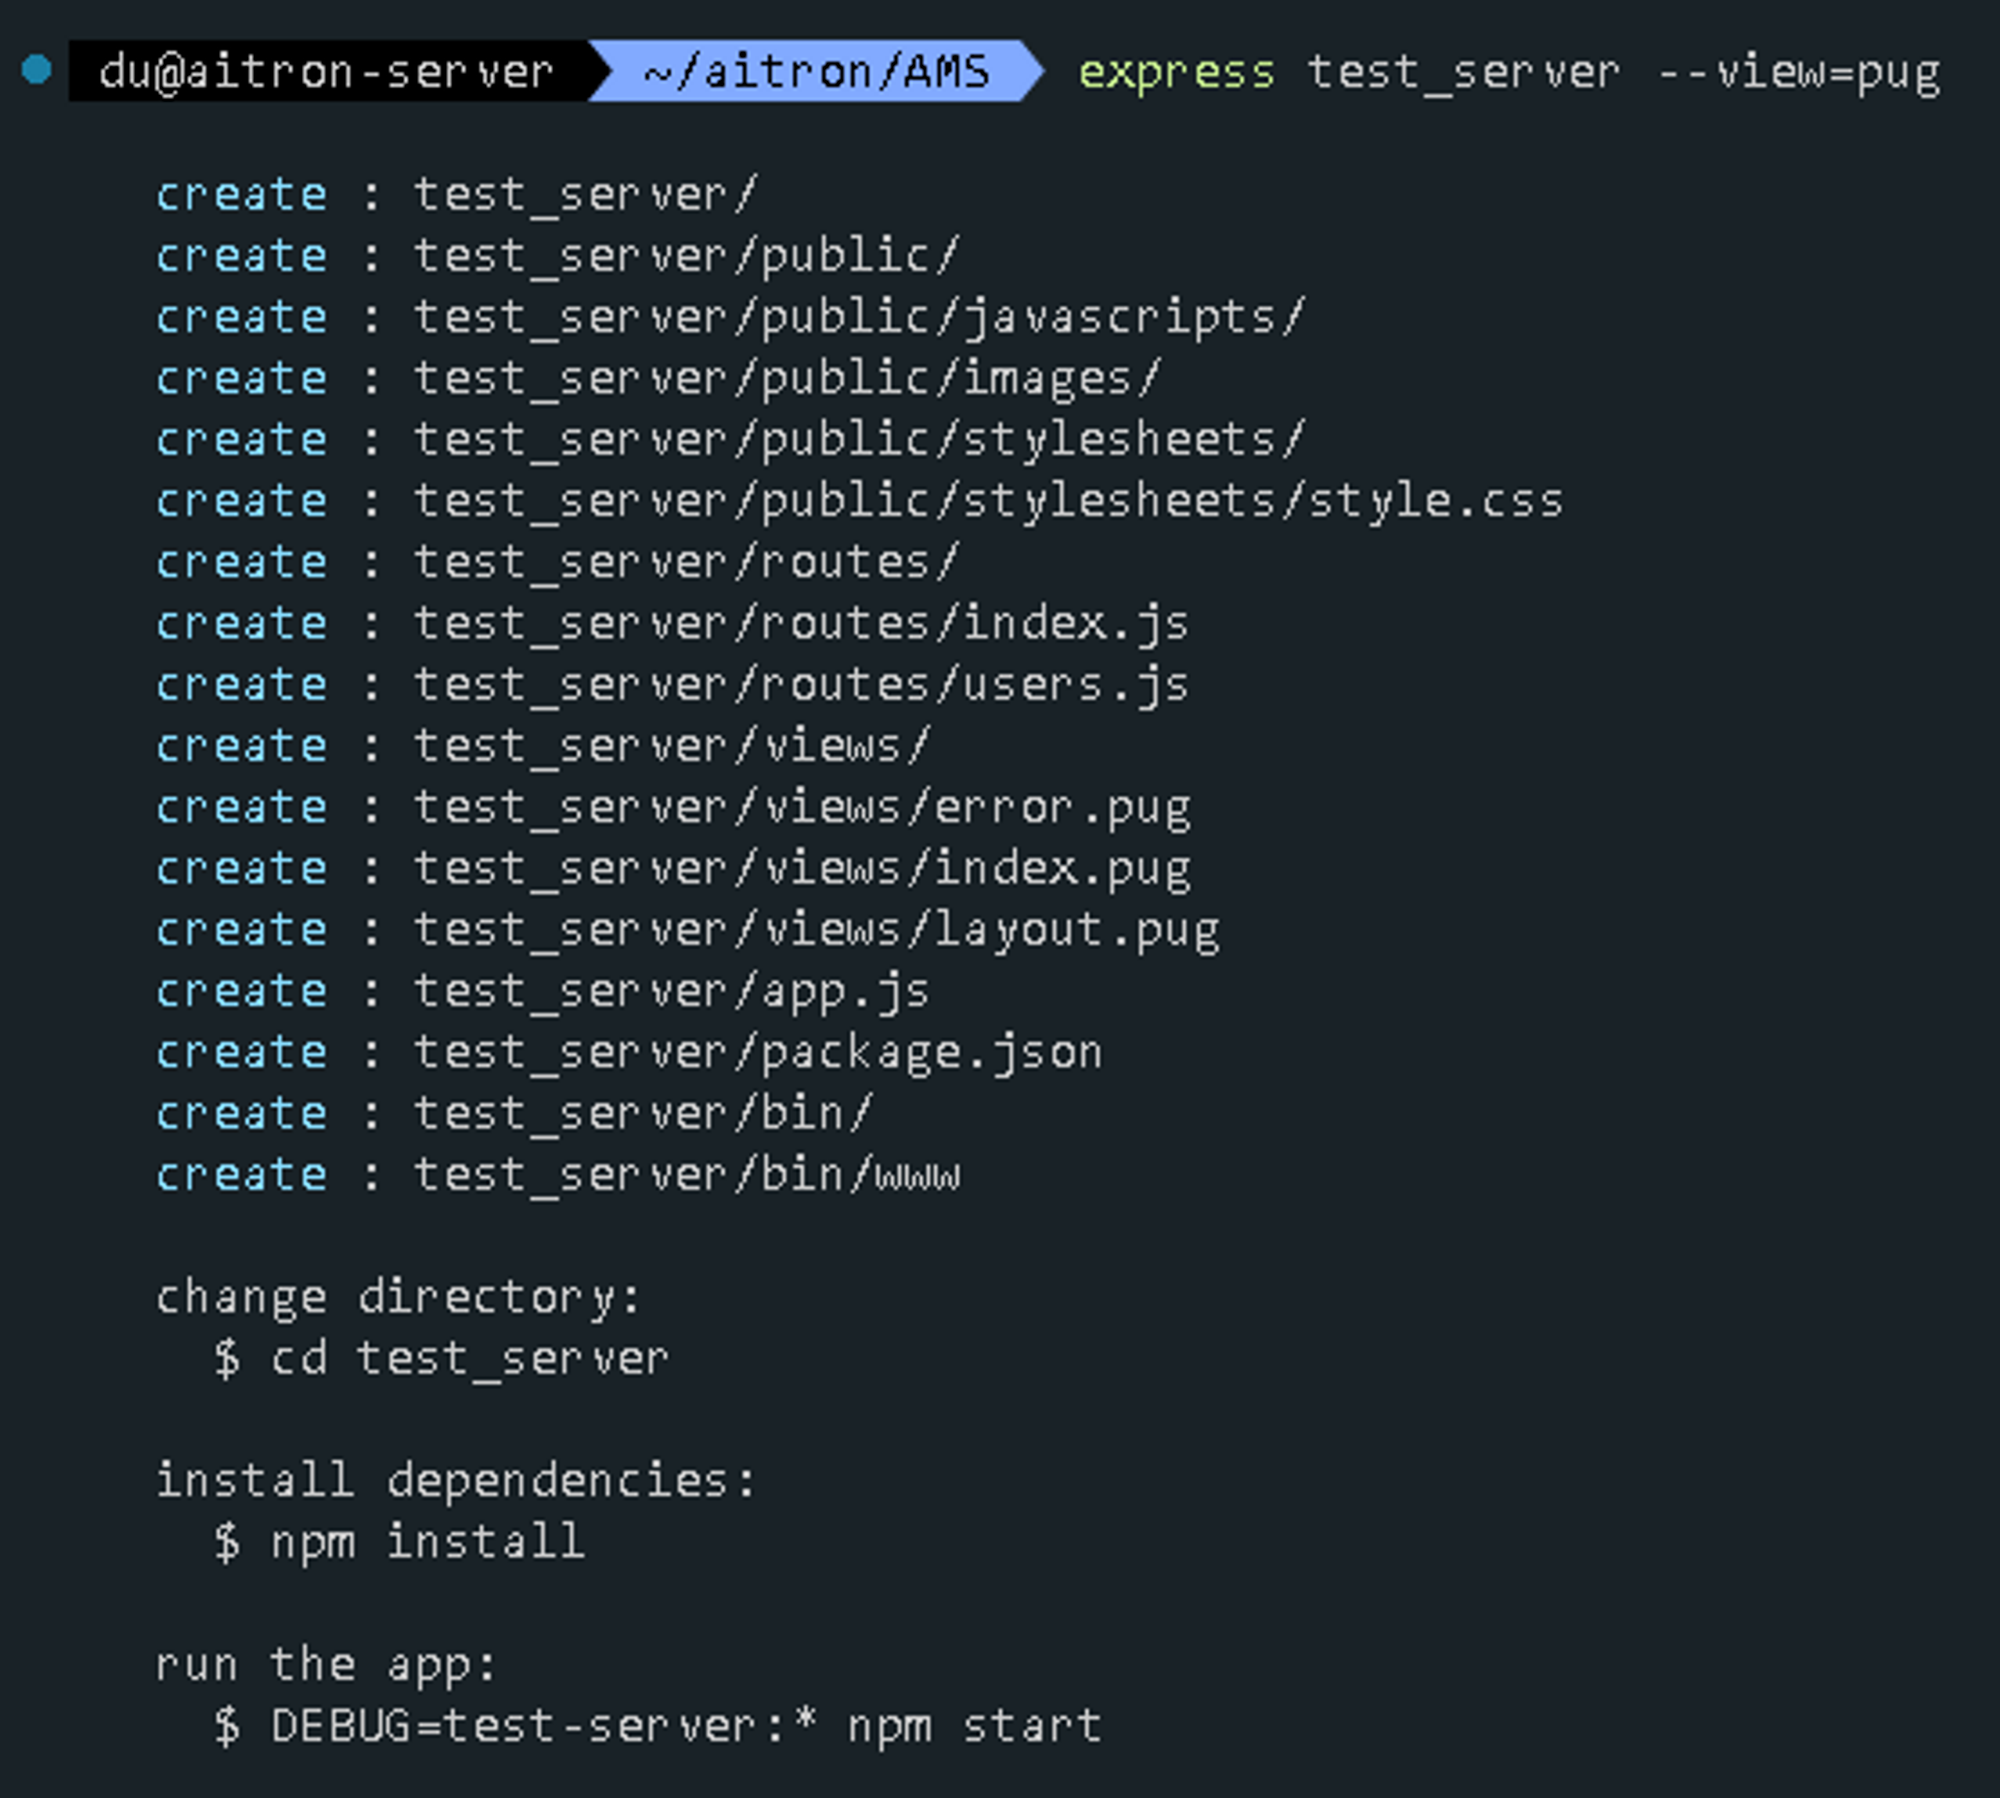
- 새 express 프로젝트 생성
”exrpess [프로젝트 폴더 이름] —view=pug”
|
|
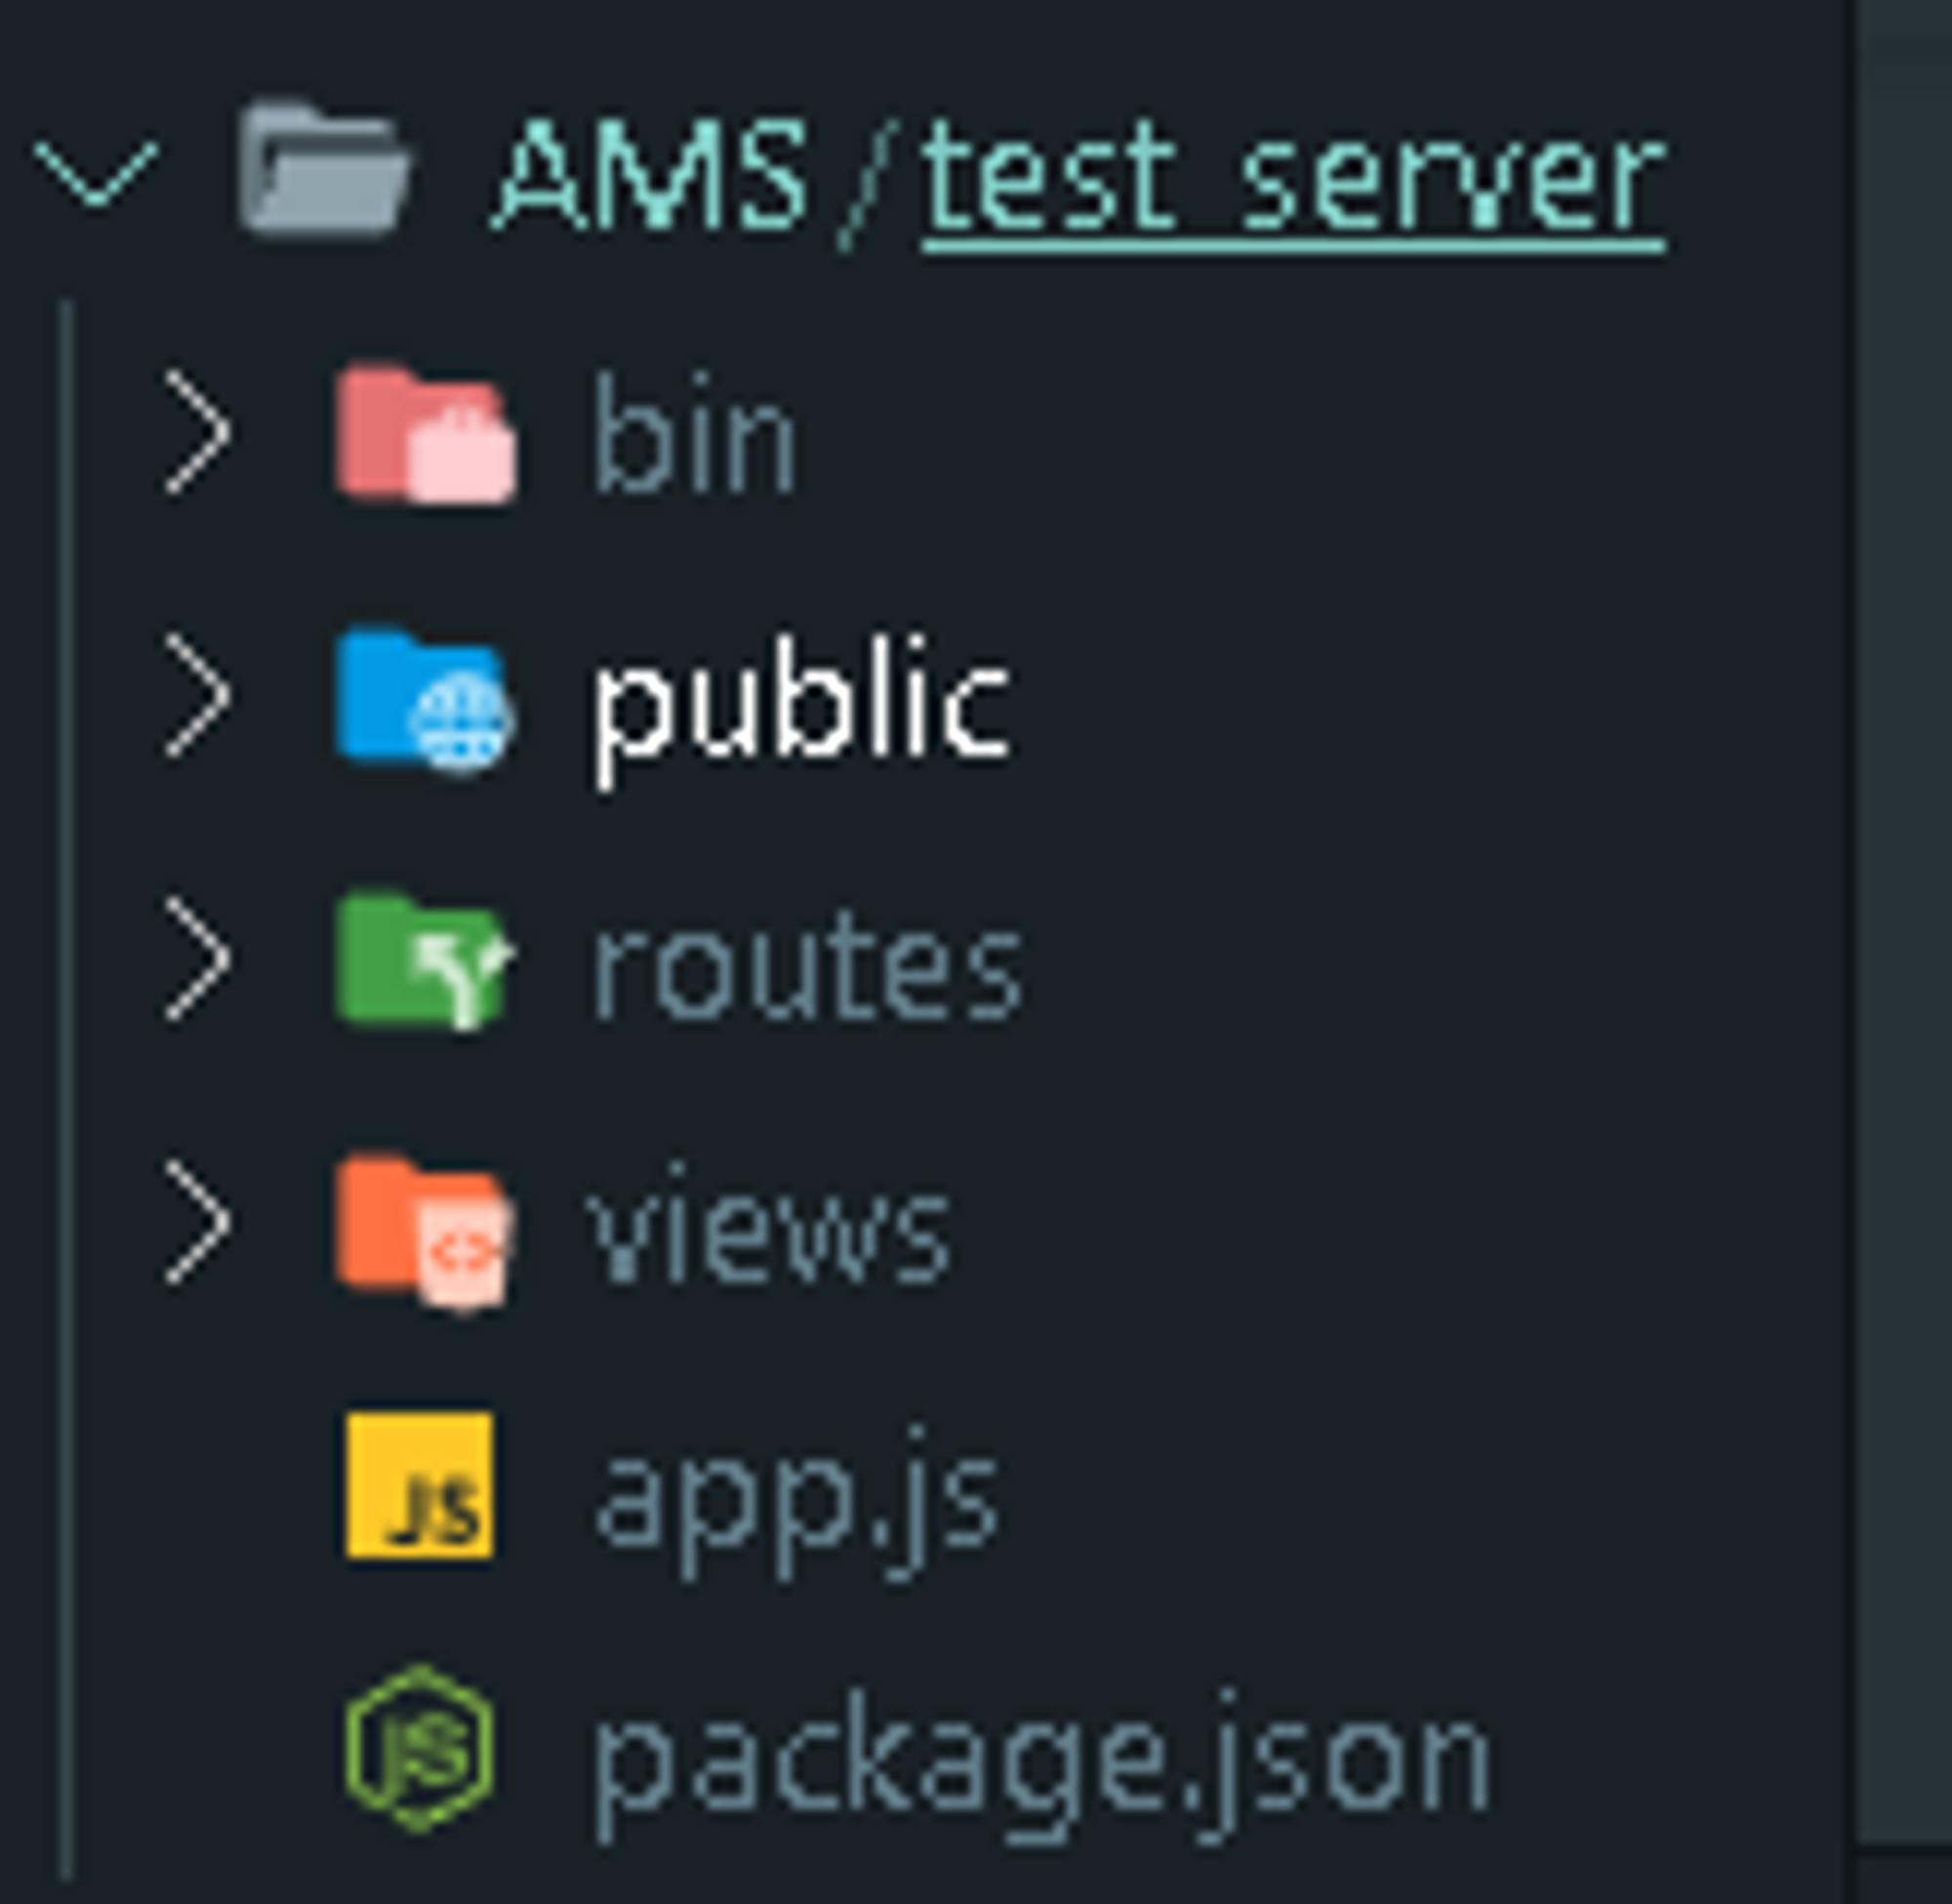
- 왼쪽 그림처럼 “test_server” 프로젝트 파일과 여러가지 패키지 파일이 자동으로 생성
- —view=pug 옵션에서 pug 는 node.js의 템플릿 엔진을 설정하는 용도
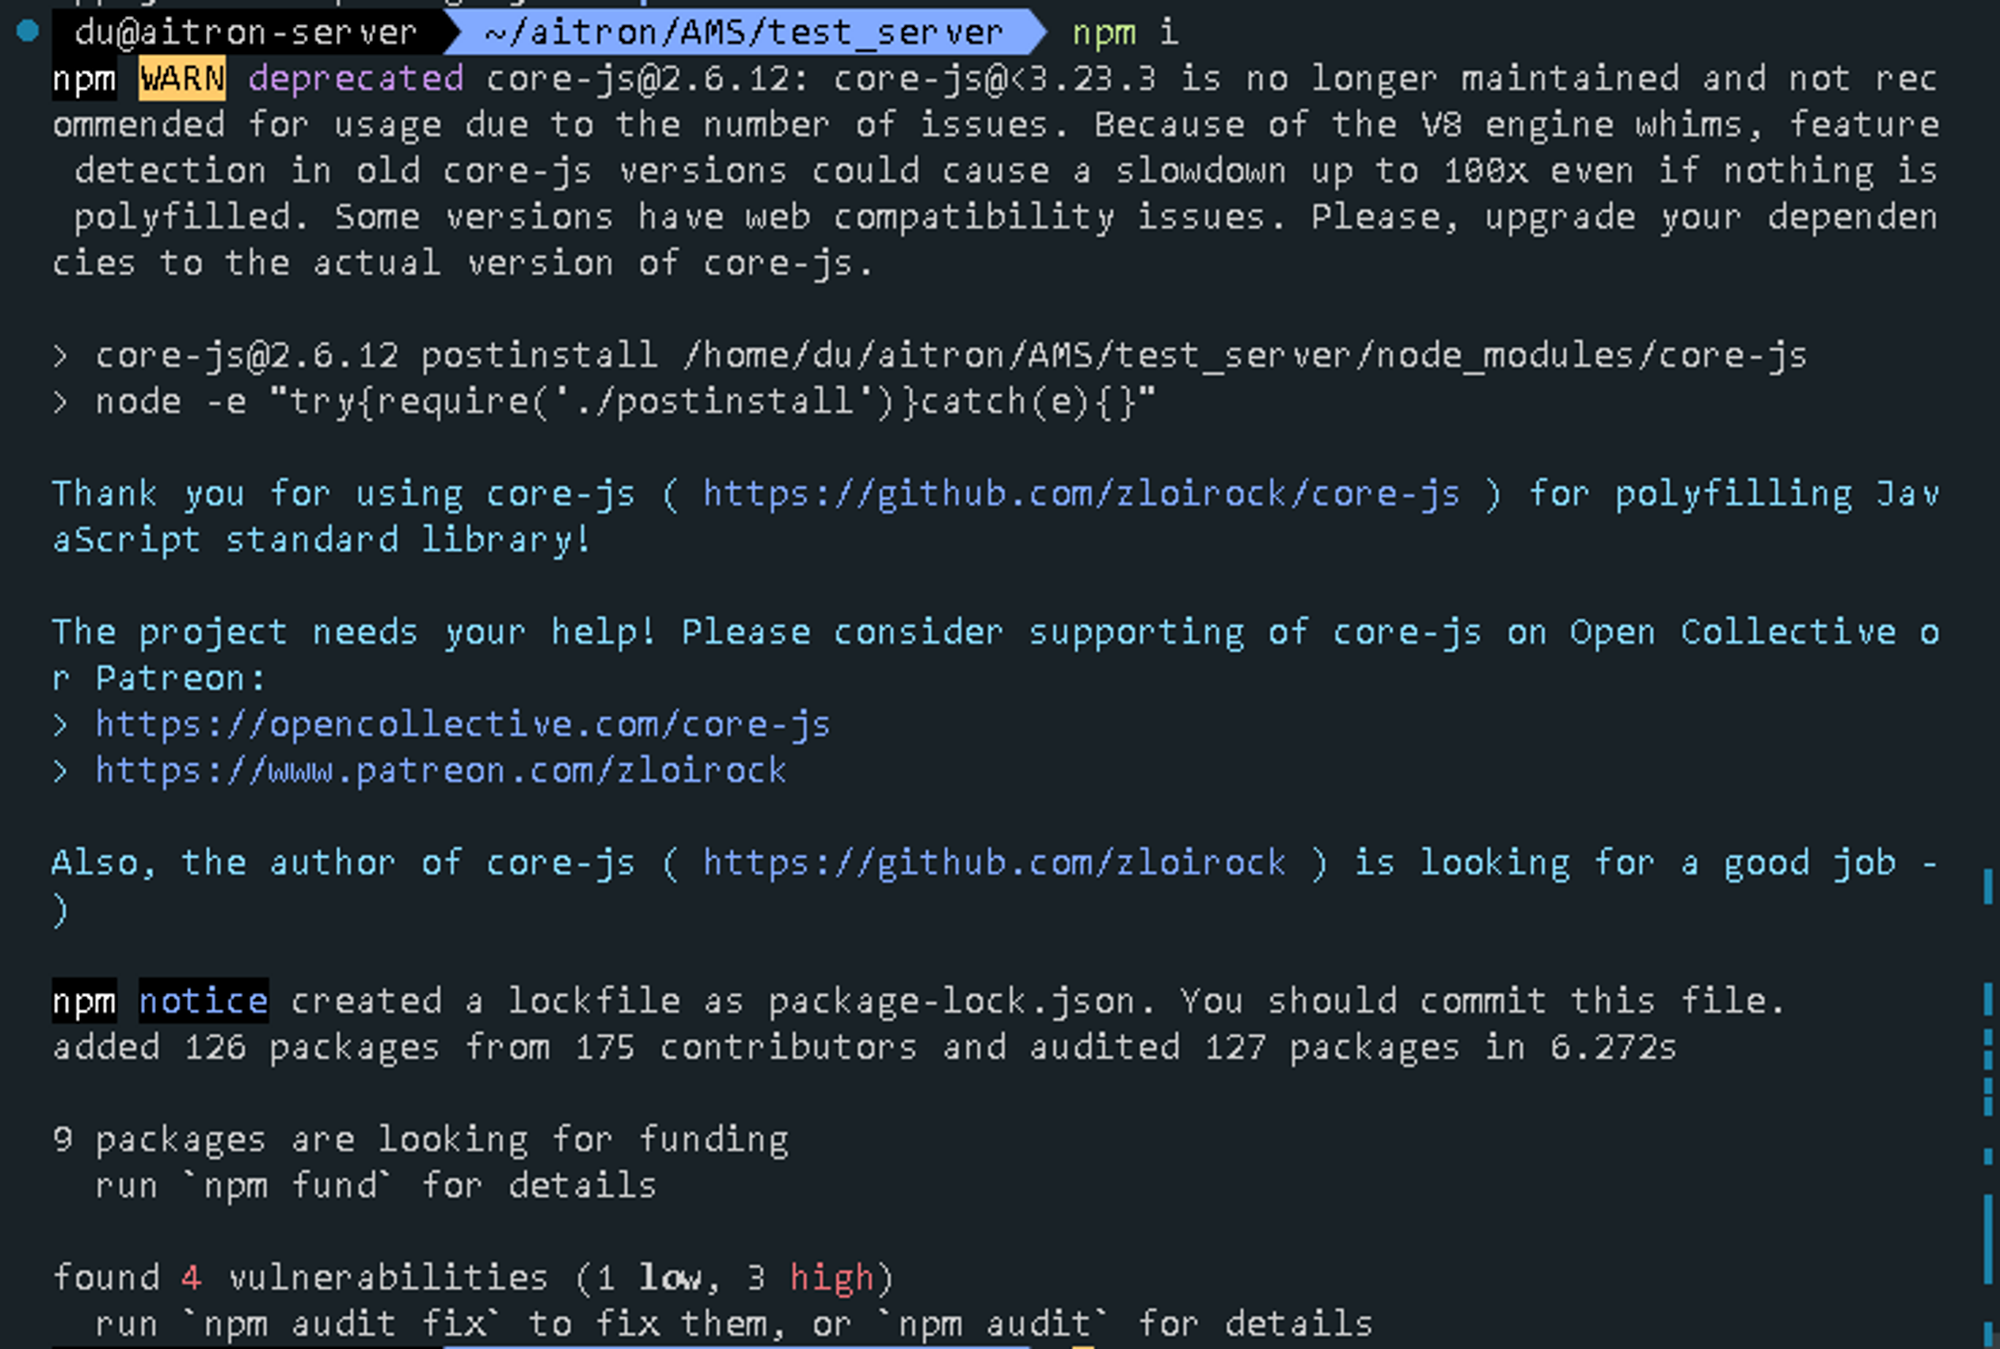
- package.json의 dependencies에 존재하는 여러 모듈들을 한번에 설치
’npm i”
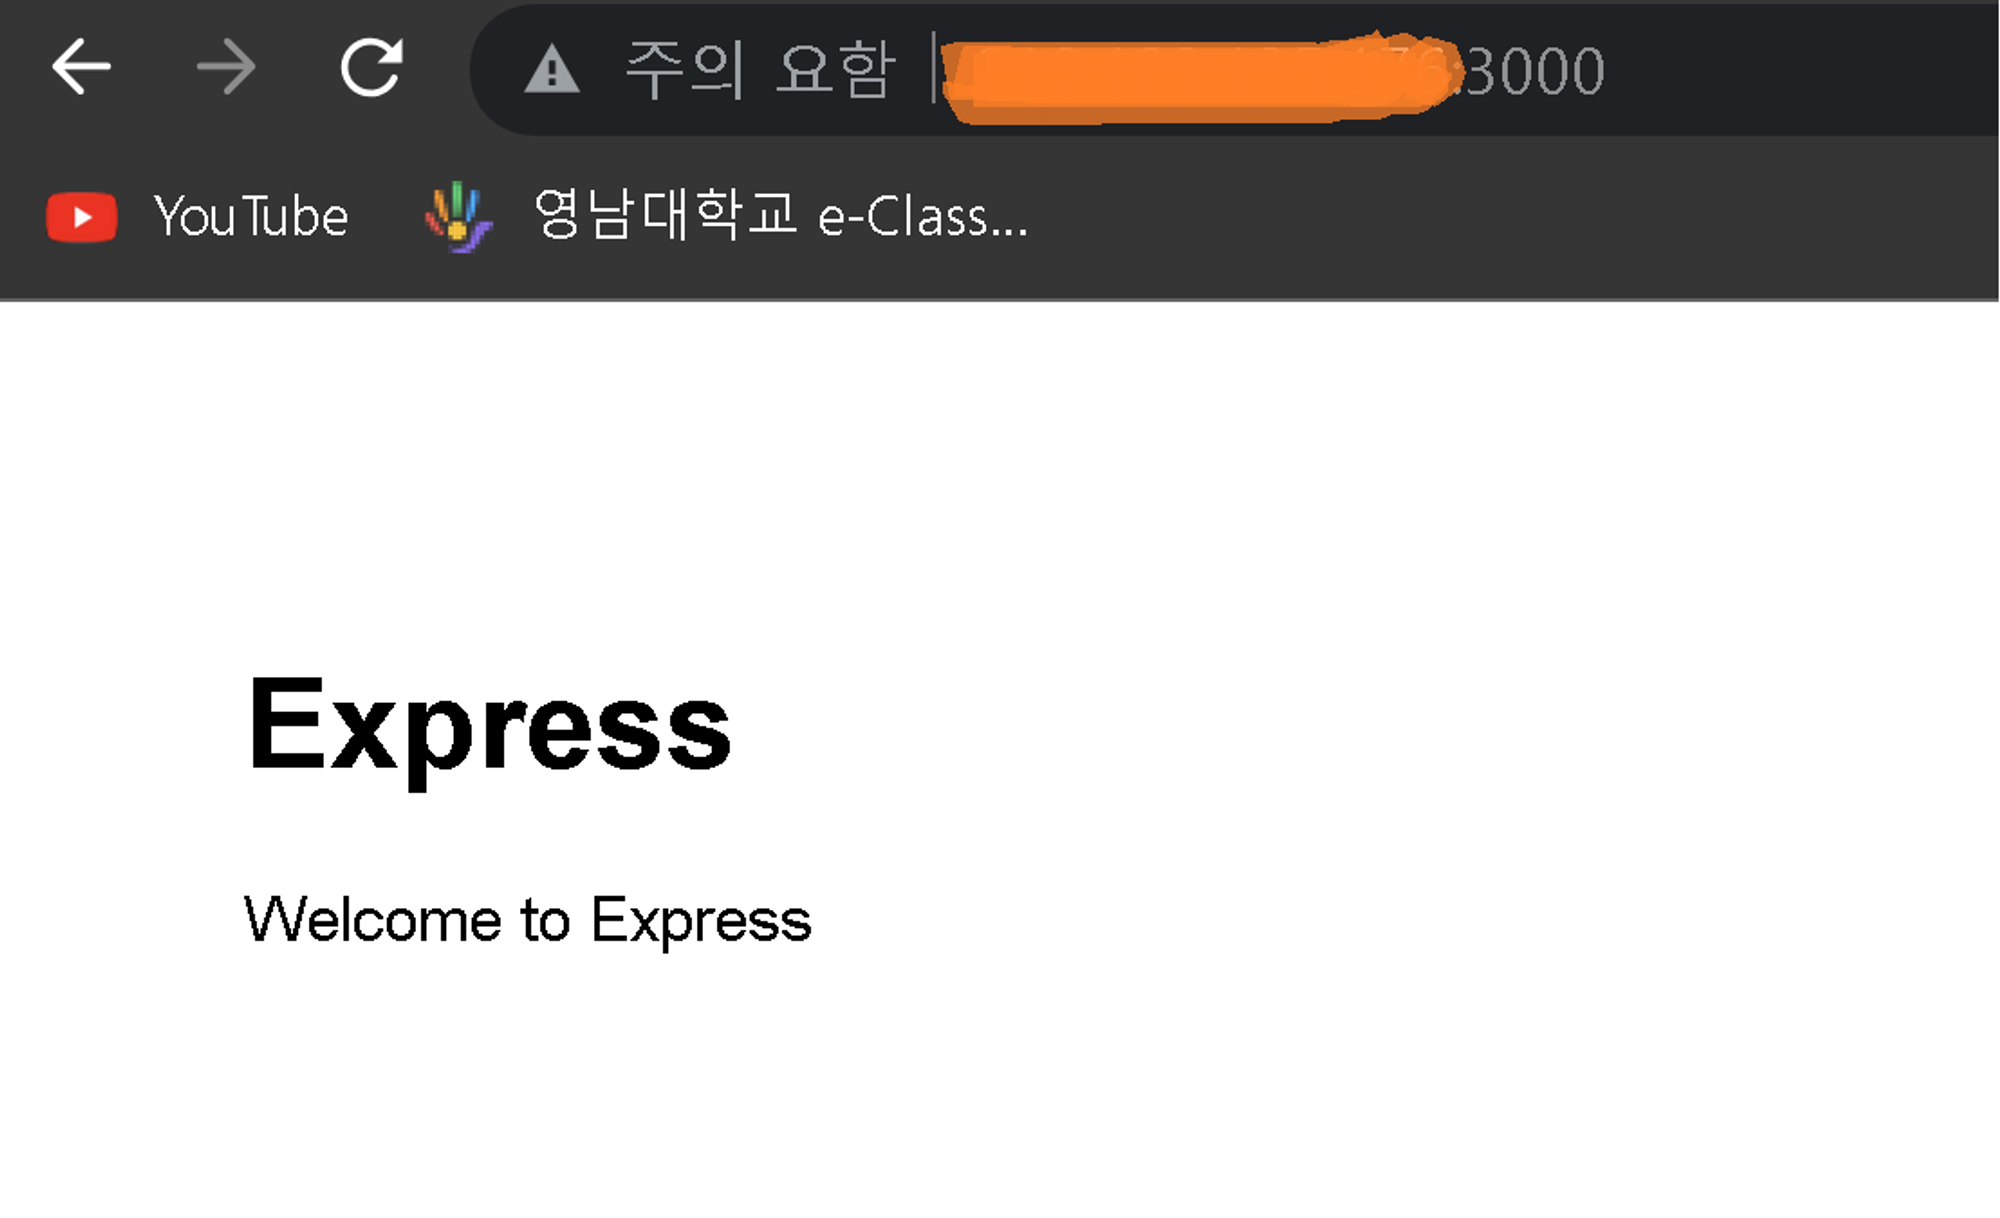
- 초기 서버 실행, 기본 port는 3000
”npm start” == “node ./bin/www”
2.Database 설정(Sequelize)
express 기반의 api server를 구현 중인데 MVC design pattern을 적용 중이다. 지금은 그 중 Model part를 구현하기 위해 orm을 사용해 프로젝트와 database를 연동하는 작업을 진행 중이다.
현재 express 프로젝트 directory tree 구조
.
├── app.js
├── bin
│ └── www
├── public
│ ├── images
│ ├── javascripts
│ └── stylesheets
│ └── style.css
└── src
├── config
│ └── db.js
├── controllers
├── models
│ ├── Manager.js
│ └── Worker.js
├── routes
│ ├── index.js
│ └── users.js
└── views
├── error.pug
├── index.pug
└── layout.pug
→ 본 프로젝트는 api server로 사용되므로 view 디렉토리는 무시하도록 하자.
- 참고로 “tree -I 'node_modules|Dockerfile|package*.json’” 명령어를 통해 현재 디렉토리의 tree 구조를 파악 가능
Sequelize
- node js와 RDBSM 사이를 객체로 mapping 하는 ORM(개체 관계 매핑)
- 아래의 명령어를 통해 설치 (mysql 기준)
npm install --save sequelize mysql
npm install mysql2
npm install sequelize-cil // sequelize용 명령줄 인터페이스 도구
orm을 사용하기 위해 config 폴더에 db.js 파일을 만들어 RDBMS와 sequelize를 연동을 한다.
- 참고로 dialect 옵션에 현재 사용 중인 RDBMS의 종류로 변경해주면 된다.
const { Sequelize } = require("sequelize");

const sequelize = new Sequelize("database", "username", "userpassword", {
  host: "localhost",
  dialect: "mysql",
  // other configuration
});

module.exports = sequelize;
이제 class 형태로 database table을 schema를 정의해주면 된다. 일단 사용자 table인 Woker class와 Manager class 먼저 생성했다.
Worker class
const { DataTypes, Model } = require("sequelize");
const sequelize = require("../config/db");

class Worker extends Model {}

Worker.init(
  {
    id: { type: DataTypes.INTEGER, autoIncrement: true, primaryKey: true },
    email: { type: DataTypes.STRING, allowNull: false },
    password: { type: DataTypes.STRING(60), allowNull: false },
    name: { type: DataTypes.STRING, allowNull: false },
    mobile_number: { type: DataTypes.STRING(20), allowNull: false },
    work_place: { type: DataTypes.STRING, allowNull: false },
    latitude: { type: DataTypes.FLOAT, allowNull: false },
    longitude: { type: DataTypes.FLOAT, allowNull: false },
    organization_id: { type: DataTypes.INTEGER, allowNull: false },
    approved: { type: DataTypes.BOOLEAN, defaultValue: false },
  },
  {
    sequelize,
    modelName: "Worker",
  }
);
Manage class
const { DataTypes, Model } = require("sequelize");
const sequelize = require("../config/db");

class Manager extends Model {}

Manager.init(
  {
    id: { type: DataTypes.INTEGER, autoIncrement: true, primaryKey: true },
    email: { type: DataTypes.STRING, allowNull: false },
    password: { type: DataTypes.STRING(60), allowNull: false },
    name: { type: DataTypes.STRING, allowNull: false },
    mobile_number: { type: DataTypes.STRING(20), allowNull: false },
    organization_id: { type: DataTypes.INTEGER, allowNull: false },
  },
  {
    sequelize,
    modelName: "Manager",
  }
);- Sequelize의 Model 클래스는 레코드 생성, 읽기, 업데이트 및 삭제를 위한 메서드와 같이 데이터베이스와 상호 작용하기 위한 많은 내장 메서드를 제공
- 사용자 class는 Sequelize 모듈의 Model을 상속함으로써 Manager table의 레코드들을 sql문을 직접 작성하지 않고 손쉽게 액세스 가능 → ORM 사용 이유
app.js
sequelize.sync().then(() => {
  console.log("Database & tables created!");
});
app.js 파일에 위의 sequelize.sync 메소드 코드를 추가해 서버가 작동 시 database와 orm 동기화 되도록 한다.
<결과 Log>

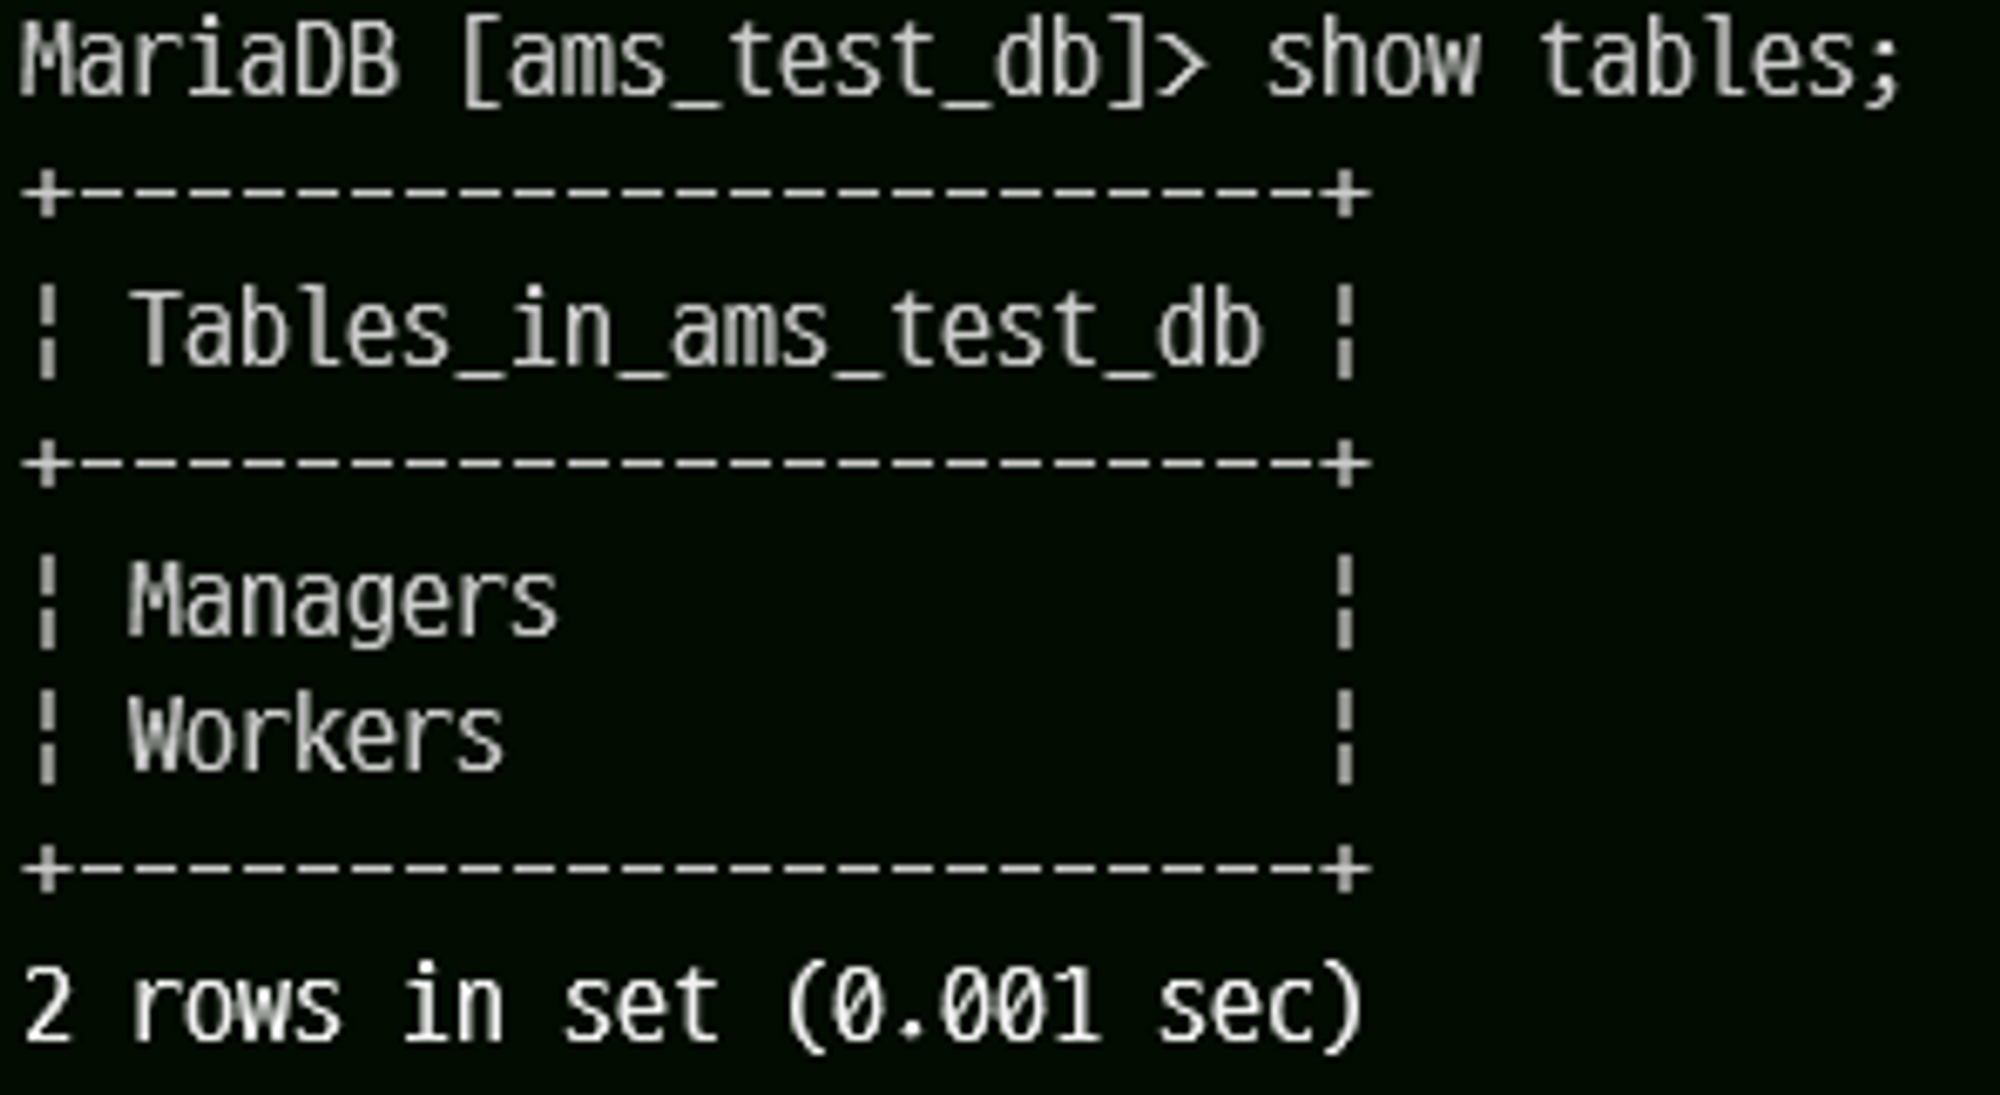
sequelize를 사용하면 sync() 메소드를 통해 따로 create 문을 통해 직접 table을 생성하지 않아도 데이터베이스에 해당 table이 없으면 자동으로 create 가능하다. 하지만 sync() 메소드를 통해 table schema 수정은 힘들다. 그래서 다음엔 migration을 이용한 database 생성, 변경 법을 포스팅하겠다.
Reference

정리가 잘 된 글이네요. 도움이 됐습니다.