Hugo 설치
$ sudo apt install hugo
$ hugo version
hugo v0.92.2+extended linux/amd64 BuildDate=2022-02-23T16:47:50Z VendorInfo=ubuntu:0.92.2-1
Github 리파지토리 2개 생성
1개는 실제 블로그 컨텐츠 저장소이며, 1개는 해당 컨텐츠가 랜더링 되어 웹에서 보여줄 실제 블로그 저장소이다.
- kinbdc => 컨텐츠 저장소
- kinbdc.github.io => 실제 블로그 저장소
Hugo 명령어로 blog 생성
$ hugo new site kinbdc
Congratulations! Your new Hugo site is created in /home/ryan/Workspace/blog.

Just a few more steps and you're ready to go:

1. Download a theme into the same-named folder.
   Choose a theme from https://themes.gohugo.io/ or
   create your own with the "hugo new theme <THEMENAME>" command.
2. Perhaps you want to add some content. You can add single files
   with "hugo new <SECTIONNAME>/<FILENAME>.<FORMAT>".
3. Start the built-in live server via "hugo server".

Visit https://gohugo.io/ for quickstart guide and full documentation.

$ cd kinbdc
$ tree
.
├── archetypes
│   └── default.md
├── config.tomlcd ki
├── content
├── data
├── layouts
├── static
└── themes

6 directories, 2 files
테마 적용
공식 블로그 테마 적용 따라하기
$ pwd
/home/ryan/Workspace/kinbdc

$ git init
$ git submodule add https://github.com/theNewDynamic/gohugo-theme-ananke.git themes/ananke
$ git submodule
 470ea40982f5036554819253c3ac6ed4a34193f4 themes/ananke (v2.5.6-108-g470ea40)

$ echo theme = \"ananke\" >> config.toml
$ more config.toml
baseURL = 'http://example.org/'
languageCode = 'en-us'
title = 'My New Hugo Site'
theme = "ananke"

$ hugo new posts/my-first-post.md
Content "/home/ryan/Workspace/kinbdc/content/posts/my-first-post.md" created
$ hugo server -D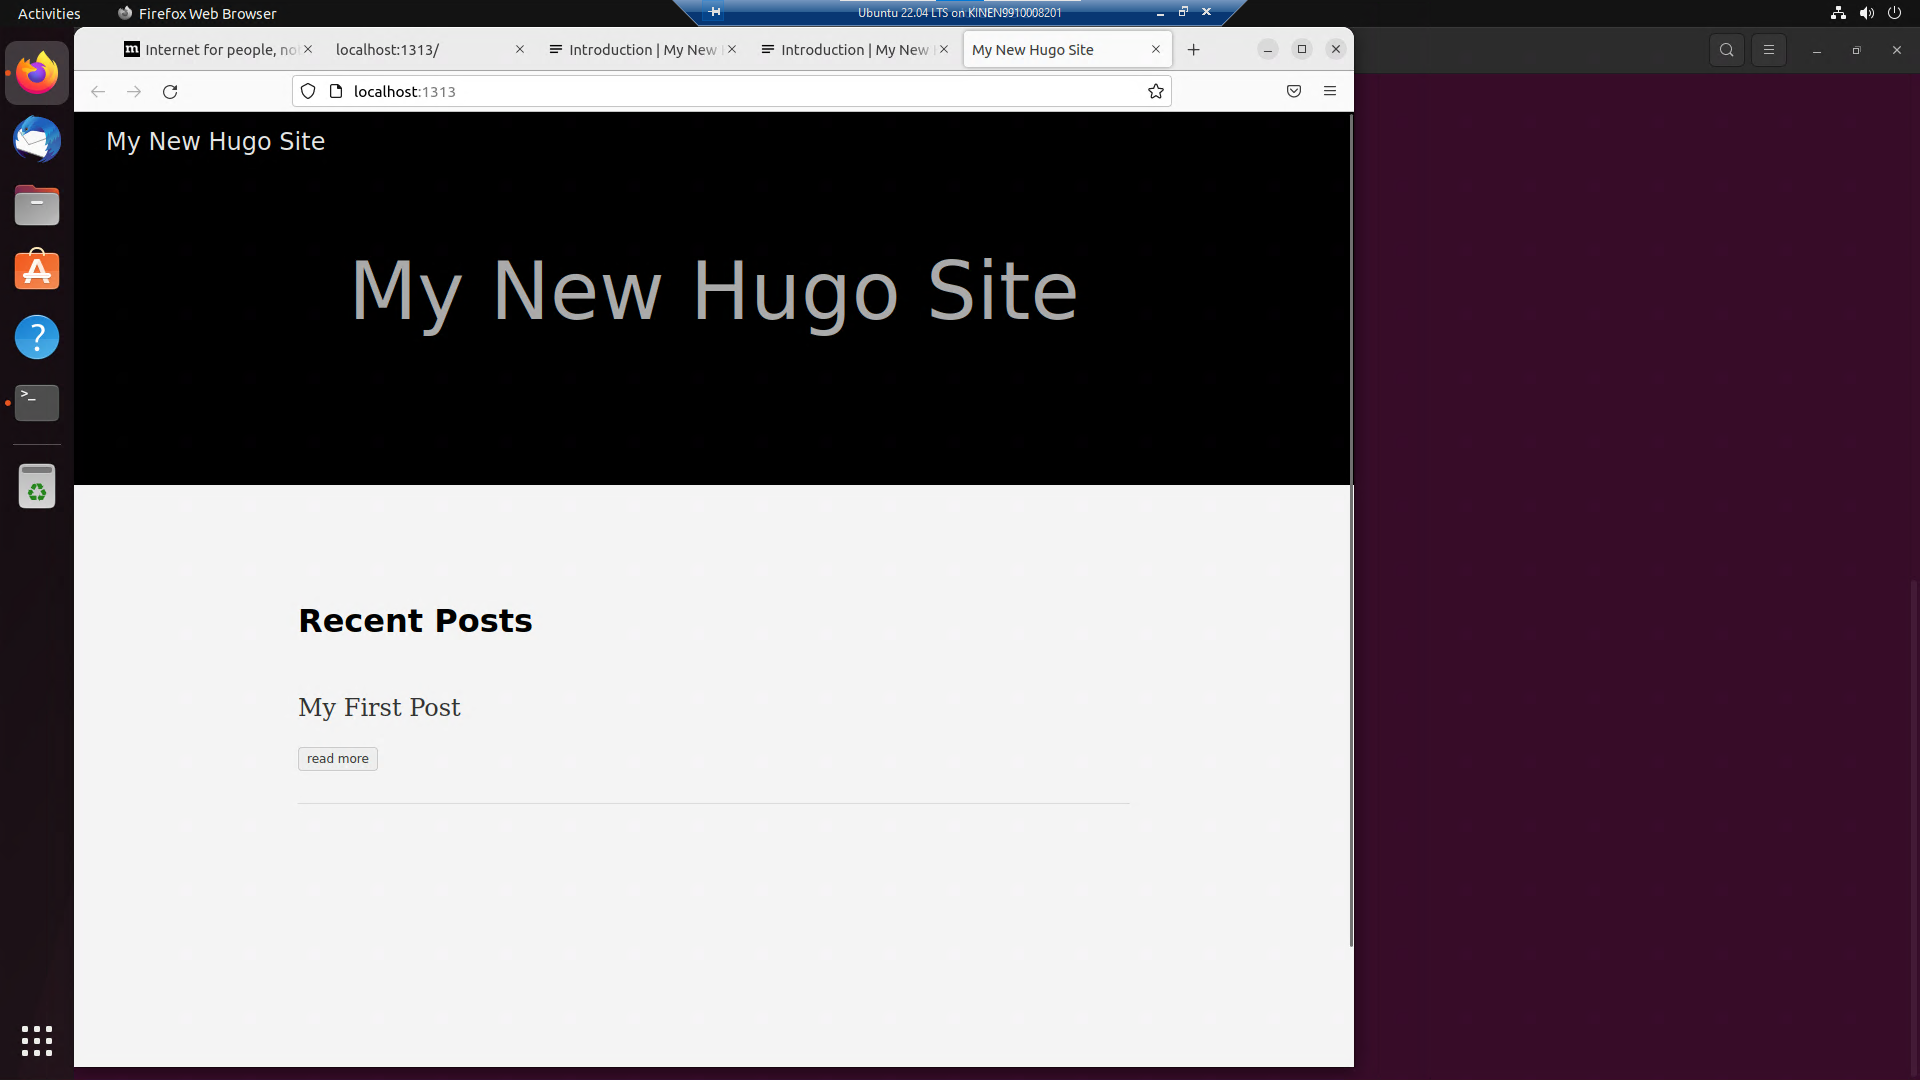
서버를 실행 하고, 구성파일(config.toml) 변경해서 실시간 반영 확인했더니 잘 변경된다.
$ vi config.toml
baseURL = "https://example.org/"
languageCode = "en-us"
title = "Theme changed"
theme = "ananke"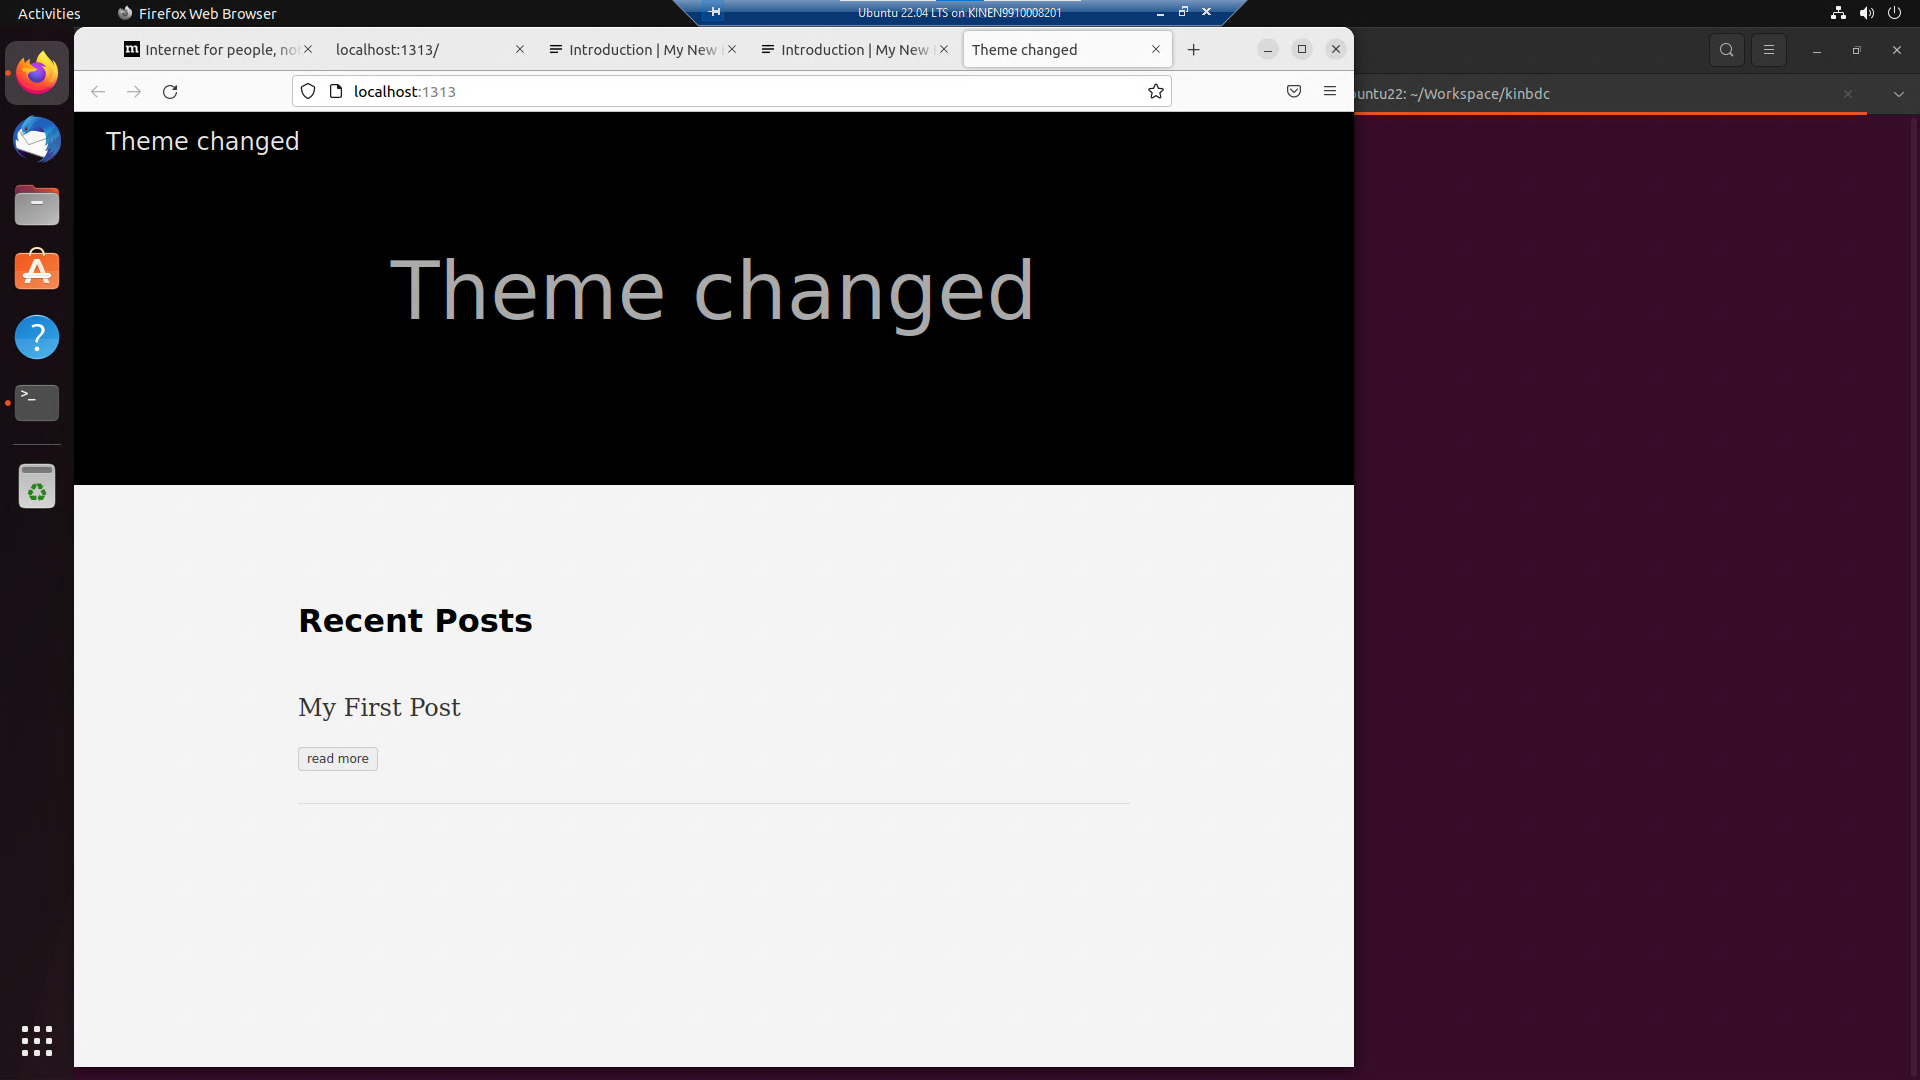
컨텐츠 리파지토리 커밋/푸시 진행
$ echo "public/" >> .gitignore
$ more .gitignore
$ git add .
$ git commit -m "first commit"
$ git remote add origin https://github.com/kinbdc/kinbdc.git
$ git push origin master
배포 실행
컨테츠 저장소에서 public/ 디렉토리가 존재하는데, 실제 public 에 있는 내용들은 웹에서 보여줄 랜더링된 결과물이다. 이 결과물이 .github.io 저장소에 저장되어야 한다.
첫 페이지를 수정하여 제대로 업데이트 반영이 되는지 확인해 보자
$ pwd
/home/ryan/Workspace/kinbdc

$ vi ./content/posts/my-first-post.md
---
title: "My First Post"
date: 2022-07-28T08:25:37+05:30
draft: false
---

### First Blog

* TEST

:wq!

$ hugo server -D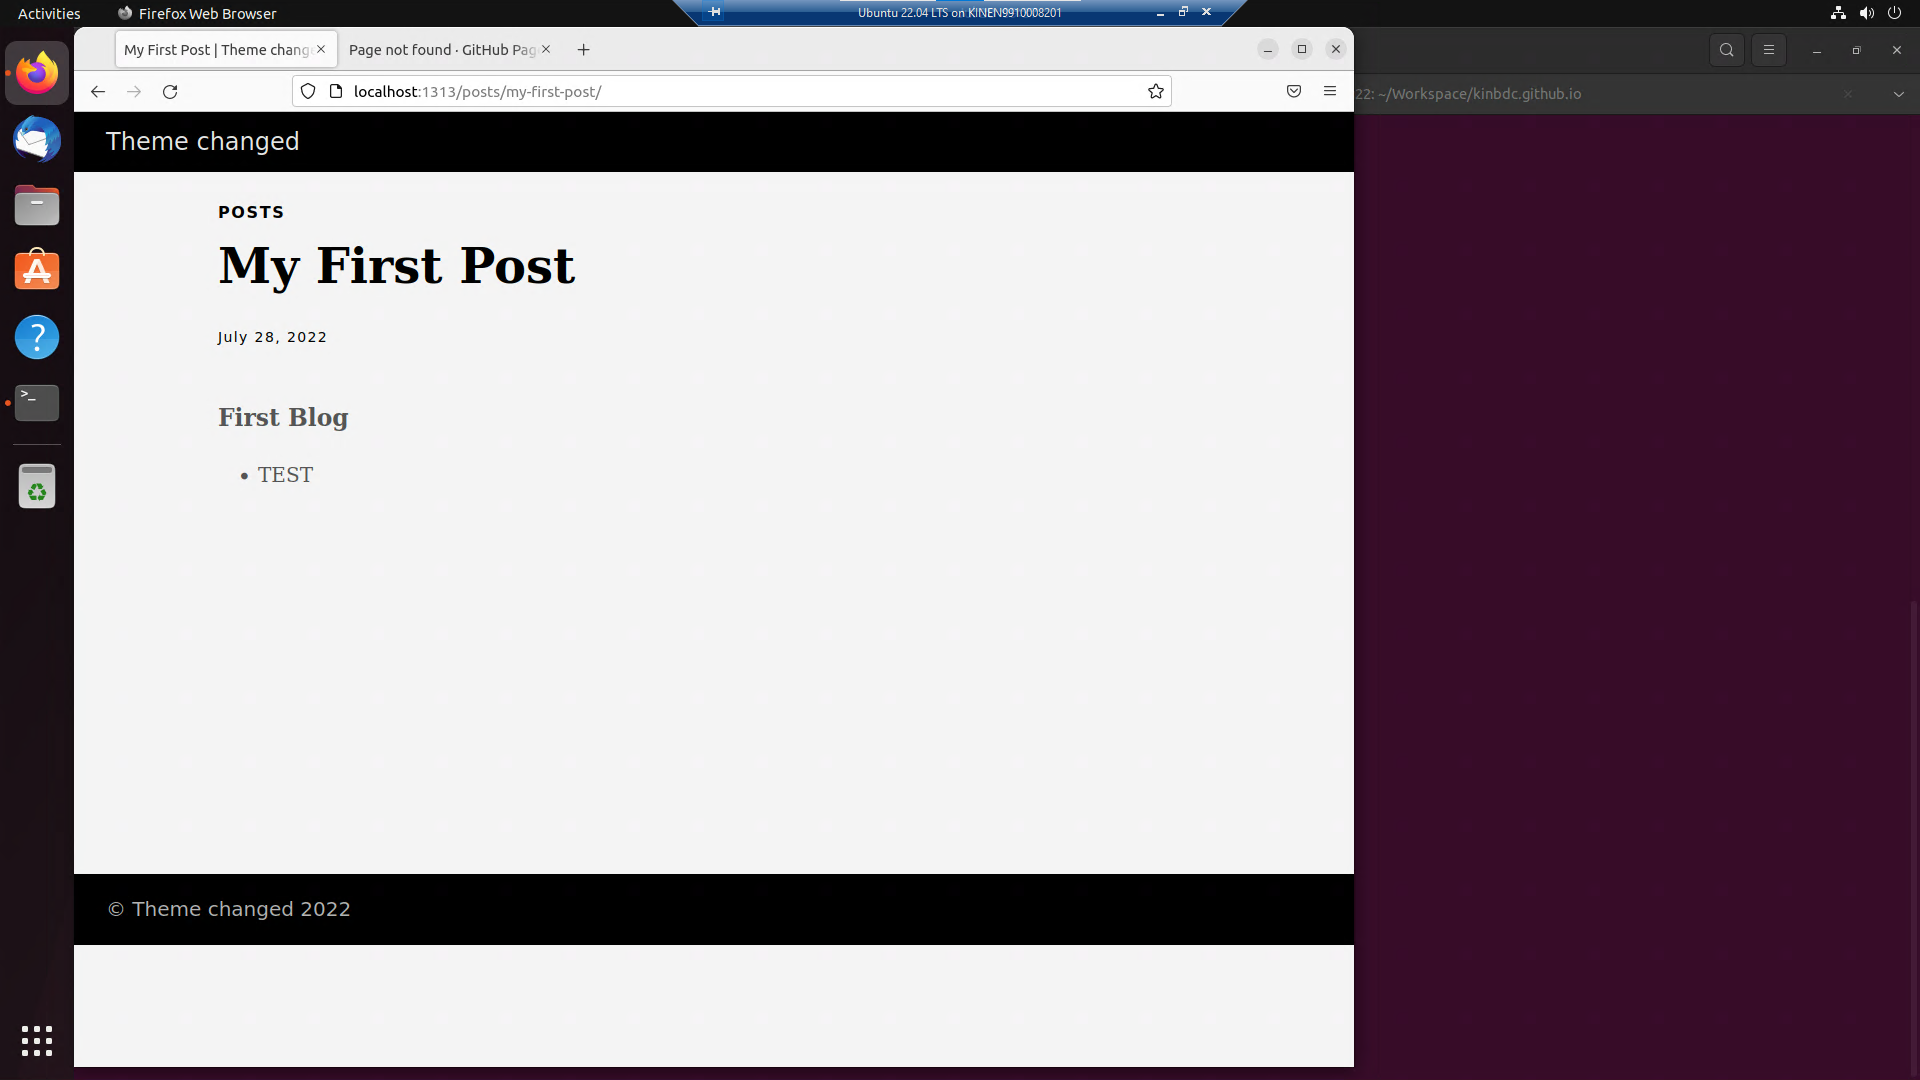
반영이 잘 되는 것을 확인했으니, 이제는 배포를 위한 랜더링 발행한다.
$ hugo
Start building sites …
hugo v0.92.2+extended linux/amd64 BuildDate=2022-02-23T16:47:50Z VendorInfo=ubuntu:0.92.2-1

                   | EN
-------------------+-----
  Pages            | 10
  Paginator pages  |  0
  Non-page files   |  0
  Static files     |  1
  Processed images |  0
  Aliases          |  1
  Sitemaps         |  1
  Cleaned          |  0

Total in 79 ms

$ cd public
$ tree
.
├── 404.html
├── ananke
│   └── css
│       ├── main.css.map
│       └── main.min.css
├── categories
│   ├── index.html
│   └── index.xml
├── images
│   └── gohugo-default-sample-hero-image.jpg
├── index.html
├── index.xml
├── posts
│   ├── index.html
│   ├── index.xml
│   ├── my-first-post
│   │   └── index.html
│   └── page
│       └── 1
│           └── index.html
├── sitemap.xml
└── tags
    ├── index.html
    └── index.xml

9 directories, 15 files
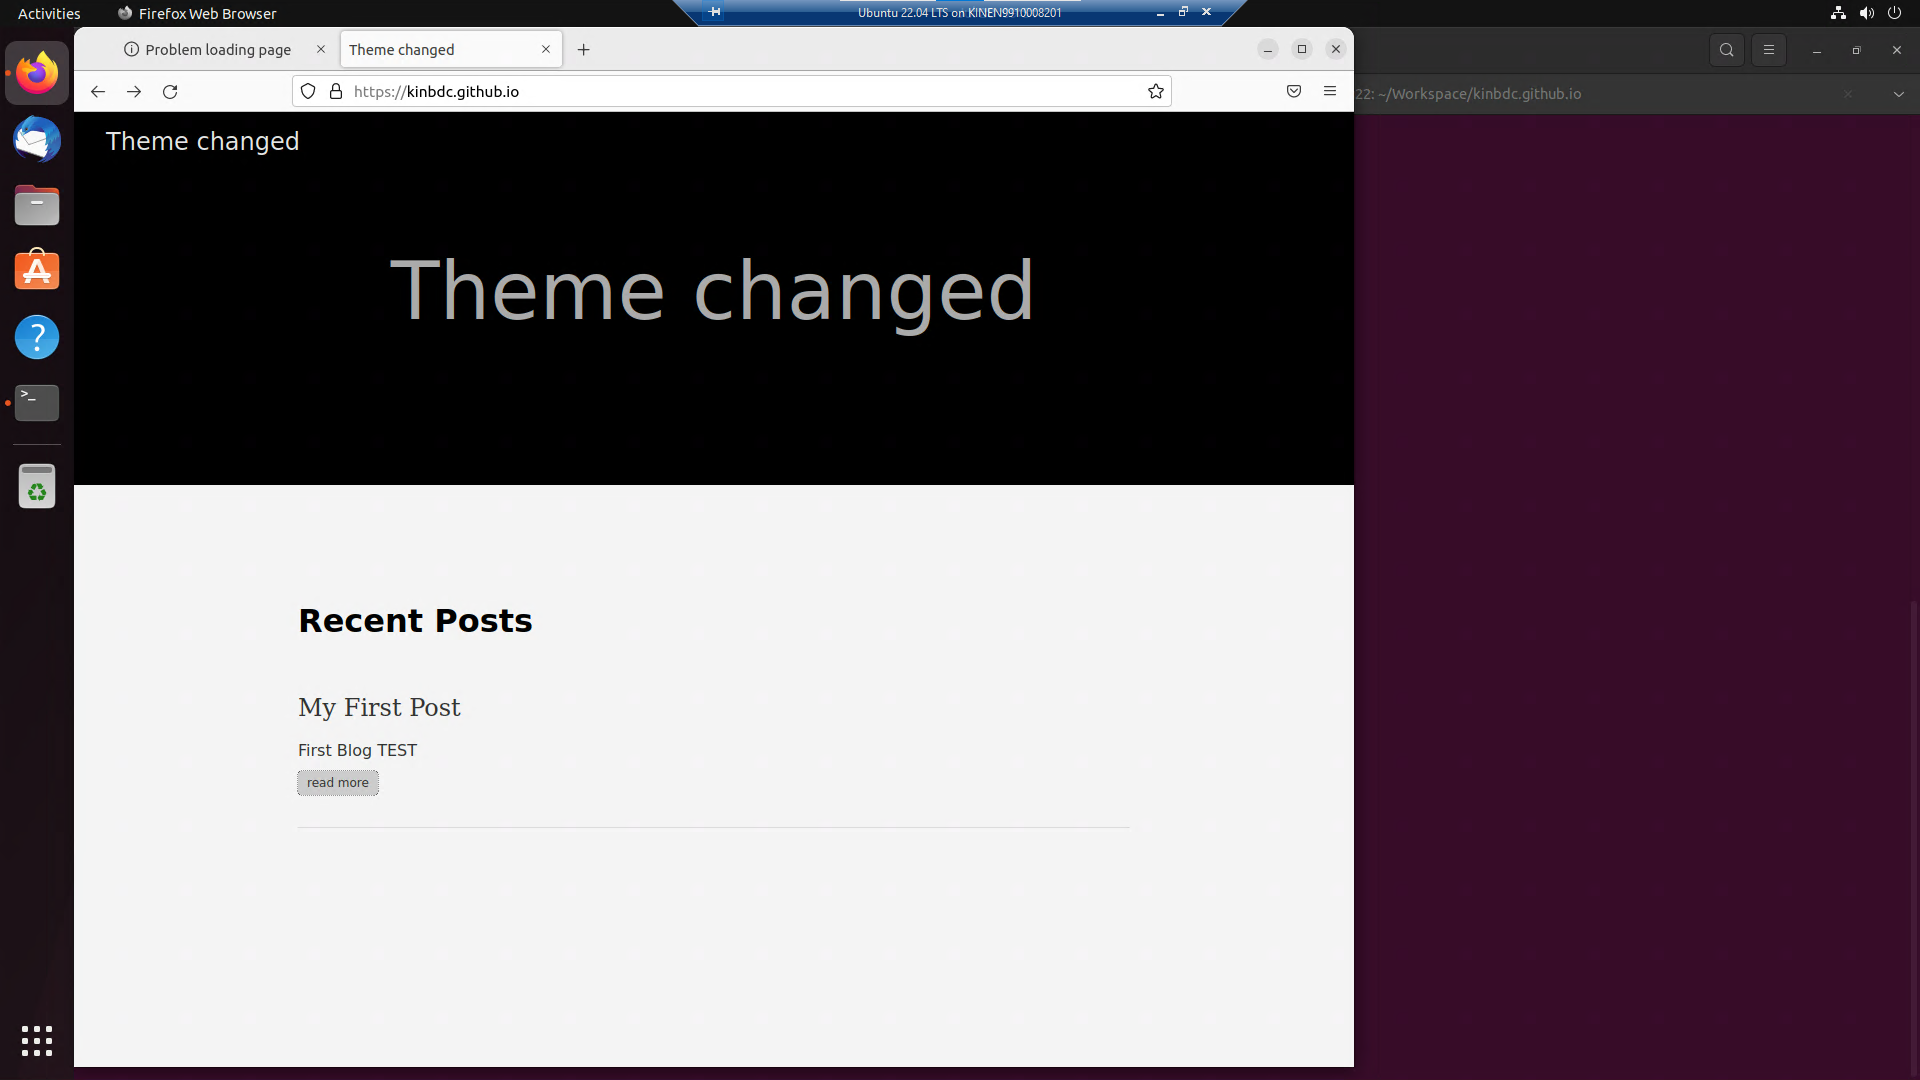
kinbdc.github.io 에 배포를 해보자
$ git clone https://github.com/kinbdc/kinbdc.github.io.git
Cloning into 'kinbdc.github.io.git'...
warning: You appear to have cloned an empty repository.

$ cd kinbdc.github.io.git
$ cp -R ../kinbdc/public/* ./
$ git init
$ git add .
$ git commit -m "Hugo blog first commit"
$ git push origin master
https://kinbdc.github.io 에 잘 반영되었다.
결국 컨텐츠 블로그의 public/ 디렉터리 내용을 모두 kinbdc.github.io 에 복사하고, 양쪽 모두 커밋/푸시를 해야 하는 과정이다. 이런 과정이 불편 하므로 kinbdc.github.io 저장소를 public 디렉토리 안에서 선행작업을 하고, 배포 스크립트에 의해서 배포하도록 만든다.
배포 스크립트 작성
변경 사항을 확인해야 하므로, 페이지를 수정한다.
$ pwd
/home/ryan/Workspace/kinbdc

$ vi ./content/posts/my-first-post.md
---
title: "My First Post"
date: 2022-07-28T08:25:37+05:30
draft: false
---

Automatically Deploy ....

$ hugo
hugo v0.92.2+extended linux/amd64 BuildDate=2022-02-23T16:47:50Z VendorInfo=ubuntu:0.92.2-1

                   | EN
-------------------+-----
  Pages            | 10
  Paginator pages  |  0
  Non-page files   |  0
  Static files     |  1
  Processed images |  0
  Aliases          |  1
  Sitemaps         |  1
  Cleaned          |  0

Total in 76 ms

$ cd public
$ git init
$ git add .
$ git commit -m "hugo distributing in public directory"
$ git remote add origin https://github.com/kinbdc/kinbdc.github.io.git
$ git pull https://github.com/kinbdc/kinbdc.github.io.git
$ git push origin main
그리고 배포 스크립트를 작성한다.
$ pwd
/home/ryan/Workspace/kinbdc

$ vi deploy.sh
#!/usr/bin/env bash
echo -e "Deploying updates to GitHub..."
hugo -t ananke
cd public
git add .
message="`date`: Randering blog ... "
if [ $# -eq 1 ]
then message="$1"
fi
git commit -m "$message"
git push origin master
cd ..
git add .
message="`date`: Rebuilding blog ..."
if [ $# -eq 1 ]
then message="$1"
fi
git commit -m "$message"
git push origin master$ bash deploy.sh이제 다른 디렉터리인 kinbdc.github.io 에서 커밋/푸시를 하지 않아도 된다.

잡동사니