canvas
JavaScript를 사용하여 웹 페이지에서 그래픽을 동적으로 그리는 데 사용
선 그리기
캔버스에 0, 0에서 시작해 200, 100까지 직선을 그리는 예시
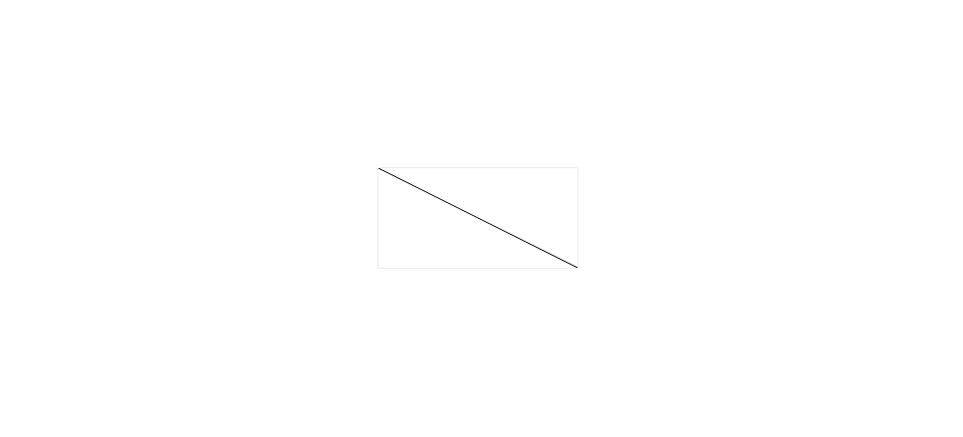
<canvas class="canvas" width="200" height="100"></canvas>
<script>
    const canvas = document.querySelector(".canvas");
    const ctx = canvas.getContext("2d");

    // 선 그리기
   ctx.moveTo(0, 0);     // 시작점 (x, y)
   ctx.lineTo(200,100);  // 끝점 (x, y)
   ctx.stroke();         // 선을 그리기
</script>
moveTo(x, y) 펜을 특정 위치로 옮기기
선을 그리기 전에 여기서 시작 한다는 의미
lineTo(x, y)
현재 위치에서 (x, y)까지 선을 쭉 긋는다는 의미
이때 바로 그려지진 않고 그릴 준비
stroke()
지금까지 준비해놓은 경로(path)를 실제로 화면에 그려줌
moveTo, lineTo, arc 이런 걸로 그릴 준비를 했던 걸 캔버스에 나타나게 해줌
<canvas class="canvas" width="200" height="100"></canvas>
<script>
const canvas = document.querySelector(".canvas");
const ctx = canvas.getContext("2d");
// 선 그리기
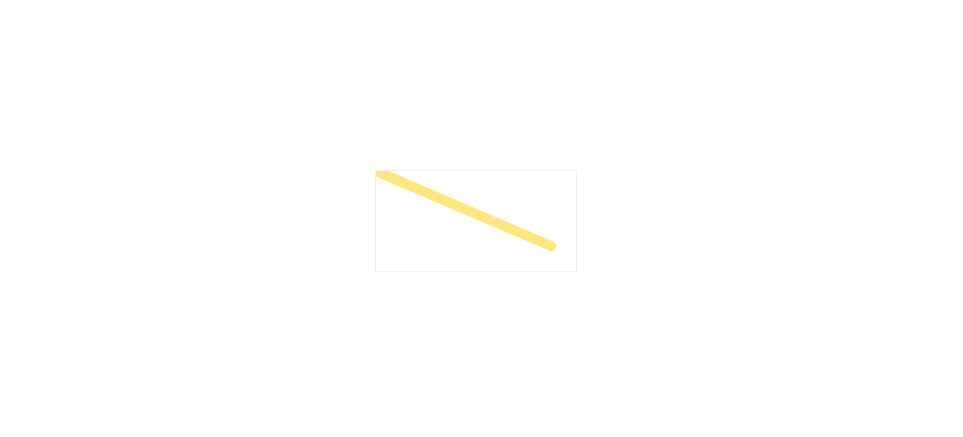
ctx.beginPath();
ctx.moveTo(0, 0);
ctx.lineTo(175,75);
ctx.lineWidth = 10; // 선 두께
ctx.lineCap = "round"; // 선 끝 둥글
ctx.strokeStyle = "#fde780"; // 선 색
ctx.stroke();
</script>원 그리기
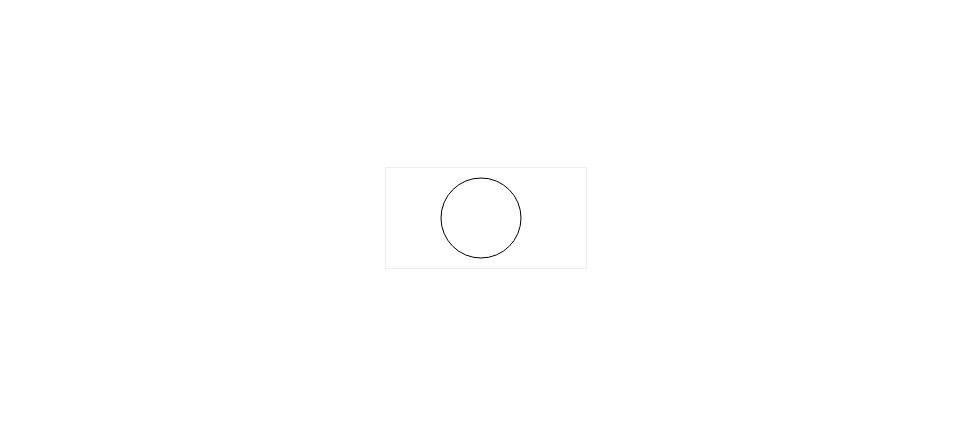
<canvas class="canvas" width="200" height="100"></canvas>
<script>
  const canvas = document.querySelector(".canvas");
  const ctx = canvas.getContext("2d");
  ctx.beginPath();
  ctx.arc(95, 50, 40, 0, Math.PI * 2);
  ctx.stroke();
</script>
beginPath() 이전에 그려둔 선이나 도형과 분리해서 독립적인 "경로(Path)"를 만들고 싶을 때/ 보통 원, 삼각형, 복잡한 도형 그릴 때 새로 시작하니까 beginPath 사용
ctx.arc(x, y, radius, startAngle, endAngle);
| 인자 | 뜻 |
|---|---|
| x 원의 중심 | x 좌표 |
| y 원의 중심 | y 좌표 |
| radius | 반지름 길이 |
| startAngle | 시작 각도 (radian 단위) |
| endAngle | 끝나는 각도 (radian 단위) |
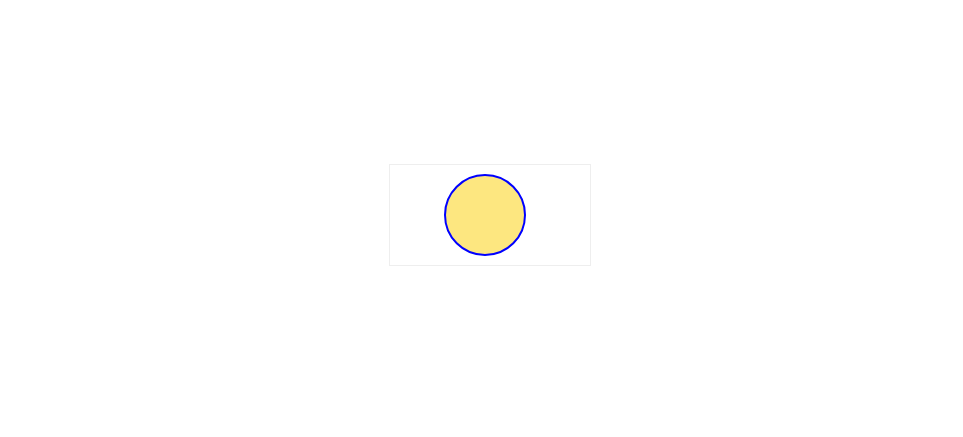
<canvas class="canvas" width="200" height="100"></canvas>
<script>
    const canvas = document.querySelector(".canvas");
    const ctx = canvas.getContext("2d");
    ctx.beginPath();
    ctx.arc(95, 50, 40, 0, Math.PI * 2);
    ctx.fillStyle = "#fde780";
    ctx.fill();

    ctx.lineWidth = 2;
    ctx.strokeStyle = "blue";
    ctx.stroke();
</script>
사각형 그리기
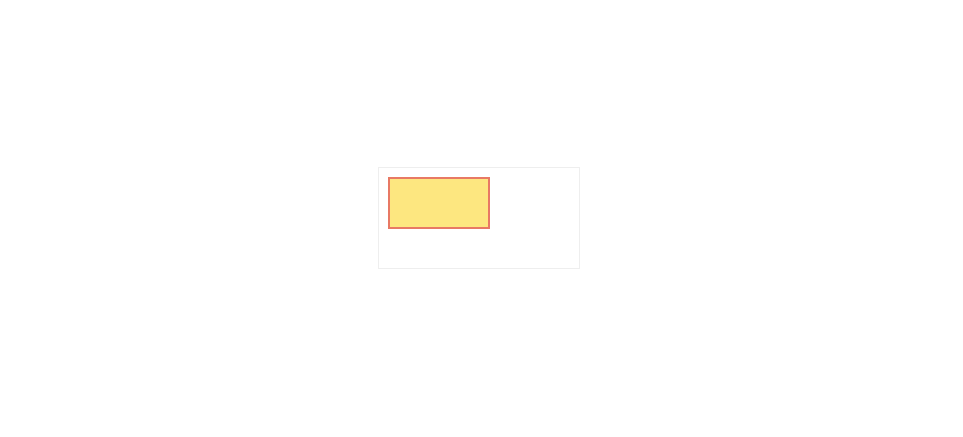
<canvas class="canvas" width="200" height="100"></canvas>
<script>
    const canvas = document.querySelector(".canvas");
    const ctx = canvas.getContext("2d");

    ctx.fillStyle = "#fde780";
    ctx.strokeStyle = "#e87964";
    ctx.lineWidth = 2;
    ctx.fillRect(10,10,100,50);
    ctx.strokeRect(10,10,100,50);
</script>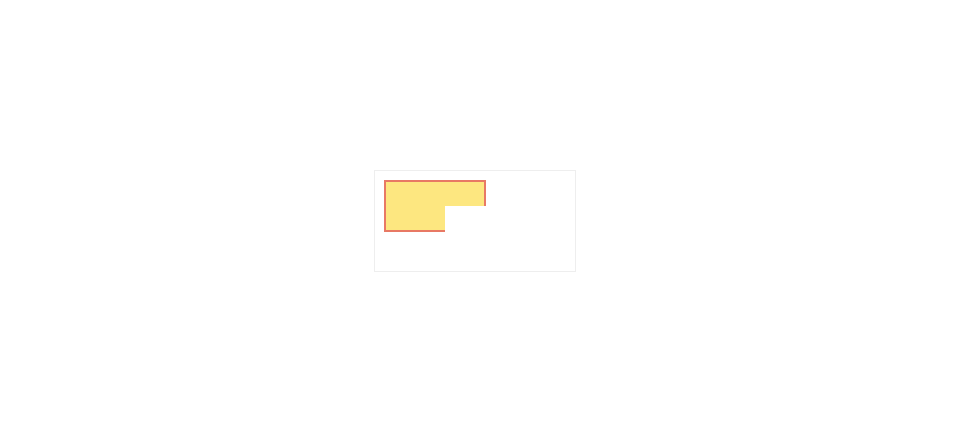
clearRect() 캔버스에서 특정 영역을 지우는 메서드
<canvas class="canvas" width="200" height="100"></canvas>
<script>
    const canvas = document.querySelector(".canvas");
    const ctx = canvas.getContext("2d");

    ctx.fillStyle = "#fde780";
    ctx.strokeStyle = "#e87964";
    ctx.lineWidth = 2;
    ctx.fillRect(10,10,100,50);
    ctx.strokeRect(10,10,100,50);

    ctx.clearRect(70,35,50,50);
</script>
텍스트

<canvas class="canvas" width="200" height="100"></canvas>
<script>
  const canvas = document.querySelector(".canvas");
  const ctx = canvas.getContext("2d");
  // 폰트 종류 무조건 작성해야함
  ctx.font = "30px sans-serif";
  ctx.strokeText("canvas", 10, 40);
  ctx.fillText("canvas", 10, 80);
</script>
<canvas class="canvas" width="200" height="100"></canvas>
<script>
    const canvas = document.querySelector(".canvas");
    const ctx = canvas.getContext("2d");

    const grad = ctx.createLinearGradient(0,0,280,0);
    grad.addColorStop(0, "lightblue");
    grad.addColorStop(1, "darkblue");

    ctx.font = "bold 30px sans-serif";
    ctx.fillStyle = grad;
    ctx.fillText("canvas", 10, 80);
</script>
그라디언트
<canvas class="canvas" width="200" height="100"></canvas>
<script>
  const canvas = document.querySelector(".canvas");
  const ctx = canvas.getContext("2d");

  const grd = ctx.createLinearGradient(0, 0, 200, 0);
  grd.addColorStop(0, "#eeeeee");
  grd.addColorStop(1, "white");

  ctx.fillStyle = grd;
  ctx.fillRect(10, 10, 150, 80);
</script>
createLinearGradient(0, 0, 200, 0)
0, 0 → 그라디언트의 시작점 (x=0, y=0)
200, 0 → 그라디언트의 끝점 (x=200, y=0)
왼쪽(0px)부터 오른쪽(200px)까지 수평(horizontal) 방향으로 색이 변하는 그라디언트를 만든다는 뜻
const grd = ctx.createLinearGradient(0, 0, 0, 100);
위(0)에서 아래(100)로 수직(vertical) 방향으로 변하는 그라디언트
grd.addColorStop(0, "#eeeeee")
그라디언트의 0% 위치(맨 처음) 에 #eeeeee 색상을 설정
grd.addColorStop(1, "white")
그라디언트의 100% 위치(끝) 에 white(흰색) 색상을 설정
fillRect(10, 10, 150, 80)
10, 10 → 직사각형을 그릴 시작 좌표 (x=10px, y=10px)
150 → 직사각형의 가로 길이 (width = 150px)
80 → 직사각형의 세로 길이 (height = 80px)
➔ 캔버스 안에서 (10,10) 위치부터 가로 150px, 세로 80px 크기의 사각형을 그림
Radial Gradients
https://www.w3schools.com/graphics/canvas_radial_gradients.asp
이미지 넣기
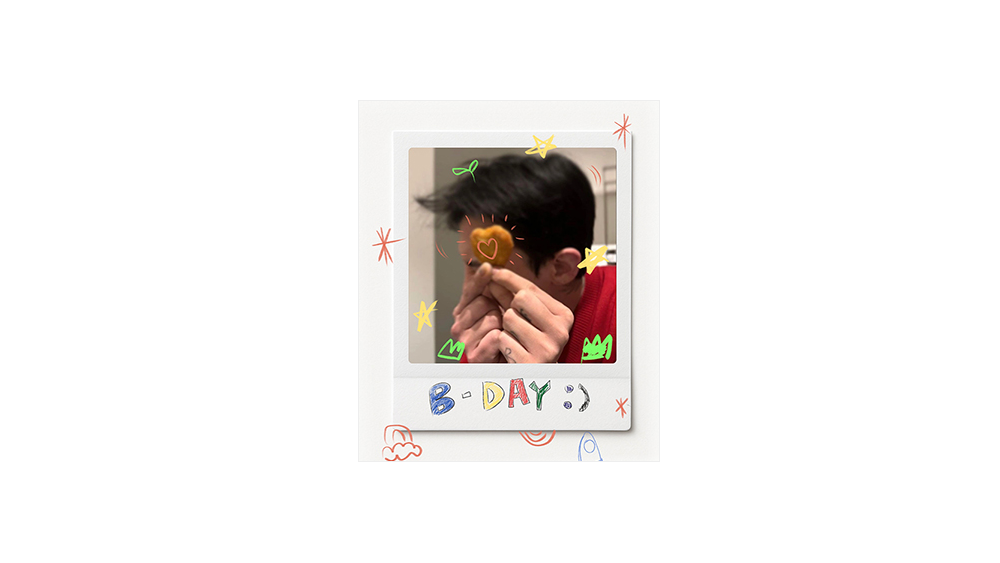
<canvas class="canvas" width="300" height="360"></canvas>
<script>
   const canvas = document.querySelector(".canvas");
   const ctx = canvas.getContext("2d");

   const img = new Image();
   img.src = "./images/capture.jpg";

   img.onload = () => {             // 이미지가 로드되면
      ctx.drawImage(img, 0, 0);    // (0,0) 위치에 이미지 그리기
   }
</script>
<canvas class="canvas" width="300" height="360"></canvas>
<script>
   const canvas = document.querySelector(".canvas");
   const ctx = canvas.getContext("2d");

   const img = new Image();
   img.src = "./images/capture.jpg";

   img.onload = () => {
        ctx.drawImage(img, 90, 130, 100, 100, 10, 10, 150, 160);
   }
</script>
90, 130: 원본 이미지에서 (90, 130) 위치부터 시작해서 잘라낼 영역의 좌표.
sx = 90: 원본 이미지에서 X 좌표 90px 위치
sy = 130: 원본 이미지에서 Y 좌표 130px 위치
50, 60: 원본 이미지에서 너비 50px, 높이 60px 만큼의 영역을 잘라냄.
sWidth = 50: 원본 이미지에서 잘라낼 부분의 너비
sHeight = 60: 원본 이미지에서 잘라낼 부분의 높이
10, 10: 캔버스에 그릴 위치 (10, 10) 으로 설정.
dx = 10: 캔버스에서 이미지가 그려질 X 좌표 (10px)
dy = 10: 캔버스에서 이미지가 그려질 Y 좌표 (10px)
150, 160: 캔버스에 이미지를 그릴 때 너비 150px, 높이 160px 로 크기를 조절.
dWidth = 150: 캔버스에 그려질 이미지의 너비
dHeight = 160: 캔버스에 그려질 이미지의 높이
원본 이미지의 (90, 130) 위치에서 50x60 크기를 잘라내고 그 잘라낸 이미지를 캔버스의 (10, 10) 위치에, 크기를 150x160으로 변형해서 그림
clip
현재 경로를 클리핑 영역으로 설정하는 메서드
그려지는 내용이 지정된 경로 안에만 표시되고 그 외의 부분은 잘려서 보이지 않게 됨
<canvas id="myCanvas" width="300" height="200"></canvas>
<script>
  const canvas = document.getElementById("myCanvas");
  const ctx = canvas.getContext("2d");

  // 사각형 경로를 정의
  ctx.beginPath();
  ctx.rect(50, 50, 200, 100);  // (50, 50) 위치에 200x100 크기의 사각형
  ctx.clip();  // 이 사각형을 클리핑 영역으로 설정

  // 그려질 내용은 이제 클리핑 영역 안에만 보인다
  ctx.fillStyle = "blue";
  ctx.fillRect(30, 30, 250, 150);  // (30, 30) 위치에서 250x150 크기의 사각형을 그림
</script>
globalCompositeOperation
그림을 그릴 때 이전에 그린 내용과 새로운 내용이 어떻게 결합될지 결정하는 속성
이 속성은 그림의 blending mode(혼합 모드)와 비슷한 역할
'source-over' 값은 기본값
현재 그려지는 내용이 기존 내용 위에 덧붙여지도록 함
‘source-in’ 새로운 내용을 그릴 때, 겹치는 부분만 그림
‘source-out’ 새로운 내용이 겹치는 부분을 제외하고 그림
‘destination-over’ 새로 그린 내용이 기존 내용 위에 그려지지 않고 그 반대 위치에 그려짐
‘destination-atop‘ 새로 그리는 내용이 기존 내용 위에 그려지되, 기존 내용의 영역을 벗어나지 않도록 설정