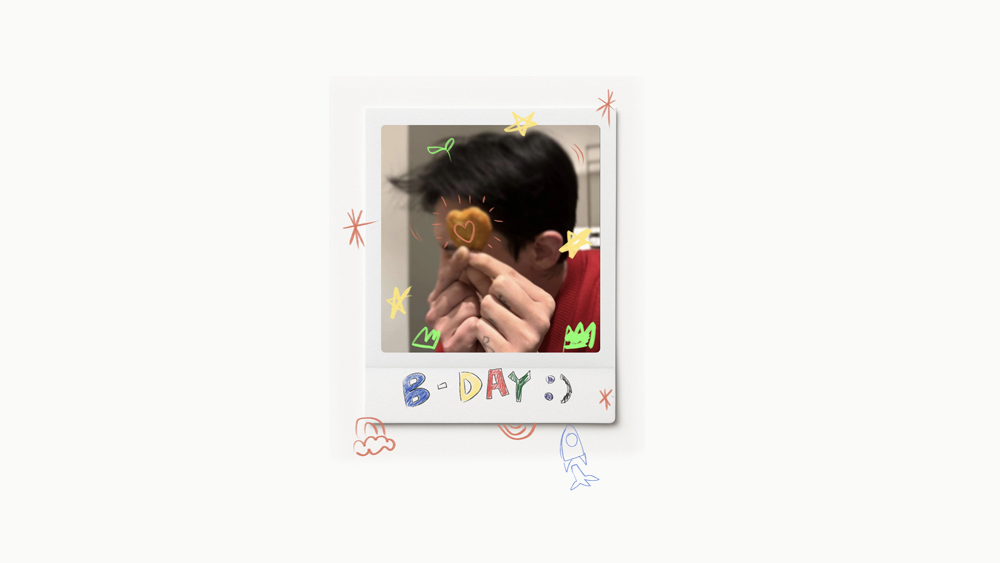
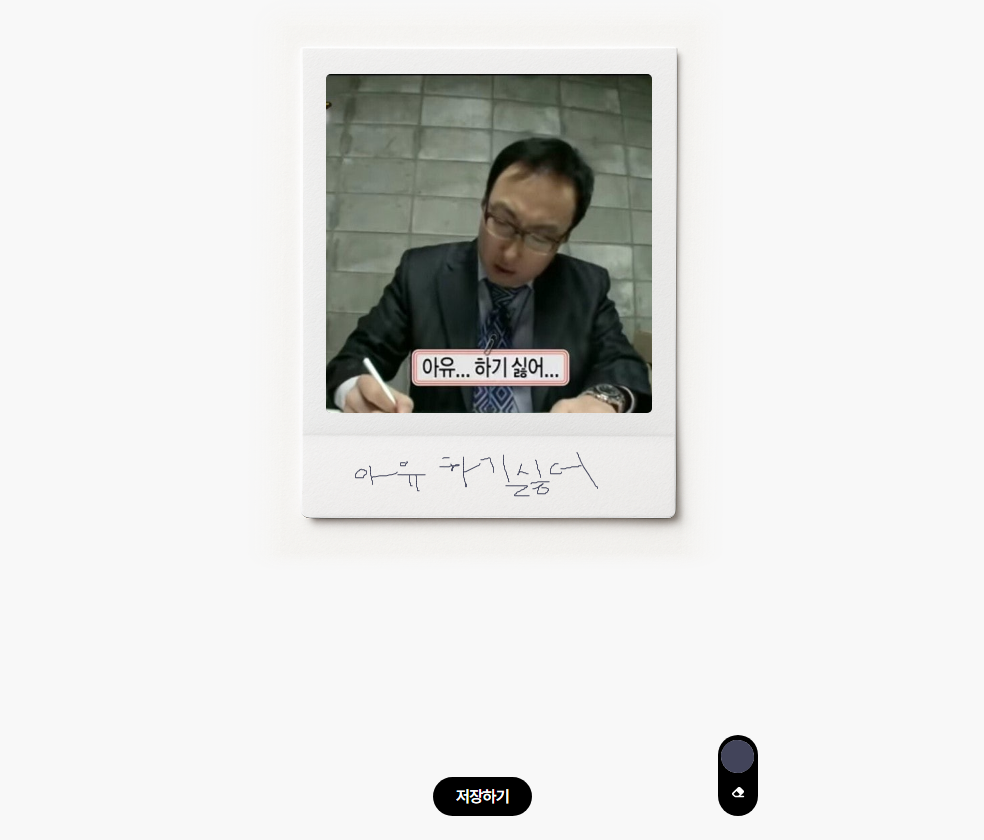
1 폴라로이드
챗지피티한테 만들어달라고 하기
2 파일 업로드해서 화면에 그리기
영역 잡고
<div class="content">
<div class="img">
// 그림 그리는 캔버스
<canvas class="canvas2"></canvas>
// 폴라로이드 이미지
<img src="./images/polo.png" alt />
<div class="input-file">
<span class="ico ico-img"></span>
<input type="file" id="fileInput" accept="image/png, image/jpeg" />
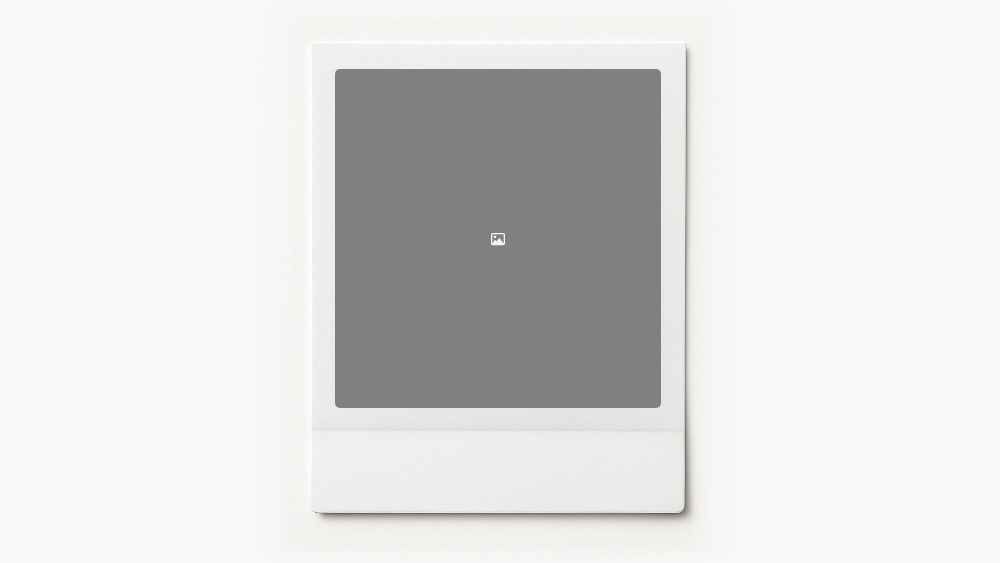
// 이미지 첨부한 거 보여지는 영역
<div class="preview"></div>
</div>
</div>
// 마지막에 저장할 이미지 캡쳐해서 나오는 영역
<div class="complete-container">
<div class="complete-bg"></div>
<div class="complete"></div>
</div>
</div>function FileUpload() {
const fileInput = document.querySelector('#fileInput');
const uploadButton = document.querySelector('.input-file');
const preview = document.querySelector('.preview');
const saveButton = document.querySelector('.button-save');
// 사진 영역 클릭하면 INPUT 실행
uploadButton.addEventListener('click', () => {
fileInput.click();
})
fileInput.addEventListener('change', (event) => {
const file = event.target.files[0];
const reader = new FileReader();
// 백그라운드 이미지로 넣어줘야함
// 그렇지 않으면 html2canvas에서 비율 지맘대로 함
reader.onload = (e) => {
preview.style.backgroundImage = `url('${e.target.result}')`;
};
reader.readAsDataURL(file);
// 저장하기 버튼은 파일이 업로드 됐을때만~
saveButton.disabled = !file;
// canvas2는 색상 꾸미는 캔버스
// 사진 업로드 되면 사진위에 꾸밀 수 있게
document.querySelector('.canvas2').style.zIndex =100;
});
// 이미지 표시 함수
displayImage(saveButton)
}/** 이미지 파일 첨부 나타내기*/
function displayImage(saveButton) {
const completeContainer = document.querySelector('.complete-container');
const complete = completeContainer.querySelector('.complete');
// 저장하기 버튼 누르면
saveButton.addEventListener('click', (e) => {
// html2canvas 실행
// .IMG는 캡쳐할 영역
html2canvas(document.querySelector(".img"), {
}).then(canvas => {
const img = document.createElement('img');
img.src = canvas.toDataURL("image/png");
// 따로 설정해줘야함
img.style.objectFit = 'cover';
img.onload = () => {
complete.appendChild(img);
completeContainer.classList.add('complete')
};
canvas.style.display = 'none';
});
})
// 컴플리트 BG 누르면 초기화
completeContainer.querySelector('.complete-bg').addEventListener('click', () => {
completeContainer.classList.remove('complete');
complete.innerHTML = ``;
preview.style.backgroundImage = ``;
})
}3 그림 그리기
function initCanvas() {
  	// 그림 그려질 영역
    const imgContainer = document.querySelector('.img');
    const canvas = document.querySelector('canvas');
    const eraserButton = document.querySelector('.eraser');

   	// 그려지는
    let drawing = false;
  	// 지워지는 거
    let erasing = false;

  	// 지우개 버튼 클릭하면 지워지는
    eraserButton.addEventListener('click', () => {
        erasing = !erasing;
    });

  	// 캔버스 넓이를 두배로 잡아줘야 그림그릴 때 화질이 좋아짐
    canvas.width = imgContainer.clientWidth * 2;
    canvas.height = imgContainer.clientHeight * 2;
    const context = canvas.getContext('2d');


    // 여기서 Pickr
    const pickr = Pickr.create({
        el: '.button-color',
        theme: 'nano',
        components: {
            palette: true,
            preview: true,
            opacity: true,
            hue: true,
        }
    });

   	// 내 마우스
    const getPosition = (e) => {
        const rect = canvas.getBoundingClientRect();
        const x = (e.touches ? e.touches[0].clientX : e.clientX) - rect.left;
        const y = (e.touches ? e.touches[0].clientY : e.clientY) - rect.top;

        return {
            x: x * (canvas.width / rect.width),
            y: y * (canvas.height / rect.height)
        };
    };

    const moveHandler = (e) => {
        if (!drawing) return;

        const pos = getPosition(e);

        if (erasing) {
            context.globalCompositeOperation = 'destination-out'; // 지우개 모드
            context.lineWidth = 10;
        } else {
            context.globalCompositeOperation = 'source-over'; // 일반 그리기 모드

          	// 내가 선택한 색 가져옴
            const color = pickr.getColor();
            if (color) {
              	// rgba로 가져옴
                const rgba = color.toRGBA();
                context.strokeStyle = `rgba(${rgba[0]}, ${rgba[1]}, ${rgba[2]}, ${rgba[3]})`;
            }
          	// 선은 2굵기
            context.lineWidth = 2;
        }

        context.lineTo(pos.x, pos.y);
        context.stroke();
        context.beginPath();
        context.moveTo(pos.x, pos.y);

        e.preventDefault();
    }


    const downHandler = (e) => {
        drawing = true;

        const pos = getPosition(e);
        context.beginPath();
        context.moveTo(pos.x, pos.y);

        e.preventDefault();
    }

    const upHandler = (e) => {
        drawing = false;
        context.beginPath();
        e.preventDefault();
    }

    canvas.addEventListener('mousedown', downHandler);
    canvas.addEventListener('mousemove', moveHandler);
    canvas.addEventListener('mouseup', upHandler);
    canvas.addEventListener('mouseleave', upHandler);

    canvas.addEventListener('touchstart', downHandler);
    canvas.addEventListener('touchmove', moveHandler);
    canvas.addEventListener('touchend', upHandler);
}
그럼 이렇게 그려짐
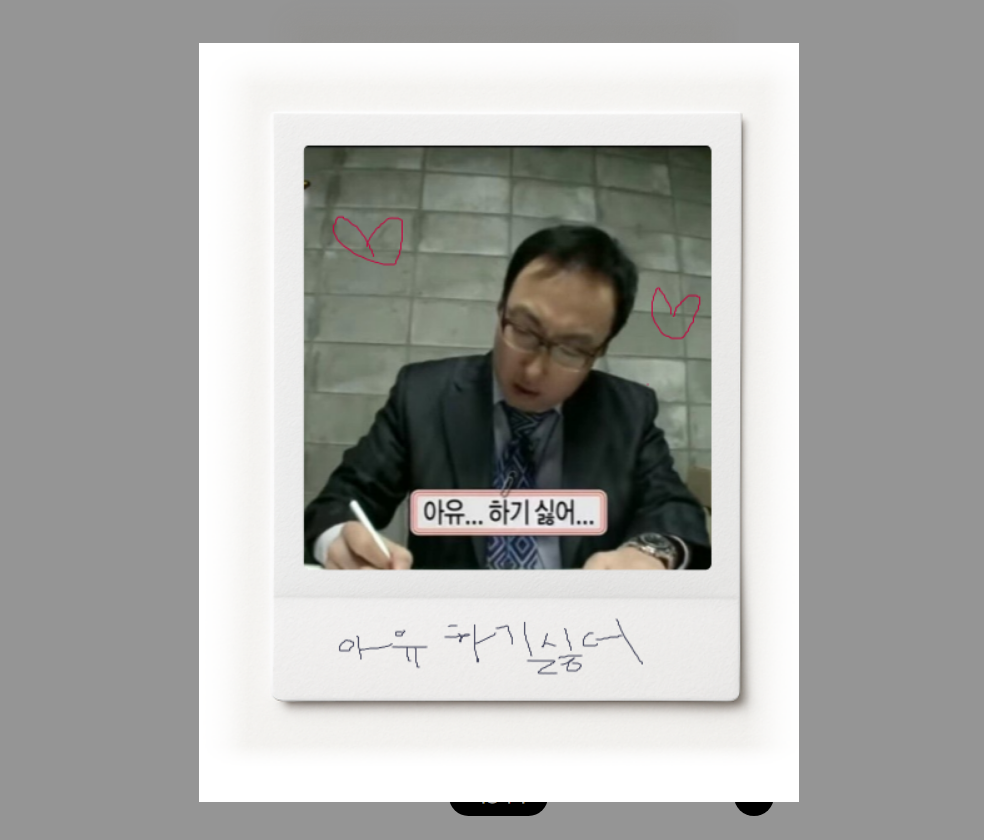
저장하기 클릭 시 해당 영역만 캡쳐되어 이미지로 만들어짐
- html2canvas
https://html2canvas.hertzen.com/
사용자의 브라우저 상에서 웹페이지 또는 그 일부를 스크린샷처럼 캡처할 수 있도록 도와주는 스크립트
작동 방식
수집한 정보를 바탕으로 페이지를 재구성하여 스크린샷처럼 보이게 함
즉, 실제 스크린샷을 찍는 것이 아니라 읽어온 DOM 정보를 기반으로 페이지를 그리는 방식
제한 사항
모든 이미지는 같은 출처(same-origin) 내에 있어야 스크립트가 정상적으로 읽을 수 있음
플러그인 기반 콘텐츠(예: Flash, Java 애플릿)는 렌더링 X
사용 방법
document.body 전체를 캔버스(canvas)로 렌더링한 다음, 결과 캔버스를 페이지에 추가하는 예제
html2canvas(document.body).then(function(canvas) {
    document.body.appendChild(canvas);
});
옵션
| 이름 | 기본값 | 설명 |
|---|---|---|
| backgroundColor | #ffffff | DOM에서 배경색이 지정되지 않은 경우 캔버스 배경색을 설정투명 배경을 원하면 null로 설정 |
| canvas | null | 기존의 캔버스 요소를 사용하여 그리기 위한 베이스로 설정할 캔버스 |
| imageTimeout | 15000 | 이미지를 로드할 때의 타임아웃 시간 (밀리초 단위) 타임아웃을 비활성화하려면 0으로 설정 |
| removeContainer | true | html2canvas가 임시로 생성한 복제된 DOM 요소를 정리할지 여부 |
| scale | window.devicePixelRatio | 렌더링에 사용할 비율. 기본적으로 브라우저의 디바이스 픽셀 비율이 사용 |
- pickr
문제점
내가 첨부한 이미지가 캡쳐될 때 화질 문제
html2canvs에 scale 2~4를 줘도 변함이 없다