Django-REST-Auth
Django-REST-Auth package를 이용하여 사용자의 운영체제에 관계 없이(iOS or Android) RESTful하게 구현된 registration endpoint와 authentication endpoint를 통해 모든 서비스를 이용할 수 있게 한다.
Code
1) DRF 공식문서 사이트 --> API Guide --> Authentication
REST_FRAMEWORK = {
    'DEFAULT_AUTHENTICATION_CLASSES': [
        'rest_framework.authentication.SessionAuthentication',
        # Brower based client에 대해 최적의 방법이므로 남겨둔다
        'rest_framework.authentication.TokenAuthentication',
        # 원래 적혀있던 BasicAuthentication은 사용하지 않을 것이므로 TokenAuthentication으로 대체해주었다.
    ]
}
위의 코드를 settings.py에 작성해준다.
그대로 settings.py 상단에 위치한 INSTALLED_APPS에 이미 적혀있는 'rest_framework' 아래에
'rest_framework.authtoken'을 추가한다. 이로서 우리가 사용하는 토큰은 이제 우리 DB에 저장될 수 있게 된다. 그리고 중요한 것,
이 코드를 추가한 이후에는 DB에의 변동사항이 생길 것이므로, 즉 DB에의 적용이 필요하기 때문에 python manage.py migrate를 실행해야 한다.

그 이후 127.0.0.1:8000/admin 페이지에 들어가보면 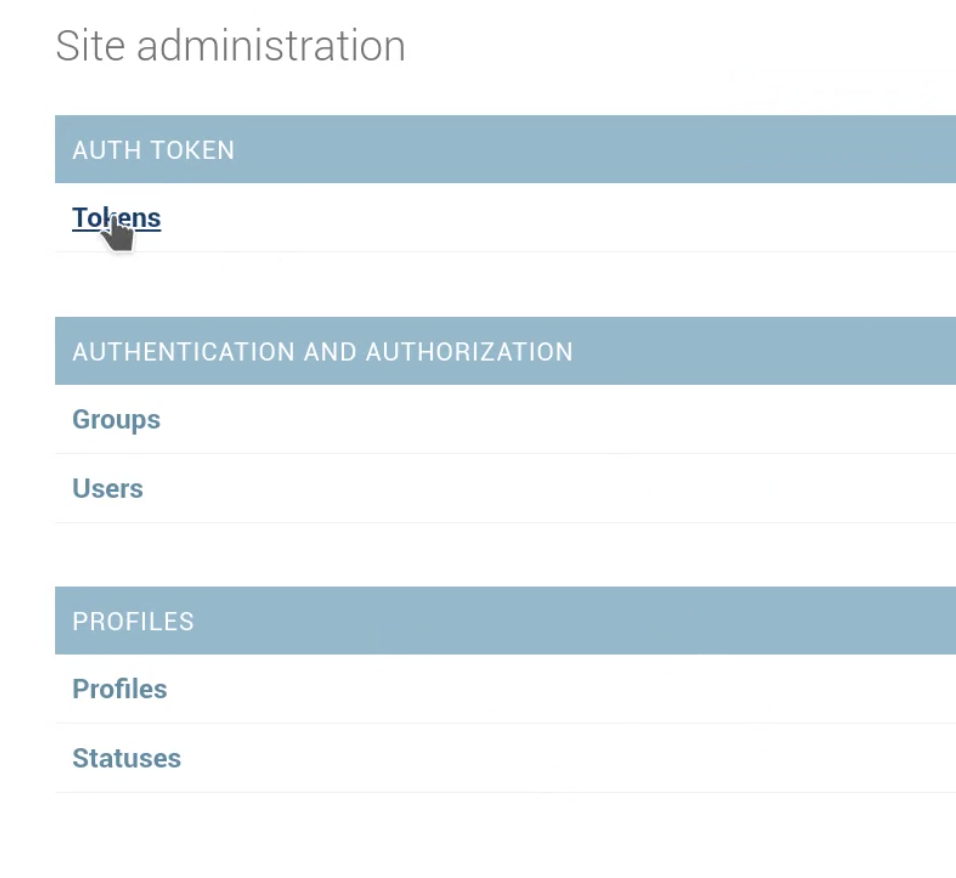
AUTH TOKEN 테이블이 생긴 것을 확인할 수 있게 된다. 이 부분은 Tokens를 눌러서 즉 GUI단에서 정보를 처리할 필요가 없는데 DRF에 의해 자동적으로 추가될 부분이기 때문이다.
2) 이후 registration과 authentication 엔드포인트를 한 번에 제공해줄 아주 강력한 package를 설치하기 위해 pip install django-rest-auth를 수행한다.
3) 이후 임의의 client를 만들기 위해 pip install requests를 수행한다.
4) 이렇게 pip install이 있고나서는 꼭 requirements.txt가 있는 단으로 이동하여 pip freeze > requirements.txt를 하여 requirements.txt를 수정해주도록 한다.
5) 여기까지 됐으면 settings.py의 INSTALLED_APPS에 'rest_auth'를 추가한다.
6) profilesapi/profilesapi/urls.py
from django.conf import settings
from django.conf.urls.static import static

from django.contrib import admin
from django.urls import path, include # 1) include를 추가한 후

from rest_auth.views import LoginView
# 3) 그리고 더욱 comprehensible한 로그인을 위해 윗줄을 임포트했다.
# LoginViews는 GenericAPIView를 상속한 View인데
# credentials를 확인하여 유효할 경우, REST Token의 key를 발급한다.

urlpatterns = [
    path('admin/', admin.site.urls),
    path('api-auth/', include('rest_framework.urls')),
    path('api/rest-auth/', include('rest_auth.urls')),
    # 2) 위 두 줄을 추가해준다. (그냥 auth와 rest-auth)
]

if settings.DEBUG:
    urlpatterns += static(settings.MEDIA_URL,
                          document_root=settings.MEDIA_ROOT)
7) 이전까지 없던 작업으로 이번에는 profilesapi/clients 디렉토리를 생성해서 그 안에 token-auth-test1.py를 시험용으로 하나 만든 후 다음을 작성한다.
import requests

def client():
    credentials = {"username": "admin", "password": "--secret--"}
    # 로그인 시 필요한 개인정보를 딕셔너리 형태로 전달한다
    # (pw는 가렸다)

    response = requests.post("http://127.0.0.1:8000/api/rest-auth/login/",
                             data=credentials)

    print("Status Code: ", response.status_code)
    response_data = response.json()
    print(response_data)

if __name__ == "__main__":
    client()
이후 서버를 작동시킨 뒤, 터미널에서 profilesapi/clients 디렉토리에서 방금 작성한 token_auth_test1.py 파일을 실행한다. python token-auth-test1.py
Status Code: 200 # print 명령어에 따른 출력
{'key': '---token---'} # rest-auth의 login이 작동하며 REST token의 key를 발급
위와 같은 출력화면을 만날 수 있을 것이다. 위의 토큰 값은 DB에 저장되어 앞으로 client쪽에서 매 request마다 보내게될 token과 매번 비교를 위해 사용되게 된다. 정말 저장되었는지 확인하고 싶다면 127.0.0.1:8000/admin 페이지로 들어가서 Token를 클릭해보면, 실제로 방금 전 발급된 토큰이 저장된 것을 확인할 수 있다. 토큰을 클릭해보면 어떤 유저에 대해 발행되었는지도 확인이 가능하다.
8) profilesapi/profiles/api/views.py를 생성
이제는 오로지 authenticated된 유저에게만 정보를 보여주는 views.py를 작성해보자.
from rest_framework import generics
from rest_framework.permissions import IsAuthenticated
from profiles.models import Profile
from profiles.api.serializers import ProfileSerializer

class ProfileList(generics.ListAPIView):
	queryset = Profile.objects.all()
    serializer_class = ProfileSerializer
    permission_classes = [IsAuthenticated]
9) profilesapi/profiles/api/urls.py 생성
from django.urls import path
from profiles.api.views import ProfileList

urlpatterns = [
	path("profiles/", ProfileList.as_view(), name="profile-list")
]
profilesapi/profilesapi/urls.py 수정
from django.conf import settings
from django.conf.urls.static import static

from django.contrib import admin
from django.urls import path, include

urlpatterns = [
    path('admin/', admin.site.urls),
    path('api/', include('profiles.api.urls')), # 요 부분을 추가한다
    path('api-auth/', include('rest_framework.urls')),
    path('api/rest-auth/', include('rest_auth.urls')),
10) 다시 token-auth-test1.py로 돌아와서 약간 수정을 해보자
import requests

def client():
	# 일전에 작성한 credentials와 response는 잠시 주석처리 한다. (unauthenticated의 경우 실험을 위해)

    response = requests.get("http://127.0.0.1:8000/api/profiles/")
    # authentication token이 없이 그냥 profilesList에 접근해본다

    print("Status Code: ", response.status_code)
    response_data = response.json()
    print(response_data)

if __name__ == "__main__":
    client()
실행 결과는?
Status Code: 403
{'detail' : 'Authentication credentials were not provided'}
당연하고 바람직한 결과이다.
그럼 이번에는 아까 발급받았던 토큰을 넣어서 request를 작성해본다.
import requests

def client():
	# 일전에 작성한 credentials와 response는 잠시 주석처리 한다. (unauthenticated의 경우 실험을 위해)

    token_h = "Token ---token---"
    # request의 header에 넣을 token이라는 의미로 token_h라는 변수를 지정한 후
    # 해당 변수에 아까 발급받은 토큰을 넣는다
    # ⭐️ DRF에서 토큰을 넣는 방식에 주의한다 이 때 반드시 "Token ~"으로 시작해야 한다.

 	headers = {"Authorization": token_h}
    # Authorization의 key로, token_h는 value로 하는 headers 변수 지정

    response = requests.get("http://127.0.0.1:8000/api/profiles/", headers=headers)
    # 이번에는 headers 값에 위에서 지정해둔 headers 변수 값을 실어 함께 보내보자

    print("Status Code: ", response.status_code)
    response_data = response.json()
    print(response_data)

if __name__ == "__main__":
    client()
이번 실행 결과는?
Status Code: 200
[{'id': 1, 'user':'admin', 'avatar':'--img src--', 'bio': 'Site Administrator', 'city':'Testland'},  {'id':2, .... }]
이번에는 유효한 사용자라는 것이 토큰을 통해 증명되었기에 프로필 리스트가 모두 json 형식으로 잘 리턴된다! 이와 같은 과정을 터미널이 아닌(CLI) 동일한 API로 browser단에서 웹페이지 형태로 진행해봐도(GUI) 같은 결과를 얻을 수 있다.
_references:_ https://www.django-rest-framework.org/api-guide/authentication/