📌 Expo를 통한 React-Native App Push 알림 기능 구현
⚙️ 기능 구현 과정
1️⃣ Expo CLI 설치 및 프로젝트 생성
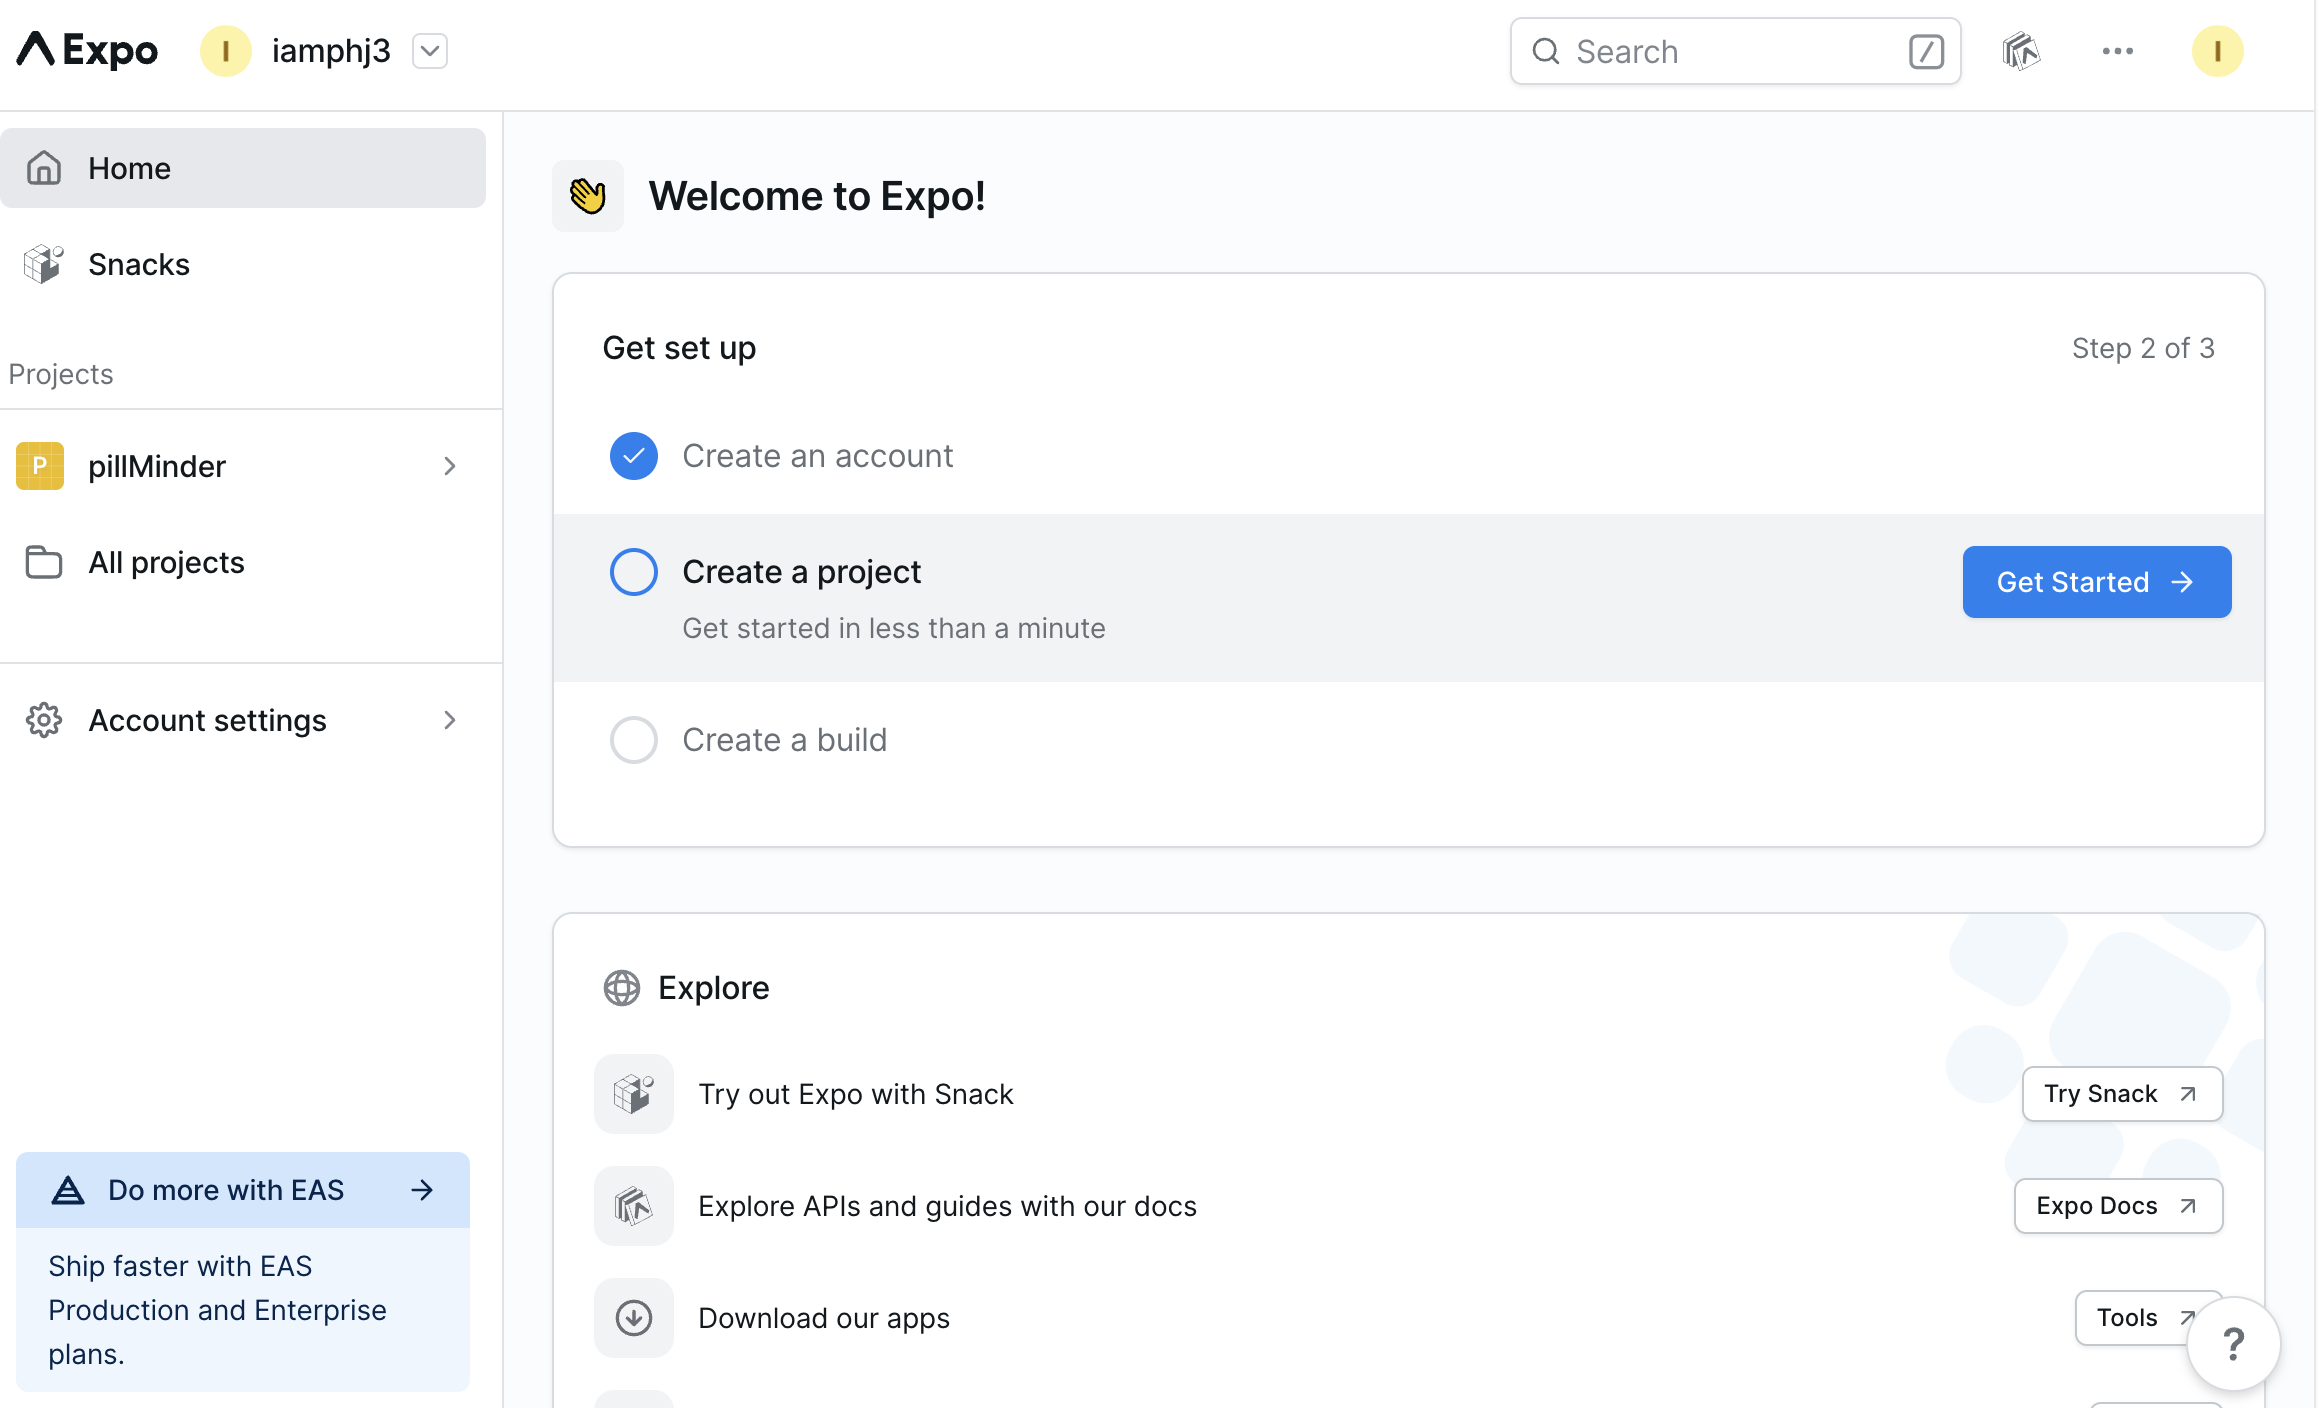
1. Expo 계정 생성
https://expo.dev/
2. Expo 프로젝트 생성
3. eas-cli 설치
npm install --global eas-cli 4. (이미 존재하는 프로젝트에 추가하는 경우) 프로젝트 경로로 이동
cd (expo 프로젝트 경로)5. eas init
eas init --id (생성된 프로젝트 id)2️⃣ expo-notifications API 설치
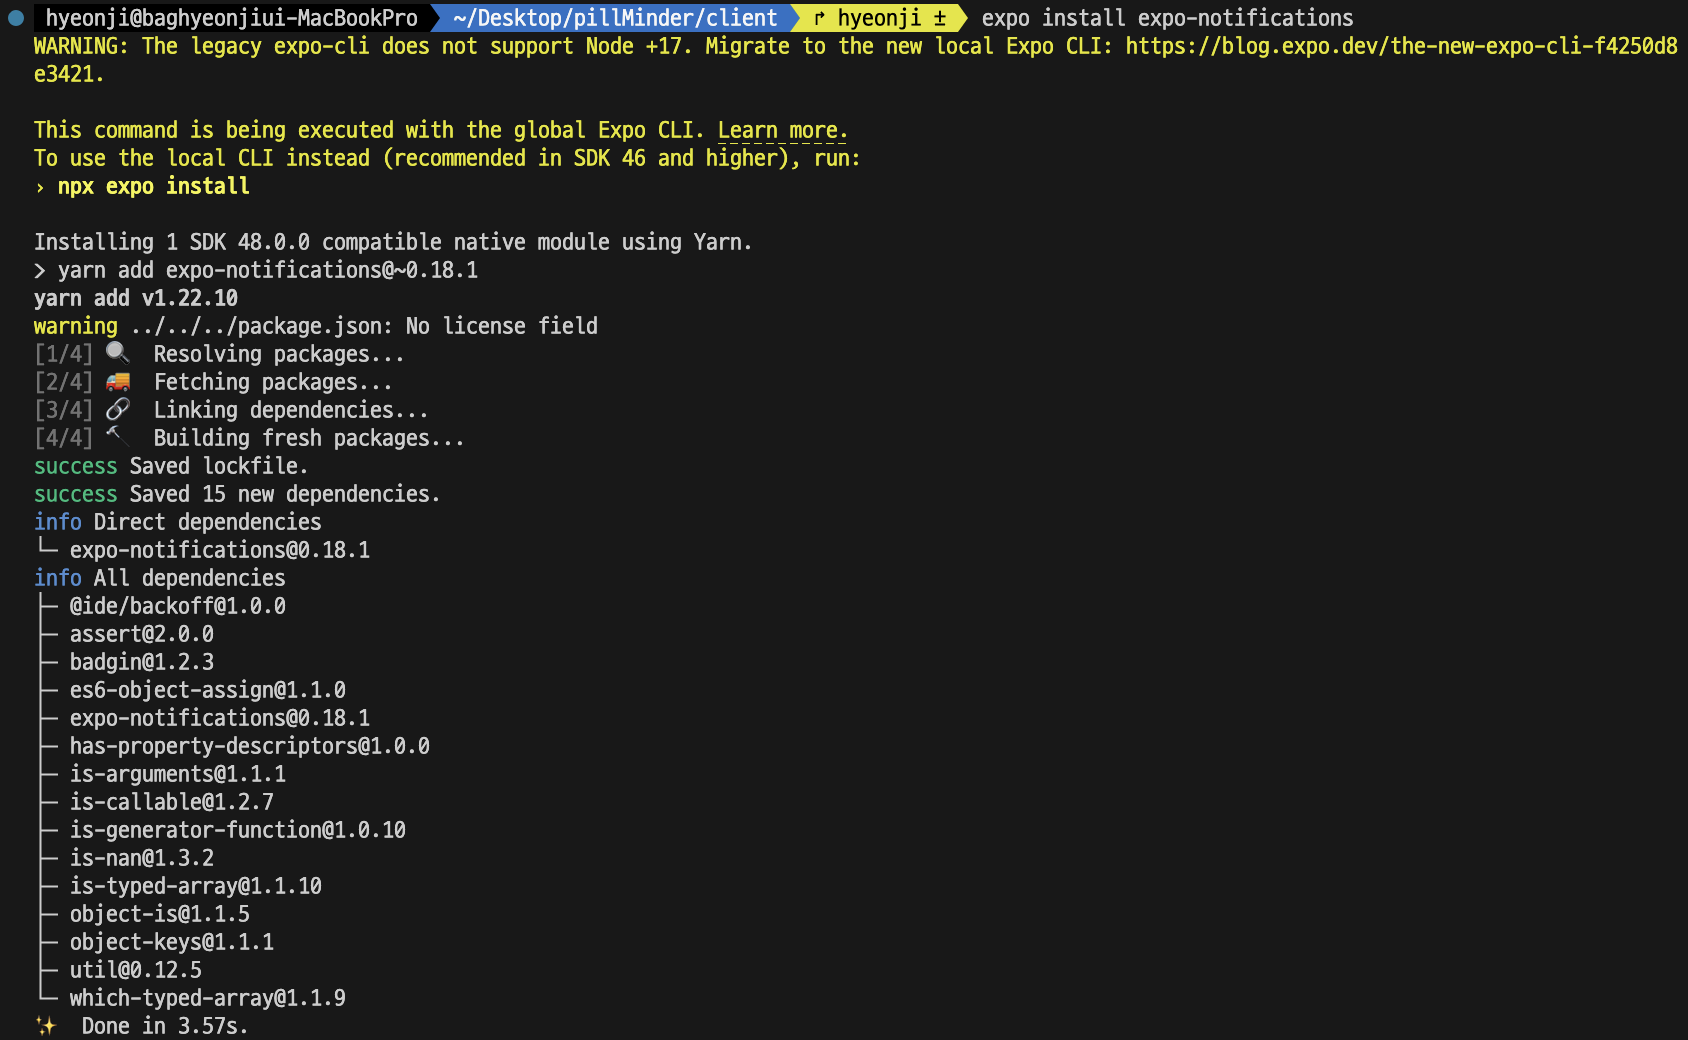
1. expo-notifications 설치
expo install expo-notifications 호환성 관련 경고 발생

- 새로운 로컬 Expo CLI 설치
https://blog.expo.dev/the-new-expo-cli-f4250d8e3421
npx expo install expo-notifications 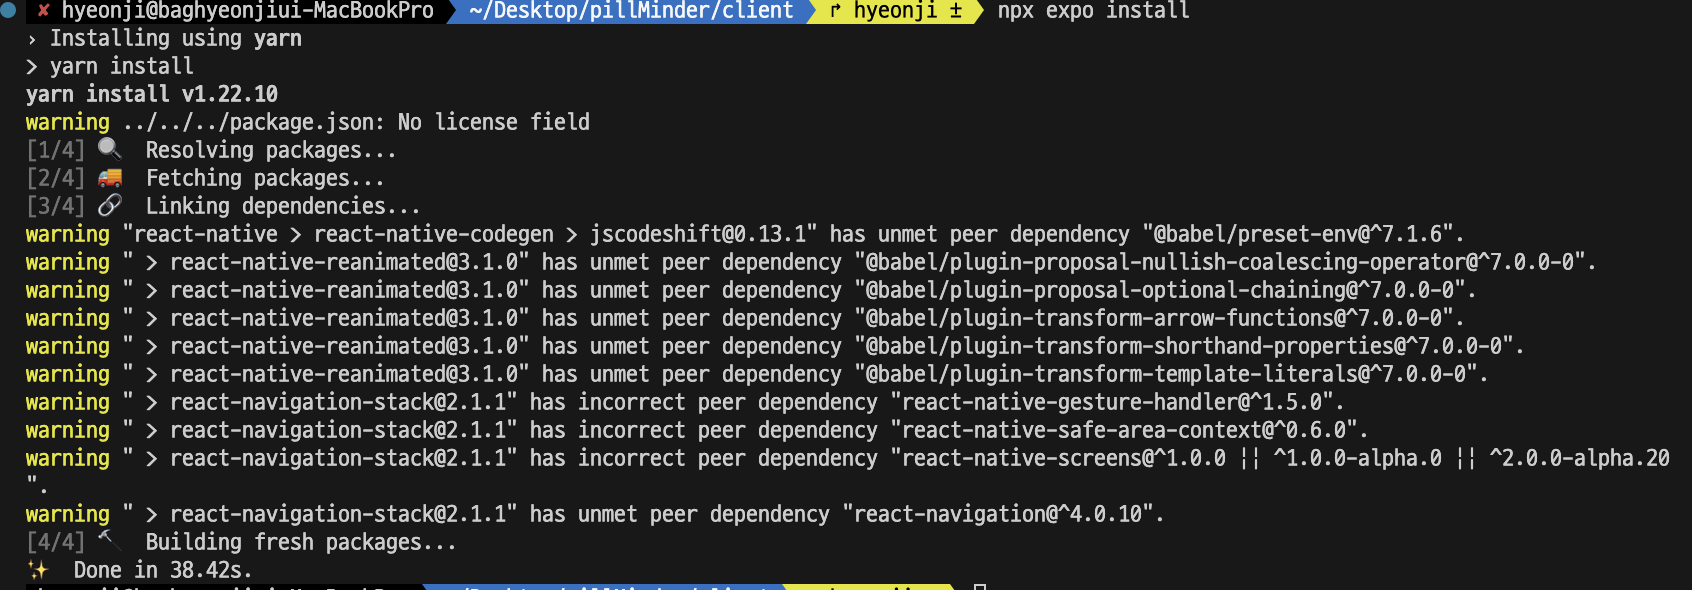
- expo-notifications 설치 완료
3️⃣ 알림 권한 설정
1. Expo 알림 API import 및 알림 권한 설정 코드 작성
// App.js

// ✅ Expo 알림 API import
import * as Notifications from 'expo-notifications';

import { React, useEffect } from 'react';

const App = () => {
  // ✅ 알림 권한 설정
  Notifications.setNotificationHandler({
    handleNotification: async () => ({
      shouldShowAlert: true,
      shouldPlaySound: false,
      shouldSetBadge: false,
    }),
  });

  useEffect(() => {
    (async () => {
      const { status } = await Notifications.requestPermissionsAsync();
      if (status !== 'granted') {
        alert('알림 권한이 거부되었습니다!');
      }
    })();
  }, []);

  return (
    ...
  );
};

export default App;
useEffect 훅을 사용하여 앱 접속 시 알림 권한을 허용받는다.

4️⃣ 알림 전송
1. 알림 전송 함수 작성
// App.js
// ✅ 알림 전송
const sendNotification = async () => {
await Notifications.scheduleNotificationAsync({
content: {
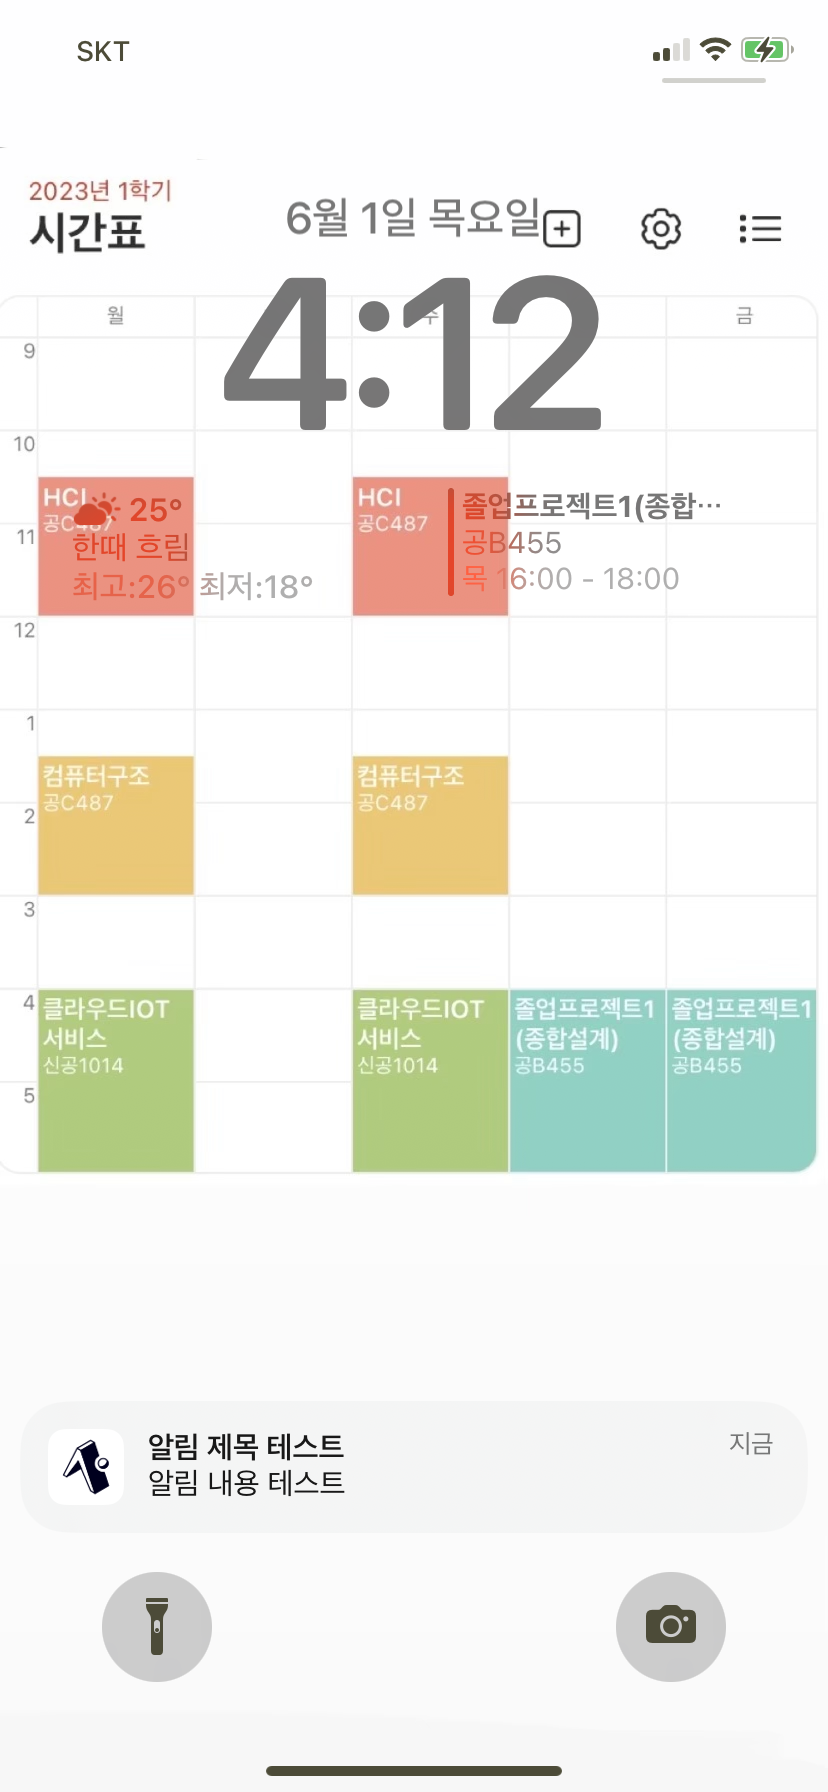
title: '알림 제목 테스트',
body: '알림 내용 테스트',
},
trigger: null, // 즉시 보내려면 'trigger'에 'null'을 설정
});
};
2. 알림 전송 함수 호출
sendNotification();
5️⃣ 알림 처리
사용자가 알림을 탭하여 앱으로 돌아온 경우 알림을 처리하기 위해서, useEffect 훅을 사용하여 다음과 같이 알림 처리 코드를 작성한다.
1. 알림 처리 코드 작성
// App.js

  useEffect(() => {
    // ✅ 알림 전송 함수 호출
    sendNotification();

    const subscription = Notifications.addNotificationReceivedListener((notification) => {
      // ✅ 알림이 수신된 경우 처리할 코드
      console.log('알림 전송 완료', notification);
    });

    return () => {
      subscription.remove();
    };
  }, []);
참고 자료