1. [Backend] 가상환경 및 Django 설치
1. backend 폴더 생성 후 가상환경 설치 및 활성화
   mkdir backend
   cd backend
   python -m venv venv
   source venv/Scripts/activate
2. django 설치 및 djangorestframework 설치
   pip install django
   pip install djangorestframework		_drf 용도_
3. 프로젝트 및 앱 생성
django-admin startproject config .2. [Frontend] React 설치
1. create-react-app 설치
- 앞서 생성한 backend 폴더와 같은 경로에 frontend 앱이 생성되도록 경로 이동
npx create-react-app frontend2. React 실행 확인
cd frontend
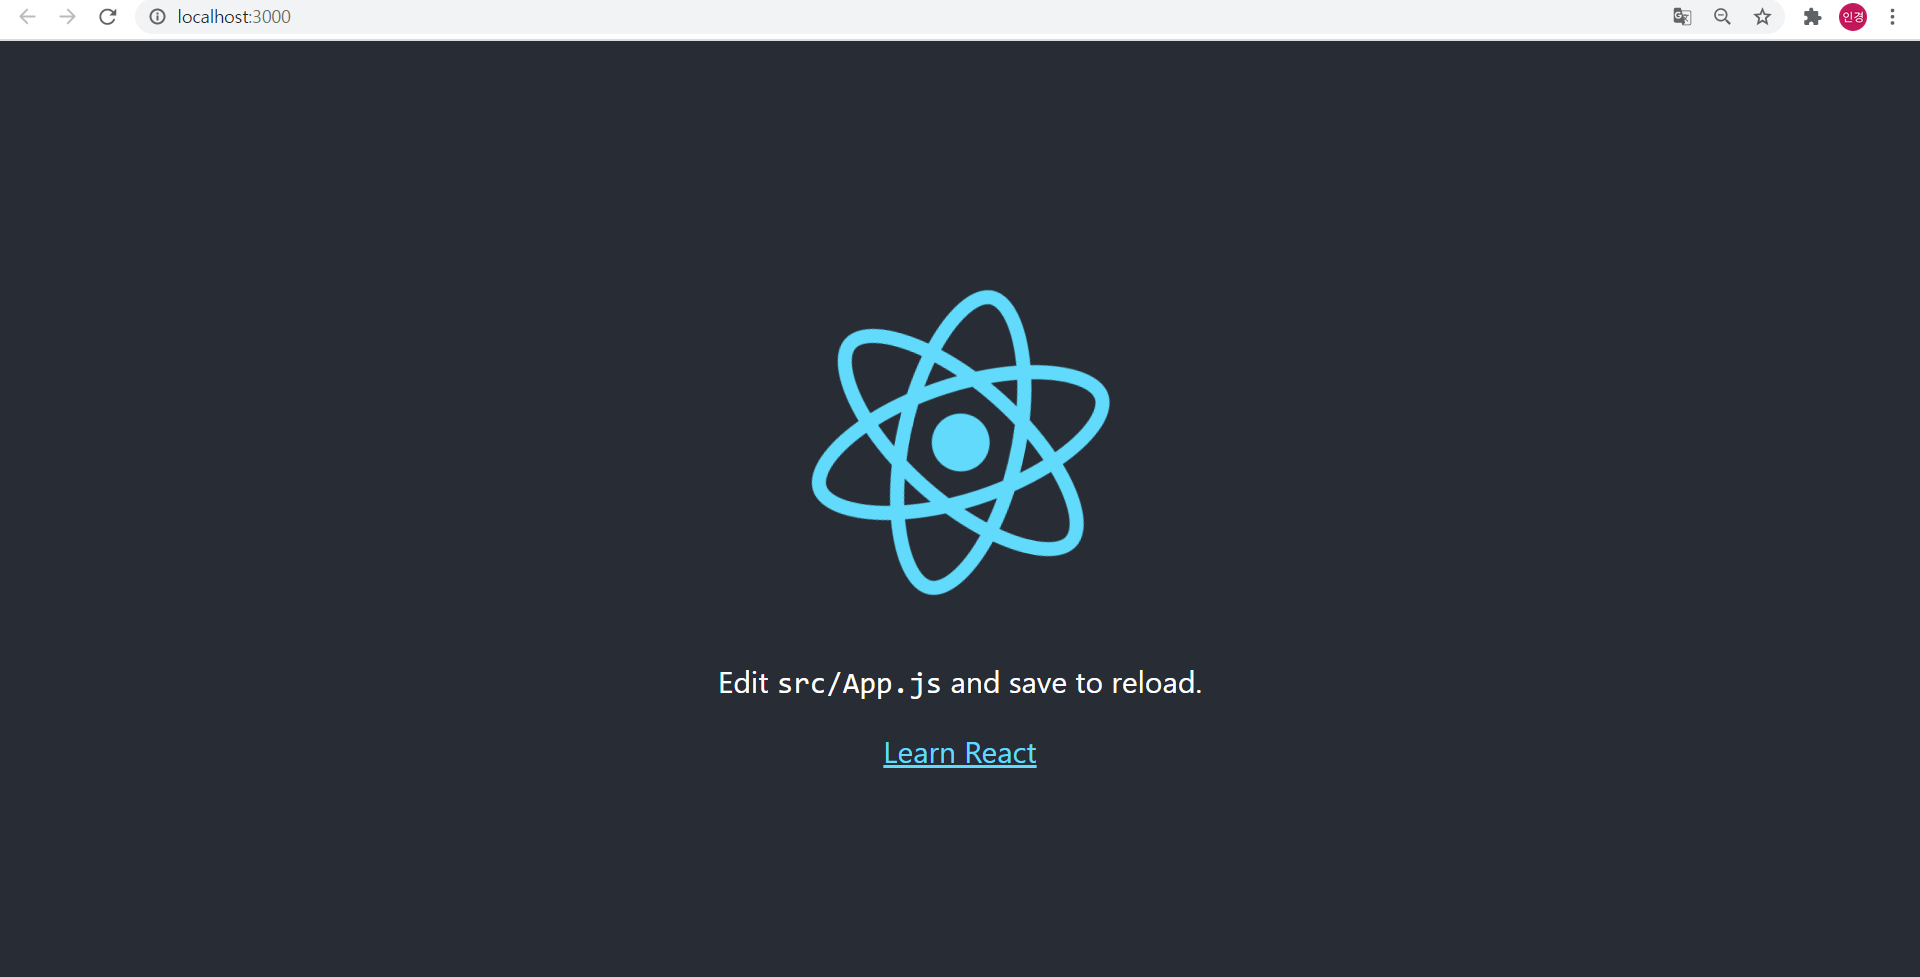
yarn startyarn start 후 성공하면 다음과 같은 화면이 실행됨!
- Ctrl+C 누르면 실행 종료
3. Django와 ReactJS 연동
1. Django webpack-loader 설치
- 가상환경 활성화한 후 설치할 것!
pip install django-webpack-loader2. Django 프로젝트 폴더 내 settings.py 파일 수정
1) INSTALLED_APPS에 'webpack_loader', 'rest_framework' 추가
2) TEMPLATES에 DIRS 수정
'DIRS': [os.path.join(BASE_DIR,"templates"),],3) STATICFILES_DIRS 추가
STATICFILES_DIRS = (
    os.path.join(BASE_DIR, 'assets'),
)
4) WEBPACK_LOADER 추가
WEBPACK_LOADER = {
    'DEFAULT': {
        'CACHE': not DEBUG,
        'BUNDLE_DIR_NAME': 'webpack_bundles/', # must end with slash
        'STATS_FILE': os.path.join(BASE_DIR, 'webpack-stats.dev.json'),
        'POLL_INTERVAL': 0.1,
        'TIMEOUT': None,
        'IGNORE': [r'.+\.hot-update.js', r'.+\.map'],
        'LOADER_CLASS': 'webpack_loader.loader.WebpackLoader',
    }
}
3. test를 위한 index.html 파일 생성
현재 디렉토리 구조 !
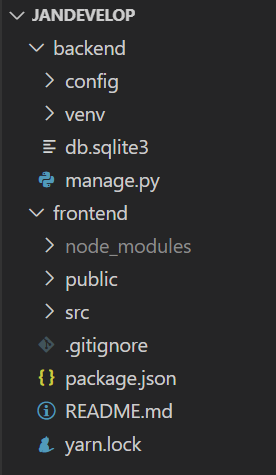
- config 프로젝트 내에 templates/config/index.html 생성 및 내용
{% load render_bundle from webpack_loader %}

<!DOCTYPE html>
<html>
<body>
    {% render_bundle 'main' %}
</body>
</html>
하고 싶은 게 많은 컨버전스형 개발자