과제 목표
- Spring Web 이용해서 ToDo REST API를 만들어봅니다.
- Marko를 이용해서 웹을 만들고, 만든 REST API와 연결하여 동작하는 ToDo앱을 만들어봅니다
REST API
- ToDo 목록 얻기 -
GET /tasks - ToDo 상세 조회하기 -
GET /tasks/{id} - ToDo 생성하기 -
POST /tasks - ToDo 제목 수정하기 -
PUT/PATCH /tasks/{id} - ToDo 삭제하기 -
DELETE /tasks/{id}
프론트엔드
- 할 일 조회하기
- 할 일 추가하기
- 할 일 수정하기
- 할 일 완료하기
스프링 웹
Spring Initializr
Spring Boot 프로젝트를 쉽게 생성할 수 있도록 도와주는 도구입니다. 어떤 기반의 프로젝트인지, 언어는 Java, Kotlin, Groovy중 어떤 것을 선택할지 또 의존성도 선택해서 추가할 수 있도록 도와주는 도구입니다.
Intellij IDEA 상용 버전을 사용하면 기본으로 들어가 있어서 바로 사용할 수 있지만, 그렇지 않은 경우 이렇게 웹사이트에서 설정해서 프로젝트를 쉽게 구성할 수 있습니다.
Spring Boot
Spring Boot는 적은 설정만으로도 상용 수준의 스프링 기반 애플리케이션을 만들 수 있도록 도와주는 도구입니다.
Spring Boot starter
Spring Boot Starter는 애플리케이션에 추가할 수 있는 의존성들의 모음입니다. 예를들어서 우리의 애플리케이션에 JPA를 이용해서 데이터베이스에 접근하고자 할 때 필요한 의존성들이 굉장히 많은데, 이걸 모두 관리하기에는 상당히 복잡합니다. 따라서 spring-boot-starter-data-jpa는 이미 JPA로 데이터베이스 접근할 때 필요한 의존성들이 이미 기술되어 있고 우리는 Starter만 의존성에 추가하여 쉽게 개발을 시작할 수 있습니다.
Spring Boot Reference Documentation - Using Spring Boot - 1.5 Starters
plugins {
    // Apply the application plugin to add support for building a CLI application in Java.
    id 'org.springframework.boot' version '2.5.2'
    id 'io.spring.dependency-management' version '1.0.11.RELEASE'
    id 'application'
}

repositories {
    // Use Maven Central for resolving dependencies.
    mavenCentral()
}

dependencies {
    // Use JUnit Jupiter for testing.
    testImplementation 'org.junit.jupiter:junit-jupiter:5.7.1'

    // This dependency is used by the application.
    implementation 'com.google.guava:guava:30.1-jre'

    // Jackson for JSON
    implementation group: 'com.fasterxml.jackson.core', name: 'jackson-core', version: '2.12.4'
    implementation group: 'com.fasterxml.jackson.core', name: 'jackson-databind', version: '2.12.4'

    implementation 'org.springframework.boot:spring-boot-starter-web'

}

application {
    // Define the main class for the application.
    mainClass = 'com.codesoom.demo.App'
}

tasks.named('test') {
    // Use JUnit Platform for unit tests.
    useJUnitPlatform()
}
App
@SpringBootApplication
public class App {
    public String getGreeting() {
        return "Hello World!";
    }

    public static void main(String[] args) {
        SpringApplication.run(App.class, args);
    }
}
TaskController
package com.codesoom.demo.controllers;
// TODO
// 1. Read Collection - GET /tasks => WIP
// 2. READ Item - GET /tasks/{id}
// 3. Create - POST /tasks
// 4. Update - PUT/PATCH /tasks/{id}
// 5. Delete - DELETE /tasks/{id}

import com.codesoom.demo.models.Task;
import java.util.ArrayList;
import java.util.List;
import org.springframework.web.bind.annotation.GetMapping;
import org.springframework.web.bind.annotation.PostMapping;
import org.springframework.web.bind.annotation.RequestMapping;
import org.springframework.web.bind.annotation.RestController;

@RestController
@RequestMapping("/tasks")
public class TaskController {
    private List<Task> tasks = new ArrayList<>();
    private Long newId = 0L;

    @GetMapping
    public List<Task> list() {
        return tasks;
    }

    @PostMapping
    public Task create(@RequestBody Task task) {
        String title = "title";
        task.setId(generatedId());
        task.setTitle(title);
        tasks.add(task);

        return task;
    }

    private Long generatedId() {
        newId += 1;
        return newId;
    }
}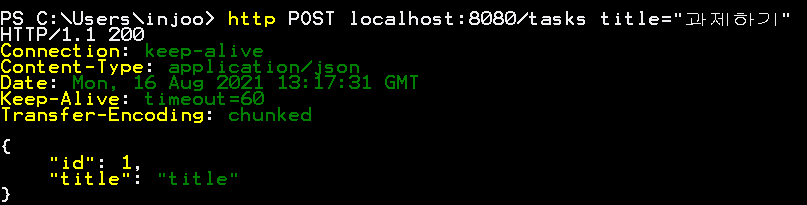
알아서 body에서 데이터를 가져와서 객체랑 매핑까지 해주고 있다.
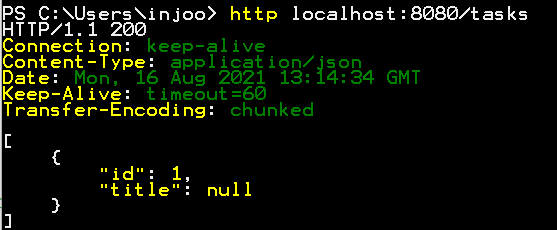
그냥 Task List를 반환했는데 알아서 내부적으로 Jackson을 이용해서 JSON 형태롷 바꿔서 반환해준다.
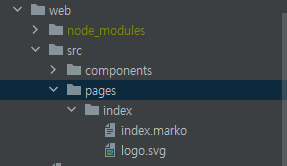
프론트엔드
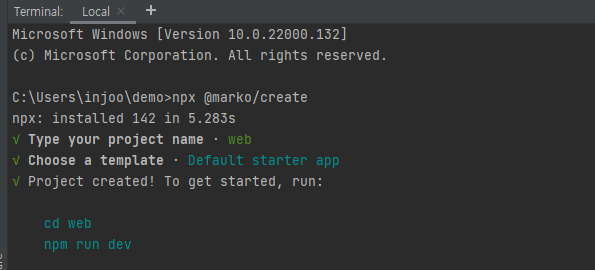
marko
marko는 빠르게 웹 애플리케이션을 만들 수 있는 유저 인터페이스 라이브러리 입니다.
Ctrl + c를 누르면 터미널 창이 꺼진다
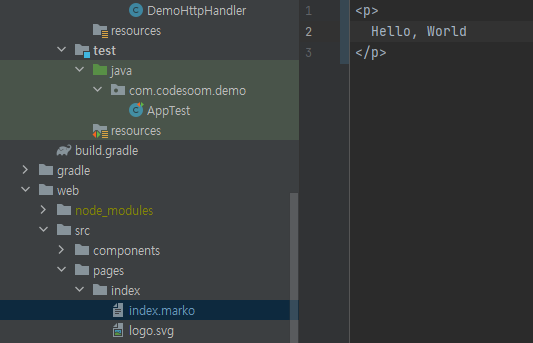
HTML
HTML(Hyper Text Markup Language)은 웹페이지를 구성할 수 있는 마크업 언어입니다.
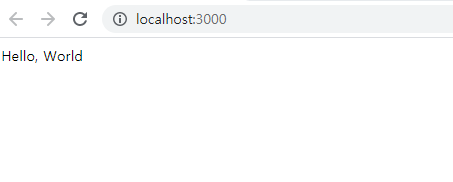

npm install axios
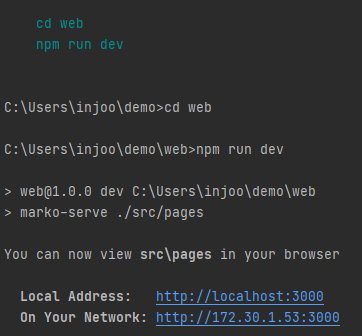
npm run dev (브라우저 다시 띄우기)
// TODO
// 1. GET /tasks -> 목록으로 표시
// 2. 입력 -> POST /tasks (할 일 추가) -> GET /tasks (목록 갱신)
import axios from 'axios';
class {
onCreate() {
this.state = {
tasks: [],
};
this.loadTasks();
}
async loadTasks() {
const {data} = await axios.get("http://localhost:8080/tasks");
this.state.tasks = data;
}
}
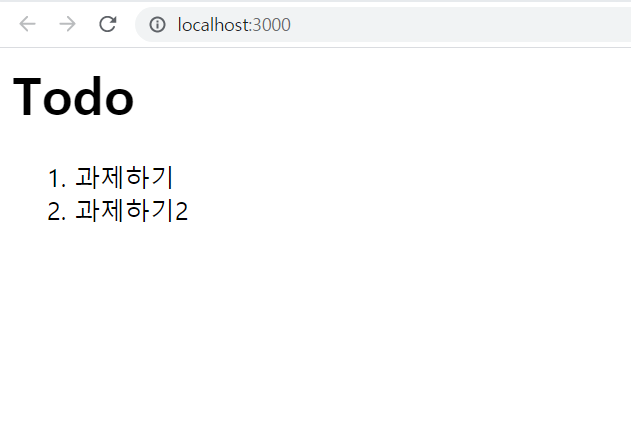
<h1>Todo</h1>
<ol>
<for|task| of=state.tasks>
<li>
${task.title}
</li>
</for>
</ol>CORS
CORS(Cross-Origin Resource Sharing)는 HTTP header를 기반으로 클라이언트가 요청한 리소스에 대해서 서버가 허용한 origin(domain, scheme, port)이라면 브라우저에서 리소스를 불러오는 것을 허용할 수 있도록 만들어주는 메커니즘입니다.
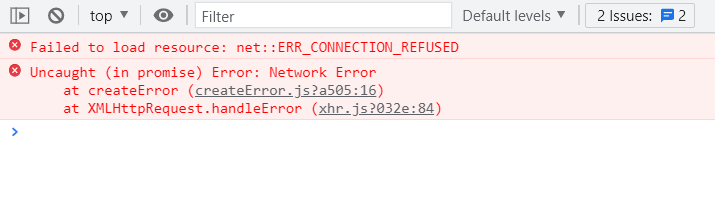
서버 PORT는 8080인데 실제 돌아가는 포트가 3000번이라서 그렇다.
@CrossOrigin
@CrossOrigin 웹 컨트롤러 전체에 CORS를 적용할 수 있을 뿐만 아니라 각 핸들러마다 다르게 CORS를 설정할 수 있는 어노테이션입니다.
TaskController
@RestController
@RequestMapping("/tasks")
@CrossOrigin
public class TaskController {
    private List<Task> tasks = new ArrayList<>();
    private Long newId = 0L;
    ...
// TODO
// 1. GET /tasks -> 목록으로 표시
// 2. 입력 -> POST /tasks (할 일 추가) -> GET /tasks (목록 갱신)

import axios from 'axios';

class {
  onCreate() {
    this.state = {
      tasks: [],
    };

    this.loadTasks();
  }

  async loadTasks() {
    const {data} = await axios.get("http://localhost:8080/tasks");
    this.state.tasks = data;
  }

  async addTask() {
    const title = this.getEl("title").value;
    await axios.post("http://localhost:8080/tasks", {
      title,
    });
    await this.loadTasks();
  }
}

<h1>Todo</h1>
<ol>
  <for|task| of=state.tasks>
    <li>
      ${task.title}
    </li>
  </for>
</ol>
<p>
  <label for:scoped="title">
    할 일
  </label>
  <input id:scoped="title" key="title" type="text"/>
  <button type="button" on-click("addTask")>
   추가
  </button>
</p>
스프링 개발 도구
spring-dev-tools
spring-dev-tools 모듈은 Spring 앱을 개발할 때 필요한 유용한 도구들을 제공합니다. 가장 대표적으로 앱이 빌드 될 때마다 서버를 다시 재시작하는 기능이 있습니다. 매번 코드를 변경할 때마다 서버를 다시 시작할 필요 없이, 앱만 다시 빌드 하면 서버가 자동으로 재시작하게 됩니다.
Spring Boot Reference Documentation - Using Spring Boot - 8.Developer Tools
https://docs.spring.io/spring-boot/docs/2.1.5.RELEASE/reference/html/using-boot-devtools.html
configurations {
	developmentOnly
	runtimeClasspath {
		extendsFrom developmentOnly
	}
}
// Spring Dev Tools
developmentOnly 'org.springframework.boot:spring-boot-devtools'실행을하고, 코드를 살짝 변경하고 아래 탭에 build에 가서 망치 모양을 눌러 build를 하면, run 창에서 서버가 자동으로 한번더 실행되었다는 것을 알 수 있다. 테스트코드 작성시 빌드를 하기 때문에 필요하다.