
(이미지 출처)
firebase authentication이란?
- firebase에서 제공하는 로그인, 회원가입 등의 인증 UI
- 로그인, 회원가입 로직을 아주 간편하게 구현할 수 있다는 장 점 !!
authentication 사용 방법
1. firebase 설치
yarn add firebase
npm i firebase
2. firebase initialize 파일 생성
// ✅ config.js

import { initializeApp } from "firebase/app";
import { getAuth } from "firebase/auth";
import { getFirestore } from 'firebase/firestore/lite';
// (firestore까지 쓰는 경우)

const firebaseConfig = {
  apiKey: '~~',
  authDomain: '~~',
  databaseURL: '~~',
  projectId: '~~',
  storageBucket: '~~',
  messagingSenderId: '~~',
  appId: '~~',
};

// Initialize Firebase
const app = initializeApp(firebaseConfig);
const db = getFirestore(app); // firestore까지 쓸 때만


// Initialize Firebase Authentication and get a reference to the service
export const auth = getAuth(app);
export default db;  // / firestore까지 쓸 때만
3. firebase authentication 활성화 설정
firebase 프로젝트 > 빌드 > authentication에서 원하는 항목 체크 후 저장
- 기본 : 이메일, 비밀번호
- 응용 : 소셜로그인(구글, 깃허브 등의 계정으로 로그인)
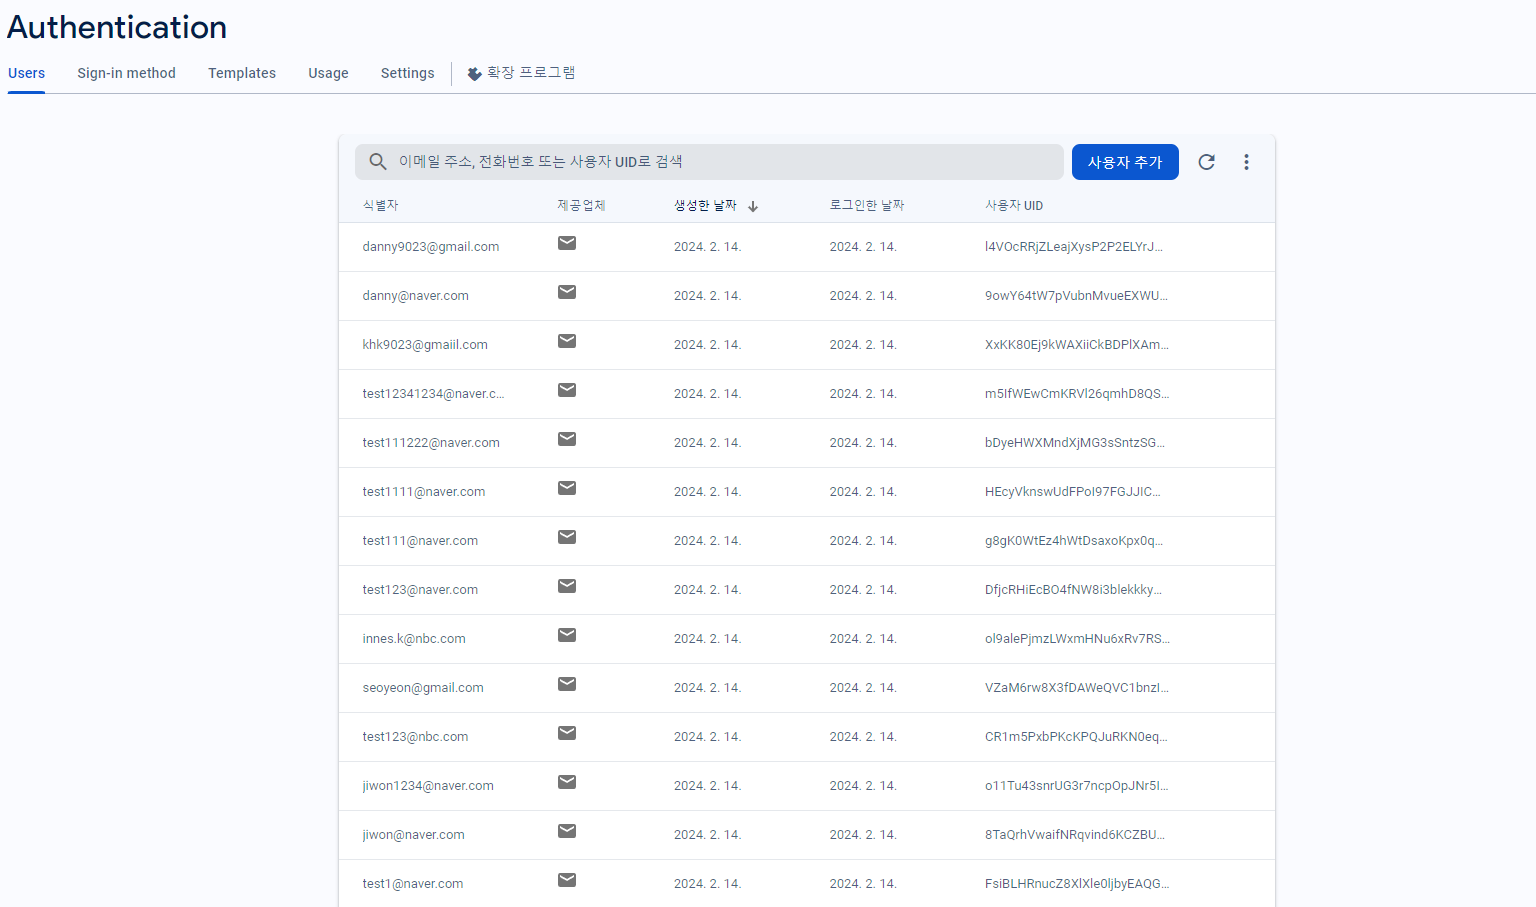
😎 회원가입한 user정보는 이렇게 저장된다!
4. firebase auth 기능 구현
✏️ firebase auth에서 제공하는 메서드를 통해 로그인, 회원가입 등의 인증 관련 기능을 이용할 수 있다!
회원가입
-
메서드 :
createUserWithEmailAndPassword(이메일 인증 x) -
auth객체, email, password를 createUserWithEmailAndPassword 메서드의 인자로 넘겨주기 -
대부분의 auth 메서드들은 비동기로 실행됨
-> 순차적 실행을 위해async/ await키워드를 사용하자 -
비밀번호는 6자 이상이어야 함
-
코드 예시 (travel vibe 프로젝트)
// ✅ travel vibe 프로젝트 중 users.js - addUsersApi

import { setDoc, doc } from 'firebase/firestore/lite';
import { createUserWithEmailAndPassword } from 'firebase/auth';

import db from '../apis/config';
import { auth } from '../apis/config';

export const addUsersApi = async (email, firstPw, nickName) => {
try {
  const userCredential = await createUserWithEmailAndPassword(
    auth,
    email,
    firstPw
  );
  const uid = userCredential.user.uid;

  // firestore 'users' 콜렉션에 uid를 문서id로 하는 객체 생성
  await setDoc(doc(db, 'users', uid), {
    nickname: nickName,
    email: email,
    image: '기본이미지'
  });

  return true;
} catch (error) {
  console.error('회원가입 에러:', error);
  throw error;
}
};
로그인 / 로그아웃
-
로그인 :
signInWithEmailAndPassword-
auth객체, email, password를 인자로 넘겨줌 -
코드 예시 (travel vibe 프로젝트)
// ✅ travle vibe 프로젝트 중 Login.jsx

import { useDispatch } from 'react-redux';
import { signInWithEmailAndPassword } from 'firebase/auth';
import { getUsersApi } from '../../apis/users';
import { postUserData } from '../../redux/modules/UserReducer';

  const dispatch = useDispatch();
const onLoginConfirm = async () => {
  try {
    const userCredential = await signInWithEmailAndPassword(auth, email, pw);
    const { accessToken, uid } = userCredential.user;
    // getUsersApi 아래 참고
    const userInfo = await getUsersApi(email);

    // 로그인된 정보를 리덕스로 보내주기
    // (로그인된 유저 정보를 회원정보 수정 등 전역에서 사용하기 위함)
    dispatch(postUserData({ accessToken, userId: uid, email, ...userInfo }));

    alert('로그인 되었습니다.');
    setIsLoggedIn(false);
    setIsOpen(false);
  } catch (error) {
    console.log(error);
  }
};
// ✅ user.js 중 getUsersApi import { getDocs,collection,query,where } from 'firebase/firestore/lite'; import db from '../apis/config'; import { auth } from '../apis/config'; export const getUsersApi = async (email) => { try { const usersRef = query( collection(db, 'users'), where('email', '==', email) ); const snapshot = await getDocs(usersRef); const users = snapshot.docs.map((doc) => ({ ...doc.data() })); return users[0]; } catch (error) { console.error('Error getting users data:', error); throw error; } };
-
-
로그아웃 :
signOut-
auth객체만 넘겨주면 됨 -
예시
import { getAuth, signOut } from "firebase/auth";

const auth = getAuth();
signOut(auth).then(() => {
// Sign-out successful.
}).catch((error) => {
// An error happened.
});
-
현재 로그인한 사용자 가져오기
import { getAuth } from "firebase/auth";

const auth = getAuth();
const user = auth.currentUser;

if (user) {
// User is signed in, see docs for a list of available properties
// https://firebase.google.com/docs/reference/js/auth.user
// ...
} else {
// No user is signed in.
}
👍🏻 참고
팝업과 모달의 차이는?
1. 팝업
- 현재 열려있는 브라우저 페이지 위에 또 다른 브라우저 페이지를 하나 더 띄우는 것
- 방문자가 특정 페이지에 접속할 때 바로 뜨는 창
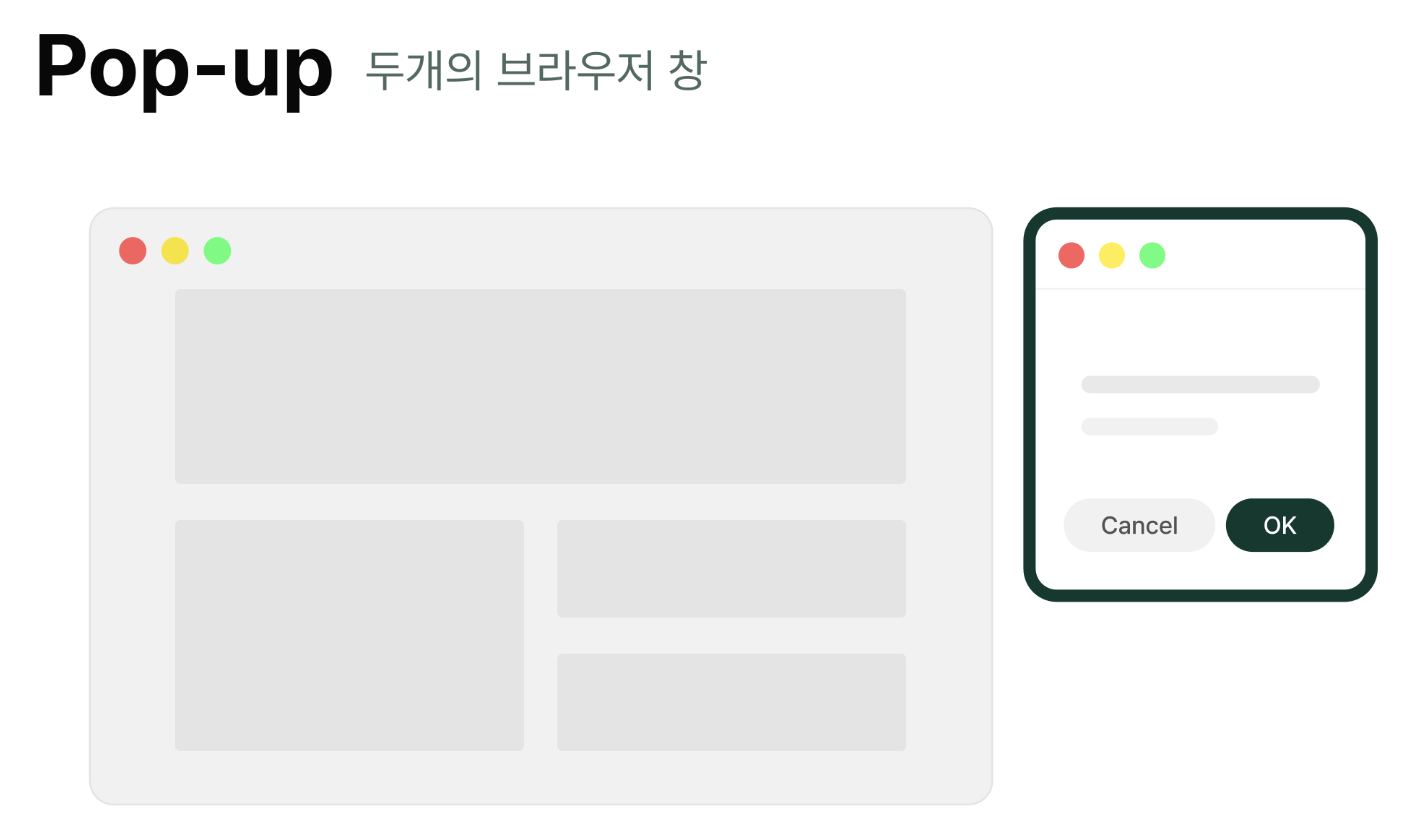
2. 모달
- 현재 열려있는 페이지에 포함된 창
- 페이지 위에 일종의 ‘레이어’를 까는 것
- 방문자가 특정 버튼 또는 링크를 클릭했을 때 뜨는 창
🖥️ 모달은 착시효과다!
모르고 보면 그냥 창 위에 새로운 작은 창이 열리는 듯 보이지만,
알고보면 메인을 덮는 전체 영역을 만들어서 모달 외 부분 색을 지정하고, 모달창 부분을 가운데에 위치시켜 만든 '레이어 창'이다.

참고 및 이미지 출처 : https://imweb.me/blog?idx=173

무서운 속도로 흡수하는 스펀지 개발자 🧽