
SwiftUI tutorials: How to troubleshoot a complex UI with layout and animation problems
Complex UI TroubleShooting
구현 목표
- 복잡한 UI 컴포넌트 및 레이아웃 리팩터링
구현 태스크
기존 코드
import SwiftUI
struct ContentView: View {
@State private var isClicked: Bool = false
var body: some View {
GeometryReader { geometry in
ZStack(alignment: .top) {
Button {
isClicked.toggle()
} label: {
Image(systemName: isClicked ? "gobackward" : "plus.circle.fill")
.resizable()
.aspectRatio(contentMode: .fit)
.frame(width: geometry.size.width / 5, height: geometry.size.width / 5, alignment: .center)
}
.rotationEffect(.degrees(isClicked ? 90 : 0))
.animation(.spring(), value: isClicked)
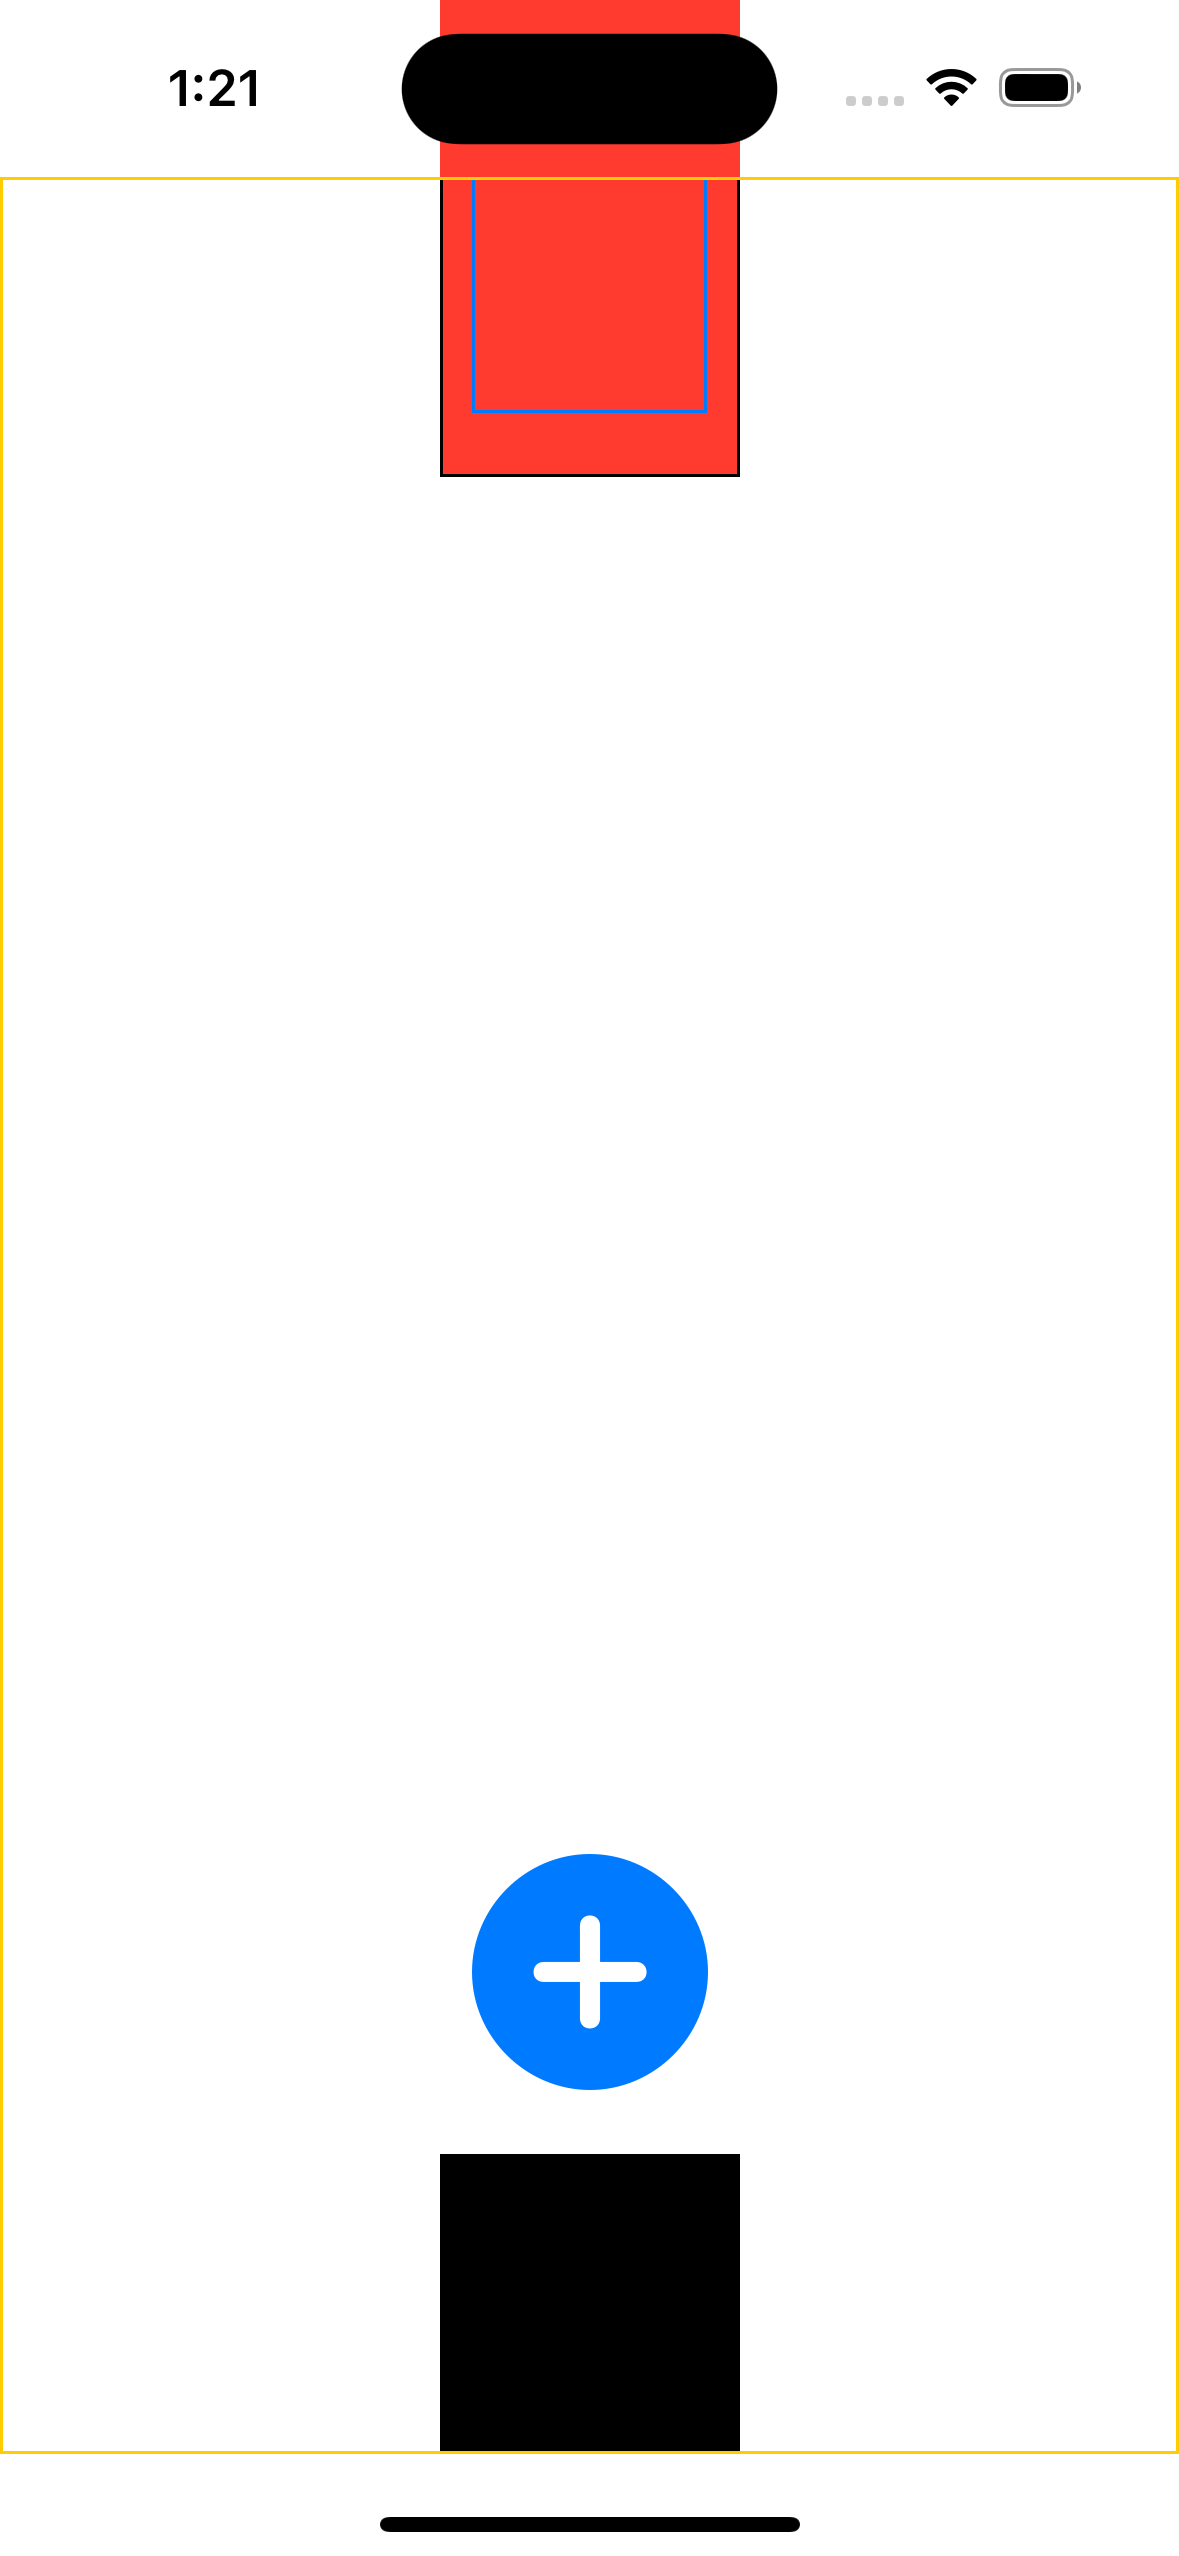
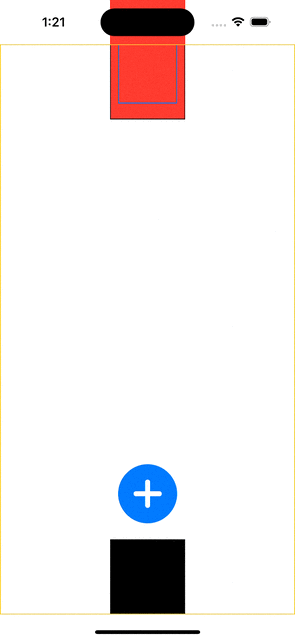
.offset(x: 0, y: isClicked ? geometry.size.height - 400 : geometry.size.height - 200)
.border(.blue)
Color.black
.frame(width: 100, height: 100)
.rotation3DEffect(.degrees(isClicked ? 180 : 0), axis: (x: 1, y: 1, z: 0))
.offset(x: 0, y: isClicked ? geometry.size.height - 300 : geometry.size.height - 100)
.animation(.spring(), value: isClicked)
.border(.black)
}
.background(Color.red)
.frame(width: geometry.size.width, height: geometry.size.height, alignment: .top)
.border(Color.yellow)
}
}
}ZStack안에 컴포넌트를 모두 선언,GeometryReader로 읽어들인 현 시점의 전체 뷰(즉 컴포넌트를 모두 가지고 있는 부모 뷰)의 프레임을 통해 컴포너트가 위치할offset값 조정- 오프셋, 값, UI 등을
@State프로퍼티를 통해 핸들링 → 각 컴포넌트 별로 애니메이션이 달려 있음
리팩터링 코드
import SwiftUI
struct ComplexView: View {
@State private var isClicked: Bool = false
var body: some View {
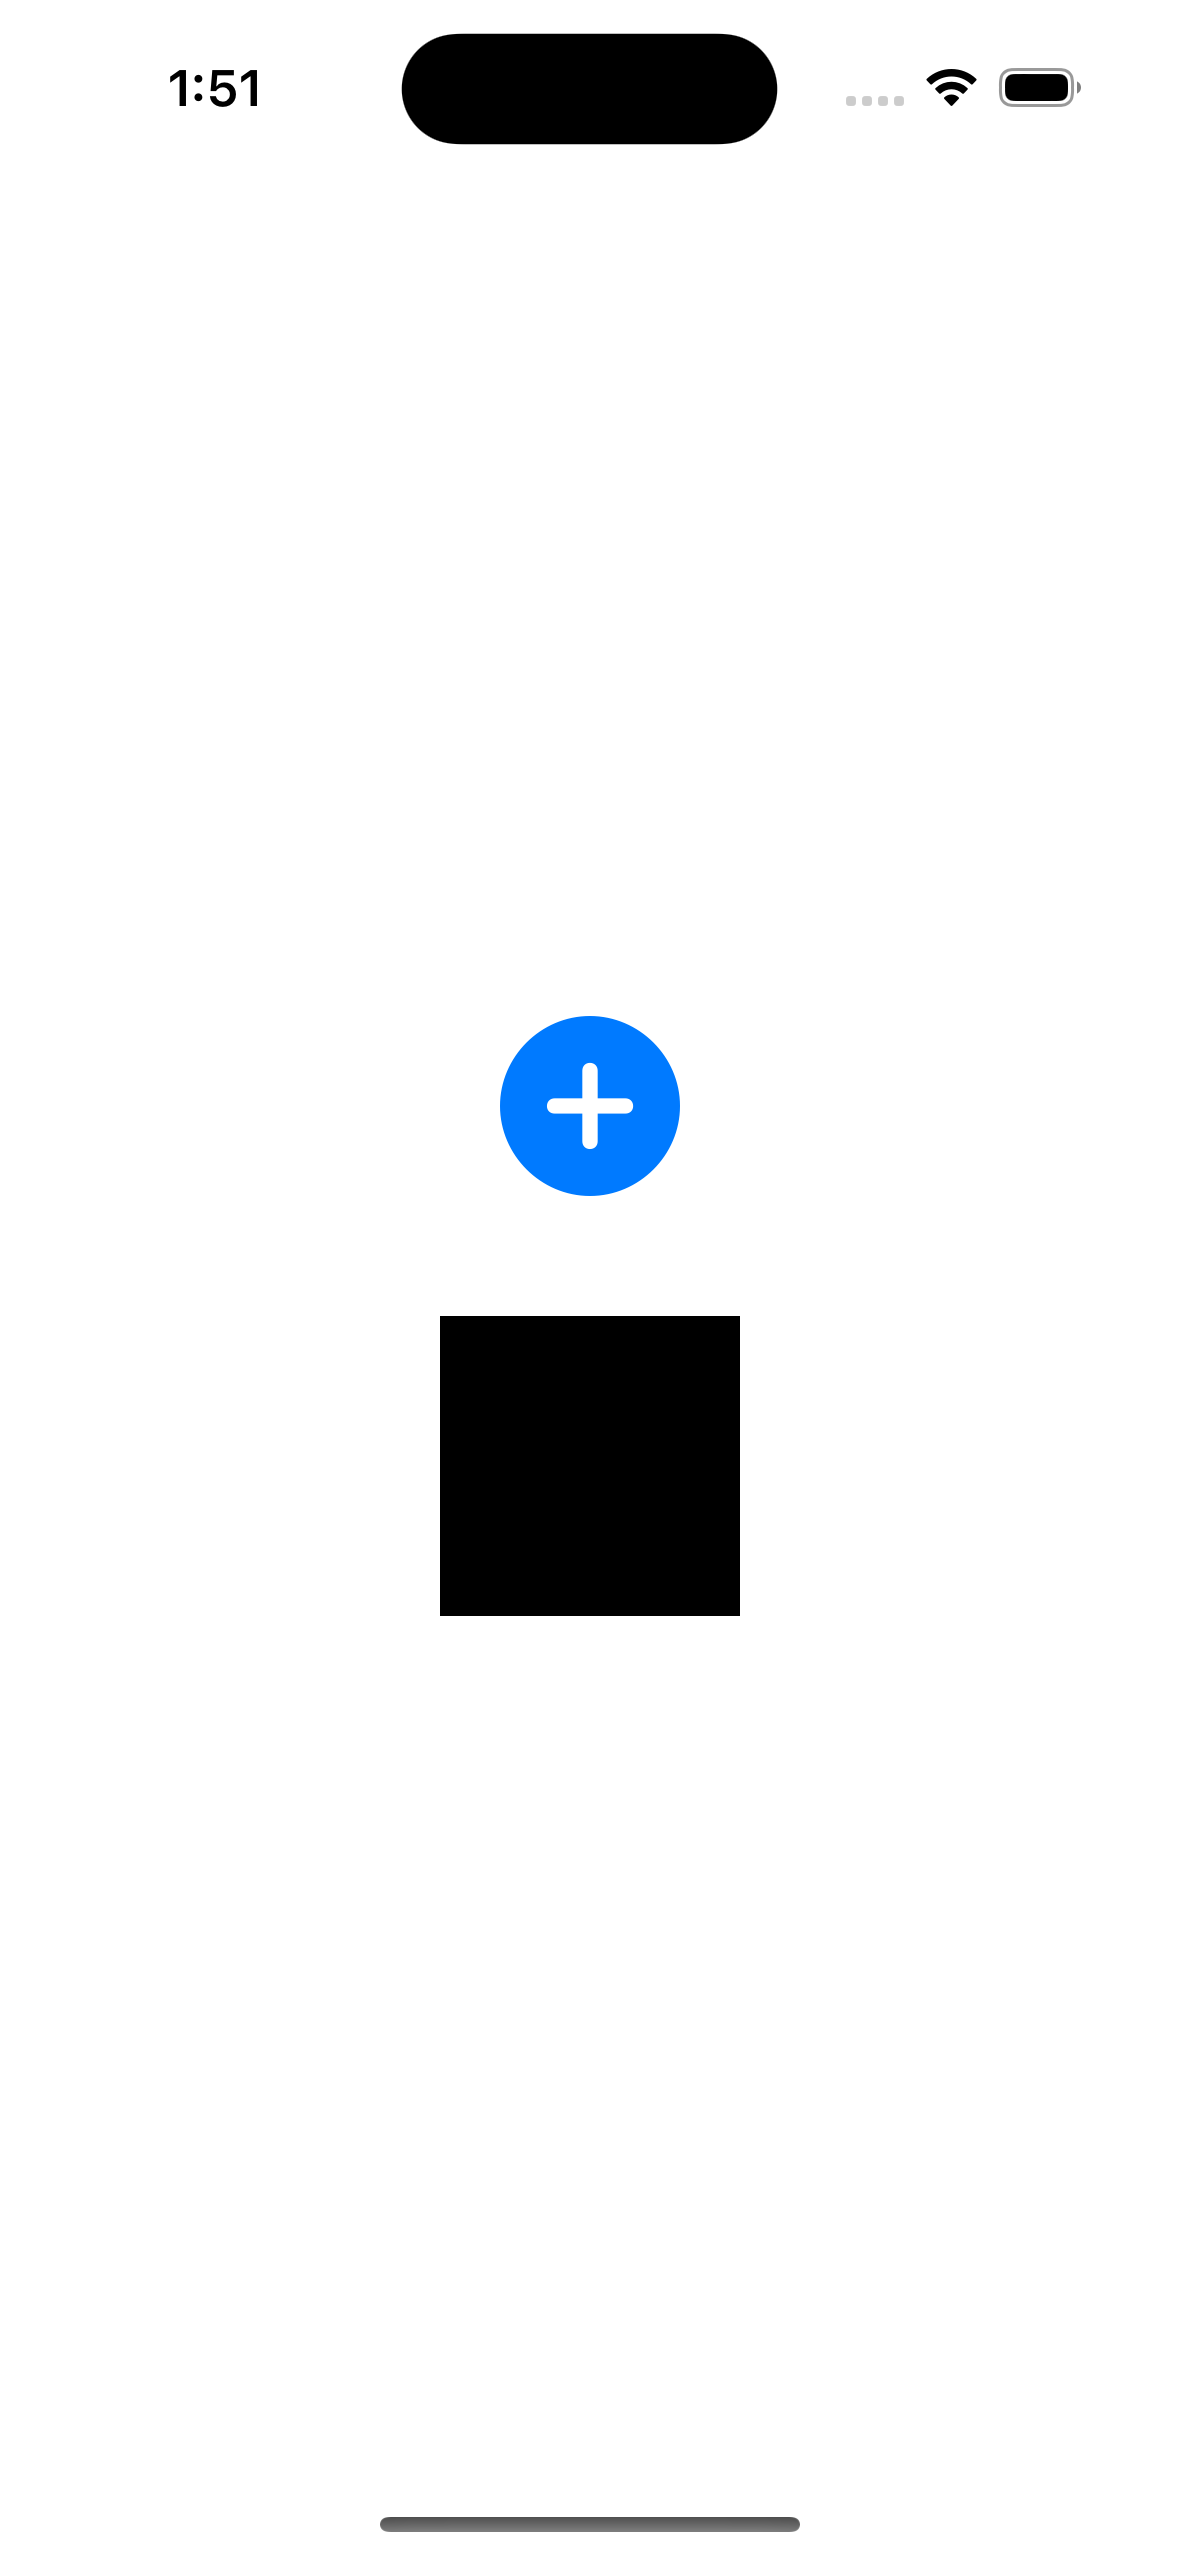
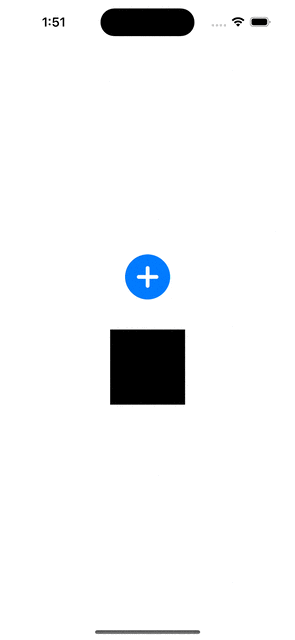
VStack(spacing: 40) {
if isClicked {
Spacer()
.frame(height: 60)
}
Button {
withAnimation(.easeIn(duration: 1)) {
isClicked.toggle()
}
} label: {
Image(systemName: isClicked ? "gobackward" : "plus.circle.fill")
.resizable()
.aspectRatio(contentMode: .fit)
.frame(width: 60, height: 60, alignment: .center)
}
.rotationEffect(.degrees(isClicked ? 90 : 0))
Color.black
.frame(width: 100, height: 100)
.rotation3DEffect(.degrees(isClicked ? 180 : 0), axis: (x: 1, y: 1, z: 0))
.animation(.easeIn(duration: 1), value: isClicked)
}
.zIndex(10)
}
}ZStack이 아니라VStack을 통해 쌓이는 컴포넌트 구조Spacer를 통해 오프셋을 관리할 필요 없이 각 컴포넌트의 프레임, 패딩 값을 통해 조정 가능withAnimation을 통해implict animation효과 적용 가능
핵심 코드
if isClicked {
                Spacer()
                    .frame(height: 60)
}@State프로퍼티로 선언된 값에 따라 스페이서를 넣을 지 여부를 결정 가능VStack으로 감싸고 있는 구조이기 때문에 스페이서를 통해 패딩 조정 가능
withAnimation(.easeIn(duration: 1)) {
                    isClicked.toggle()
}- 버튼 액션에 해당하는 부분
- 실제 값 변경이 발생하는
isClicked.toggle()파트가 애니메이션 단 안에서 실행
.zIndex(10)- 현재 컴포넌트가 겹칠 때 상대적 순위를 어떻게 줄지 결정 가능
구현 화면

JUST DO IT