
How to use MagnificationGesture in SwiftUI | Continued Learning #2
MagnificationGesture
- 핀치 제스처를 감지하는 제스처. 주로 특정 오브젝트의 스케일을 조정, 확대 및 축소 효과를 보이도록 구현
구현 목표
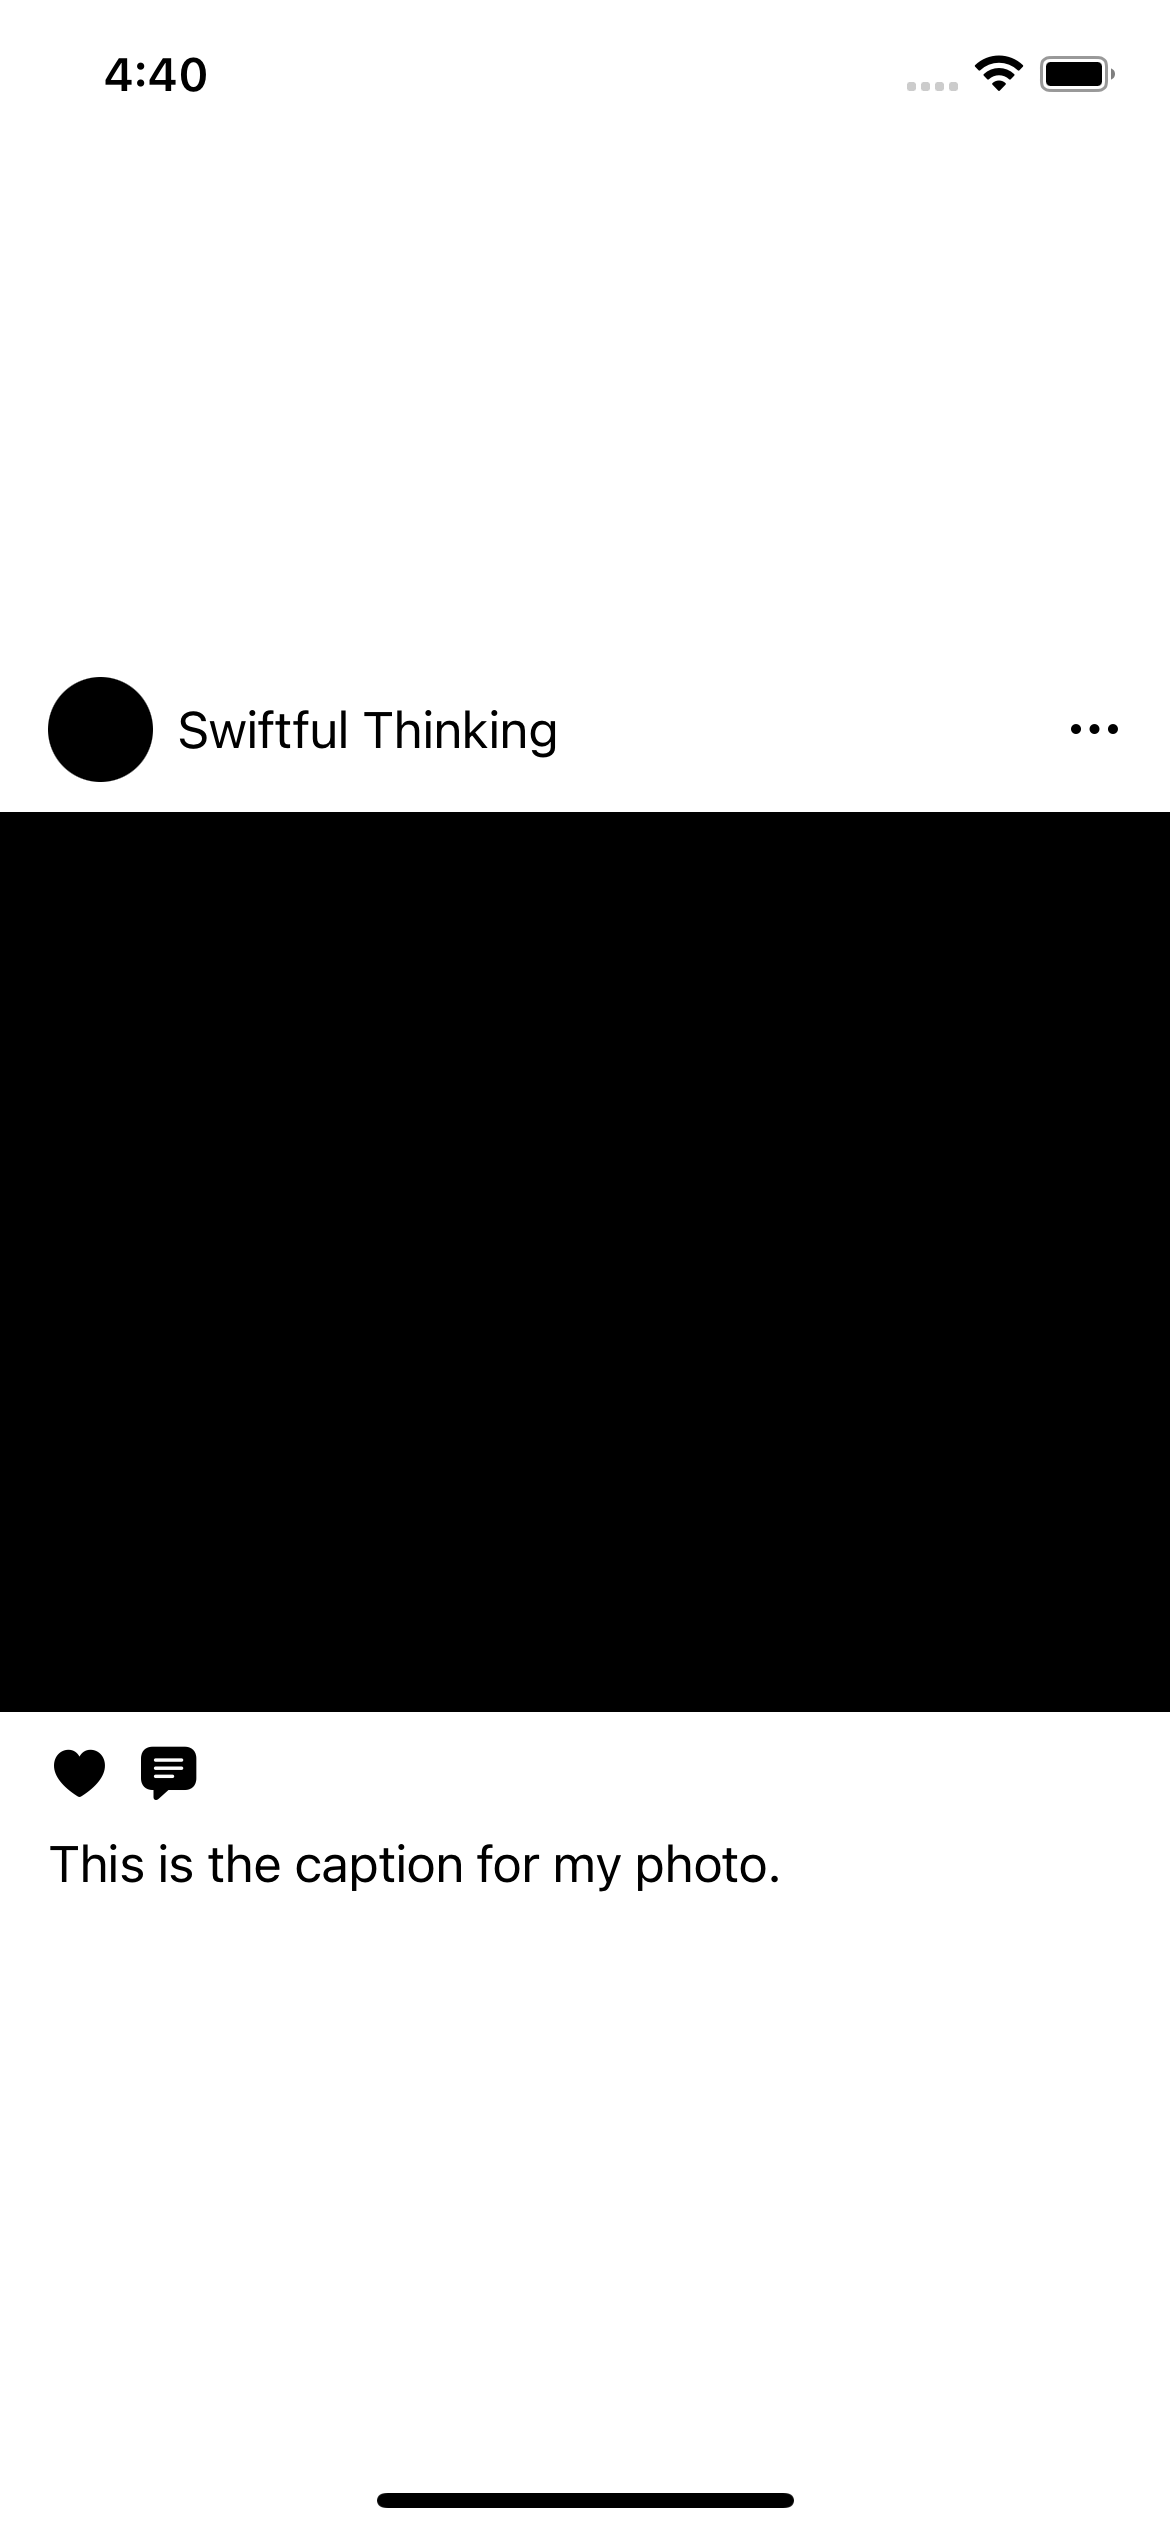
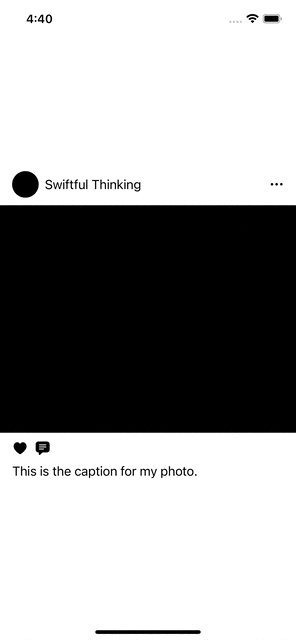
- 인스타그램, 틱톡 등 SNS에서 주로 사용되는 형식의 간단한 카드 뷰. 사진 위주의 확대/축소 효과를 주기
구현 태스크
- 특정 오브젝트의 스케일 이펙트 값을
State를 통해 조정한다. 즉 값이 바뀌면 곧바로 오브젝트 크기가 바뀔 수 있도록 렌더링. - 핀치 제스처가 끝나면 오브젝트 크기를 원상복구한다.
핵심 코드
               .scaleEffect(1 + currentAmount)
               .gesture(
                    MagnificationGesture()
                        .onChanged { value in
                            currentAmount = value - 1
                        }
                        .onEnded { value in
                            currentAmount = 0
                        }
                )
소스 코드
import SwiftUI

struct MagnificationGestureBootCamp: View {
    @State private var currentAmount: CGFloat = 0
    var body: some View {
        VStack(spacing: 10) {
            HStack {
                Circle().frame(width: 35, height: 35)
                Text("Swiftful Thinking")
                Spacer()
                Image(systemName: "ellipsis")
            }
            .padding(.horizontal)
            Rectangle().frame(height: 300)
                .frame(height: 300)
                .scaleEffect(1 + currentAmount)
                .gesture(
                    MagnificationGesture()
                        .onChanged { value in
                            currentAmount = value - 1
                        }
                        .onEnded { value in
                            currentAmount = 0
                        }
                )
            HStack {
                Image(systemName: "heart.fill")
                Image(systemName: "text.bubble.fill")
                Spacer()
            }
            .padding(.horizontal)
            .font(.headline)
            Text("This is the caption for my photo.")
                .frame(maxWidth: .infinity, alignment: .leading)
                .padding(.horizontal)
        }
    }
}
구현 화면
크기가 원상복구될 때(
onEnded) 애니메이션 효과를 주면 보다 깔끔하게 처리할 수 있을 것 같다.

JUST DO IT