드디어 react-spring을 직접 사용해봤다..⭐️
고칠 부분들이 많이 있었는데 그 중에서도 react-spring을 먼저 사용해봤다.
예전부터 꼭 적용해보고 싶었는데 역시 대만족이다..😎
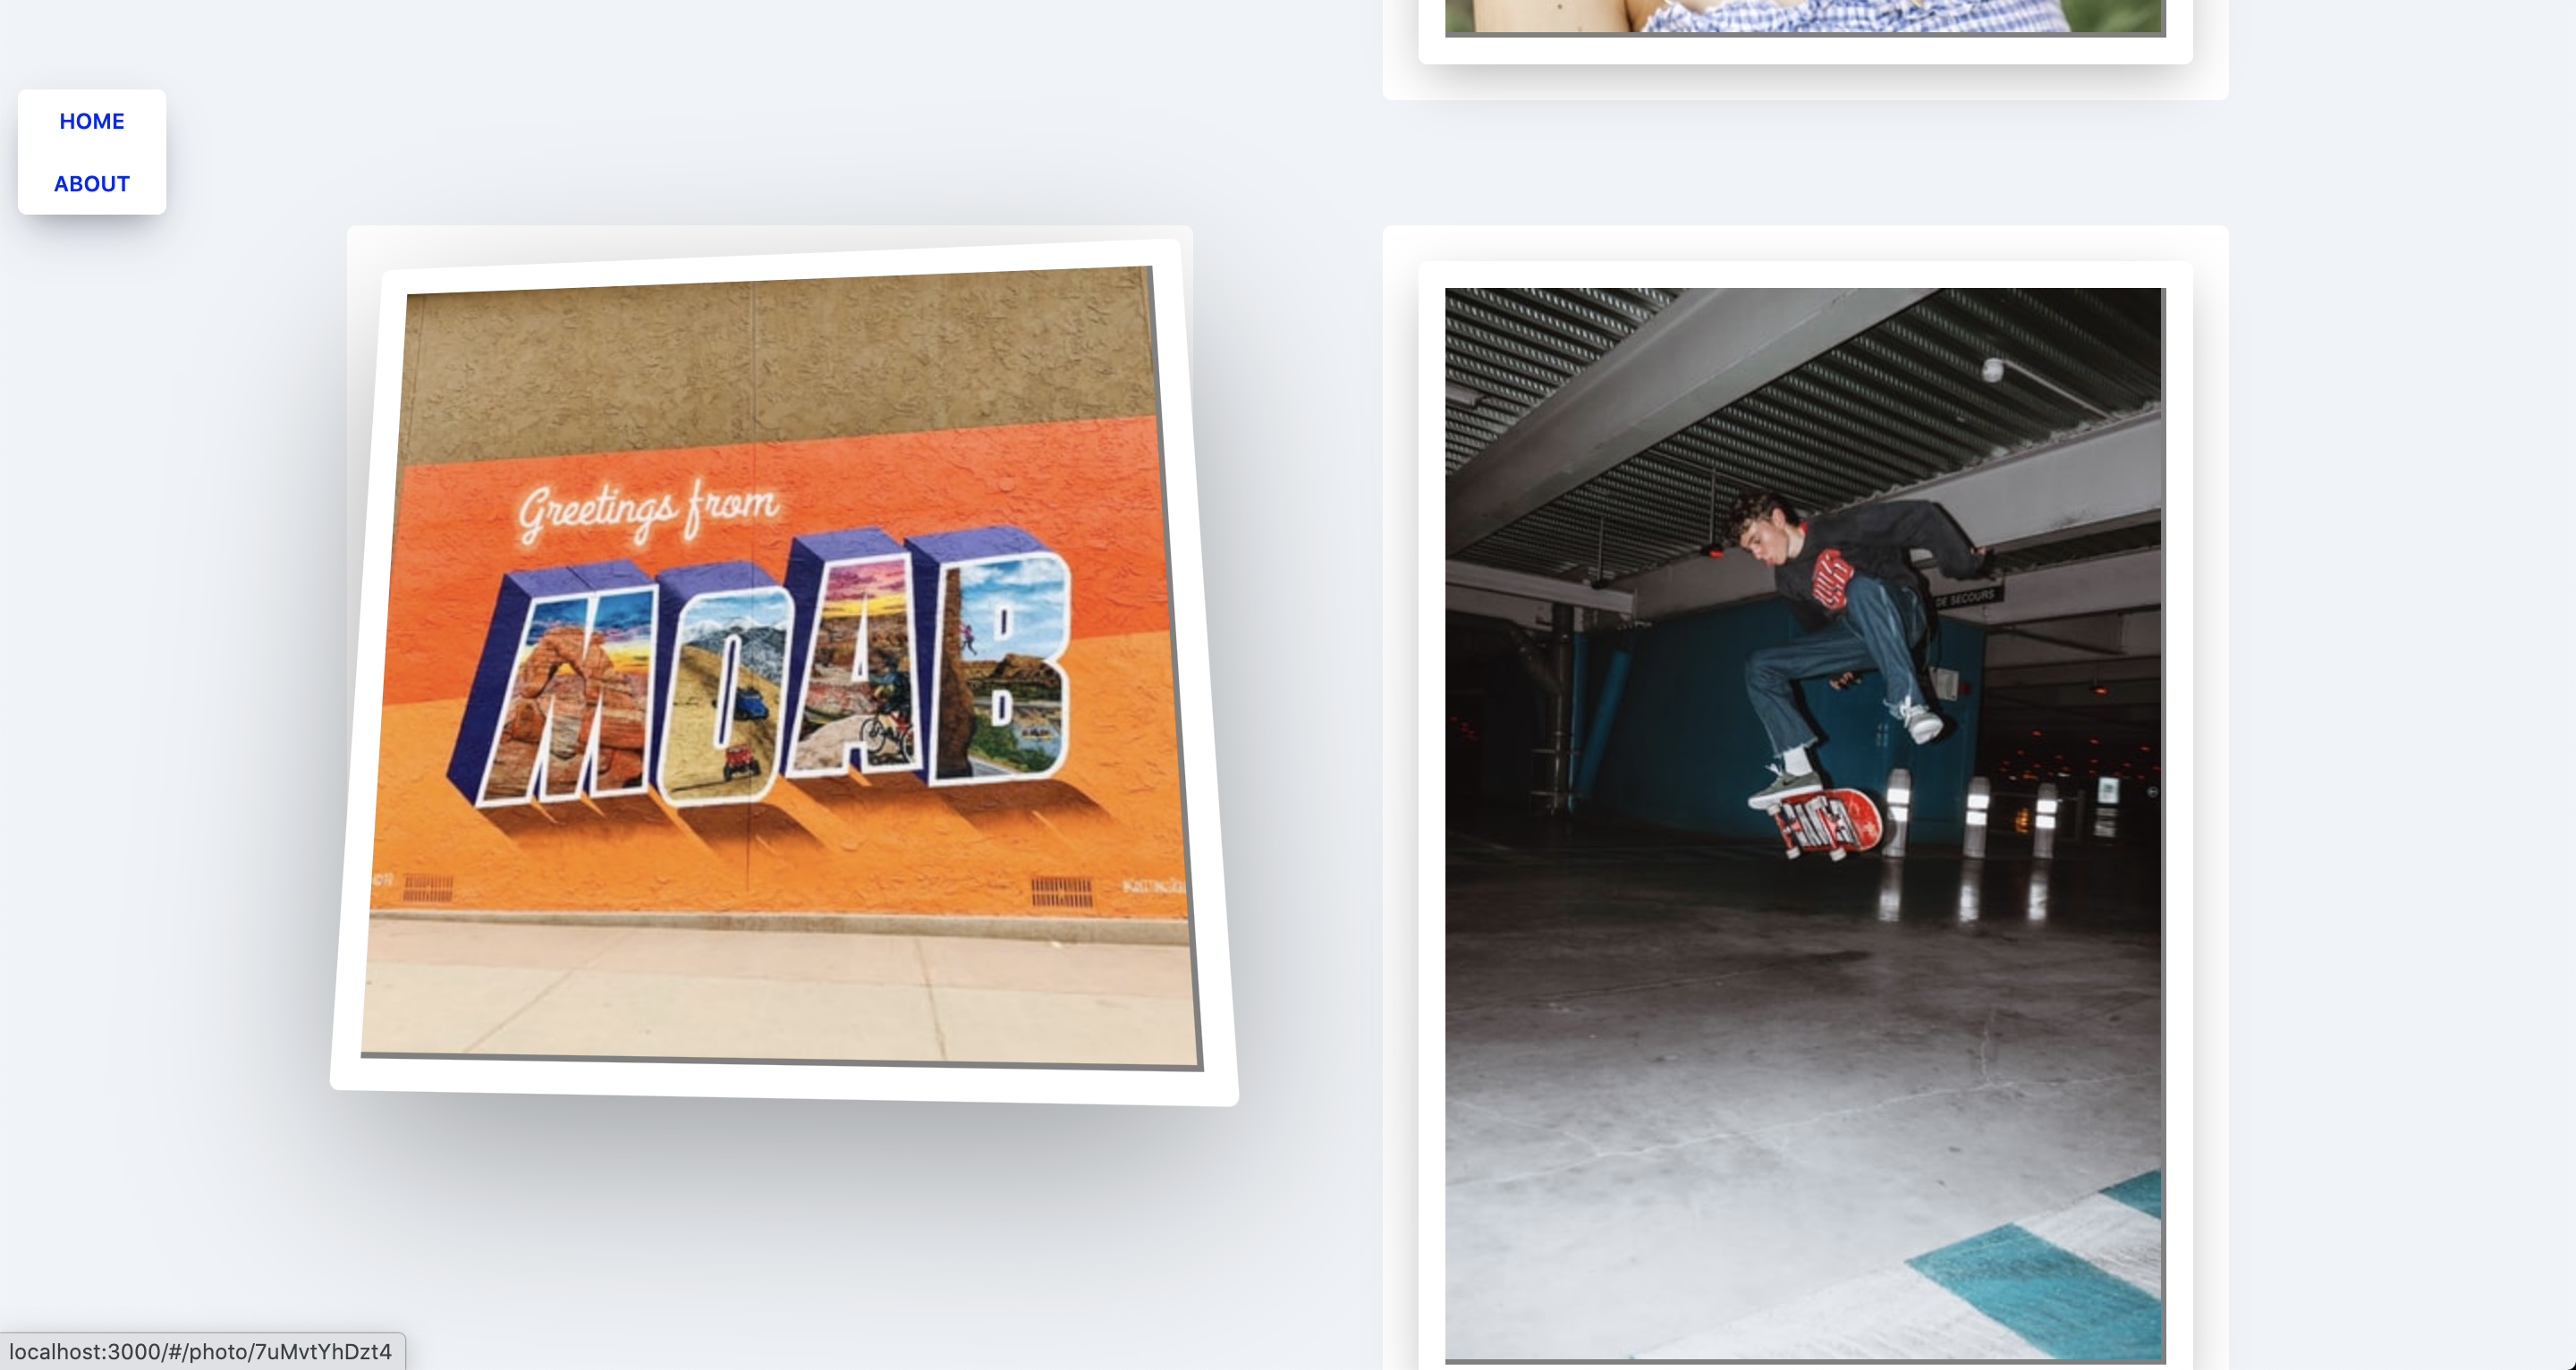
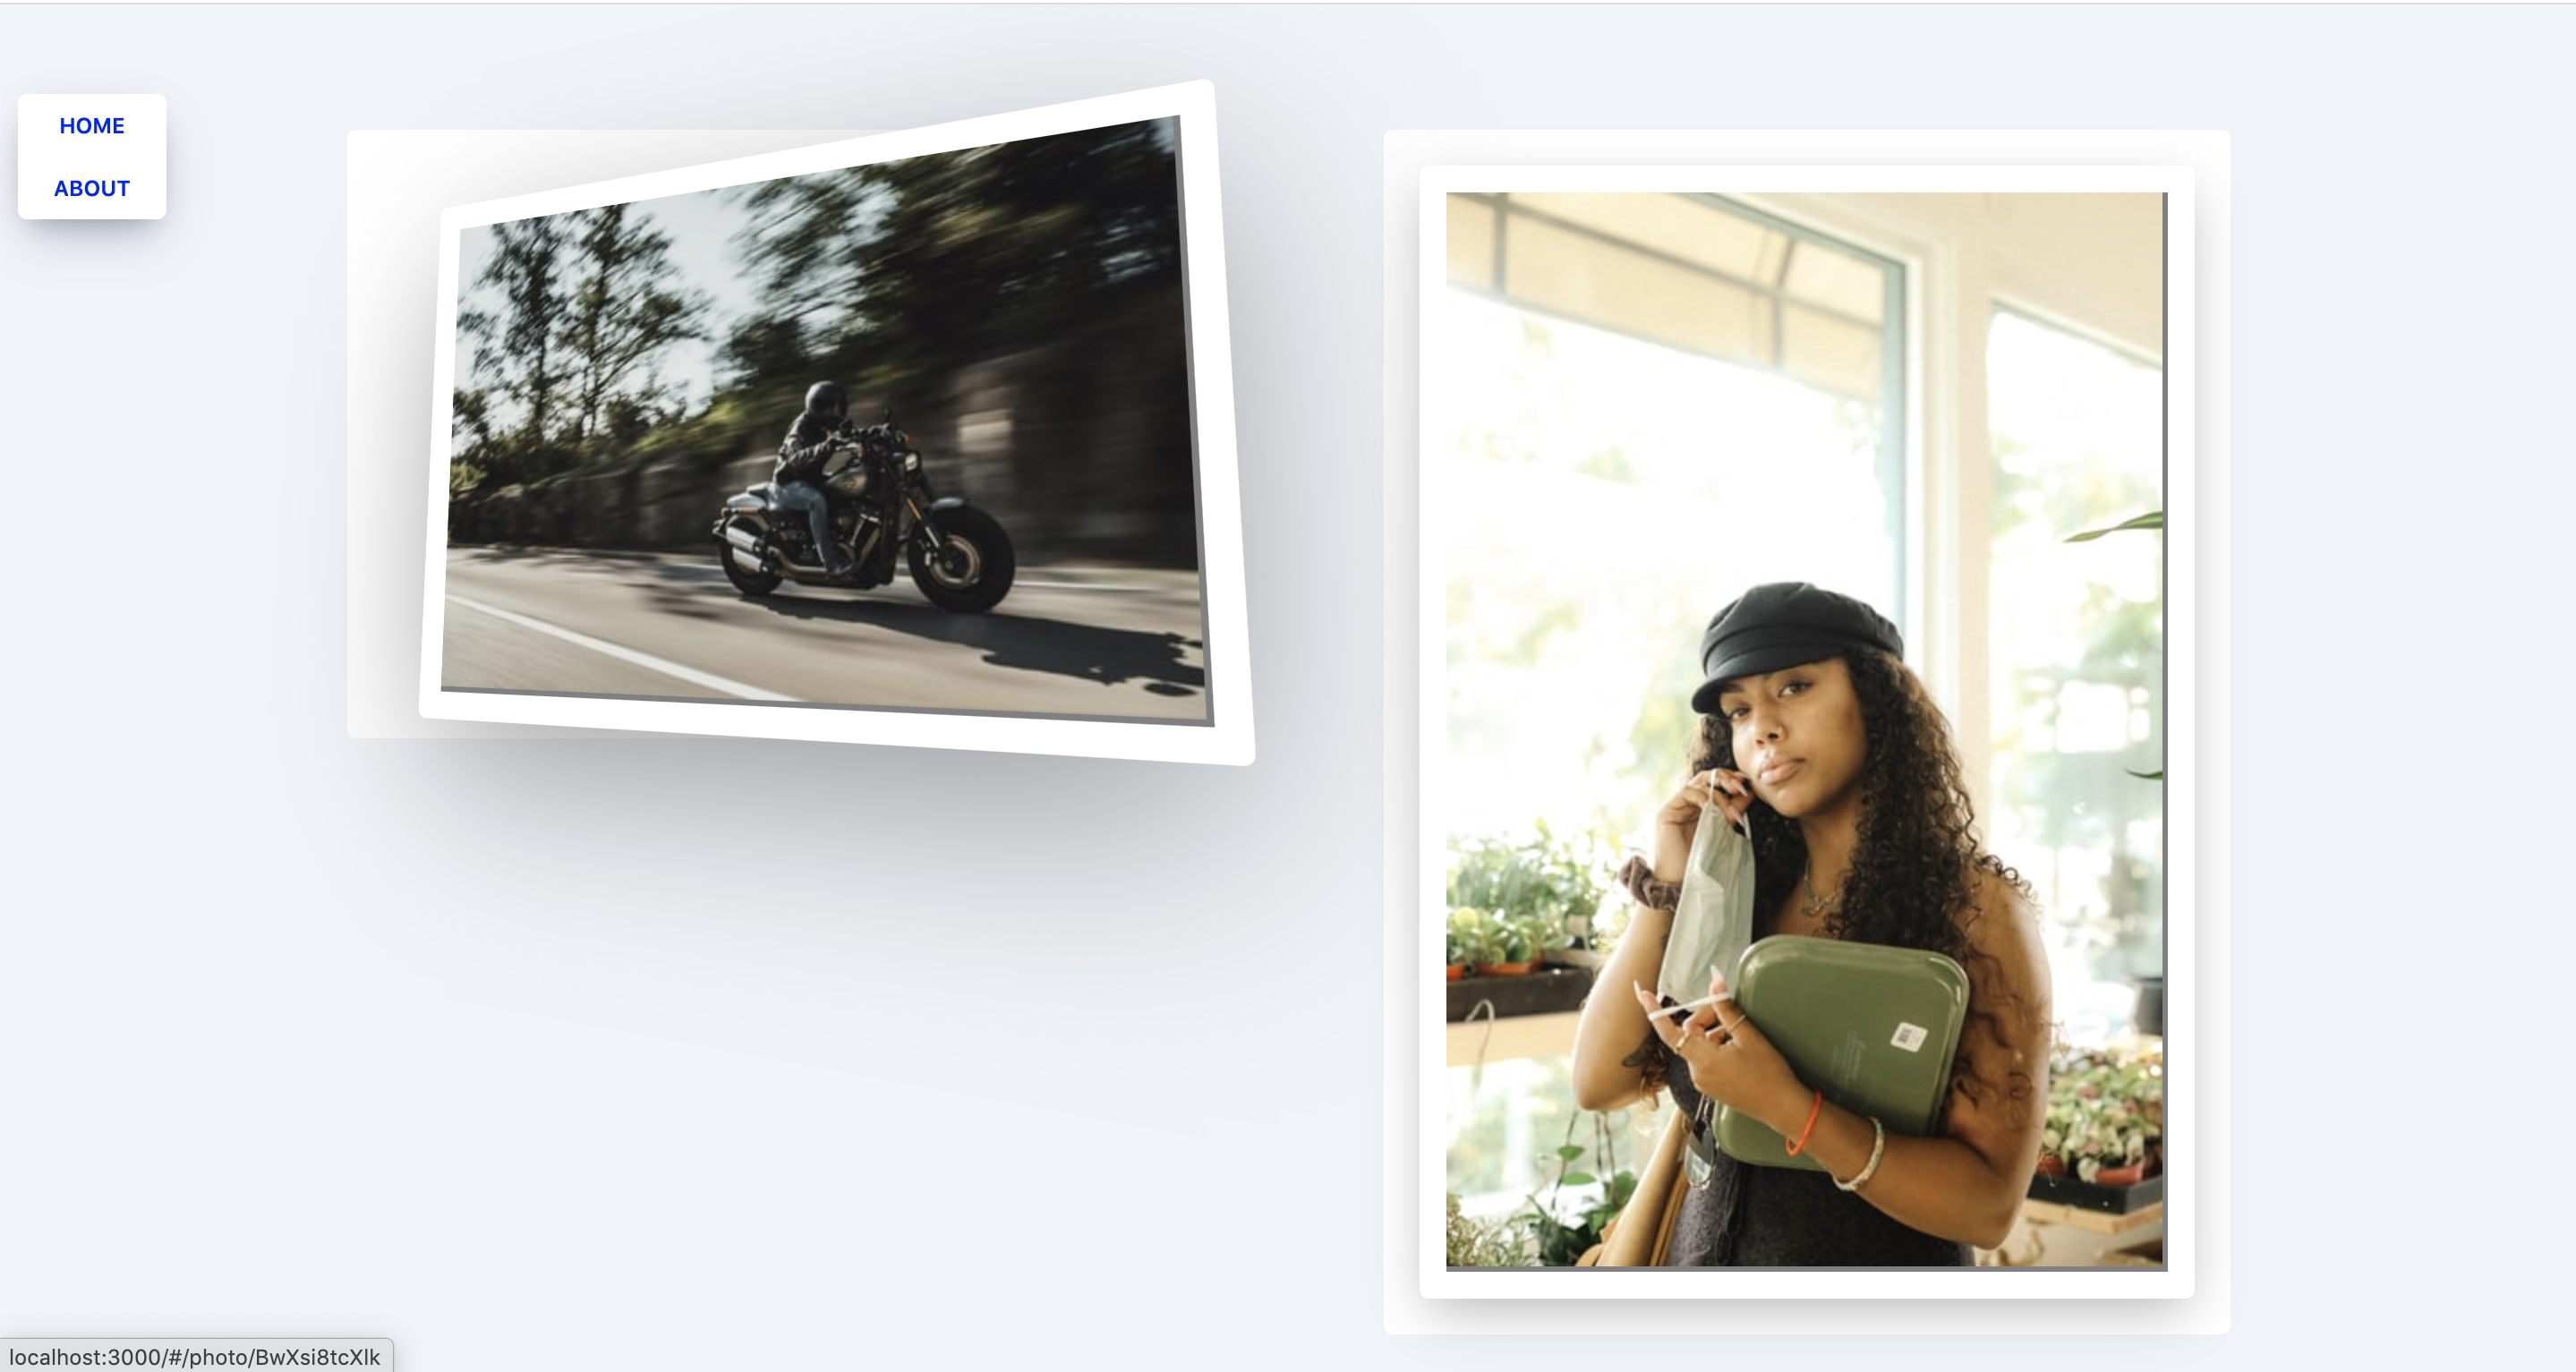
결과
코드
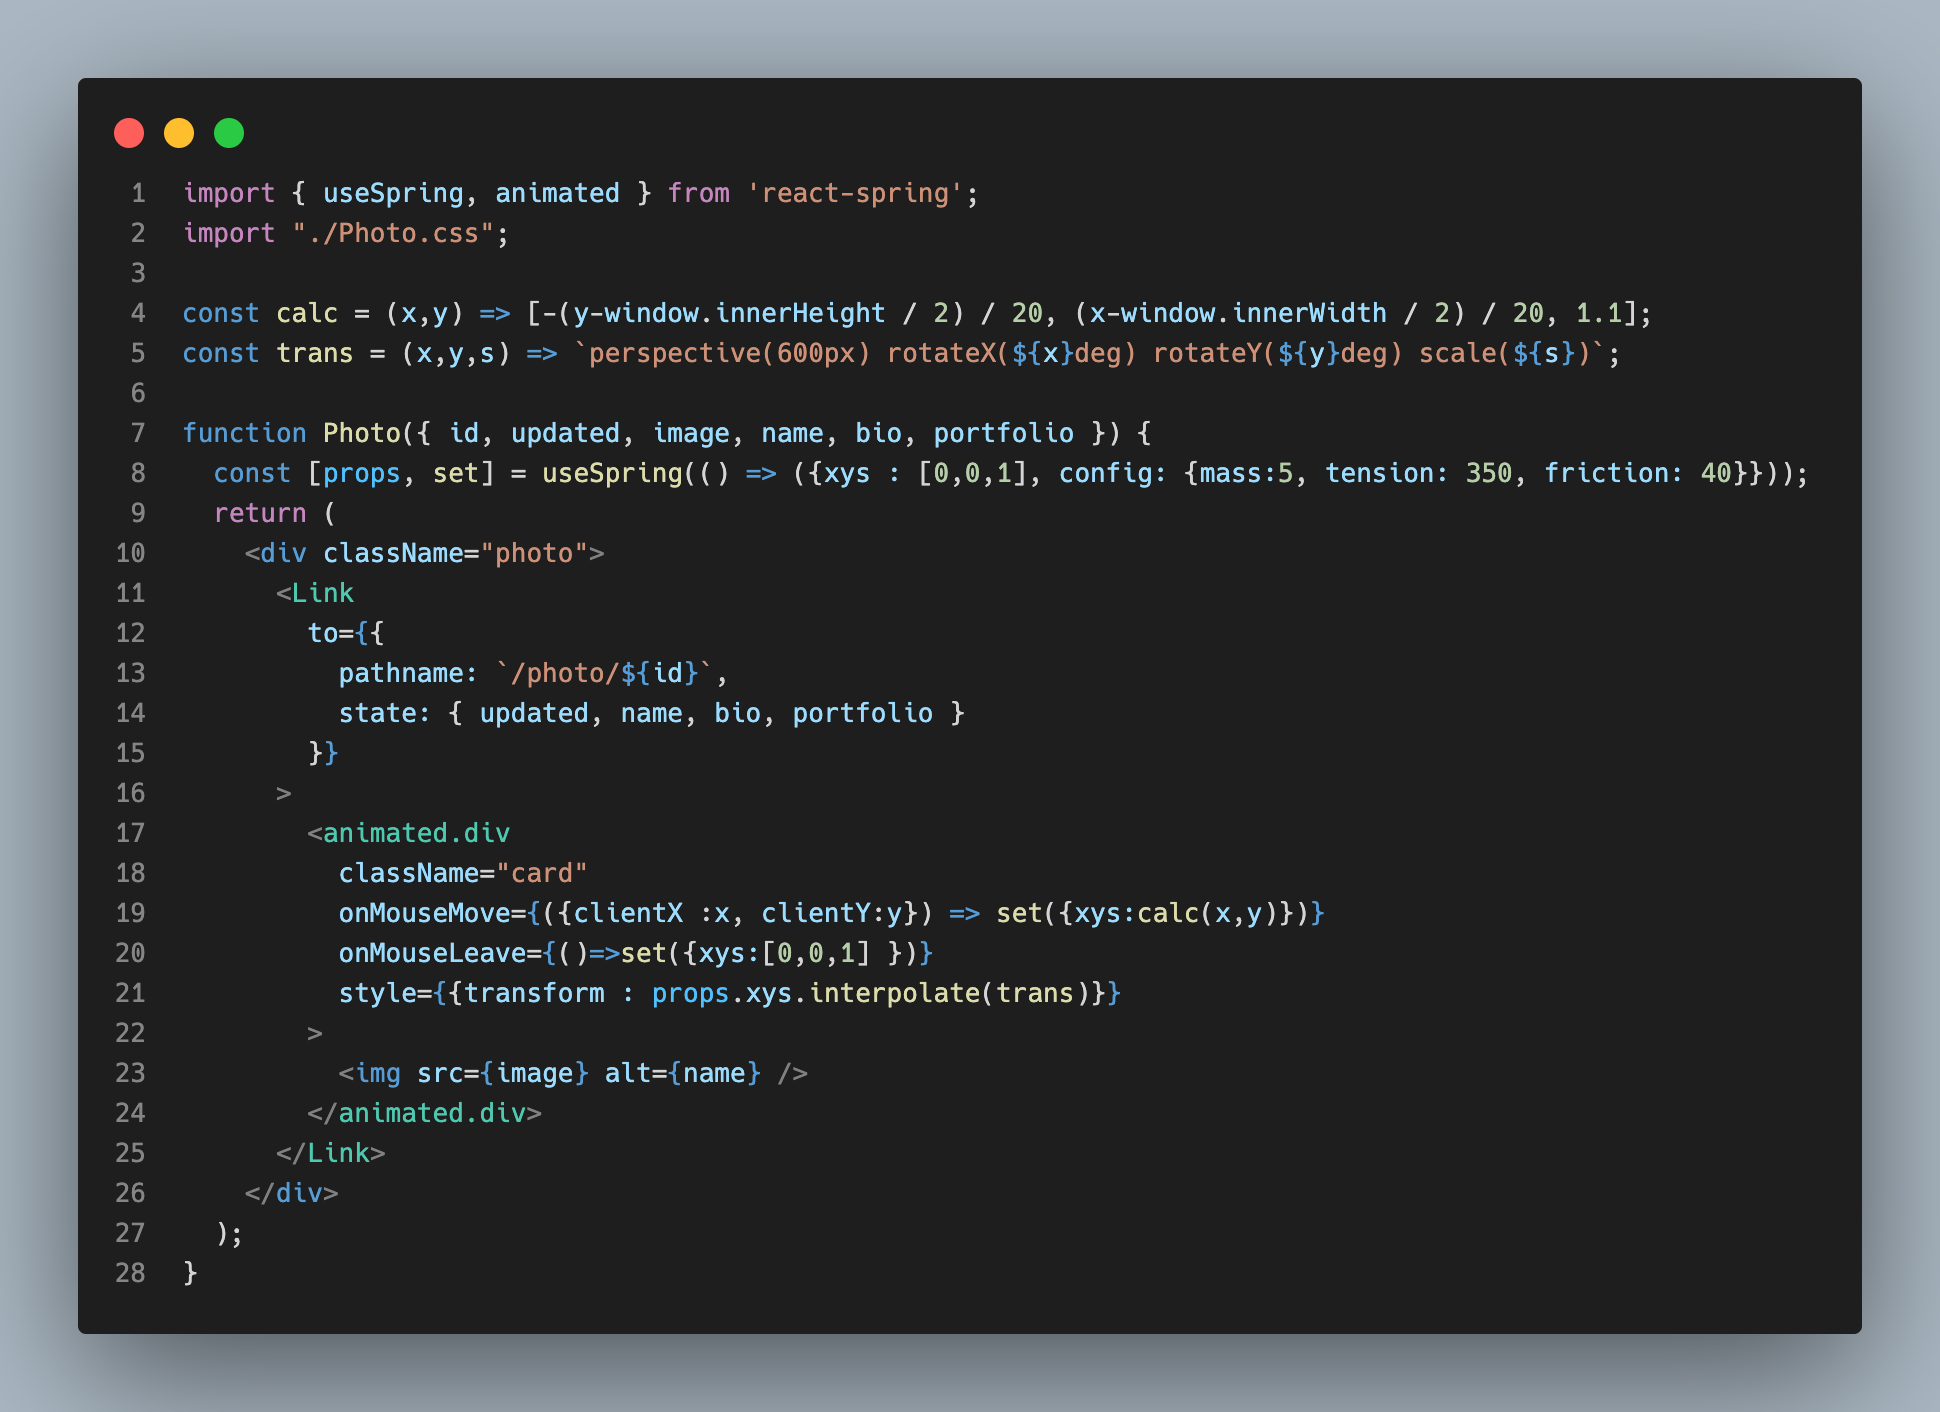
useSpring의 3D CARD예시를 따라 작성했으니까 다시 코드를 내 것으로 만들어보자!
코드 뜯어보기
1.
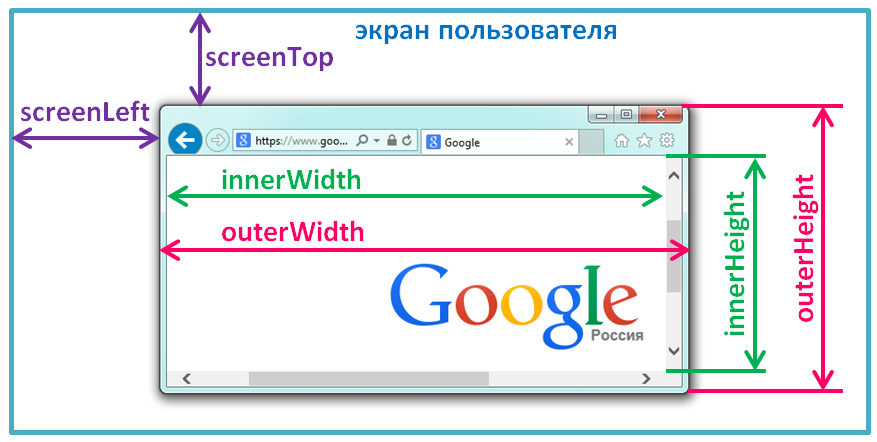
const calc = (x,y) => [-(y-window.innerHeight / 2) / 20, (x-window.innerWidth / 2) / 20, 1.1];- window.
window.innerHeight: 브라우저 화면의 높이
window.innerWidth: 브라우저 화면의 너비
window.outerHeight: 브라우저 전체의 높이
window.outerWidth: 브라우저 전체의 너비
-
-(y-window.innerHeight / 2) / 20: (y⬆︎ = 값⬇︎), (y⬇︎ = 값⬆︎)
(x-window.innerWidth / 2) / 20: (x⬆︎ = 값⬆︎), (x⬇︎ = 값⬇︎) -
calc는 [rotateX, rotateY, scale]의 배열을 가지게 된다.
2.
const trans = (x,y,s) => `perspective(600px) rotateX(${x}deg) rotateY(${y}deg) scale(${s})`;const trans는 문자열 리터럴을 반환 받는다.- css 변경을 처리하기 위한 보간 기능을 한다.(
papago가 말하길...)
3.
const [props, set] = useSpring(() => ({xys : [0,0,1], config: {mass:5, tension: 350, friction: 40}}));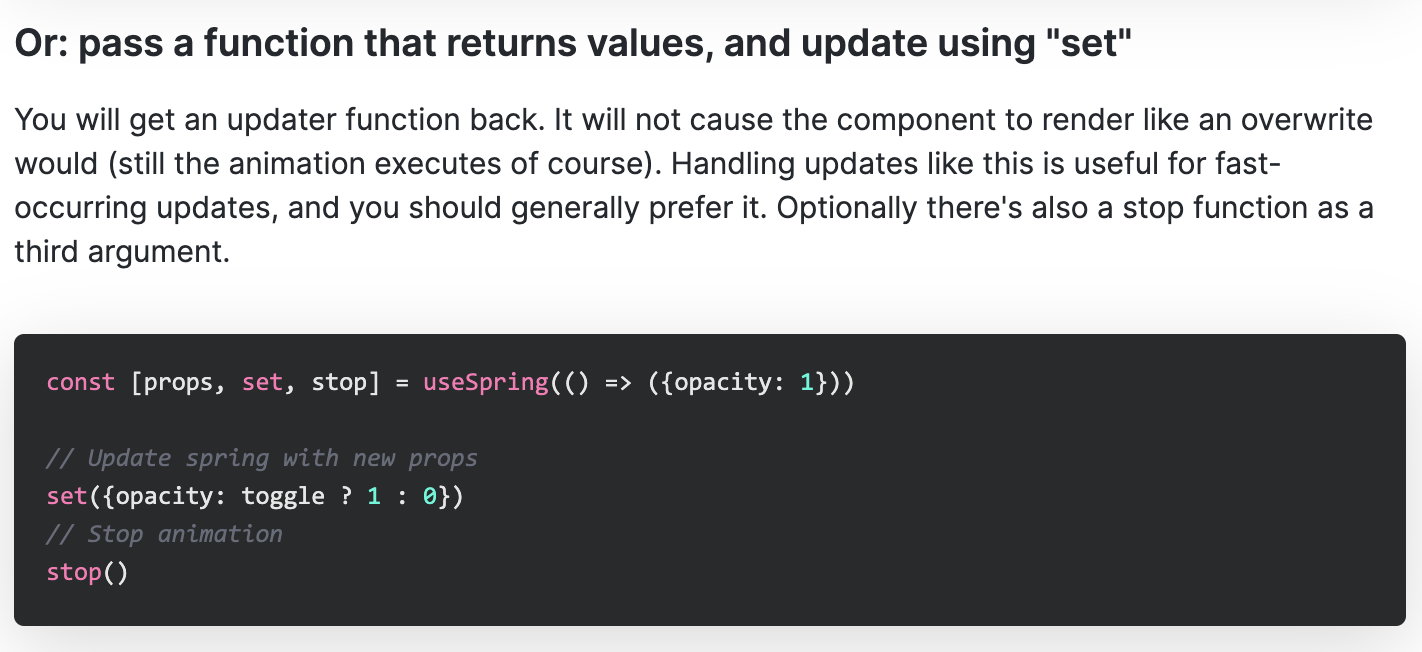
set은 움직이는 효과를 주기 위해 값를 업데이트 해준다.xys : [0, 0, 1]
배열은 [rotateX, rotateY, scale]으로 구성되어 있고, 이 배열을 xys라는 하나의 변수에 저장했다.
그래서 우리는 props.xys.interpolate()을 사용해서 쉽게 css transform value를 만들 수 있다.config에 들어갈 수 있는 요소들

4.
    <animated.div
      className="card"
      onMouseMove={({clientX :x, clientY:y}) => set({xys:calc(x,y)})}
      onMouseLeave={()=>set({xys:[0,0,1] })}
      style={{transform : props.xys.interpolate(trans)}}
    >
      <img src={image} alt={name} />
    </animated.div>
<animated.div />안에서 효과가 적용된다.onMouseMove={({clientX :x, clientY:y})=>set({xys:calc(x,y)})}
마우스를 움직이면 움직이는 효과를 위해 xys가 업데이트 된다.onMouseLeave={()=>set({xys:[0,0,1] })}
마우스를 떼면 xys가 처음으로 돌아가게 된다.
useSpring에 대해 더 이해하고 싶다면 링크 클릭해서 코드와 설명을 보자!
보완할 점
- Unsplash의 사진이 2열에 걸쳐서 나오는데,
1열에서는 사진이 오른쪽으로 기울어지지 않고, 2열에서는 왼쪽으로 기울어지지 않는다. 수정해야 한다. - 올라오는 속도, 높이와 기울어지는 속도는 조절이 필요하다.
참고자료
옹골찬 개발자가 되기 위한 험난한 일대기