
Android의 EditText는 사용자로부터 텍스트를 입력 받을 수 있는 View이며, 편집이 가능하다.
로그인 정보, 검색어, 메시지 등 다양한 텍스트의 입력을 위해서 사용한다.
EditText의 주요 속성은 다음과 같다.
- android:layout_width: EditText의 가로 크기를 지정한다. match_parent로 설정하면 부모 뷰의 가로 길이에 맞춰진다.
- android:layout_height: EditText의 세로 크기를 지정한다. wrap_content로 설정하면 텍스트 내용에 따라 크기가 조절된다.
- android:hint: 힌트 텍스트를 지정한다. 사용자가 아직 텍스트를 입력하지 않은 경우 힌트가 표시되며, 힌트 텍스트는 실제 입력된 텍스트와는 다른 색상으로 표시된다.
- android:inputType: 입력되는 텍스트의 유형을 지정한다. 예를 들어, text, number, email, password 등 다양한 유형이 있다.
- android:maxLines: EditText의 최대 줄 수를 지정한다. 1로 설정하면 입력창이 한 줄로 제한된다.
EidtText를 이용한 xml 코드
<?xml version="1.0" encoding="utf-8"?>
<LinearLayout xmlns:android="http://schemas.android.com/apk/res/android"
    xmlns:app="http://schemas.android.com/apk/res-auto"
    xmlns:tools="http://schemas.android.com/tools"
    android:layout_width="match_parent"
    android:layout_height="match_parent"
    android:orientation="vertical"
    tools:context=".MainActivity" >

    <EditText
        android:id="@+id/editTextText"
        android:layout_width="match_parent"
        android:layout_height="wrap_content"
        android:ems="10"
        android:inputType="text"
        android:text="Name" />

    <EditText
        android:id="@+id/editTextTextPassword"
        android:layout_width="match_parent"
        android:layout_height="wrap_content"
        android:ems="10"
        android:hint="입력해주세요"
        android:inputType="textPassword" />

    <EditText
        android:id="@+id/editTextTextEmailAddress"
        android:layout_width="match_parent"
        android:layout_height="wrap_content"
        android:ems="10"
        android:inputType="textEmailAddress" />

    <EditText
        android:id="@+id/editTextTextMultiLine"
        android:layout_width="match_parent"
        android:layout_height="wrap_content"
        android:ems="10"
        android:gravity="start|top"
        android:inputType="textMultiLine" />

    <Button
        android:id="@+id/button"
        android:layout_width="match_parent"
        android:layout_height="wrap_content"
        android:text="문자열 가져오기" />

    <TextView
        android:id="@+id/textView"
        android:layout_width="match_parent"
        android:layout_height="wrap_content"
        android:text="TextView"
        android:textAppearance="@style/TextAppearance.AppCompat.Large" />

    <TextView
        android:id="@+id/textView2"
        android:layout_width="match_parent"
        android:layout_height="wrap_content"
        android:text="TextView"
        android:textAppearance="@style/TextAppearance.AppCompat.Large" />

    <TextView
        android:id="@+id/textView3"
        android:layout_width="match_parent"
        android:layout_height="wrap_content"
        android:text="TextView"
        android:textAppearance="@style/TextAppearance.AppCompat.Large" />
</LinearLayout>
MainActivity 코드
class MainActivity : AppCompatActivity() {
lateinit var activityMainBinding: ActivityMainBinding
override fun onCreate(savedInstanceState: Bundle?) {
super.onCreate(savedInstanceState)
activityMainBinding = ActivityMainBinding.inflate(layoutInflater)
setContentView(activityMainBinding.root)
activityMainBinding.run{
// 현재 포커스를 가지고 있는 View와 연결된 키보드를 올라오게 한다.
// onCreate 메서드가 끝나야 화면이 나타나는데 그 전에 키보드가 올라오게 하는
// 명령을 전달하기 때문에 무시된다. 이에, 쓰래드로 운영을 한다.
thread {
// 500ms 쉬게 한다.
// onCreate 메서드의 수행이 끝날 때 까지 대기한다.
SystemClock.sleep(500);
val imm = getSystemService(INPUT_METHOD_SERVICE) as InputMethodManager
imm.showSoftInput(currentFocus, 0);
}
editTextText.run{
// EditText에 새로운 문자열을 설정한다.
setText("코드에서 문자열 설정")
// 현재 EditText에 포커스를 준다.
requestFocus()
// 엔터키를 눌렀을 때의 이벤트
setOnEditorActionListener { v, actionId, event ->
textView.text = "엔터 버튼을 눌렀습니다"
textView2.text = text.toString()
// true를 반환하면 엔터키 누른 후에 포커스가 현재 EditText로 유지된다.
// false를 반환하면 엔터키 누른 후에 다음 EditText로 포커스가 이동한다.
false
}
// 입력 감시자 설정
val editTextWatcher1 = EditTextWatcher1()
addTextChangedListener(editTextWatcher1)
}
editTextTextPassword.run{
// addTextChangedListener를 사용할 때 고차함수를 사용하면
// TextWatcher의 after 역할을 수행한다.
// 즉 실시간으로 사용자의 입력 내용을 받아 낼 수 있다.
addTextChangedListener {
textView.text = it
}
}
button.run{
setOnClickListener {
// EditText의 문자열을 가지고 온다.
val str1 = editTextText.text.toString()
textView.text = str1
// 키보드를 내린다
val imm = getSystemService(INPUT_METHOD_SERVICE) as InputMethodManager
if(currentFocus != null) {
// currentFocus : 현재 포커스를 가지고 있는 View를 지칭할 수 있다.
imm.hideSoftInputFromWindow(currentFocus!!.windowToken, 0)
// 포커스를 해제한다.
currentFocus!!.clearFocus()
}
}
}
}
}
// EditText 입력 감시자
inner class EditTextWatcher1 : TextWatcher{
// 입력 내용 변경 전
override fun beforeTextChanged(s: CharSequence?, start: Int, count: Int, after: Int) {
activityMainBinding.textView.text = "before : ${s}"
}
// 입력 내용 변경 했을 때
override fun onTextChanged(s: CharSequence?, start: Int, before: Int, count: Int) {
activityMainBinding.textView2.text = "changed : ${s}"
}
// 입력 내용이 변경된 후
override fun afterTextChanged(s: Editable?) {
activityMainBinding.textView3.text = "after : ${s}"
}
}
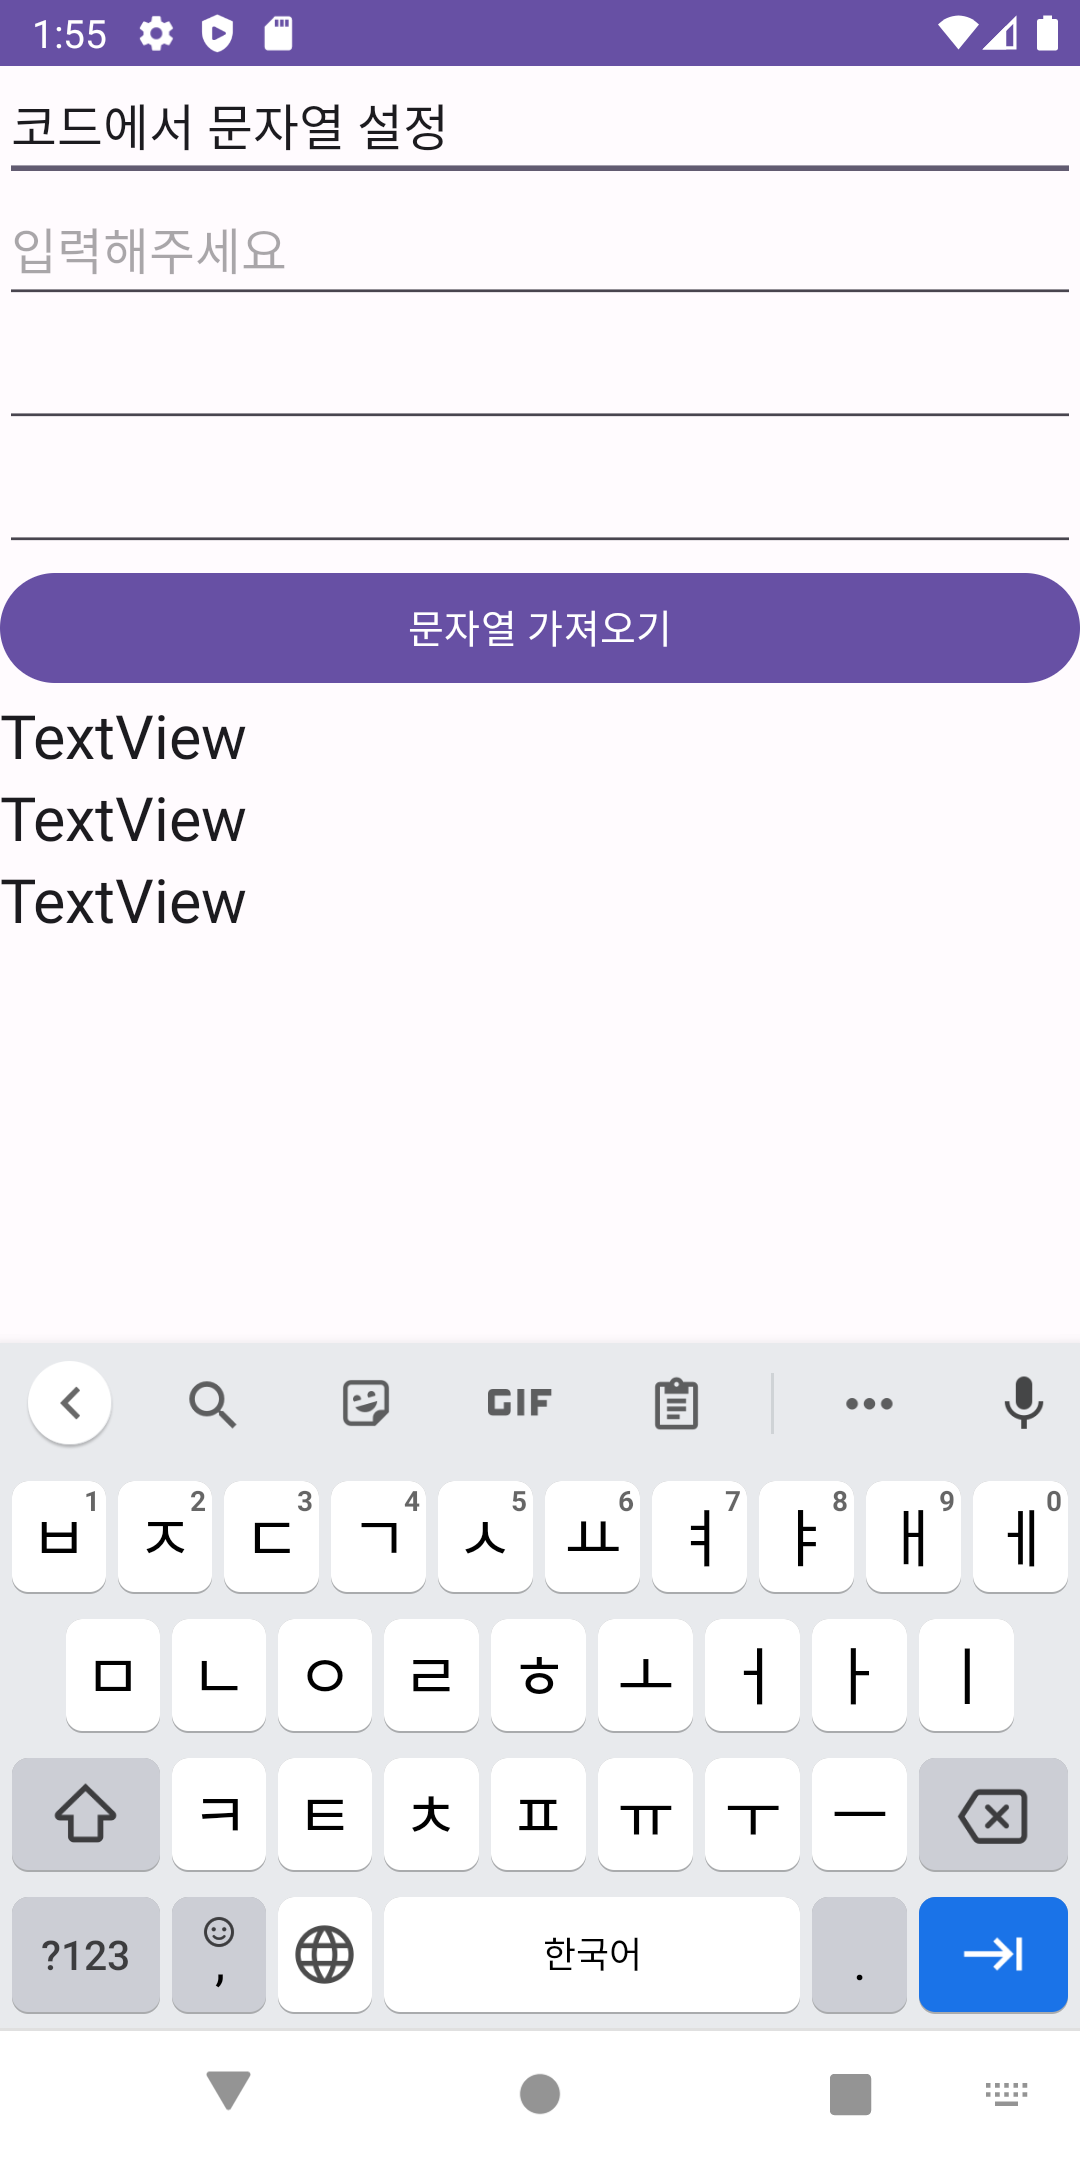
}실행 화면

안드로이드 개발자 꿈나무