
“Android 로봇은 Google에서 제작하여 공유한 저작물을 복제하거나 수정한 것으로 Creative Commons 3.0 저작자 표시 라이선스의 약관에 따라 사용되었습니다.”
Dialog?
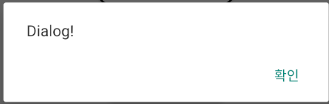
Android에서 이런 대화상자를 자주 봤을 것이다.
사용자와 상호작용을 할 수 있게 도와주는 이 대화상자를 Dialog라고 한다.
위 사진의 Dialog가 Android에서 제공하는 기본적인 Dialog인데
이를 자신의 입맛에 맞게 Custom 하는 방법이 있다.
Custom
먼저 custom할 Dialog에 적용시켜줄 xml 파일을 작성해보자.
<LinearLayout xmlns:android="http://schemas.android.com/apk/res/android"
    android:layout_width="match_parent"
    android:layout_height="match_parent"
    android:gravity = "center"
    android:padding = "20dp" >

    <Button
        android:id = "@+id/btn_customDialog"
        android:layout_width="100dp"
        android:layout_height="wrap_content"
        android:background="@drawable/ripple_mask"
        android:text = "button" />

</LinearLayout>
만들어줬다면 반은 완성이다.
이제 코드를 작성해보자
 val dlgView = View.inflate(this, R.layout.custom_dialog, null)
 val dlg = AlertDialog.Builder(this).create()
 dlg.window?.setBackgroundDrawableResource(R.drawable.button)
 dlg.setView(dlgView)

 dlgView.btnCustomDialog.setOnClickListener {
 	dlg.dismiss()
 }

 dlg.show()
View.inflate(this, R.layout.custom_dialog, null)
-> 작성해둔 xml 파일을 inflate 한 뒤
dlg.setView(dlgView)
-> setView 메소드를 통해 inflate한 layout을 지정한다.
dlg.window?.setBackgroundDrawableResource(R.drawable.button)
-> Dialog의 Background를 drawable로 지정할 수 있다.
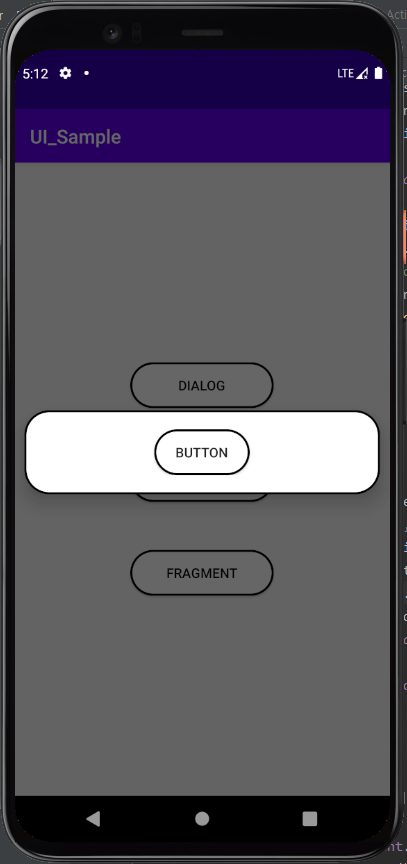
Text를 안넣어서 허전해보이지만 지정한 요소들로 custom이 된 것을 볼 수 있다.
그리고 layout을 inflate하는 부분을 viewBinding으로 쓸 수도 있다!
val dlgView = CustomDialogBinding.inflate(layoutInflater)
val dlg = AlertDialog.Builder(this)
dlg.setView(dlgView.root)
어느 방법을 쓰든 정답이 있는 것은 아니지만
viewBinding도 사용은 가능하기에 원하는 방법으로 취사선택해서 사용하면 될 거 같다.
다음글은 DialogFragment를 사용하여 custom하는 방법을 포스팅해보겠다.
개인적으로 공부했던 것을 바탕으로 작성하다보니
잘못된 정보가 있을수도 있습니다.
인지하게 되면 추후 수정하겠습니다.
피드백은 언제나 환영합니다.
읽어주셔서 감사합니다.
