firebase FCM 설정하기
-
Firebase 설정은 앞서 포스팅한것 처럼 해도 되고
혹은 아래 설정을 따로 잡아주면 되지만 웬만하면 위 포스팅에서 한 것 처럼 하자 그래야 시간도 절약하고 다른 편리한 기능(google coulde console)들도 사용할 수 있으니 말이다. -
fire base SDK를 사용한 설정은 위 포스팅에서 확인하면 되고 사용코드는 다음과 같다.
with firebase sdk
WidgetsFlutterBinding.ensureInitialized();
await Firebase.initializeApp(options: DefaultFirebaseOptions.currentPlatform);
without firebase sdk
- 이제 만약 SDK없이 설정한다면 각각의 옵션을 정해줘야하는데 아래 사진에서 찾을 수 있다.
await Firebase.initializeApp(
  options: const FirebaseOptions(
  apiKey: "AIza...",
  appId: "1:10...:android:5a...
  messagingSenderId: "10...
  projectId: "wjddn..."
));
FirebaseOptions
- 공식문서에서 위 옵션에 해당하는 값을 각각 찾아볼 수 있다.
우선
iOS 용 웹 푸시 인증서
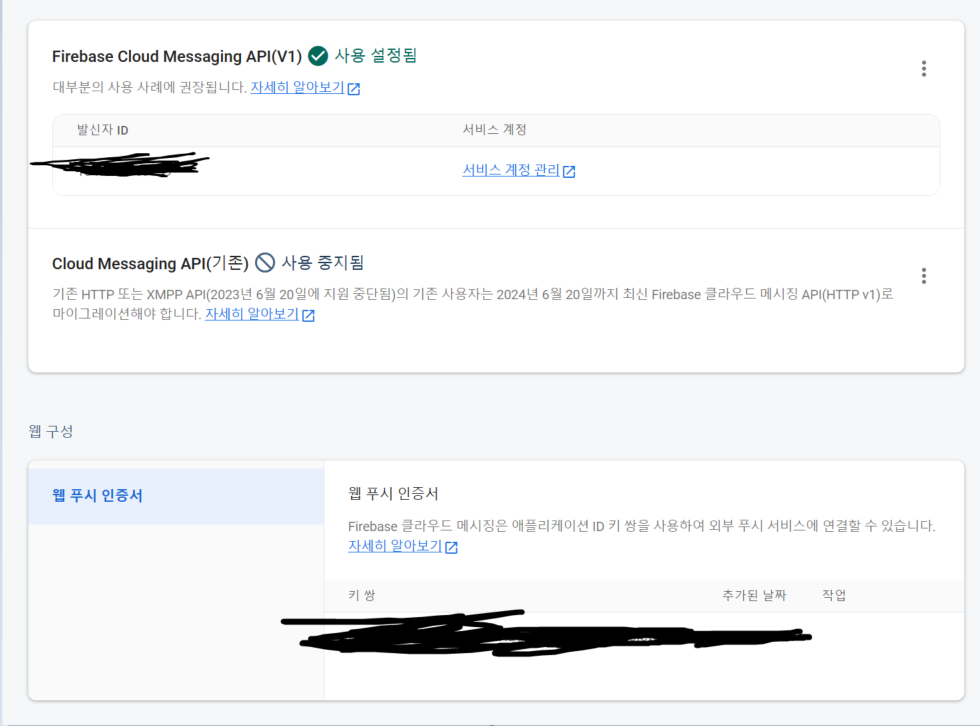
projectId
appId

messagingSenderId
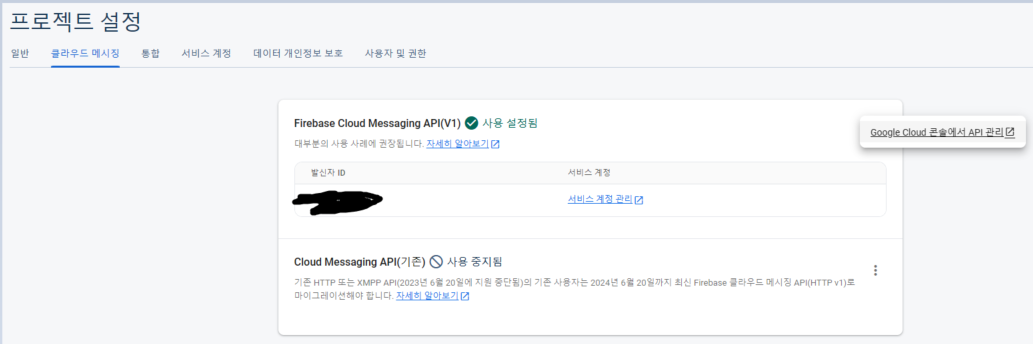
apiKey
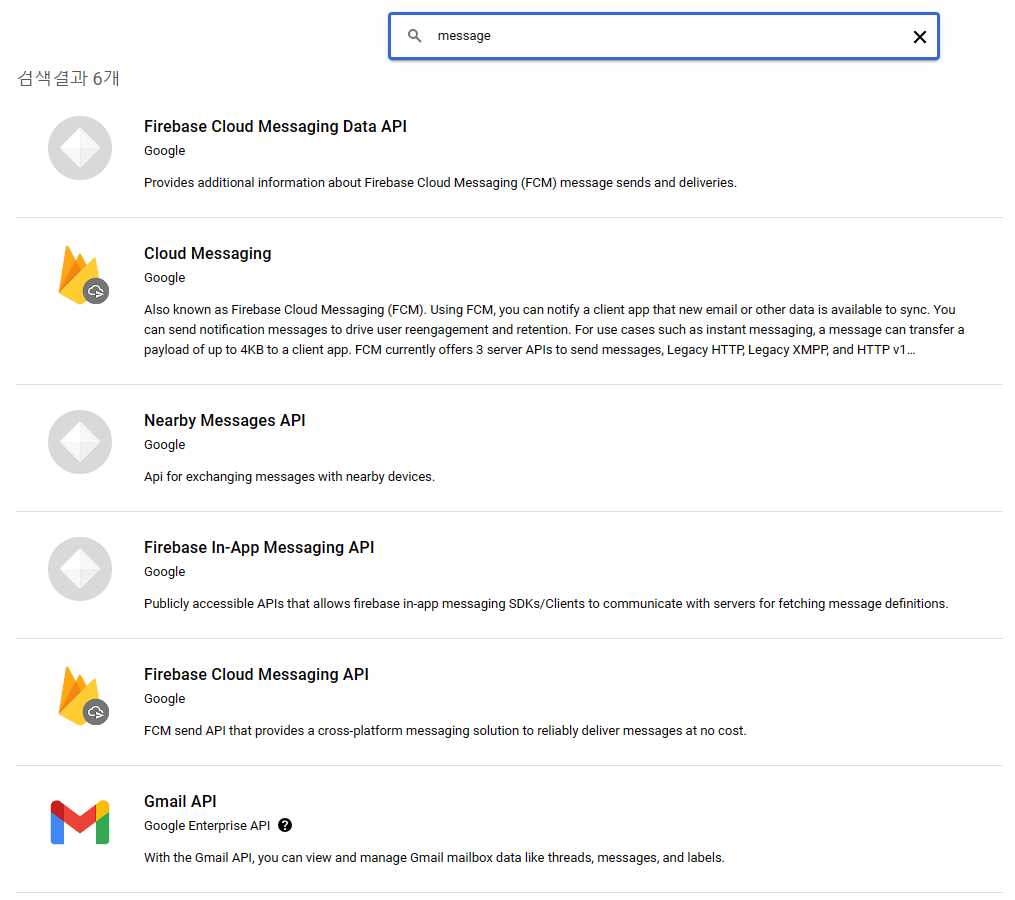 저기서 밑에서 2번째꺼 들어가면
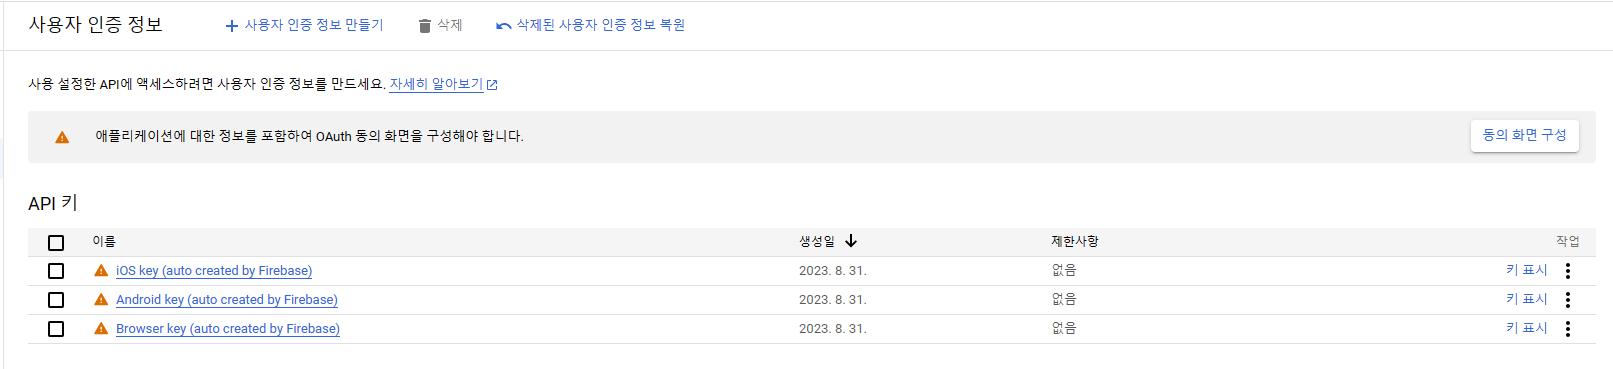 위 "키 표시" 에서 apiKey를 각각 확인할 수 있다.
local notification을 사용하는 이유
- 그럼 FCM의 messaging을 사용하면 되는데 굳이 local notification을 왜 사용할까? => FCM 등을 활용한 서버 푸시인 경우에는 Foreground 환경에서는 푸시가 노출 되지 않는 것이 시스템의 기본 설정인데,
이러한 환경에서도 푸시를 노출 시키기 위해 사용하기 위해서 로컬 푸시 기능을 추가적으로 사용하는 것이다.
config
- 자, 위에서 프로젝트 전반에 대한 SDK를 설정하였다면 이제 android & iOS 각각 설정을 잡아보자. 보통은 iOS가 더 귀찮은데 local notification은 android가 더 귀찮다.
android (AndroidManifest.xml)
<manifest xmlns:android="http://schemas.android.com/apk/res/android">

    <uses-permission android:name="android.permission.RECEIVE_BOOT_COMPLETED"/>
    <uses-permission android:name="android.permission.VIBRATE" />
    <uses-permission android:name="android.permission.WAKE_LOCK" />
    <uses-permission android:name="android.permission.USE_FULL_SCREEN_INTENT" />

    <application
        android:label="test"
        android:name="${applicationName}"
        android:icon="@mipmap/ic_launcher">
        <receiver android:name="com.dexterous.flutterlocalnotifications.ScheduledNotificationReceiver" />
        <receiver android:name="com.dexterous.flutterlocalnotifications.ScheduledNotificationBootReceiver" android:exported="true">
            <intent-filter>
                <action android:name="android.intent.action.BOOT_COMPLETED"/>
                <action android:name="android.intent.action.MY_PACKAGE_REPLACED"/>
                <action android:name="android.intent.action.QUICKBOOT_POWERON" />
                <action android:name="com.htc.intent.action.QUICKBOOT_POWERON"/>
            </intent-filter>
        </receiver>
        <activity
            android:name=".MainActivity"
            android:exported="true"
            android:launchMode="singleTop"
            android:theme="@style/LaunchTheme"
            android:configChanges="orientation|keyboardHidden|keyboard|screenSize|smallestScreenSize|locale|layoutDirection|fontScale|screenLayout|density|uiMode"
            android:hardwareAccelerated="true"
            android:windowSoftInputMode="adjustResize"
            android:showWhenLocked="true"
            android:turnScreenOn="true">
            <!-- Specifies an Android theme to apply to this Activity as soon as
                 the Android process has started. This theme is visible to the user
                 while the Flutter UI initializes. After that, this theme continues
                 to determine the Window background behind the Flutter UI. -->
            <meta-data
              android:name="io.flutter.embedding.android.NormalTheme"
              android:resource="@style/NormalTheme"
              />
            <intent-filter>
                <action android:name="android.intent.action.MAIN"/>
                <category android:name="android.intent.category.LAUNCHER"/>
            </intent-filter>
        </activity>
        <!-- Don't delete the meta-data below.
             This is used by the Flutter tool to generate GeneratedPluginRegistrant.java -->
        <meta-data
            android:name="flutterEmbedding"
            android:value="2" />

    </application>
</manifest>-
<manifest> 태그 밑에 <user-permission> 태그를 추가하여 4개의 권한을 지정한다.
첫번째는 장치가 재부팅될 때 플러그인이 알 수 있도록 하기 위해 필요하다. 재부팅 시 플러그인이 알림을 다시 예약할 수 있도록 하기 위해 필요하다.
두번째는 알람 진동
세번째는 절전모드나 화면이 어두워지는거 방지
네번째는 말 그대로 전체화면 지원이다. 참고로 manifest permission은 여기서 확인할 수 있다. -
<activity> 태그에
showWhenLocked,turnScreenOn옵션을 넣어준다. 이는 디바이스 잠금에도 알림을 설정하도록 하는 코드이다. -
<receiver> ScheduledNotificationBootReceiver 태그를 추가하여 디바이스 재부팅 알림 스케쥴링을 유지하고
-
<receiver> ScheduledNotificationReceiver 태그를 추가하여 푸시 알림을 화면에 출력한다.
iOS
- 참고로 iOS는 개발하려면 아래의 2가지 준비물을 미리 준비하자.
- 1년에 120$를 낸 apple developer 계정
- ios는 에뮬에서 안 돌가기 때문에 실제 apple 기기
project directory/ios/Runner/AppDelegate.swift경로에
if #available(iOS 10.0, *) {
  UNUserNotificationCenter.current().delegate = self as? UNUserNotificationCenterDelegate
}
-> Bool{다음 줄에 위 코드를 삽입해준다.
@pragma('vm:entry-point')
`@pragma('vm:entry-point')`@pragma('vm:entry-point')는 Dart 프로그래밍 언어에서 사용되는 메타데이터(Annotation)이다.
이 메타데이터는 Dart 언어의 런타임 환경에서 코드 진입점(Entry Point)을 지정하는 데 사용된다.
그럼 이 entry point를 왜 설정할까?
-
Dart는 여러 플랫폼에서 실행될 수 있고, 각 플랫폼마다 진입점을 설정해야한다.
예를 들어, 웹 애플리케이션의 경우 진입점은 HTML 파일에서 지정될 수 있으며, 명령줄 도구의 경우 main() 함수가 진입점일 수 있다.
하지만 Flutter 앱과 같이 일부 플랫폼에서는 Dart의 진입점을 명시적으로 설정해야 할 필요가 있다. -
@pragma('vm:entry-point')는 플루터(Flutter) 앱에서 사용되며, Dart의 런타임 환경에서 앱의 진입점을 특정 함수로 설정하는 데 도움을 준다.
이 메타데이터를 함수 위에 추가하면 AOT 컴파일러가 해당 함수를 Dart의 런타임 환경에서 진입점으로 인식한다.
이로인해 컴파일 시간과 크기를 줄일 수 있다. -
앱이 실행될 때, Dart 런타임은
@pragma('vm:entry-point')가 지정된 함수를 찾아 실행하며, 그 함수에서 앱의 실행 흐름이 시작된다.
이것은 Flutter 앱의 경우 앱이 시작될 때 필요한 초기화 및 설정을 수행하는 데 사용될 수 있다.
이렇게 하면 앱의 실행 흐름을 더 조절하기 쉽게 만들 수 있다.
import 'package:flutter/material.dart';

@pragma('vm:entry-point')
void customEntryPoint() {
  // 여기에서 다양한 초기화 작업 수행 가능
  initializeSomeLibrary();
  runApp(MyApp());
}

void main() {
  // 이것은 무시되고 진입점으로 사용되지 않는다.
}

void initializeSomeLibrary(){
  // 뭔가 초기화 로직
}

class MyApp extends StatelessWidget {
  @override
  Widget build(BuildContext context) {
    return MaterialApp(
      home: Scaffold(
        appBar: AppBar(
          title: Text('Custom Entry Point Example'),
        ),
        body: Center(
          child: Text('This is a custom entry point for the Flutter app.'),
        ),
      ),
    );
  }
}
알람 아이콘 설정
android/app/src/main/res/drawable/ 밑에 아이콘 이미지를 위치하면 된다.