따라하며 배우는 노드, 리액트 시리즈 - 쇼핑몰 사이트 만들기
REACT-SHOP-KO 작성 코드
2. 랜딩 페이지 만들기
1. 데이터베이스에 들어 있는 모든 상품 가져오기
-
빈 랜딩 페이지 생성
client/src/components/views/LandingPage/LandingPage.js
div안에 초기화
-
몽도 DB에 저장되어 있는 데이터들 가져오기
LandingPage.jsimport axios from 'axios'; import React, {useEffect} from 'react' ... function LandingPage() { useEffect(() => { axios.post('/api/product/products') .then(response => { if(response.data.success) { console.log(response.data) }else { alert("상품들을 가져오는데 실패 했습니다.") } }) }, []) ... }server/routes/product.js
router.post('/products', (req,res) => {
    //products collection에 들어 있는 모든 상품 정보를 가져오기
    Product.find()
        .populate("writer")
        .exec((err, productInfo) => {
            if(err) return res.status(400).json({success : false, err})
            return res.status(200).json({success : true, productInfo})
        })
})
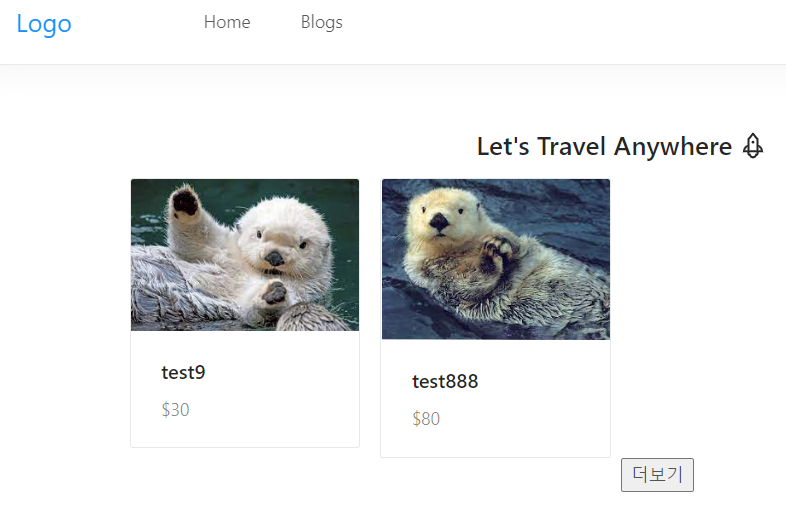
2. 카드 만들기
client/src/components/views/LandingPage/LandingPage.js 에서 디자인(Git 참고)
→ 실행 결과
3.이미지 슬라이더 만들기
src/utils/ImageSlider.js
→ ant design에서 코드 가져오기
→ LandingPage 에서 넘어온 data를 props로 받아서 mapping
import React from 'react'
import {Icon, Col, Card, Row, Carousel} from 'antd';

function ImageSlider(props) {
  return (
    <div>
        <Carousel autoplay>
            {props.images.map((image,index) => (
                <div key = {index}>
                    <img style={{width : '100%', maxHeight : '150px'}}
                    src = {`http://localhost:5000/${image}`}/>
                </div>
            ))}
        </Carousel>
  </div>
  )
}

export default ImageSlider
client/src/components/views/LandingPage/LandingPage.js
import ImageSlider from '../../utils/ImageSlider';
...
const renderCards = Products.map((product, index) => {

        console.log('product', product)
        return <Col lg={6} md ={8} xs = {24} key = {index}>
            <Card
                cover={<ImageSlider images = {product.images}/>}
            >
                <Meta
                    title={product.title}
                    description={`$${product.price}`}
                />
            </Card>
        </Col>
    })
→ 실행 결과
4. 더보기 버튼 만들기 #1
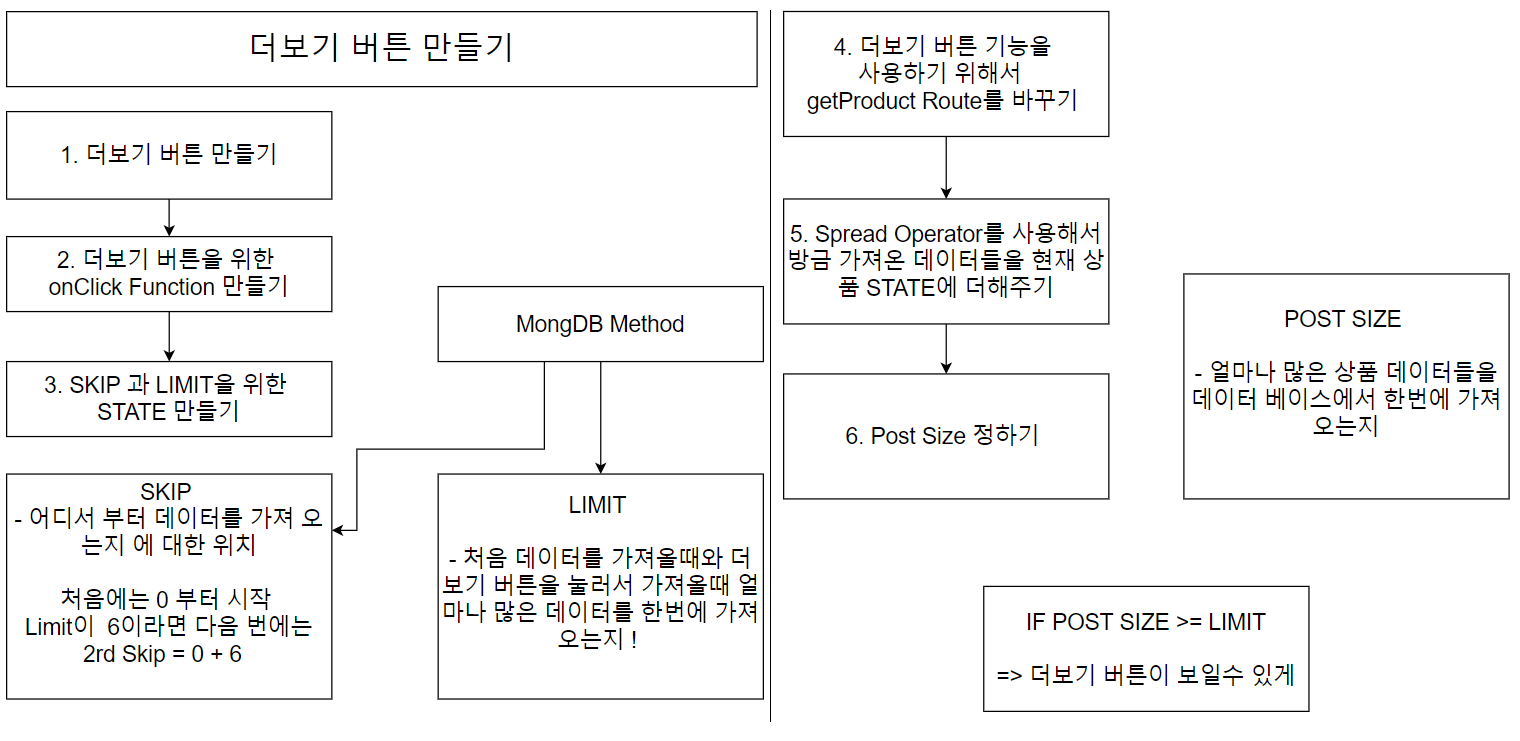 LandingPage.js → product.js

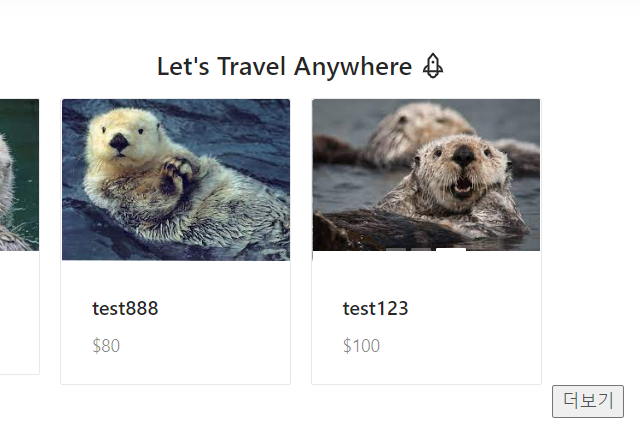
5.더보기 버튼 만들기 #2
client/src/components/views/LandingPage/LandingPage.js

server/routes/product.js

→ 실행 결과

6. 체크 박스 필터 만들기 #1
- client/src.cimponents/views/LandingPage/section/CheckBox.js → checkbox 디자인
- lient/src.cimponents/views/LandingPage/section/Datas.js → data list 만들기
생성
- client/src/components/views/LandingPage/LandingPage.js
import CheckBox from './Sections/CheckBox';
import { continents } from './Sections/Datas';
...
<CheckBox list = {continents}/>
...
7.체크 박스 필터 만들기 #2
- client/src/components/views/LandingPage/section/CheckBox.js

8.체크 박스 필터 만들기 #3
-
client/src/components/views/LandingPage/LandingPage.js

-
server/routes/product.js

-
강의 오류로 인해 → mongodb에서 continents 추가
continents : {
        type : Number,
        default : 1
    },
→ 실행 결과


coding study