이 글에서 다룰 내용
- 프로젝트 구조 설명
- index.html 생성
- style.css 생성
- menu.js 생성
- CRUD 기능 구현
- 전체 메뉴 조회 (GET)
1. 프로젝트 구조 설명
PIZZA-SHOP/
├── css/
│   └── style.css
├── js/
│   └── menu.js
└── index.html
2. index.html 생성
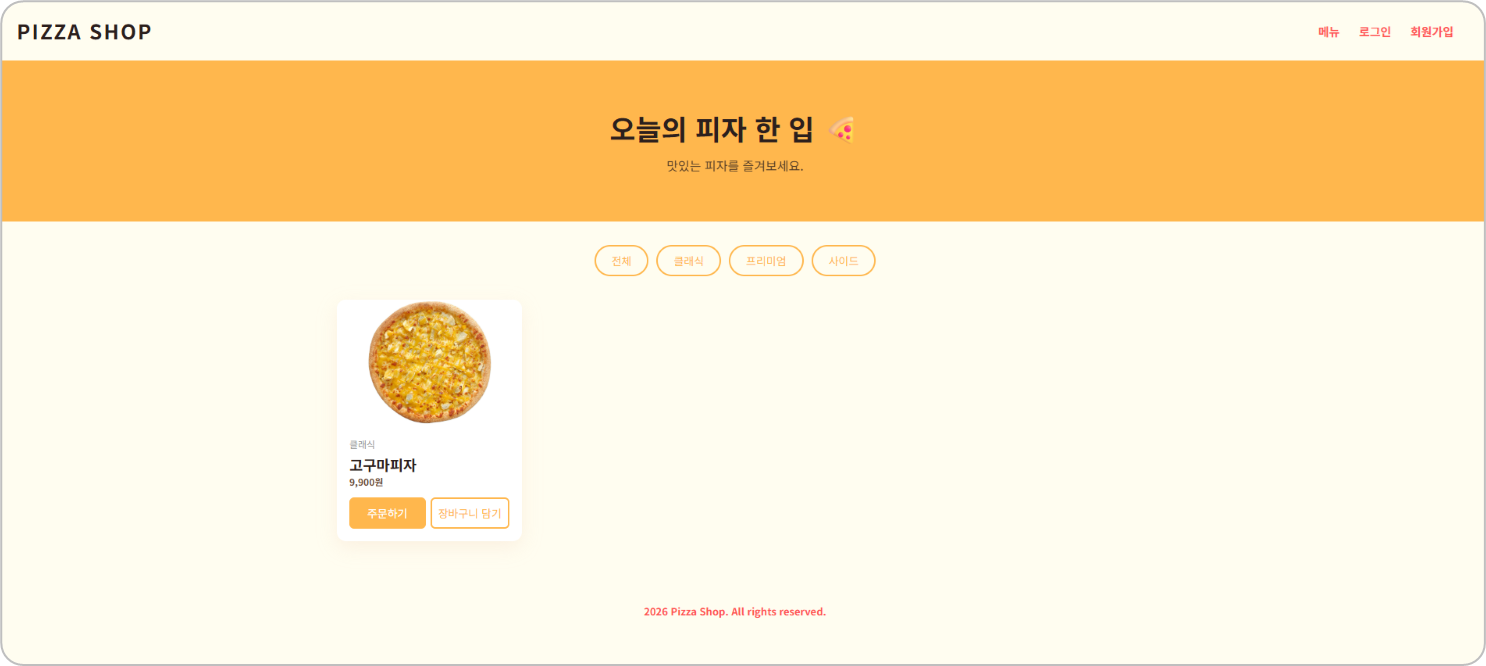
- index.html은 피자 메뉴 목록을 보여주는 메인 페이지다.
<!doctype html>
<html lang="ko">
    <head>
        <meta charset="UTF-8" />
        <title>PIZZA</title>
        <link rel="stylesheet" href="css/style.css" />
    </head>
    <body>
        <!-- 메뉴 목록 화면 -->
        <header>
            <h1>PIZZA SHOP</h1>
            <nav id="navArea">
                <a href="index.html">메뉴</a>
                <a href="login.html">로그인</a>
                <a href="register.html">회원가입</a>
            </nav>
        </header>

        <div class="hero">
            <h2>오늘의 피자 한 입 🍕</h2>
            <p>맛있는 피자를 즐겨보세요.</p>
        </div>

        <div class="filter">
            <button class="active" onclick="filterMenu('전체', this)">전체</button>
            <button onclick="filterMenu('클래식', this)">클래식</button>
            <button onclick="filterMenu('프리미엄', this)">프리미엄</button>
            <button onclick="filterMenu('사이드', this)">사이드</button>
        </div>

        <div class="menu-grid" id="menuGrid"></div>

        <footer>2026 Pizza Shop. All rights reserved.</footer>
        <script src="js/menu.js"></script>
    </body>
</html>| 태그 | 설명 |
|---|---|
<header> | 로고 + 네비게이션 메뉴 |
<div class="hero"> | 메인 배너 영역 |
<div class="filter"> | 카테고리 필터 버튼 |
<div class="menu-grid"> | 메뉴 카드가 동적으로 들어오는 영역 |
<div class="menu-grid" id="menuGrid">는 비어있는 상태로 시작하고 menu.js에서 API를 호출해 동적으로 메뉴 카드를 채워준다.
3. style.css 생성
style.css는 피자 쇼핑몰의 전체 디자인을 담당한다.
/* 공통 스타일 */
:root {
    --color-bg: #fffdf0;
    --color-dark: #2b1f1d;
    --color-primary: #ff5252;
    --color-accent: #ffb74d;
    --color-light: #ffffff;
    --color-border: #f0e6db;
    --color-text: #4a3b32;
    --color-muted: #a1887f;
    --font-main: "Ansungtangmyeon", "Comic Sans MS", "Apple SD Gothic Neo", sans-serif;
    --radius: 20px;
    --shadow: 0 8px 24px rgba(235, 190, 160, 0.2);
    --transition: 0.25s cubic-bezier(0.175, 0.885, 0.32, 1.275);
}
CSS 변수(
:root)를 사용하면 색상, 그림자, 애니메이션 등을 한 곳에서 관리할 수 있어 유지보수가 편리하다.
| 변수 | 설명 |
|---|---|
--color-bg | 페이지 배경색 (따뜻한 아이보리) |
--color-accent | 주요 포인트 색상 (주황) |
--color-primary | 강조 색상 (빨강) |
--shadow | 카드 그림자 스타일 |
--transition | 호버 애니메이션 곡선 |
헤더 / 네비게이션
header {
    background: var(--color-bg);
    padding: 20px 40px;
    display: flex;
    justify-content: space-between;
    align-items: center;
}

nav a {
    color: var(--color-primary);
    text-decoration: none;
    margin-left: 20px;
    font-size: 15px;
    font-weight: bold;
}
display: flex+justify-content: space-between으로 로고는 왼쪽, 네비게이션은 오른쪽에 배치한다.
필터 버튼
.filter {
    display: flex;
    justify-content: center;
    gap: 10px;
    padding: 30px 20px 10px;
}

.filter button {
    padding: 8px 20px;
    border: 2px solid var(--color-accent);
    border-radius: 20px;
    background: var(--color-bg);
    color: var(--color-accent);
    cursor: pointer;
}

.filter button:hover,
.filter button.active {
    background: var(--color-accent);
    color: var(--color-bg);
}| 상태 | 스타일 |
|---|---|
| 기본 | 흰 배경 + 주황 테두리 |
| hover / active | 주황 배경 + 흰 글씨 |
메뉴 그리드
.menu-grid {
    display: grid;
    grid-template-columns: repeat(auto-fill, minmax(230px, 1fr));
    gap: 24px;
    padding: 20px 40px 60px;
    max-width: 1100px;
    margin: 0 auto;
}
repeat(auto-fill, minmax(230px, 1fr))를 사용하면 별도의 미디어 쿼리 없이도 화면 크기에 따라 자동으로 열 수가 조정되는 반응형 그리드가 완성된다.
메뉴 카드
.menu-card {
    background: var(--color-light);
    border-radius: 12px;
    overflow: hidden;
    box-shadow: var(--shadow);
    transition: var(--transition);
}

.menu-card:hover {
    transform: translateY(-4px);
}

.menu-card .img-area {
    background: var(--color-light);
    height: 160px;
    overflow: hidden;
    text-align: center;
    line-height: 160px;
    font-size: 60px;
}| 속성 | 설명 |
|---|---|
overflow: hidden | 이미지가 카드 밖으로 삐져나오지 않게 함 |
transition | 호버 시 부드러운 애니메이션 |
transform: translateY(-4px) | 호버 시 카드가 살짝 위로 뜨는 효과 |
line-height: 160px | 이미지 없을 때 이모지를 세로 중앙 정렬 |
4. menu.js 생성
menu.js는 API를 호출해 메뉴 데이터를 받아오고, 화면에 카드를 동적으로 렌더링하는 역할을 한다.
const API = "http://localhost:8080/api/menu";
let allMenus = []; // 전체 메뉴 캐시

window.onload = function () {
    loadMenus();
    updateNav();
};
allMenus에 전체 메뉴를 캐싱해두면 카테고리 필터링 시 API를 다시 호출하지 않아도 된다.
전체 메뉴 불러오기
function loadMenus() {
    fetch(API)
        .then((res) => res.json())
        .then((data) => {
            allMenus = data;
            renderMenus(data);
        })
        .catch((err) => console.error("메뉴 불러오기 실패: ", err));
}| 단계 | 설명 |
|---|---|
fetch(API) | GET 요청으로 메뉴 목록을 가져옴 |
res.json() | 응답을 JSON으로 파싱 |
allMenus = data | 필터링에 사용할 전체 메뉴 캐싱 |
renderMenus(data) | 화면에 카드 렌더링 |
카드 렌더링
function renderMenus(menus) {
const grid = document.getElementById("menuGrid");
grid.innerHTML = "";
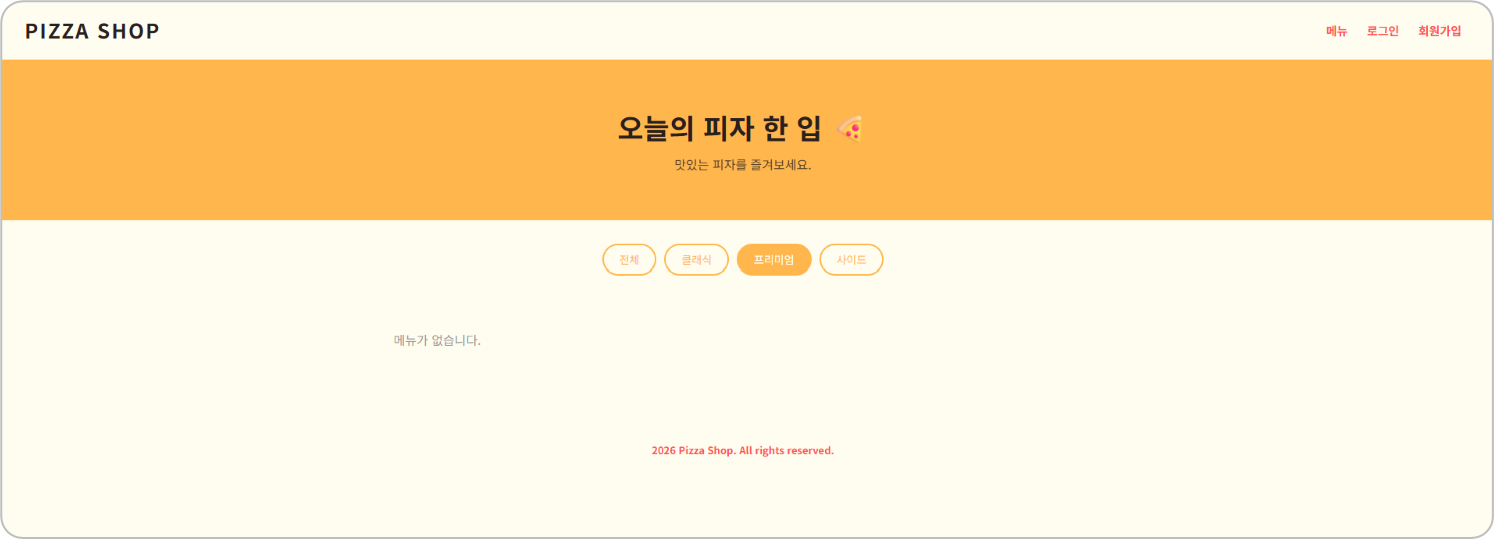
if (menus.length === 0) {
grid.innerHTML = '<p style="text-align:center; color:#999; padding:40px;">메뉴가 없습니다.</p>';
return;
}
menus.forEach((menu) => {
const card = document.createElement("div");
card.className = "menu-card";
const imgContent = menu.imgUrl
? `<img src="${menu.imgUrl}" alt="${menu.name}" style="width:100%; height:160px; object-fit:contain; display:block;">`
: getCategoryEmoji(menu.category);
card.innerHTML = `
<div class="img-area">${imgContent}</div>
<div class="info">
<div class="category">${menu.category}</div>
<h3>${menu.name}</h3>
<div class="price">${menu.price.toLocaleString()}원</div>
<div class="btn-group">
<buttontoken interpolation">${menu.name}', ${menu.price})">주문하기</button>
<buttontoken interpolation">${menu.id}, '${menu.name}', ${menu.price})">장바구니 담기</button>
</div>
</div>
`;
grid.appendChild(card);
});
}
imgUrl이 있으면 이미지를, 없으면 카테고리별 이모지를 대신 보여준다.
function getCategoryEmoji(category) {
    if (category == "클래식") return "⭐";
    if (category == "프리미엄") return "👑";
    if (category == "사이드") return "🍟";
}
카테고리 필터링
function filterMenu(category, event) {
    document.querySelectorAll(".filter button").forEach((btn) => {
        btn.classList.remove("active");
    });
    event.target.classList.add("active");

    if (category === "전체") {
        renderMenus(allMenus);
    } else {
        const filtered = allMenus.filter((m) => m.category === category);
        renderMenus(filtered);
    }
}| 단계 | 설명 |
|---|---|
classList.remove("active") | 모든 버튼에서 active 제거 |
event.target.classList.add("active") | 클릭한 버튼에만 active 추가 |
allMenus.filter(...) | 캐싱된 데이터에서 카테고리 필터링 (API 재호출 없음) |
5. CRUD 기능 구현 - ① 전체 메뉴 조회 (GET)
전체 메뉴 조회 (GET)
페이지가 로드되면 자동으로 API를 호출해 전체 메뉴를 가져온다.
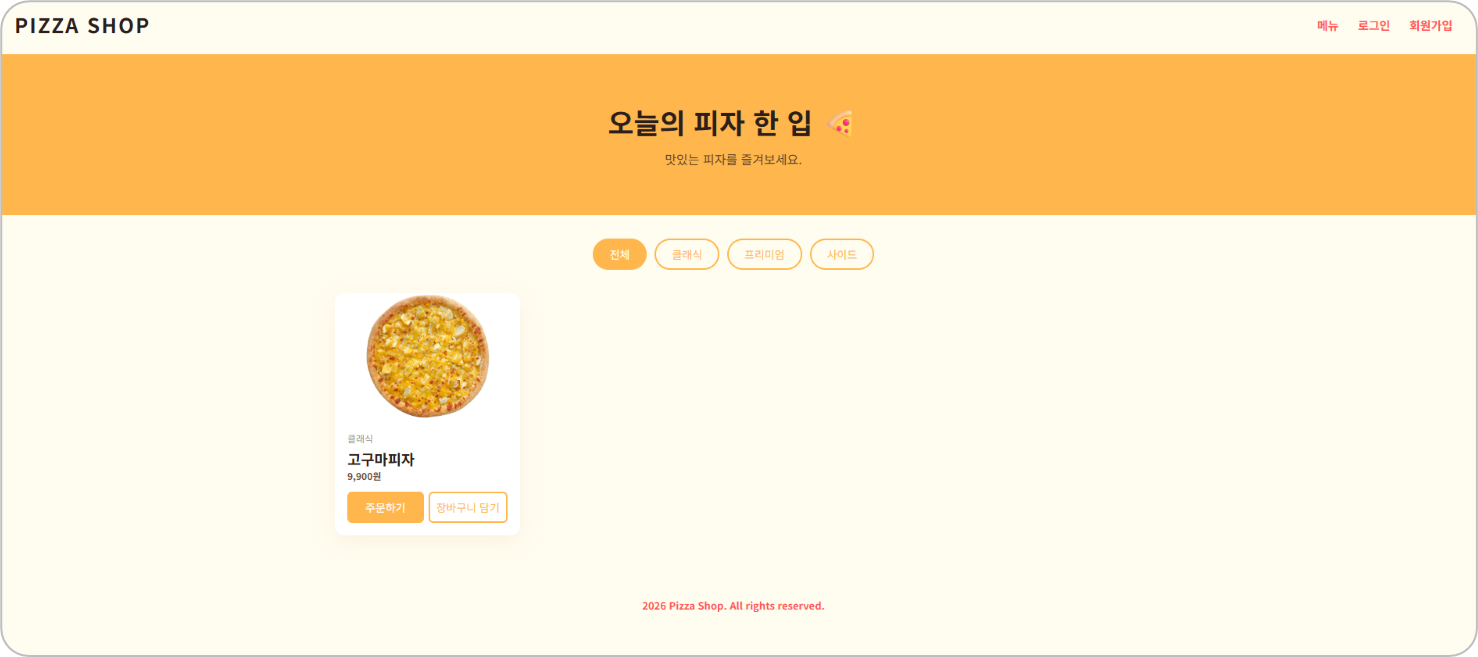
카테고리 버튼을 클릭하면 해당 카테고리만 필터링되어 보여진다.
마치며
이번 글에서는 피자 쇼핑몰 프론트엔드의 기본 구조를 만들어봤다.
- index.html로 화면 구조 잡기
- style.css로 디자인 입히기
- menu.js로 API 연동 및 동적 렌더링
다음 편에서는 로그인/회원가입 기능을 구현할 예정이다.