AutoLayout 중 SafeArea와 LayoutMargin에 대해서 알아보려고 한다.
SafeArea
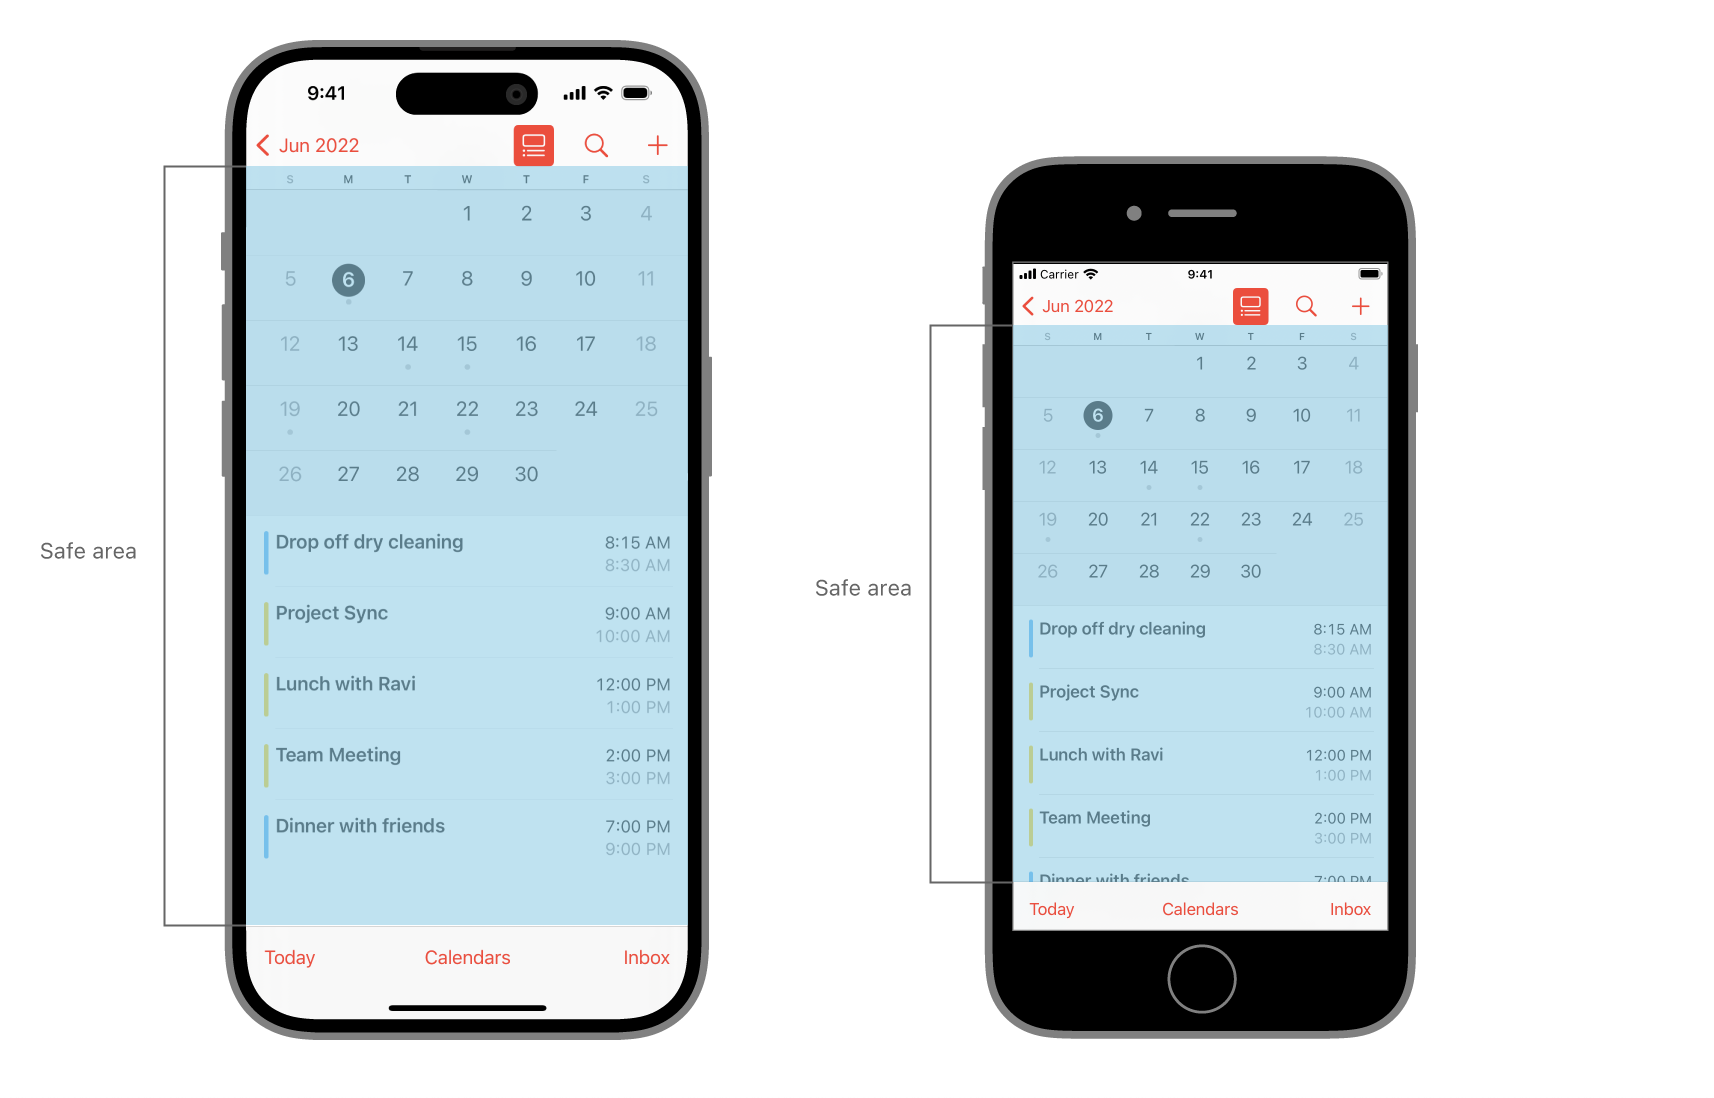
SafeArea는 View 안에서 contents를 보여주기에 안전한 영역을 이야기한다.
Device별로 SafeArea가 조금씩 다르다.
SafeArea 변경
필요에 의해서 SafeArea를 변경할 수 있다.
override func viewDidAppear(_ animated: Bool) {
   var newSafeArea = UIEdgeInsets()
   // Adjust the safe area to accommodate
   //  the width of the side view.
   if let sideViewWidth = sideView?.bounds.size.width {
      newSafeArea.right += sideViewWidth
   }
   // Adjust the safe area to accommodate
   //  the height of the bottom view.
   if let bottomViewHeight = bottomView?.bounds.size.height {
      newSafeArea.bottom += bottomViewHeight
   }
   // Adjust the safe area insets of the
   //  embedded child view controller.
   let child = self.childViewControllers[0]
   child.additionalSafeAreaInsets = newSafeArea
}
Layout Margin
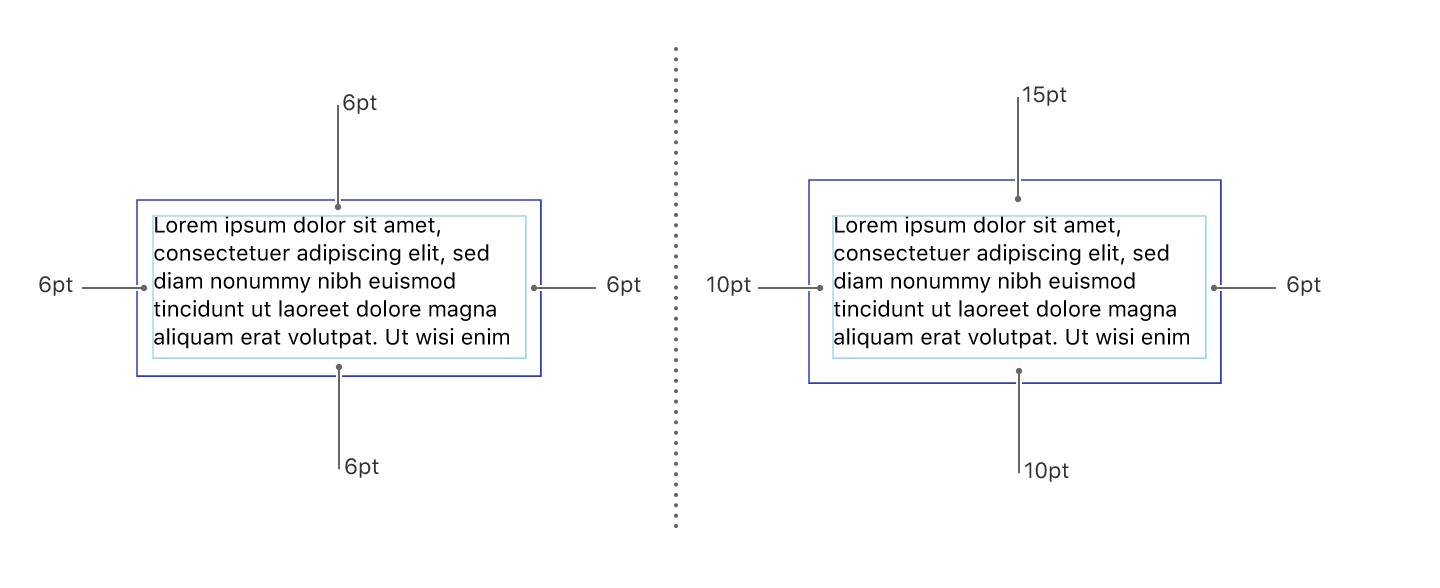
Layout Margin은 View의 contents와 View의 경계 밖에 있는 임의의 contents 사이에 시각적 버퍼를 제공한다.
Layout Margin은 뷰의 각 가장자리(Top, Bottom, trailing, leading)에 대한 삽입 값으로 구성된다.
이 삽입 값은 View의 경계 직사각형의 가장자리와 View 내부의 contents 사이에 공간을 만든다.
Constrain to margins
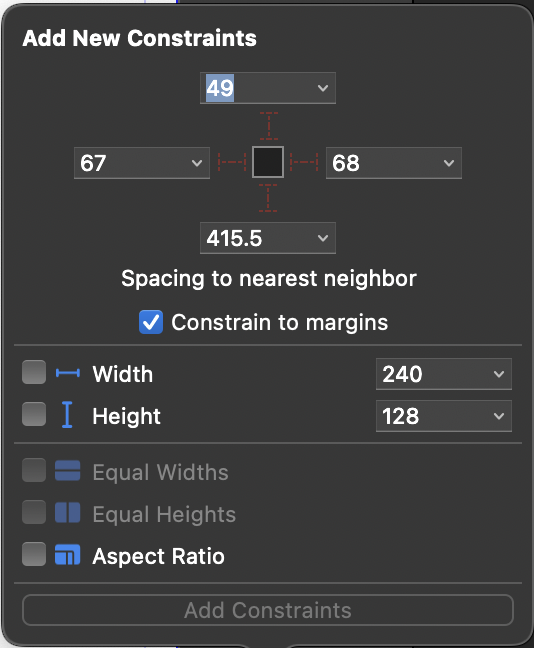
AutoLayout을 설정하기 위해 Add New Constrains에 들어가보면
Constrain to margins라는 체크박스가 보인다.
체크 박스를 선택한다면, Layout Margin으로 부터의 떨어진 거리로 Constraint가 잡히고, 선택하지 않는다면, Layout Margin을 무시한채, 그 위의 View로 부터의 떨어진 거리로 Constraint가 잡힌다.
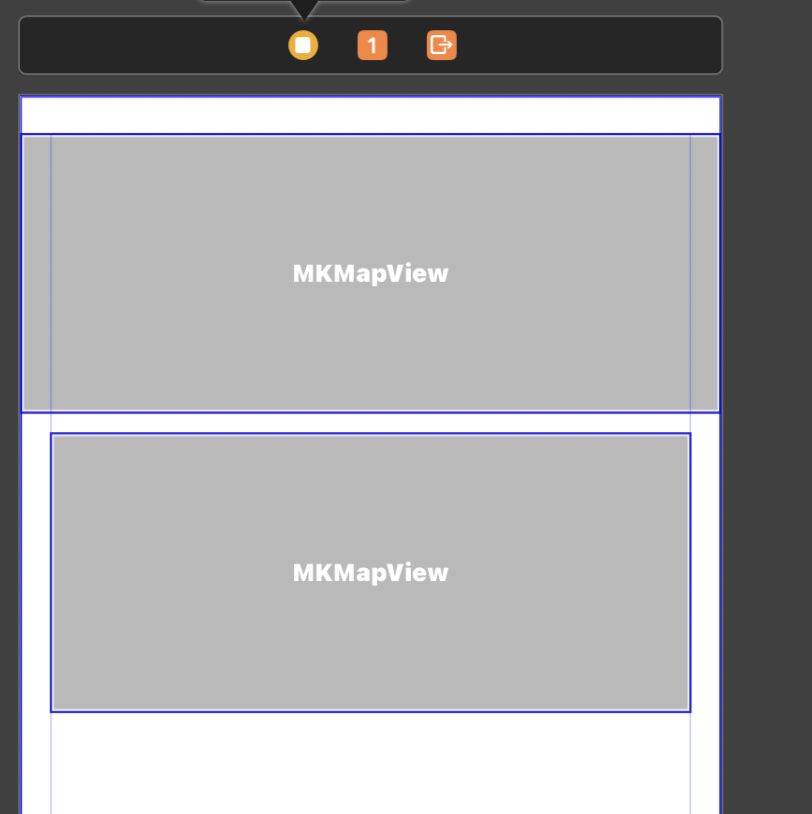
- 체크박스를 선택하지 않았을 때 (위)
- 체크박스를 선택했을 때 ( 아래 )
Layout Margin 변경하기
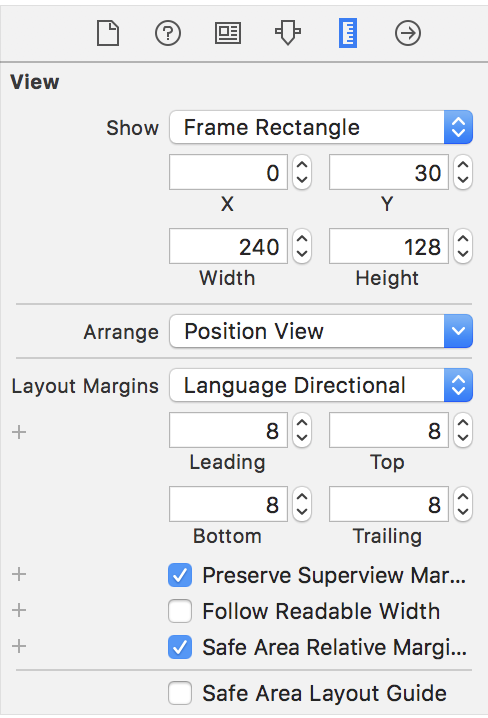
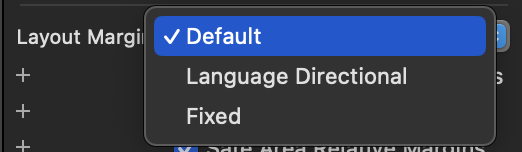
View → LayoutMargins → Default(기본설정) / Language Directional / Fixed
보기 중 Language Directional을 골라 수치를 조정하여 Layout Margin을 변경할 수 있다.
🍏 참고문서
Positioning content relative to the safe area | Apple Developer Documentation
Positioning content within layout margins | Apple Developer Documentation
WWDC 2018 [ Session 235 ]