Vue는 Vue-Router를 지원한다.
URL에 따라 Component를 연결하고 설정된 Component를 보여줄 때 Vue-Router를 사용한다.
Vue-Router 설정 예시는 아래와 같다.
<!DOCTYPE html>
<html lang="en">
<head>
<meta charset="UTF-8" />
<meta name="viewport" content="width=device-width, initial-scale=1.0" />
<title>Vue.js</title>
<style>
.router-link-exact-active {
color: red;
}
</style>
<script src="https://cdn.jsdelivr.net/npm/vue/dist/vue.js"></script>
<script src="https://unpkg.com/vue-router@3.5.3/dist/vue-router.js"></script>
</head>
<body>
<!-- 현재 라우트에 맞는 컴포넌트가 렌더링 -->
<div id="app">
<h1>Board - Router</h1>
<p>
<router-link to="/">메인</router-link>
<router-link to="/board">자유게시판</router-link>
<router-link to="/qna">질문게시판</router-link>
<router-link to="/gallery">사진게시판</router-link>
<router-view></router-view>
</p>
</div>
<script>
// 라우트 컴포넌트
const Main = {
template: "<div>메인 페이지</div>",
};
const Board = {
template: "<div>자유 게시판</div>",
};
const QnA = {
template: "<div>질문 게시판</div>",
};
const Gallery = {
template: "<div>갤러리 게시판</div>",
};
// 라우터 객체 생성
const router = new VueRouter({
routes: [
{
path: "/",
component: Main
},
{
path: "/board",
component: Board
},
{
path: "/qna",
component: QnA
},
{
path: "/gallery",
component: Gallery
},
]
});
const app = new Vue({
el: "#app",
router, // Vue 인스턴트 라우터 주입
});
</script>
</body>
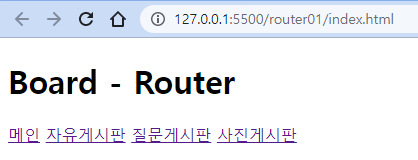
</html>실행 결과는 아래와 같다.
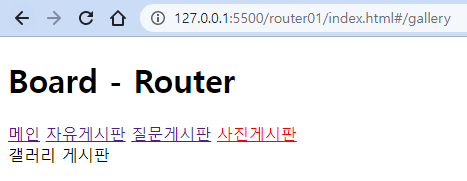
아래와 같이 router 안 mode를 "history"로 설정해보자.
const router = new VueRouter({
  mode: "history",
  routes: [
    {
      path: "/",
      name: 'main',
      component: Main
    },
    {
      path: "/board",
      name: 'board',
      component: Board
    },
    {
      path: "/qna",
      name: 'qna',
      component: QnA
    },
    {
      path: "/gallery",
      name: 'gallery',
      component: Gallery
    },
  ]
});
그럼 아래처럼 일반적인 링크로 출력된다.
router에 값을 넘겨줄 땐 아래와 같이 값을 넘겨준다.
export default {
  template: `<div>
    자유 게시판
    <ul>
      <li v-for="i in 5">
        <router-link :to="'/board/' + i">{{i}}번 게시글</router-link>
        <!-- <router-link :to="{name: 'boardview', params: {no: i}}">{{i}}번 게시글</router-link> 랑 동일 -->
        <!-- <a :href="'#' + i" @click="$router.push({name: 'boardview', params: {no: i}})">{{i}}번 게시글</a> 랑 동일 -->
      </li>
    </ul>
  </div>`,
};
중앙에서 값을 받고 다시 넘겨주는 건 아래와 같다.
const router = new VueRouter({
  routes: [
    ...
      path: '/board/:no',
      name: 'boardview',
      component: BoardView,
    },
    ...
  ],
});
값을 다시 받는 방법은 아래와 같다.
export default {
  template: `<div>
    {{no}}번 게시물 상세정보
    <hr>
    <router-link :to="/board">목록</router-link>
    <!-- <router-link :to="{name: 'board'}">목록</router-link> 랑 동일 -->
    <!-- <a href="#board" @click="$router.push('/board')">게시판</a> 랑 동일 -->
   </div>`,
  data() {
    return {
      no: 0,
    };
  },
  created() {
    this.no = this.$route.params.no;
  },
};
아래와 같이 라우트를 중첩할 수 있다.
const router = new VueRouter({
  mode: 'history',
  routes: [
    ...
    {
      path: '/board',
      name: 'board',
      component: Board,
      redirect: '/board/list',
      children: [
        {
          path: 'list',
          name: 'boardlist',
          component: BoardList,
        },
        {
          path: 'write',
          name: 'boardwrite',
          component: BoardWrite,
        },
        {
          path: 'detail/:no',
          name: 'boardview',
          component: BoardView,
        },
        {
          path: 'update/:no',
          name: 'boardupdate',
          component: BoardUpdate,
        },
      ],
    },
    ...
  ],
});
백엔드 개발자