2019년 9월 12일, 애플은 privacy와 security에 초점을 맞춘 로그인 서비스를 소개하며, App Store에 제출되어지는 모든 앱에 관한 가이드라인을 제시했습니다.
4.8 Sign in with Apple
Apps that exclusively use a third-party or social login service (such as Facebook Login, Google Sign-In, Sign in with Twitter, Sign In with LinkedIn, Login with Amazon, or WeChat Login) to set up or authenticate the user’s primary account with the app must also offer Sign in with Apple as an equivalent option. A user’s primary account is the account they establish with your app for the purposes of identifying themselves, signing in, and accessing your features and associated services.

Sign in with Apple is not required if:

Your app exclusively uses your company’s own account setup and sign-in systems.
Your app is an education, enterprise, or business app that requires the user to sign in with an existing education or enterprise account.
Your app uses a government or industry-backed citizen identification system or electronic ID to authenticate users.
Your app is a client for a specific third-party service and users are required to sign in to their mail, social media, or other third-party account directly to access their content.
한마디로 요약하자면,
로그인 기능이 있는 App store에 업데이트할/등록할 모든 앱은 Apple login도 추가시켜야해!
개발자: 구현할게 하나 더 늘어났네 🙀 🙀 🙀
(공감... 그렇지만 애플노예로써 할건 해야죠 후,,,)
포스트에서 다룰 내용
- react-native-apple-authentication 를 이용해서 Apple 계정 정보 요청하기(Request Apple SignIn)
- react-native-firebase/auth 로 firebase auth에서 회원관리하기
neccesary
react-native-firebase/app라이브러리가 연동되어있는 rn 프로젝트- 연동 방법은 react-native-firebase 라이브러리 연동
을 참고해주세요!!
- 연동 방법은 react-native-firebase 라이브러리 연동
- apple 개발자 계정
Install Package
패키지를 미리 설치해놓기
$ yarn add @invertase/react-native-apple-authentication
$ yarn add @react-native-firebase/auth
$ cd ios && pod install && cd ..
Apple developer 설정
공식문서에 따르면, apple SignIn을 구현하기 위해서 아래와 같은 설정이 필요합니다.
-
Service ID와 private key 설정
- Service ID
App의 Bundle ID 값 - private key
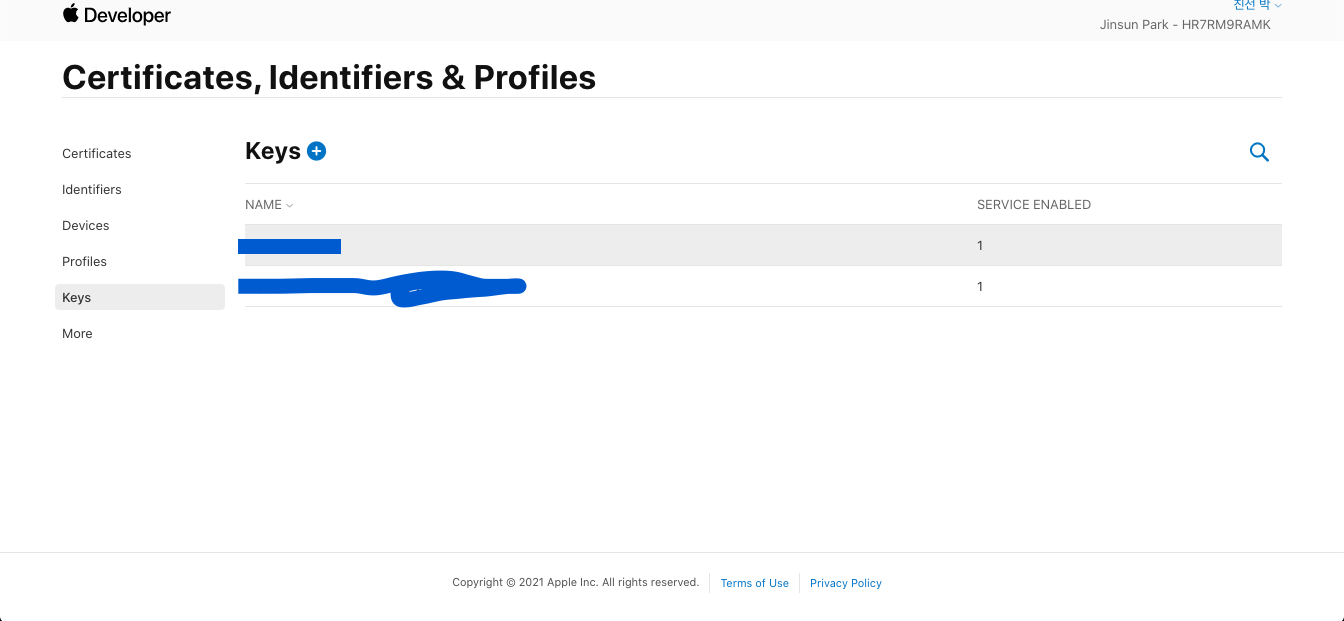
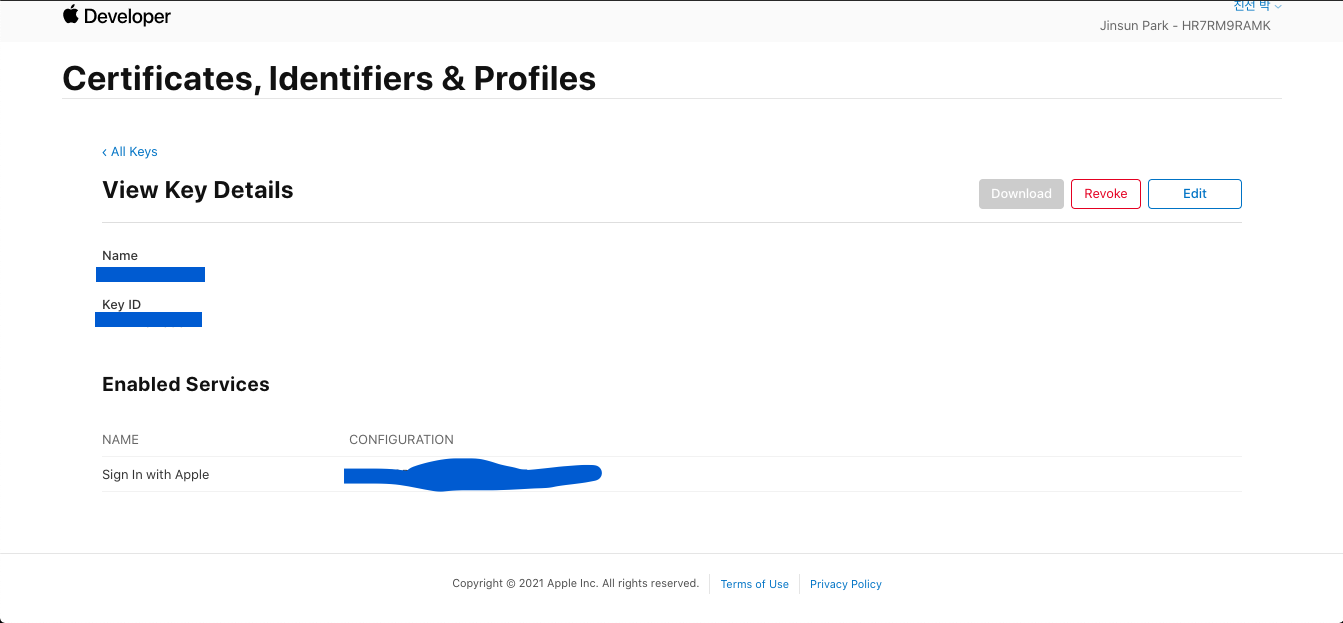
한 TeamID(individual 개발자 계정의 경우)라면 Sign in with Apple 관련한 키는 하나로 쓸 수 있으므로 아래처럼 keys에서 Sign in with Apple를 추가해줍니다. 참고로, 해당 키 파일*.p8은 처음 발급 받을 때 파일로 다운받을 수 있는데 재발급이 불가하니 잘 저장해놔야한다!
- Service ID
-
Email Relay 서비스
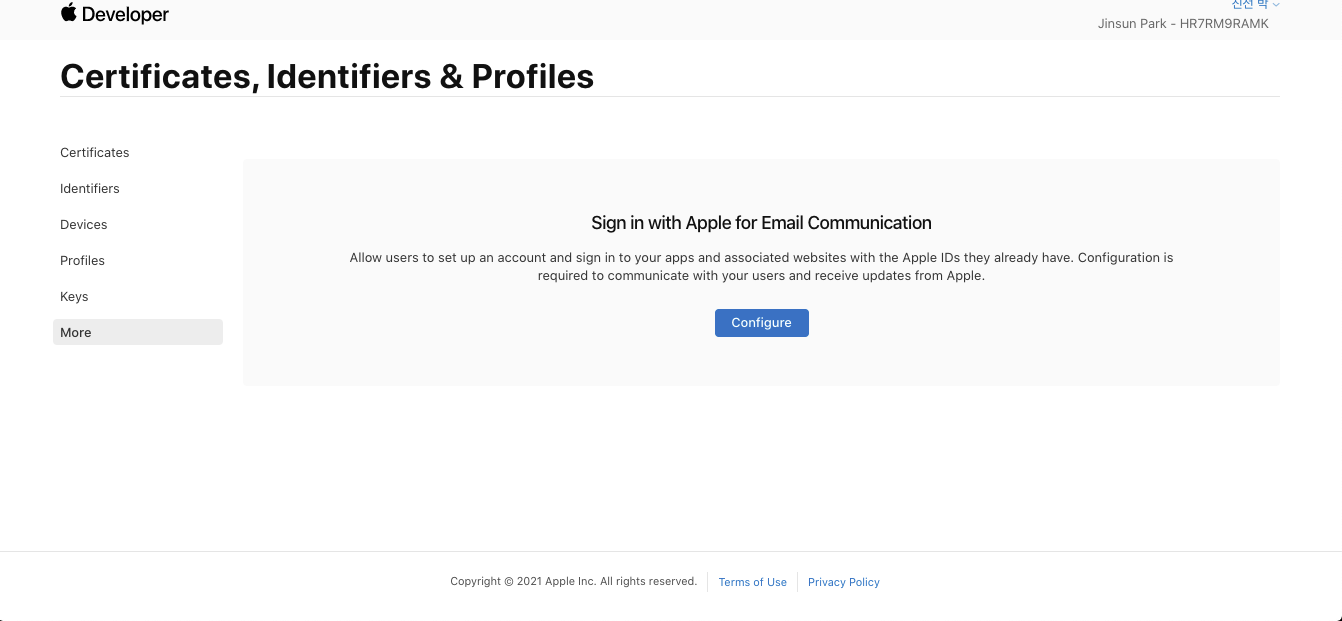
Apple 로그인 시, 앱/웹에 개인정보를 알려주지않는 기능을 제공하고 있습니다. 이 때 이메일 등 연락 가능한 정보를 알려주지 않으면 개발자입장에서 중요한 이슈를 전달해야할 일이 생길 수 있고 아무튼 연락할 방법이 없이 곤란한 상황이 생길 수 있습니다.
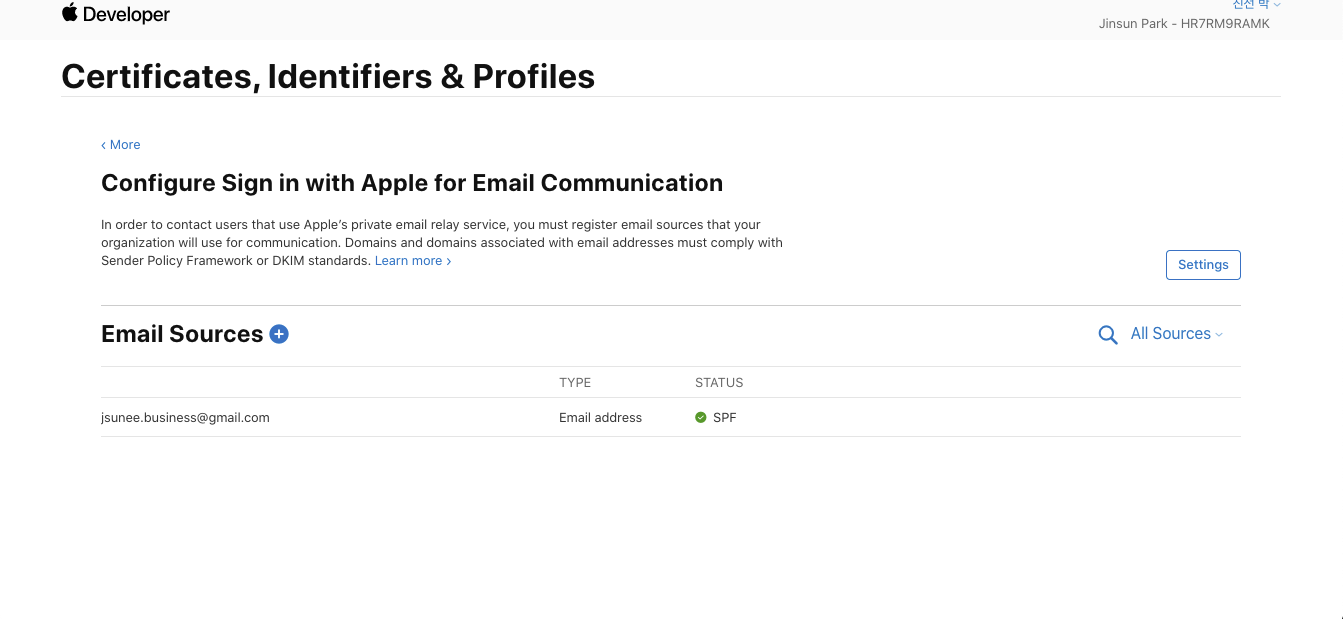
이를 대비해서 애플은 개발자에게 아웃바운드 도메인(ex. G-suite) or 이메일 주소 설정을 요구하고 있습니다.따라서 아래처럼 이메일 구성을 완료해줘야합니다.
관련 지식은 다음을 참고했습니다.
📌 Email Relay Service 참고 📌
- https://sarunw.com/posts/sign-in-with-apple-2/
- https://help.apple.com/developer-account/?lang=en#/devf822fb8fc
react-native-apple-authentication 를 이용해서 Apple 계정 정보 요청하기(Request Apple SignIn)
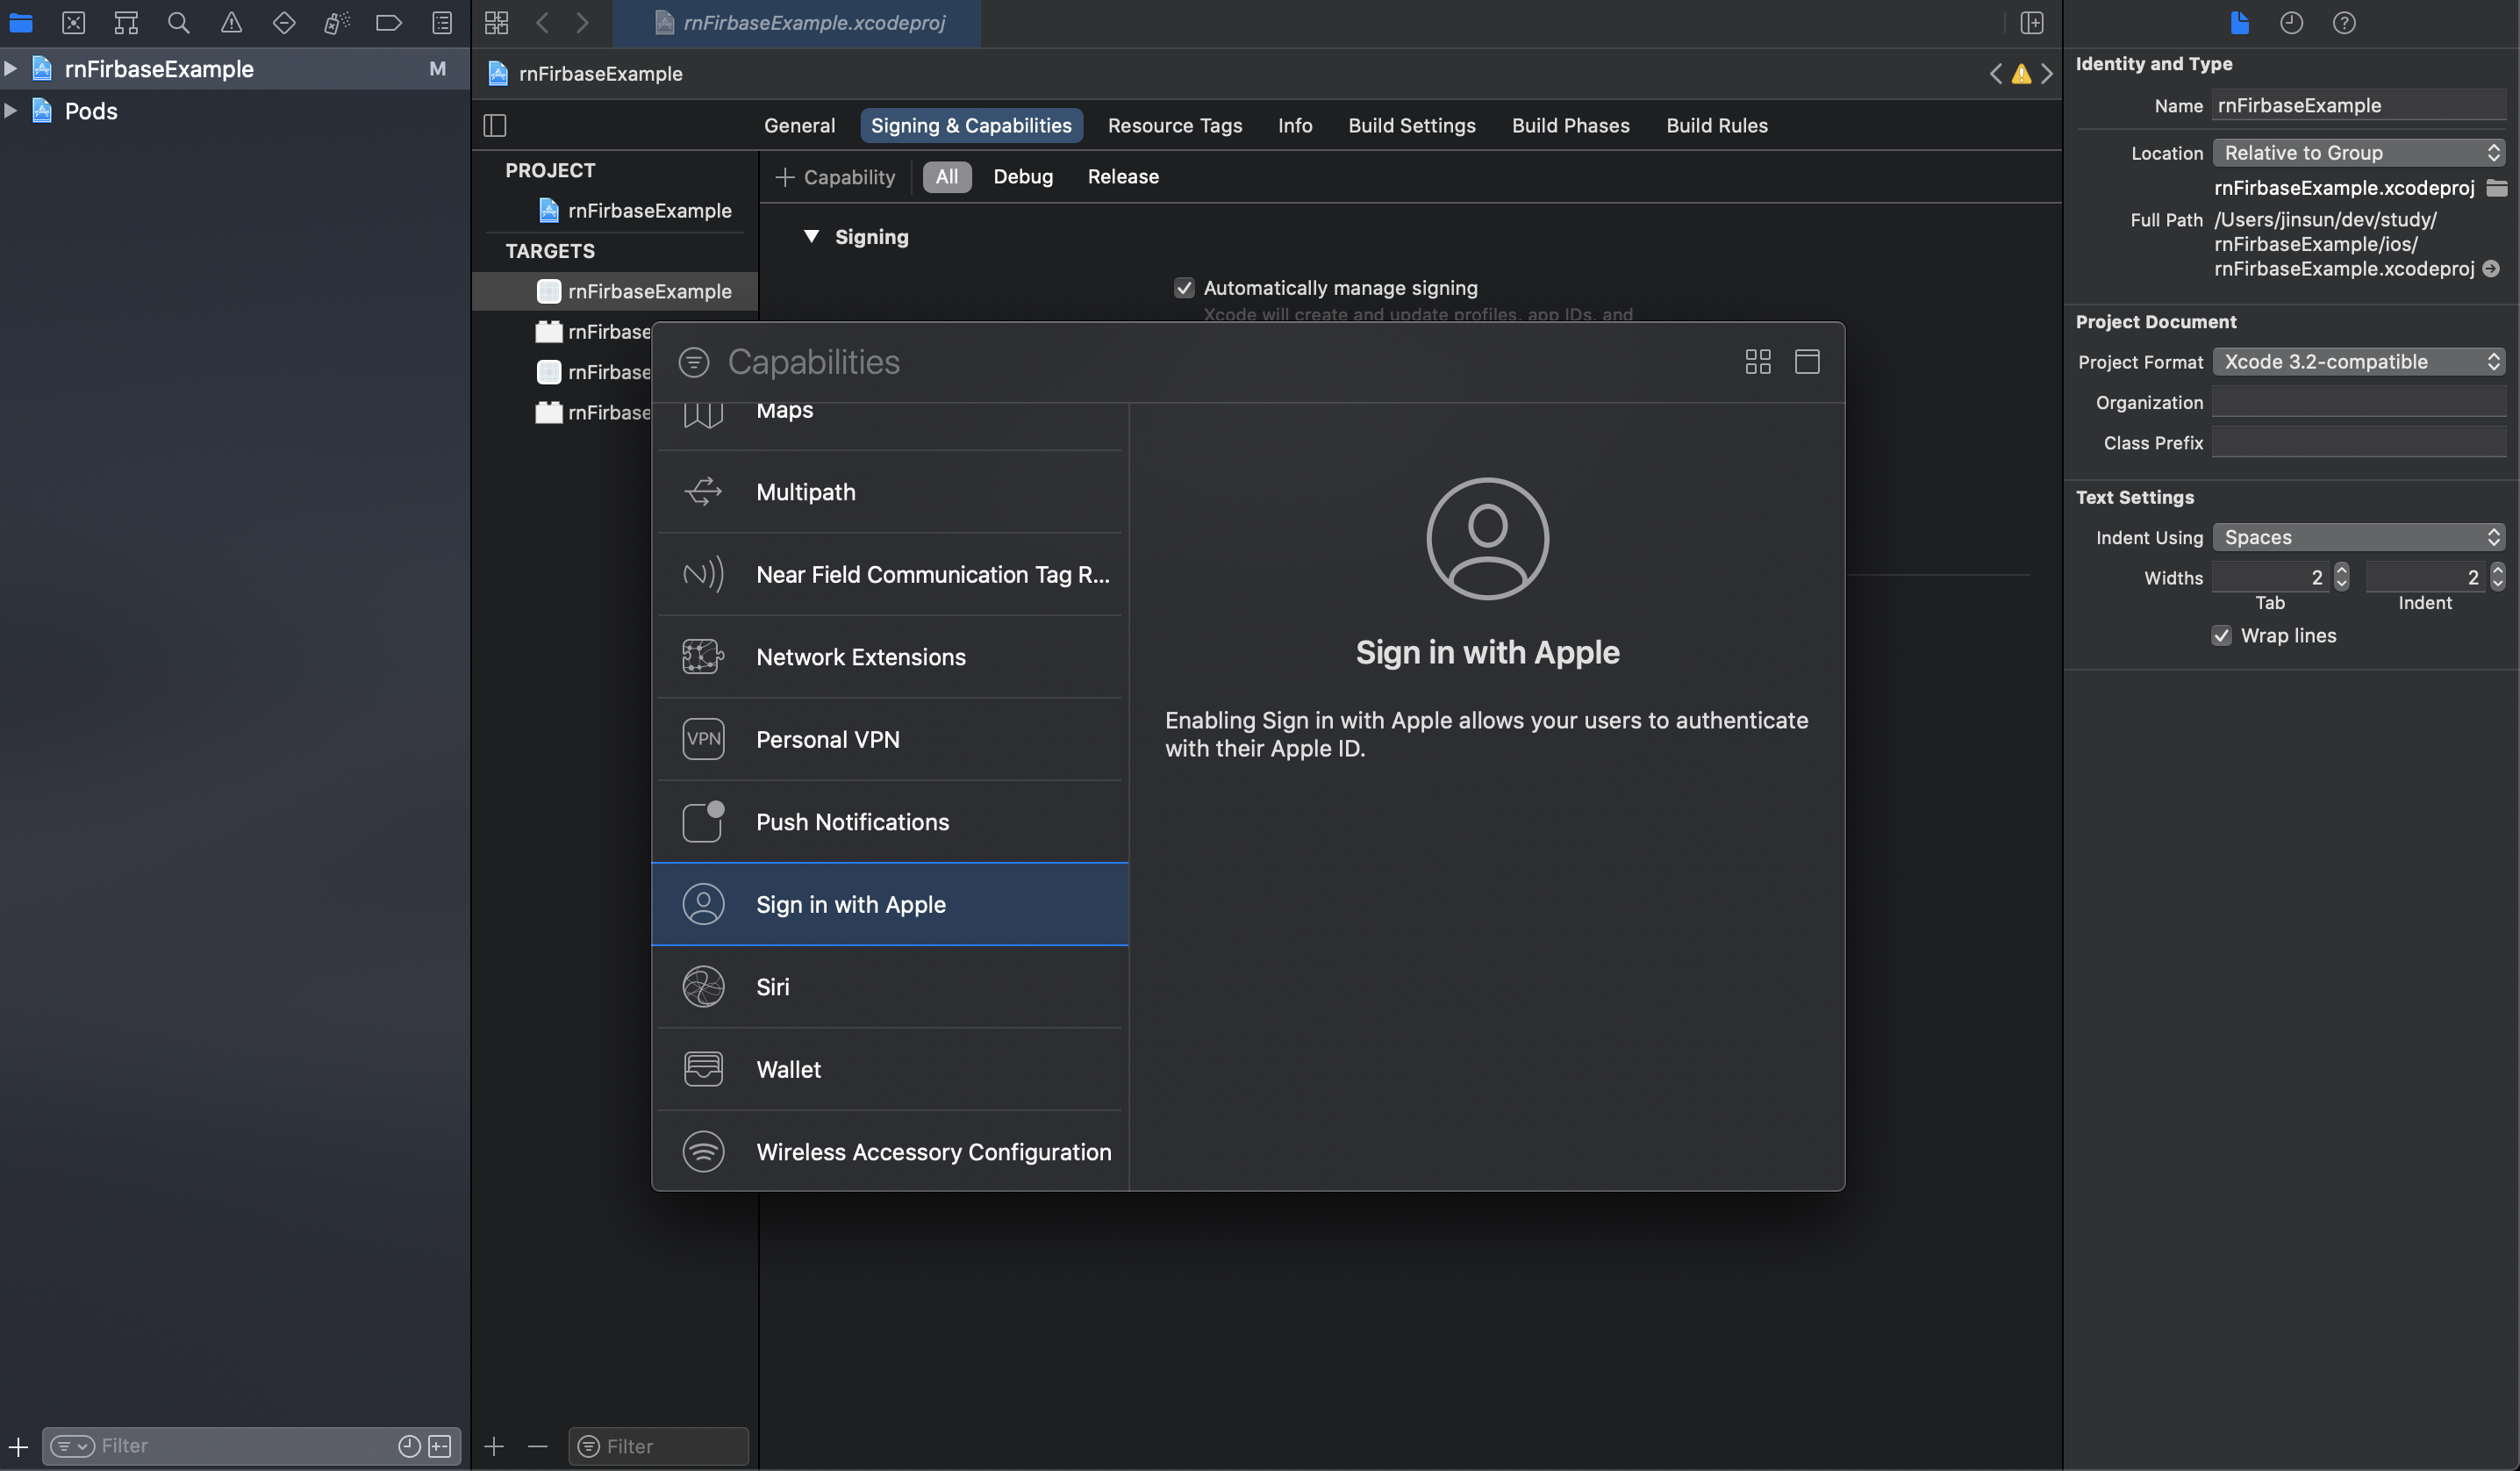
apple의 SignIn 서비스를 앱에서 사용하려면 아래처럼 Sign in with Apple을 추가해줘야합니다.
Signing & Capabilities > +Capability > Sign in with Apple 추가
react-native-firebase/auth 설정
Apple SignIn 서비스를 Firebase Auth에서 사용하려면 firebase console에서 apple 로그인을 활성화시켜줘야합니다.

예제코드
테스트를 위해서 아래 코드를 App.tsx에 복사해줍니다.
예제 코드는 react-native-firebase Social Login을 참고했습니다.
import {
AppleButton,
appleAuth,
} from '@invertase/react-native-apple-authentication';
import {StyleSheet, View} from 'react-native';
import React from 'react';
async function onAppleButtonPress() {
const appleAuthRequestResponse = await appleAuth.performRequest({
requestedOperation: appleAuth.Operation.LOGIN,
requestedScopes: [appleAuth.Scope.EMAIL, appleAuth.Scope.FULL_NAME],
});
// Ensure Apple returned a user identityToken
if (!appleAuthRequestResponse.identityToken) {
throw 'Apple Sign-In failed - no identify token returned';
}
const {identityToken, nonce} = appleAuthRequestResponse;
console.log('identityToken: ', identityToken);
console.log('nonce: ', nonce);
}
const App = () => {
return (
<View style={styles.container}>
<AppleButton
buttonStyle={AppleButton.Style.WHITE}
buttonType={AppleButton.Type.SIGN_IN}
style={styles.appleButton}
onPress={() =>
onAppleButtonPress().then(() =>
console.log('Apple sign-in complete!'),
)
}
/>
</View>
);
};
const styles = StyleSheet.create({
container: {
flex: 1,
justifyContent: 'center',
alignItems: 'center',
backgroundColor: '#72818C',
},
appleButton: {
width: 160,
height: 45,
},
});
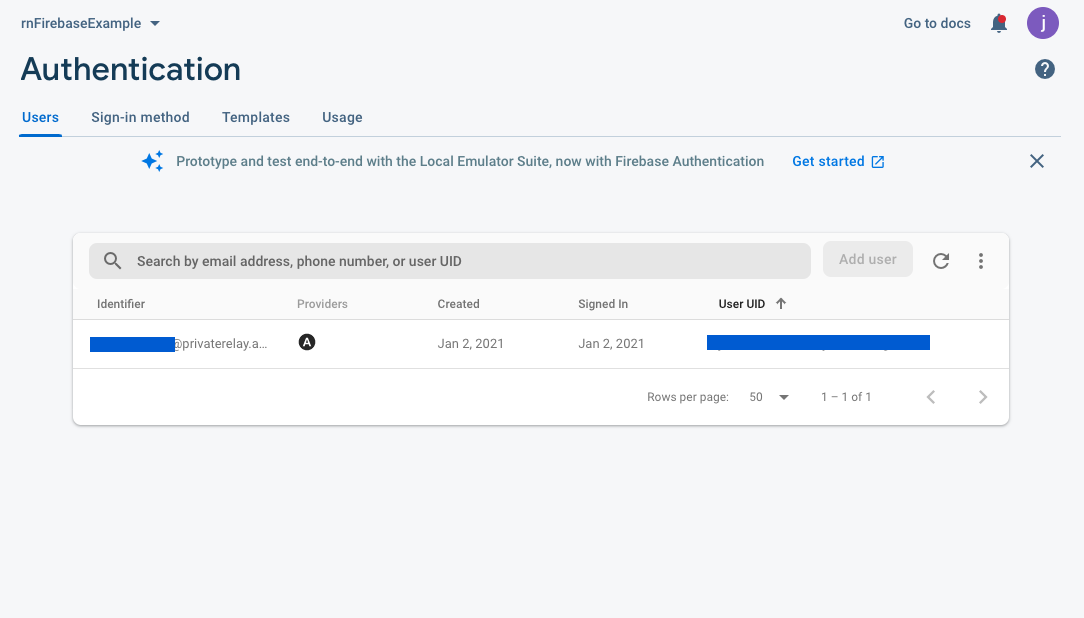
export default App;테스트
apple 로그인은 일단 iOS환경, 그리고 실제 device에서 테스트해봐야해요.
따라서 iOS 기기를 맥북에 연결하고 아래와 같은 명령어를 입력해보세요.
$ yarn ios --device
or
$ react-native run-ios --device
📌 참고📌
device 연결이 안된다면 XCode를 열어서 연결상태를 확인해보세요.
마치며..
이 포스트를 읽고 save your time.... 이길..
전체 코드는 여기에서 보실 수 있어요.
혹시 잘못된 부분이 있다면 댓글 남겨주세용!!!!!!!

좋은포스트 감사합니다~