demo:
github:
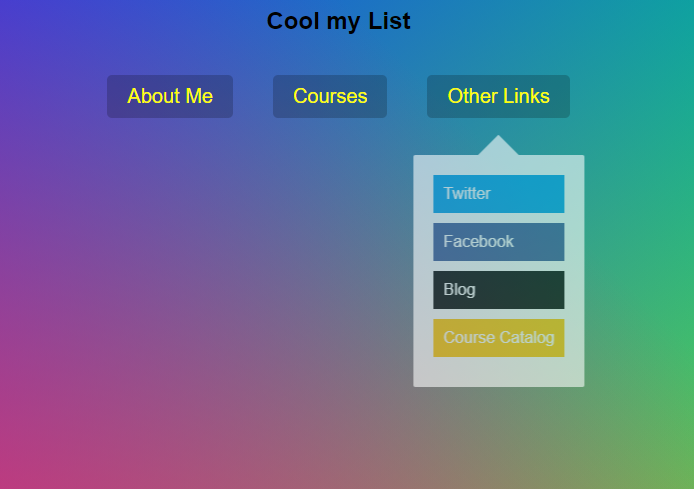
Day 26 - Stripe Follow Along Nav
🎯 기능 요구사항
- 각 리스트 요소에 대한 드롭메뉴를 구현한다.
🚀 배운 점
display: none VS visibility: hidden, opcaity: 0
wesbos씨와 다르게 opcaity: 0와 display: none을 하지 않고 transition 옵션도 적용할 수 있는 opcaity: 0을 이용하여 선택 된 리스트 요소의 dropdown을 나오게 하려고 했다.
결론부터 이야기하면 원하는대로 동작하지 않았다.
이유는 visibility: hidden 또는 opcaity: 0만으로 처리시 화면상에 보이지 않을 뿐 레이아웃에서 요소의 공간은 존재하기 때문에 dropdown 영역에 mouseenter 시에도 dropdown이 보이게 된다.
그렇기 때문에 dropdown 영역은 우선 display: none으로 렌더링 트리에서 요소를 완전히 제거해주고 리스트 요소에 mouseenter 시에 display: block으로 변경해주는 방식으로 구현해야 한다.
selector: before
wesbos씨의 방식은 dropdownbackground를 따로 요소로 만들어 리스트 요소를 선택할 때마다 dropdown 영역을 가져와 dropdownbackground 크기를 변경시켜주고 dropdownbackground을 옮기는 방식으로 구현하였다.
 function handleEnter() {

     background.classList.add('open');

     const dropdown = this.querySelector('.dropdown');
     const dropdownCoords = dropdown.getBoundingClientRect();
     const navCoords = nav.getBoundingClientRect();

     const coords = {
       height: dropdownCoords.height,
       width: dropdownCoords.width,
       top: dropdownCoords.top - navCoords.top,
       left: dropdownCoords.left - navCoords.left
     };

     background.style.setProperty('width', `${coords.width}px`);
     background.style.setProperty('height', `${coords.height}px`);
     background.style.setProperty('transform', `translate(${coords.left}px, ${coords.top}px)`);
  }
안써본 방법으로도 해보고 싶어 가상요소 :before, :after 방식으로 아예 arrow까지 각 dropdown에 만들어놓아 css만으로 동작되게 변경해봤다.
.dropdown {
    position: absolute;
    padding: 20px;
    top: 0px;
    left: 50%;
    border-radius: 2px;
    transition: all 1s cubic-bezier(0.175, 0.885, 0.32, 1.275);
    transform: translate(-50%, 80px);
    will-change: opacity;

    background: white;
    opacity: 0;
    display: none;
}


.dropdown::before {
    content: "";
    position: absolute;
    width: 50px;
    height: 50px;
    display: block;
    background: white;
    top: -10px;
    left: 50%;
    transform: translateX(-50%) rotate(45deg);
    z-index: -100;
}
추가적으로 mouseenter, mouseleave 이벤트 리스너 영역 범위를 아래와 같이 변경하였다.
💻 최종코드
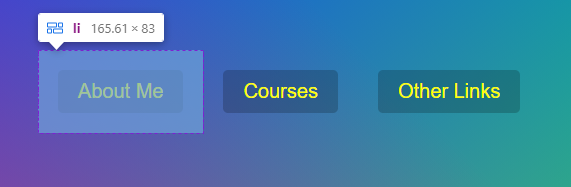
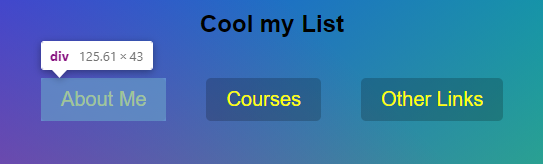
const navLists = document.querySelectorAll(".cool > li > div");


function handleEnter() {
    this.classList.add('trigger-enter');

    setTimeout(() => this.classList.contains('trigger-enter') && this.classList.add('trigger-enter-active'), 150);
}

function handleLeave() {
    this.classList.remove('trigger-enter', 'trigger-enter-active');
}


[...navLists].map(list => list.addEventListener("mouseenter", handleEnter));
[...navLists].map(list => list.addEventListener("mouseleave", handleLeave));