*Before to learn deep learning..... let's clear up some basic python concepts
- type ()
python에서 변수의 type은 동적으로 결정되며 명시적으로 변환함을 기본으로 암묵적으로도 변화하기 때문에 변수의 type을 확인하는 과정은 중요하다.
import numpy as np

x = np.array([0, 1])

print(type(x))
..<class 'numpy.ndarray'>
print(type( 1 ))
..int
print( type( 1. ))
..float
print ( type( 'a' ))
..str
print( type( [ 1 ] ))
..list
print( type( ( 1, ) ))
..tuple
print( type( 1+ j ))
..complex
print( type( True ))
..bool
다음과 같이 기본적인 type 뿐만 아니라 numpy 에서 지원하는 행렬의 타입도 나타난다.
-
index slicing (string, list)
list(start : end : step) string(start: end:step) -
for문
원소 형 ...for i in list
인덱스 형 ....for i in range(len(list))
다음은 string index slicing 와 for 문을 활용해 split method를 구현한 예시이다.
order = input("Enter your string: ")
spliter = input("Enter your splitter: ")

def my_split(spliter, order):
    result = []
    j = []
    for i in range(len(order)): #스플리터 인덱스 측정
        ch = order[i]
        if ch == spliter:
            j.append(i)
        else:
            pass
    for i in range(len(j) + 1): #측정한 인덱스를 바탕으로 문자열에 인덱스 슬라이싱
        if i == 0: #처음
            result.append(order[: j[0]])
        elif i == len(j): #마지막
            result.append(order[j[i - 1] + 1:])
        else: #중간
            result.append(order[j[i - 1] + 1: j[i]])
    return result

print(my_split(spliter, order))
print(order.split(spliter))
-
class
self 를 이용해 특정 변수를 넣어준 input에 대한 상대적인 값을 초기화해준다
init() 는 시작과 동시에 즉각적으로 실행, self를 통해 사용할 변수들을 초기화 한다.
이후 Def 등으로 실행할 method를 구현 후 필요한 요소를 뽑아 사용
다음은 class 정의 후 구현한 간단한 계산기 예시이다.
class culculate :

    def __init__(self) :
        self.res = 0
        self.a, self.b = input('Enter to cul a, b :').split()

    def add(self) :
        self.res = int(self.a) + int(self.b)
        return self.res

    def subtract(self) :
        self.res = int(self.a) - int(self.b)
        return self.res

    def times(self) :
        self.res = int(self.a) * int(self.b)
        return self.res

    def divide(self) :
        self.res = int(self.a) / int(self.b)
        return self.res

cul = culculate()

print(cul.add())
print(cul.subtract())
print(cul.times())
print(cul.divide())
-
numpy
넘파이는 'import numpy as np' 를 통해 모듈에 패키지를 가져온다.
넘파이는 np.array method를 통해 3차원 이상의 N차원 배열도 가능하다.
import numpy as np
x = np.array([[1.0, 2.0, 3.0], [4.0, 5.0, 6.0]])

print(x)
...
[[1. 2. 3.]
 [4. 5. 6.]]

print(type(x))
...
<class 'numpy.ndarray'>

print(x.shape)
...
(2, 3)
numpy는 다음과 같이 이중 list 를 통해 2 차원 배열을 만듦으로써 m x n 의 matrix를 선언할 수 있다.
matrix.shape 는  행렬의 m x n 을 알 수 있고 (2 dimension point , (m, n))

vector.shape 는 백터의 길이 n 을 알 수 있다.  (1 dimension point , (n,))
type은 앞에서 언급한 듯이 확인할 수 있다.
- numpy - broadcast
matrix에서
 1.  스칼라값을 곱하는 연산

 2.  행렬의 곱
을 진행할때 각 스칼라값 행렬은 크기에 맞게 확대되어 계산한다.
다음은 각각 1, 2의 경우에 대한 예시이다.
import numpy as np
A = np.array([[1,2], [3,4]])
B = np.array([10, 20])

print(A * 10) #1
...
[[10 20]
 [30 40]]

print(A * B) #2
...
[[10 40]
[30 80]]-
matplotlib
matplotlib 은 그래프나 데이터를 시각화하는 method를 import하는 패키지이다.
1.그래프 출력
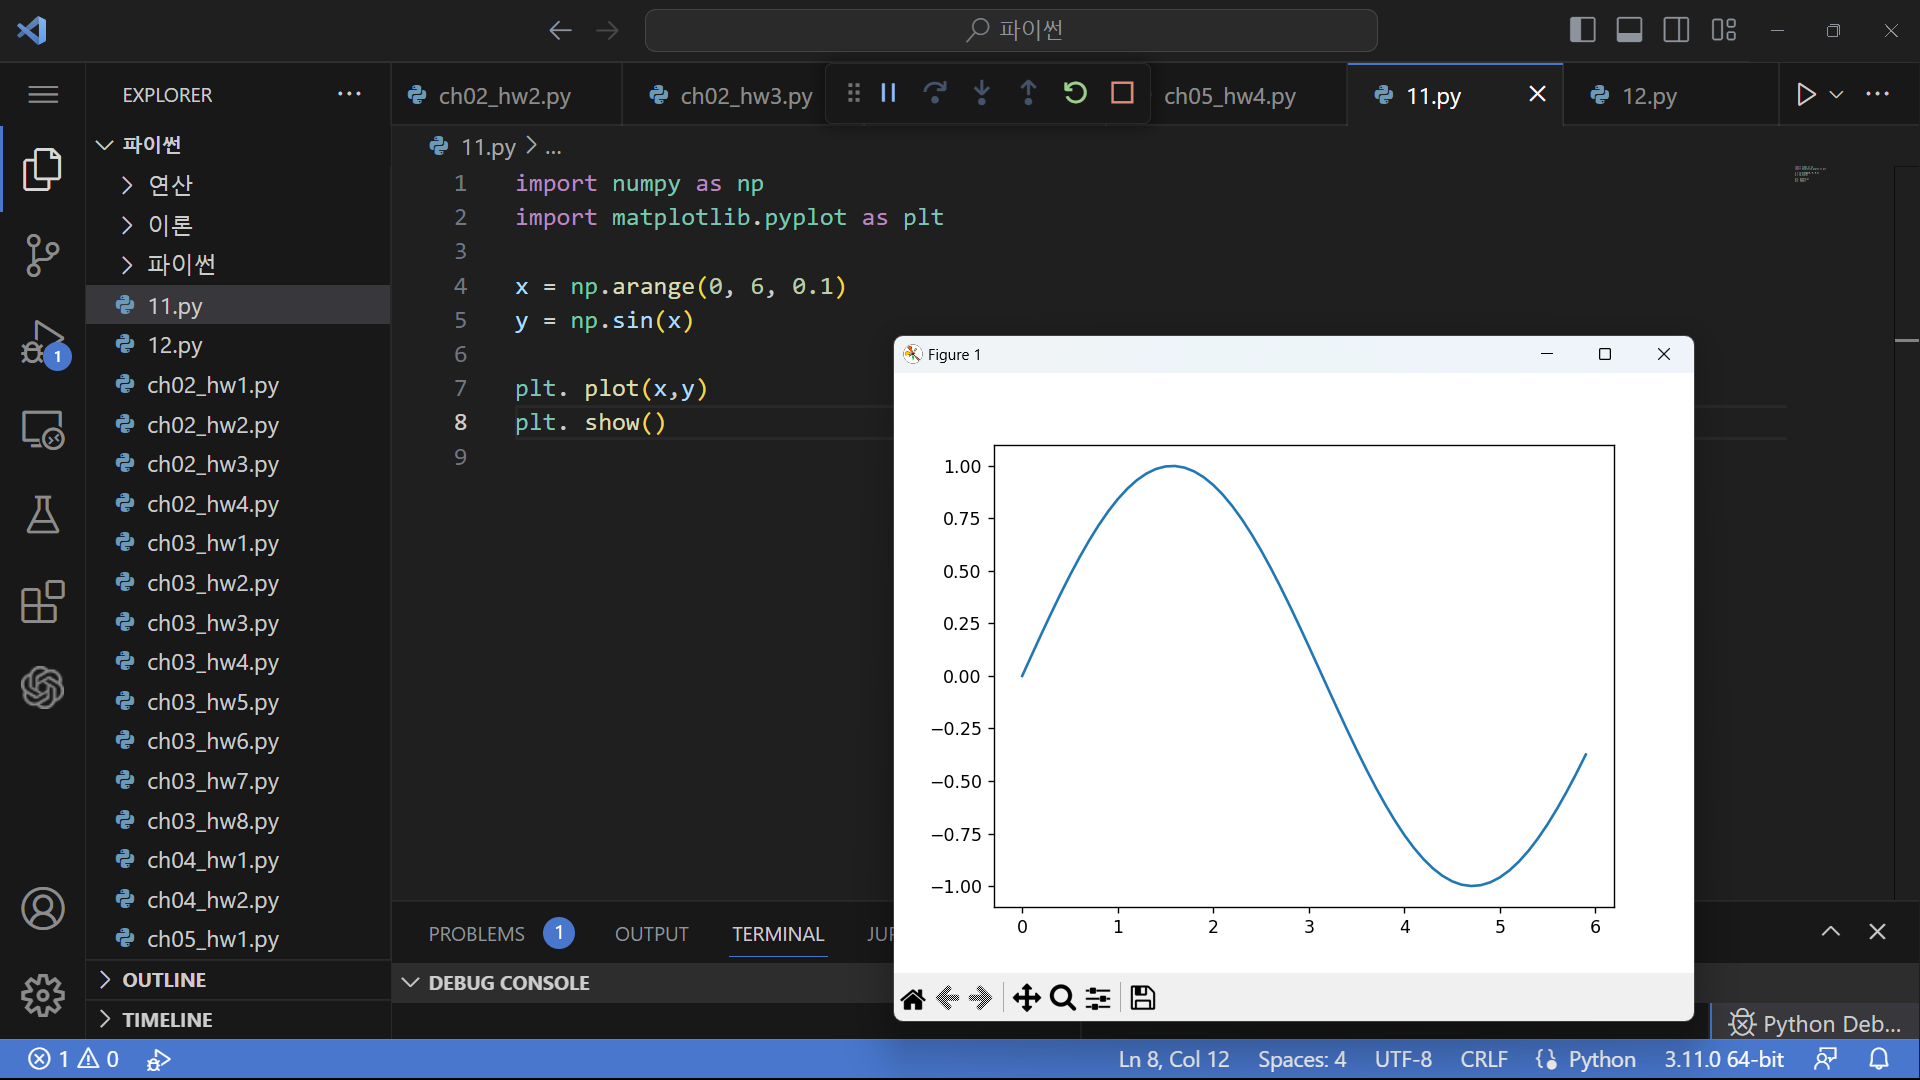
다음은
numpy 모듈의
arange(start, end, step) 으로 x를 정의
sin() 로 y를 정의하며
pyplot 모듈의
plot 를 통해 그래프를 그리고
show를 통해 그래프를 호출한다.
2.사진 출력
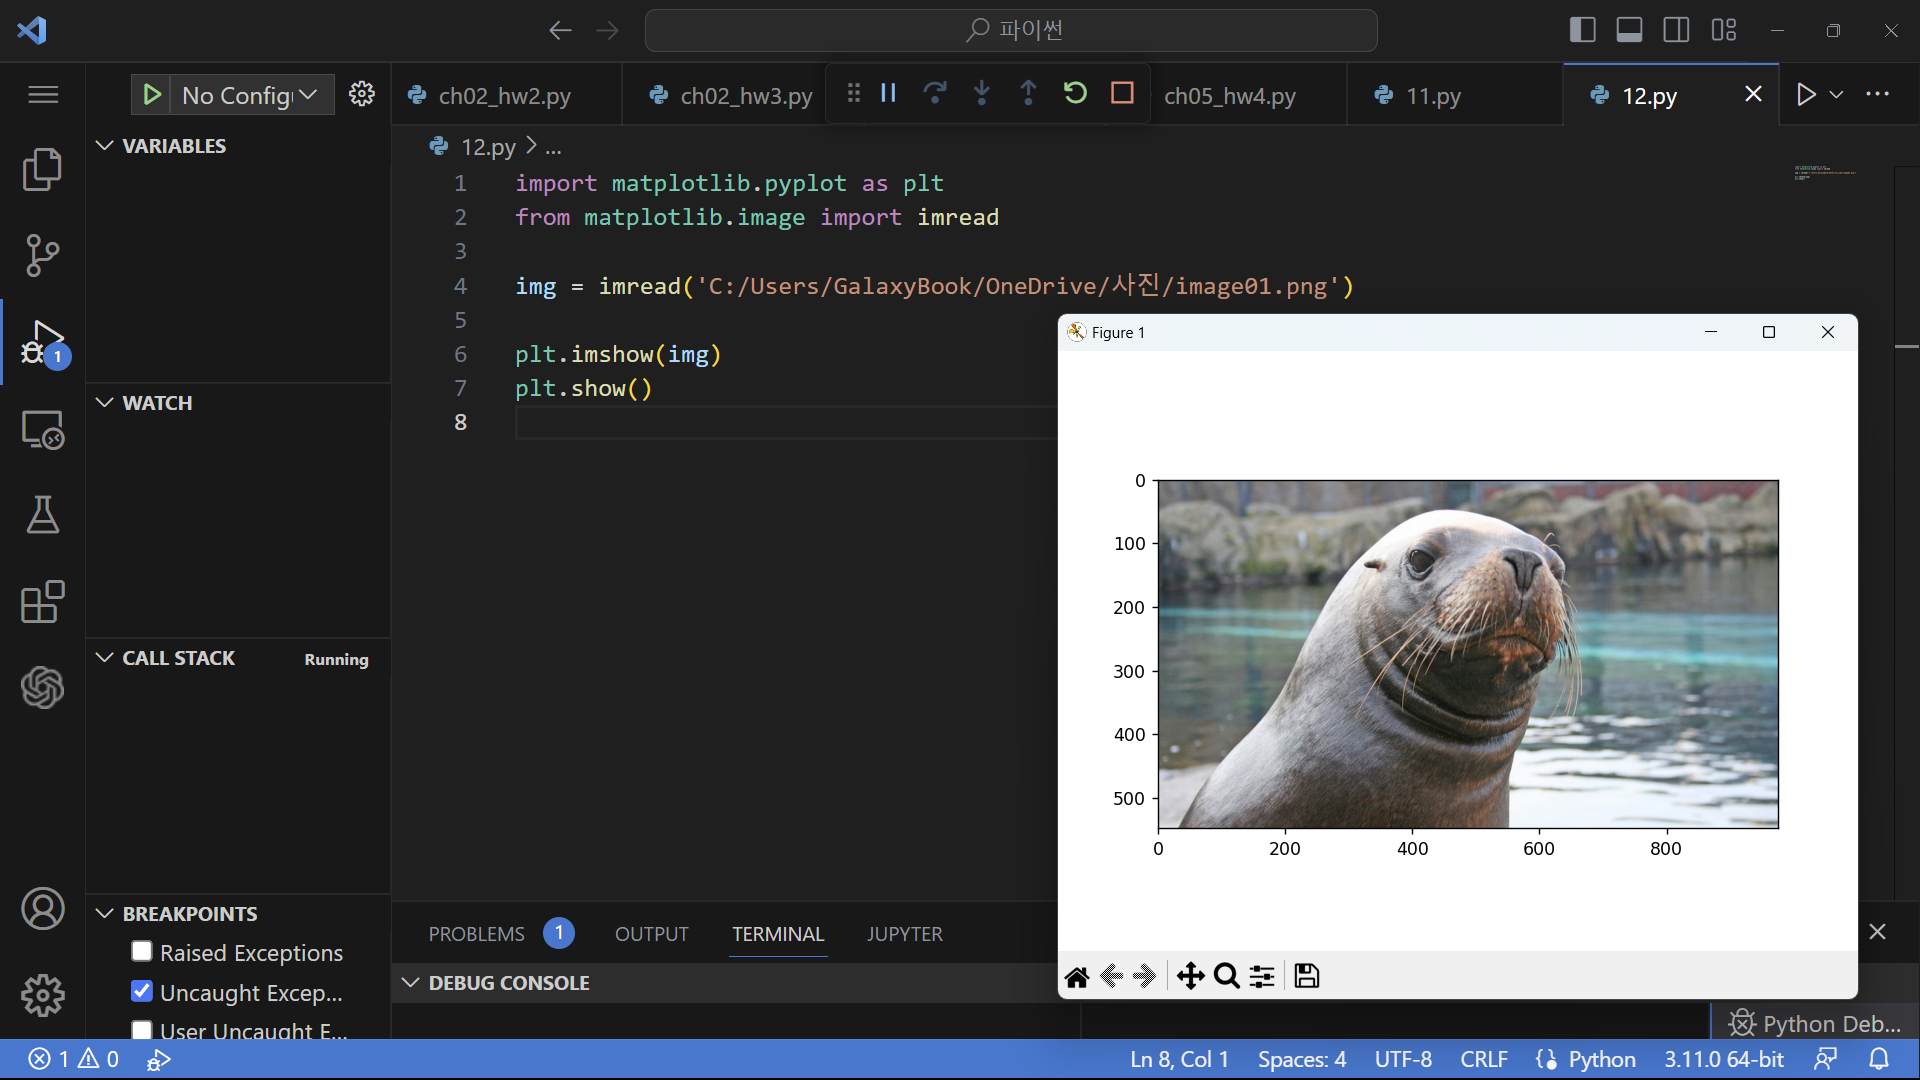
pyplot 모듈의 plt. imread('파일위치/사진명.png')를 통해 사진의 경로를 추적하고
plt.show 를 통해 사진을 출력한다.