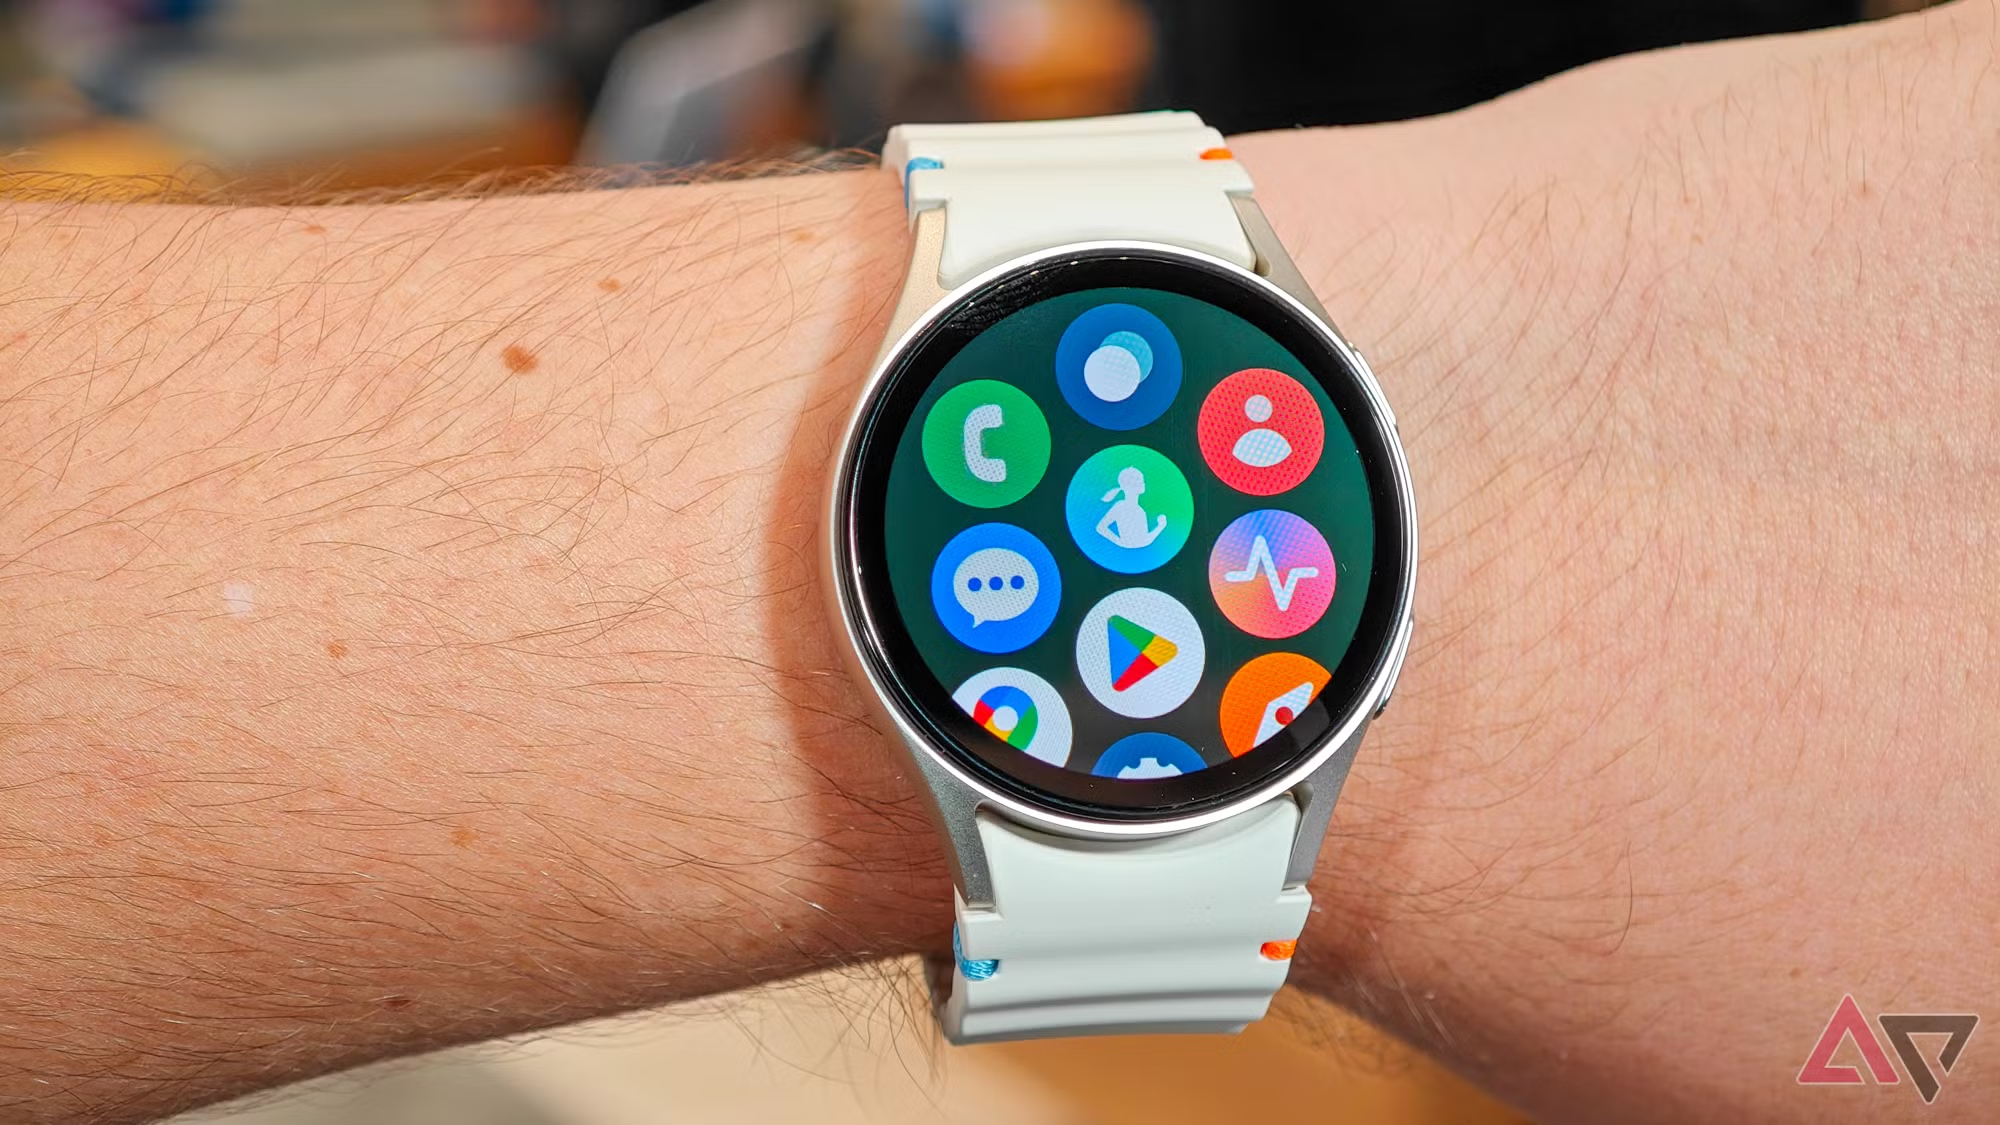
I recently completed a small Android project that sends a vibration command to my Galaxy Watch with the press of a button.
The Project Overview
This project consists of two main components:
1. A mobile app with a simple button interface
2. A wearable app that receives commands and triggers vibrations
The communication between the phone and watch happens through Google's Wearable API, making it relatively straightforward to implement.
The Technical Implementation
Setting Up the Configuration Files
Before diving into the code, we need to set up the proper configuration files for both the mobile and wearable components.
Mobile App AndroidManifest.xml
we add the following permissions to our AndroidManifest.xml for our mobile module
    <!-- Permissions needed for communication -->
    <uses-permission android:name="android.permission.WAKE_LOCK" />
    <uses-permission android:name="android.permission.INTERNET" />
    <uses-permission android:name="android.permission.VIBRATE" />
Wearable App AndroidManifest.xml
We add the vibration permissions and we change the android:theme to AppCompat for our MainActivity.
    <!-- Permissions -->
    <uses-permission android:name="android.permission.VIBRATE" />
  <activity
            android:name=".presentation.MainActivity"
            android:exported="true"
            android:taskAffinity=""
            android:theme="@style/Theme.AppCompat">
            <intent-filter>
                <action android:name="android.intent.action.MAIN" />
                <category android:name="android.intent.category.LAUNCHER" />
            </intent-filter>
        </activity>
Mobile App build.gradle.kts
We add the core-ktkx version 1.12.0 or we get a compatability error
dependencies {
    implementation(libs.androidx.appcompat)
    implementation(libs.play.services.wearable) // Important for watch communication
    implementation(libs.material)
    implementation(libs.androidx.activity)
    implementation(libs.androidx.constraintlayout)
    implementation("androidx.core:core-ktx:1.12.0")
    implementation("androidx.core:core:1.12.0")

    testImplementation(libs.junit)
    androidTestImplementation(libs.androidx.junit)
    androidTestImplementation(libs.androidx.espresso.core)

    // This connects to the wear module
    wearApp(project(":wear"))
}
Wearable App build.gradle.kts
dependencies {
    // Wearable-specific dependencies
    implementation(libs.play.services.wearable)
    implementation("androidx.wear:wear:1.2.0")

    // UI components
    implementation(libs.androidx.appcompat)
    implementation(libs.androidx.constraintlayout)
    implementation(libs.material)

    // Compose dependencies for modern UI (optional for this project)
    implementation(platform(libs.androidx.compose.bom))
    implementation(libs.androidx.ui)
    implementation(libs.androidx.ui.tooling.preview)
    implementation(libs.androidx.compose.material)
    implementation(libs.androidx.compose.foundation)
    implementation(libs.androidx.activity.compose)
    implementation(libs.androidx.core.splashscreen)

    // Core Android dependencies
    implementation("androidx.core:core-ktx:1.12.0")
    implementation("androidx.core:core:1.12.0")
}
Setting Up the Mobile App
The mobile app is intentionally minimal. Its sole purpose is to send a command to the connected watch when a button is pressed. Here's what the implementation looks like:
First, I created a simple layout with a centered button:
<Button
    android:id="@+id/vibration_button"
    android:layout_width="wrap_content"
    android:layout_height="wrap_content"
    android:text="Vibrate Watch"
    android:padding="16dp" />
The magic happens in the MainActivity where I implemented the communication logic:
private static final String VIBRATION_PATH = "/vibration";

// When the button is clicked, start a new thread to send the vibration request
vibrationButton.setOnClickListener(new View.OnClickListener() {
    @Override
    public void onClick(View v) {
        new Thread(new Runnable() {
            @Override
            public void run() {
                sendVibrationRequest();
            }
        }).start();
    }
});
The sendVibrationRequest() method handles the actual communication:
private void sendVibrationRequest() {
    try {
        // Get all connected devices
        Task<List<Node>> nodesTask = Wearable.getNodeClient(getApplicationContext()).getConnectedNodes();
        List<Node> nodes = Tasks.await(nodesTask);

        for (Node node : nodes) {
            // Send message to each connected device
            Task<Integer> sendTask = Wearable.getMessageClient(getApplicationContext())
                .sendMessage(node.getId(), VIBRATION_PATH, new byte[0]);

            // Wait for the task to complete
            Tasks.await(sendTask);

            // Show feedback via a toast message
            runOnUiThread(() -> {
                Toast.makeText(MainActivity.this,
                    "Vibration command sent to watch",
                    Toast.LENGTH_SHORT).show();
            });
        }
    } catch (Exception e) {
        // Handle any errors
        e.printStackTrace();
    }
}
Creating the Watch App
The watch app is responsible for listening for incoming messages and triggering the vibration when a command is received. Here's how I implemented it:
In the MainActivity for the wearable app, I implemented the MessageClient.OnMessageReceivedListener interface:
public class MainActivity extends AppCompatActivity implements MessageClient.OnMessageReceivedListener {
    private static final String VIBRATION_PATH = "/vibration";
    private TextView statusTextView;
    private Vibrator vibrator;

    @Override
    protected void onCreate(Bundle savedInstanceState) {
        super.onCreate(savedInstanceState);
        setContentView(R.layout.activity_main);

        statusTextView = findViewById(R.id.status_text);

        // Get vibrator service
        vibrator = (Vibrator) getSystemService(Context.VIBRATOR_SERVICE);
    }

    @Override
    protected void onResume() {
        super.onResume();
        // Register the message listener when the app is visible
        Wearable.getMessageClient(this).addListener(this);
        statusTextView.setText("Ready to receive vibration commands");
    }

    @Override
    protected void onPause() {
        super.onPause();
        // Unregister when the app isn't visible
        Wearable.getMessageClient(this).removeListener(this);
    }
}
The important part is handling the message when it arrives:
@Override
public void onMessageReceived(MessageEvent messageEvent) {
    if (messageEvent.getPath().equals(VIBRATION_PATH)) {
        // Update UI to show we're vibrating
        runOnUiThread(() -> {
            statusTextView.setText("Vibrating...");
        });

        // Vibrate the watch with a pattern
        if (vibrator.hasVibrator()) {
            // Vibrate for 500ms, pause for 100ms, vibrate for 500ms
            long[] pattern = {0, 500, 100, 500};

            if (android.os.Build.VERSION.SDK_INT >= android.os.Build.VERSION_CODES.O) {
                vibrator.vibrate(VibrationEffect.createWaveform(pattern, -1));
            } else {
                vibrator.vibrate(pattern, -1);
            }
        }

        // Reset status text after vibration completes
        runOnUiThread(() -> {
            statusTextView.postDelayed(() -> {
                statusTextView.setText("Ready to receive vibration commands");
            }, 1500);
        });
    }
}
Key Configuration Elements
In the AndroidManifest.xml Files
-
Permissions: Both apps require specific permissions:
VIBRATE- Obviously needed for the watch to vibrateWAKE_LOCK- Allows the app to keep the processor from sleeping when neededINTERNET- Enables network communication
-
Wearable Feature Declaration: The watch app needs to declare itself as a wearable app with:
<uses-feature android:name="android.hardware.type.watch" /> -
Wearable Library: The watch app must include the wearable library:
<uses-library android:name="com.google.android.wearable" android:required="true" /> -
Standalone Declaration: The metadata tag indicates whether the watch app can run independently:
<meta-data android:name="com.google.android.wearable.standalone" android:value="true" />
In the build.gradle.kts Files
-
Wearable Dependencies: Both projects need the Wearable API:
implementation(libs.play.services.wearable) -
Module Connection: The mobile app needs to reference the wearable module:
wearApp(project(":wear")) -
Compatibility Settings: Both modules use the same
applicationIdto ensure they're recognized as a pair.
What I Learned
-
Wearable Communication: The Wearable API makes it relatively straightforward to send messages between a phone and watch.
-
Threading Considerations: It's essential to perform network operations off the main thread to keep the UI responsive.
-
Device Capabilities: Not all wearable devices support the same vibration capabilities, so it's important to check for support.
2개의 댓글
Creating apps that seamlessly connect devices requires careful planning and design. Exploring smart watch app development ensures smooth functionality and a great user experience.
For a detailed guide, see: smart watch app development.


If you’ve noticed your Galaxy Watch vibrating in sync with your phone, it's likely due to the Bluetooth connection between the two devices. This feature allows you to receive notifications, alerts, and calls directly on your watch. Whether you’re on a run or at work, you can stay connected without having to check your phone. For those who enjoy blending style and functionality, consider checking out the explore Geya skeleton watch collection. It offers a unique design that blends classic elegance with modern technology, providing both a stylish accessory and smart features like those found in the Galaxy Watch.