Swagger 란?
Rest API를 편리하게 문서화 해주고, 이를 통해서 관리 및 제 3의 사용자가 편리하게 API를 호출해보고 테스트 할 수 있는 프로젝트
Springdoc vs Springfox
Springfox와 Springdoc이 있는데, 최신 개발 환경에 더 적합한 것은 Springdoc이다. 그러므로, 실습에서도 SpringBoot 3.1.4 + Springdoc Swagger 환경을 사용할 것이다.
(SpringBoot의 버전이 2.x.x인 경우, 버전 충돌로 인해 Whitelabel Error가 발생할 수 있으므로, SpringBoot의 버전을 3.0.0 이상으로 변경할 것을 권장한다.)
Swagger vs Postman?
적용 방법
1. Dependency 추가
- build.gradle 에 추가해준다
//Swagger
	implementation 'org.springdoc:springdoc-openapi-starter-webmvc-ui:2.2.0'
2. Swagger UI 확인
- Dependency 를 추가하고 프로젝트를 실행한다.
- 아래 URL 에 들어가서 접속한다
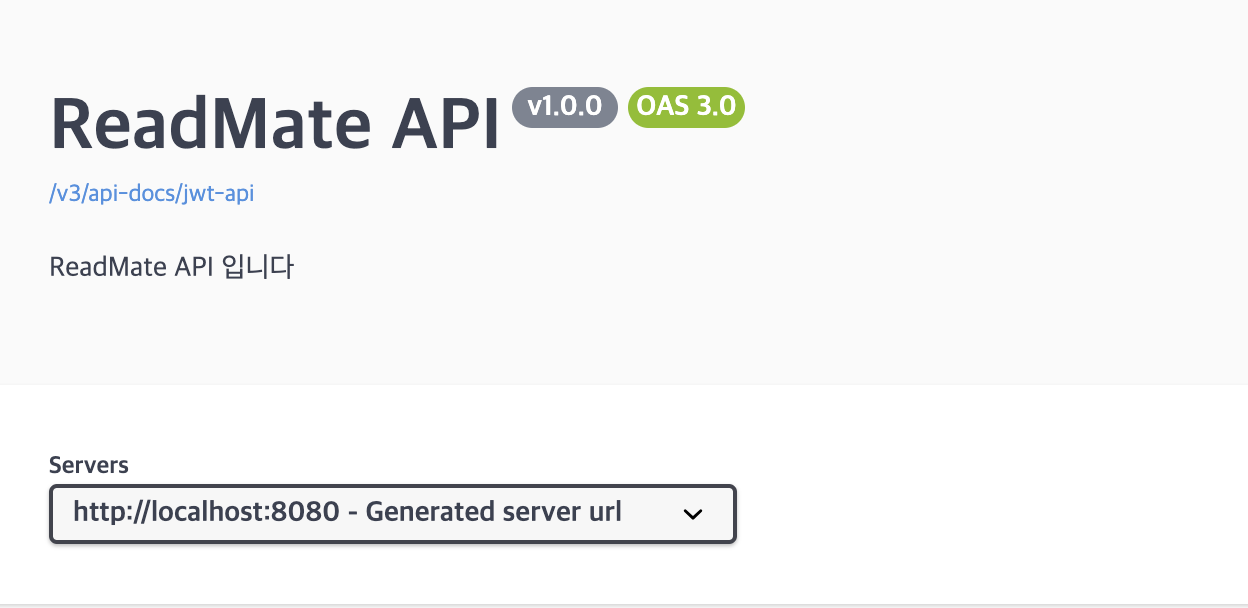
Swagger-UI는 http://localhost:8080/swagger-ui/index.html 로 들어가서 확인
Swagger의 버전에따라 접속할 수 있는 URL 이 다르니 참고!
2.x.x 버전: localhost:8080/swagger-ui.html
3.x.x 버전: http://localhost:8080/swagger-ui/index.html
로그인 창
- 갑자기 로그인 창이 나타날 것이다
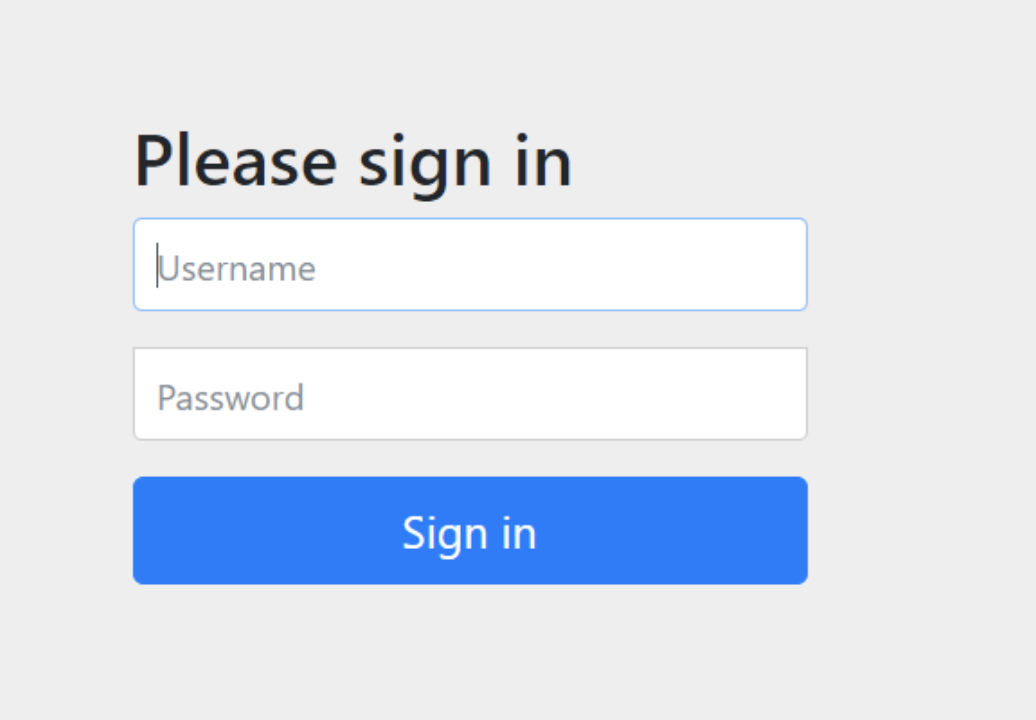
Username 에는 user , Password 는 실행하면 콘솔창에 뜬 비밀번호(아래 캡처 참고)를 입력하면 스웨거 페이지로 이동이 가능

로그인 창 건너뛰는 방법
- 로그인 화면을 없애고 바로 swagger 화면을 띄우기 위해서는 자격 증명을 생략하기 위한 설정이 필요
- 해당 설정은 SecurityConfiguration.java 파일 내에서 설정해주면 된다.
package com.readmate.ReadMate.config;

import lombok.RequiredArgsConstructor;
import org.springframework.boot.autoconfigure.security.servlet.PathRequest;
import org.springframework.context.annotation.Bean;
import org.springframework.context.annotation.Configuration;
import org.springframework.security.config.annotation.method.configuration.EnableMethodSecurity;
import org.springframework.security.config.annotation.web.builders.HttpSecurity;
import org.springframework.security.config.annotation.web.configuration.EnableWebSecurity;
import org.springframework.security.config.http.SessionCreationPolicy;
import org.springframework.security.web.SecurityFilterChain;

@Configuration
@EnableWebSecurity
public class SecurityConfig {

    @Bean
    public SecurityFilterChain filterChain(HttpSecurity http) throws Exception {
        http
                .csrf((csrfConfig) ->
                        csrfConfig.disable()
                )
                .headers((headerConfig)->headerConfig.frameOptions(frameOptionsConfig -> frameOptionsConfig.disable()))
                .authorizeHttpRequests((authorizeRequests)-> authorizeRequests
                        .requestMatchers("/v2/api-docs", "/v3/api-docs", "/v3/api-docs/**", "/swagger-resources",
                                "/swagger-resources/**", "/configuration/ui", "/configuration/security", "/swagger-ui/**",
                                "/webjars/**", "/swagger-ui.html").permitAll()
                        .anyRequest().authenticated()
        );
        return http.build();
    }
    }
만일 이렇게 했을 때 스웨거가 아닌 Whitelabel Error Page 가 나온다면 참고 블로그 확인해보자
Spring Security 설정시 참고
스웨거 연결 테스트
package com.readmate.ReadMate.club.controller;

import com.readmate.ReadMate.common.exception.enums.ErrorCode;
import com.readmate.ReadMate.common.message.BasicResponse;
import com.readmate.ReadMate.common.message.ErrorResponse;
import io.swagger.v3.oas.annotations.Operation;
import io.swagger.v3.oas.annotations.tags.Tag;
import lombok.RequiredArgsConstructor;
import org.springframework.http.HttpStatus;
import org.springframework.http.ResponseEntity;
import org.springframework.stereotype.Controller;
import org.springframework.web.bind.annotation.PostMapping;
import org.springframework.web.bind.annotation.RequestMapping;

@Controller
@RequestMapping("/club")
@RequiredArgsConstructor
@Tag(name = "Book Club", description = "Book Club API")
public class ClubController {

    @PostMapping()
    @Operation(summary = "북클럽 생성", description = "북클럽 생성시 사용하는 API")
    public ResponseEntity<BasicResponse<?>> testAPI() {
        try {
            // 성공적으로 API 호출될 때의 응답
            return ResponseEntity.ok(BasicResponse.ofSuccess("API 호출 성공"));

        } catch (Exception e) {
            // 에러가 발생했을 때 에러 코드를 사용하여 처리
            ErrorResponse response = new ErrorResponse(ErrorCode.INVALID_BOARD);
            return new ResponseEntity<>(BasicResponse.of(
                    HttpStatus.NOT_FOUND,  // ErrorCode의 상태 코드
                    response.getError(),   // Error 메시지
                    response               // Error 응답 본문
            ), HttpStatus.NOT_FOUND);
        }
    }
}
- 이런식으로 간단한 TestAPI를 만들었는데 잘 반영이 되었다
프론트에게 공유하는 방법!
- 로컬: http://localhost:8080/swagger-ui.html 또는 http://localhost:8080/swagger-ui/index.html
- 서버에 배포된 경우: http://your-server-domain/swagger-ui.html
결론은, 배포후 공유해야한다!
Swagger를 사용하고 싶으면 어떻게?
@Tag
- API를 그룹화할 태그명을 지정
- 태그명을 지정하지 않으면, Controller의 이름을 Kebab Case(ex: AuthController → auth-controller)로 변환하여 API를 그룹
- 어노테이션은 API 엔드포인트에 태그를 할당하여 관련된 엔드포인트를 그룹화하고 문서에서 카테고리를 형성하는 데 사용된다. 따라서 주로 @RestController가 붙어있는 클래스에 사용
@RestController
@RequestMapping("/")
@RequiredArgsConstructor
@Tag(name = "Response Estimate", description = "Response Estimate API")
public class ResponseEstimateController {
    ...

// 이와 같은 방식으로 모든 Controller에 @Tag를 적용한다.
@Operation
- @Operation 어노테이션을 사용하여, 각 API에 대한 설명을 추가
- 어노테이션은 API 엔드포인트의 작업에 대한 설명을 추가하고 세부 정보를 제공하는 데 사용된다. 주로 @RestController 클래스 내부의 메서드에 사용
@PostMapping("/signup")
@Operation(summary = "회원가입", description = "회원가입 할 때 사용하는 API")
public BaseResponse<?> signUp(@RequestBody SignupReq request) {
    try {
        return new BaseResponse<>(companyService.signup(request));
    } catch (BaseException exception) {
        return new BaseResponse<>(exception.getStatus());
    }
}
@ApiResponse
@ApiResponse 어노테이션은 API 응답에 대한 설명과 상태 코드를 정의하는 데 사용된다. @Operation과 마찬가지로 클래스 내부 메서드에 사용
@Schema
@Schema 어노테이션은 API 모델의 속성을 정의하고 문서화하는 데 사용된다. 다시 말해서 요청과 응답에 사용되는 DTO 클래스나 필드에 사용할 수 있다.