helm charts - jenkinsci
kubernetes와 helm을 이용하여 jenkins charts 구동하기.
- helm: v3.8.2
- minikube: v1.25.2
- kubectl: v1.23
- Docker: v20.10.14
Step.1 - Getting
먼저, Docker에 minikube Cluster를 생성합니다.
$ minikube starthelm 레포지토리에 jenkins charts를 추가합니다.
$ helm repo add jenkins https://charts.jenkins.io$ helm repo updatevalues.yaml Default파일을 다운받습니다.
$ helm show values jenkins/jenkins > jenkins-values.yamlStep.2 - Installing
helm install 명령으로 레포지토리에 있는 파일과 추가파일들을 클러스터에 설치합니다.
$ helm install jenkins jenkins/jenkins -f jenkins-values.yaml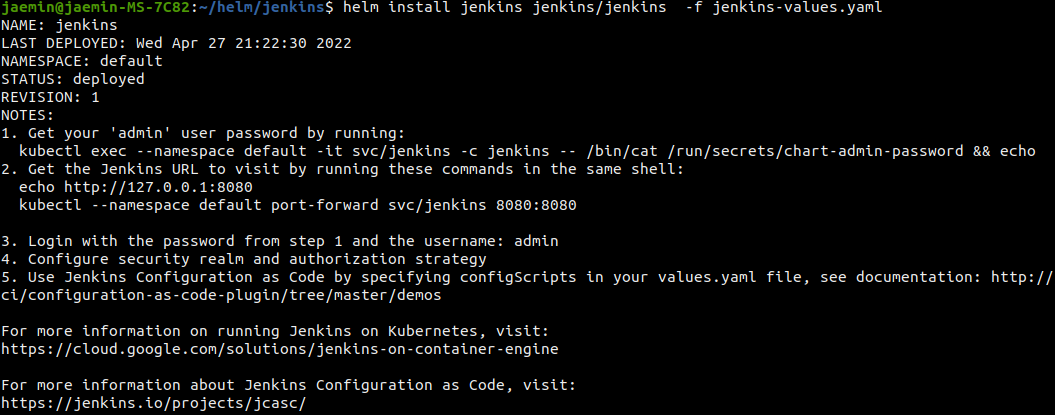
설치 후 동작을 확인해봅니다.
$ kubectl get all -l app.kubernetes.io/name=jenkins포트를 연결해줍니다.
$ kubectl port-forward svc/jenkins 8080:8080Step.3 - Set Config
포트포워드 후, http://127.0.0.1:8080로 접속이 안된다면
아래와 같이 serviceType을 수정하여 변경된 타입으로 서비스합니다.
# jenkins-values.yaml
controller:
  serviceType: NodePort
$ helm upgrade jenkins jenkins/jenkins -f jenkins-values.yaml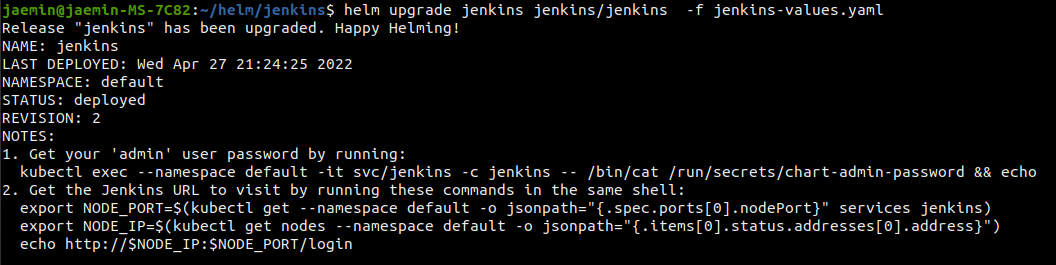
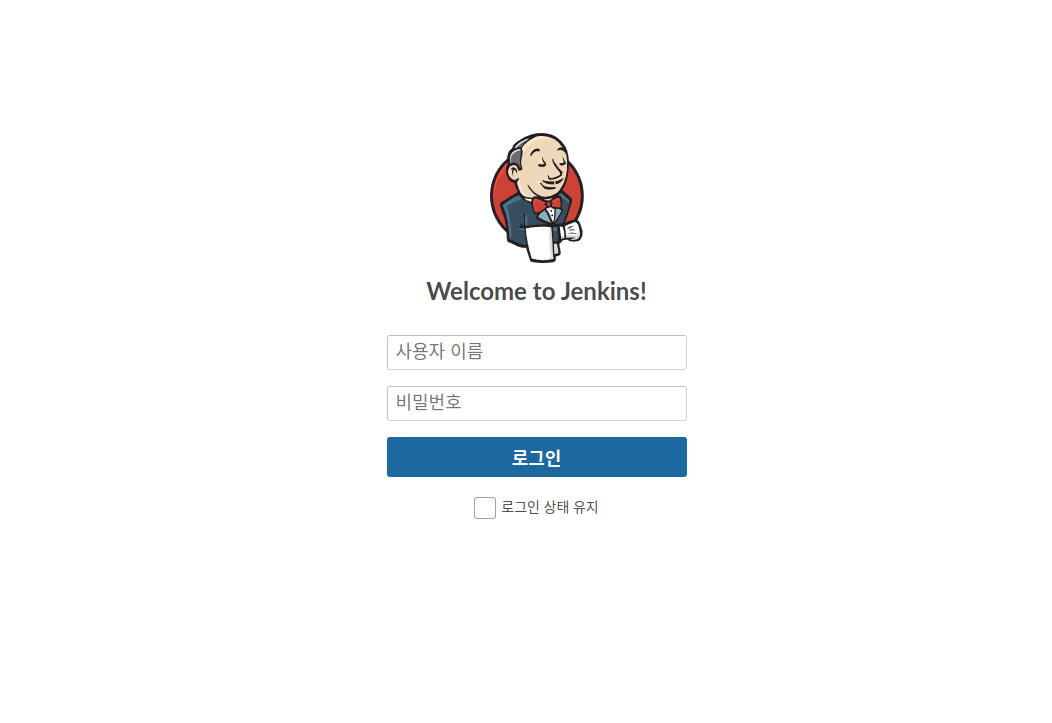
Step.4 - Login
values.yaml에서 사용자 관련을 수정하지 않았으므로, 기본등록되는 admin의 비밀번호를 가져옵니다.
$ kubectl exec --namespace default -it svc/jenkins \
-c jenkins -- /bin/cat /run/secrets/chart-admin-password && echo
사용자 이름: admin
비밀번호: 위에서 가져온 값
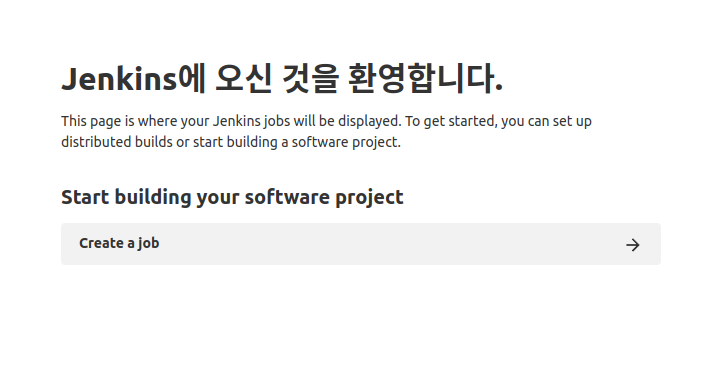
Step.5 - Starting
-
Create a job
-
Pipeline - OK
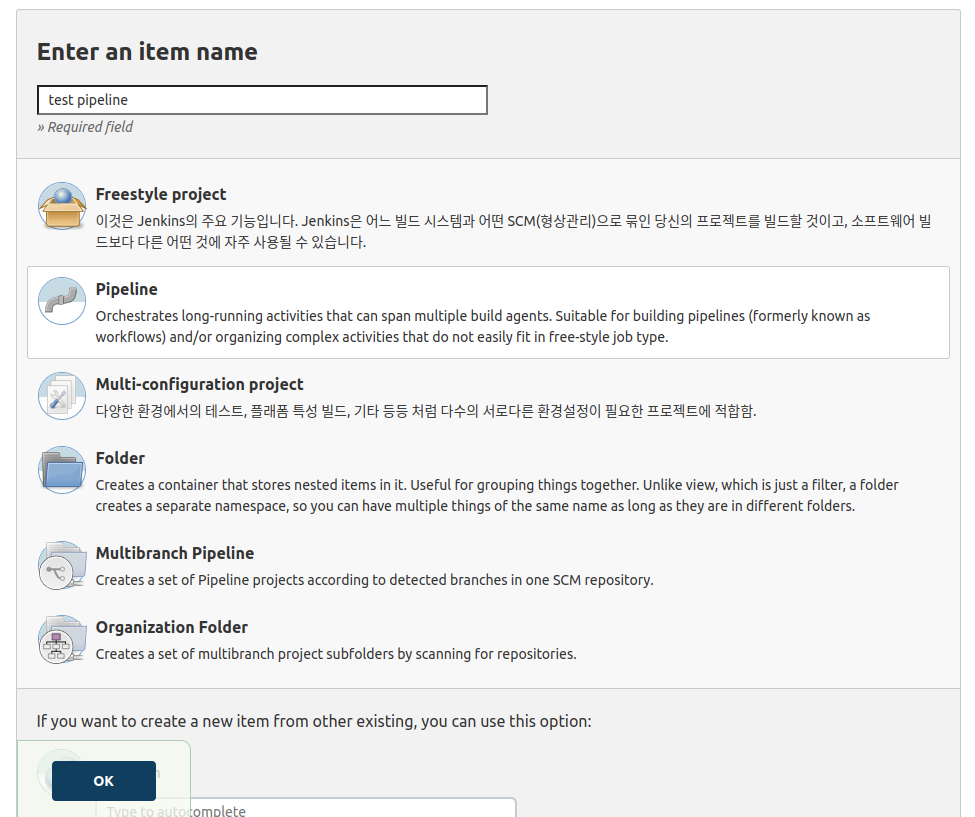
-
Pipeline Scroll Down

-
Template Select
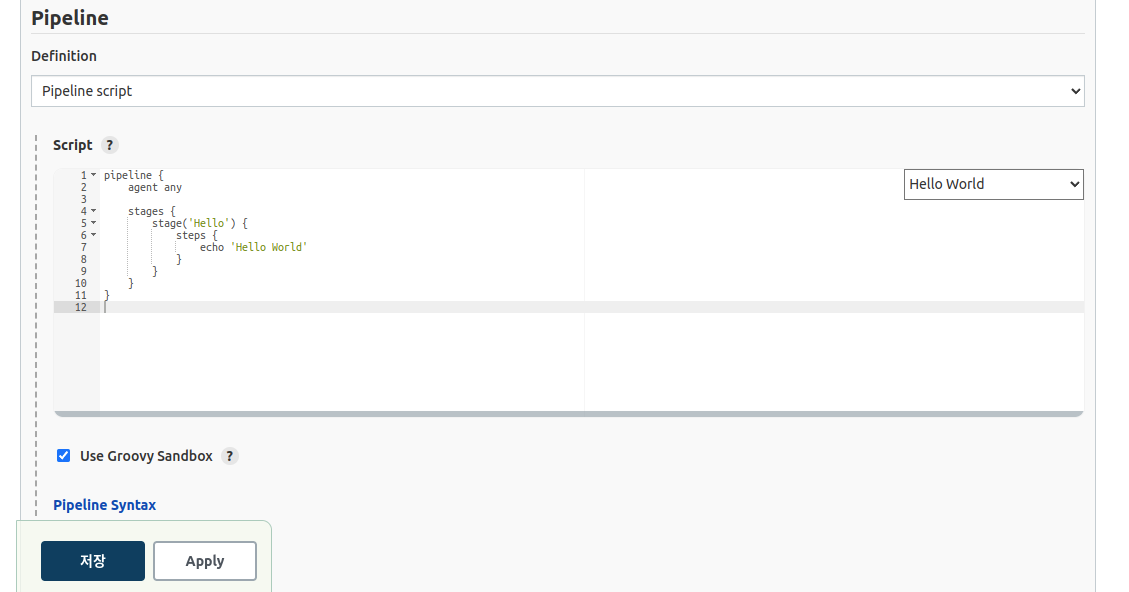
-
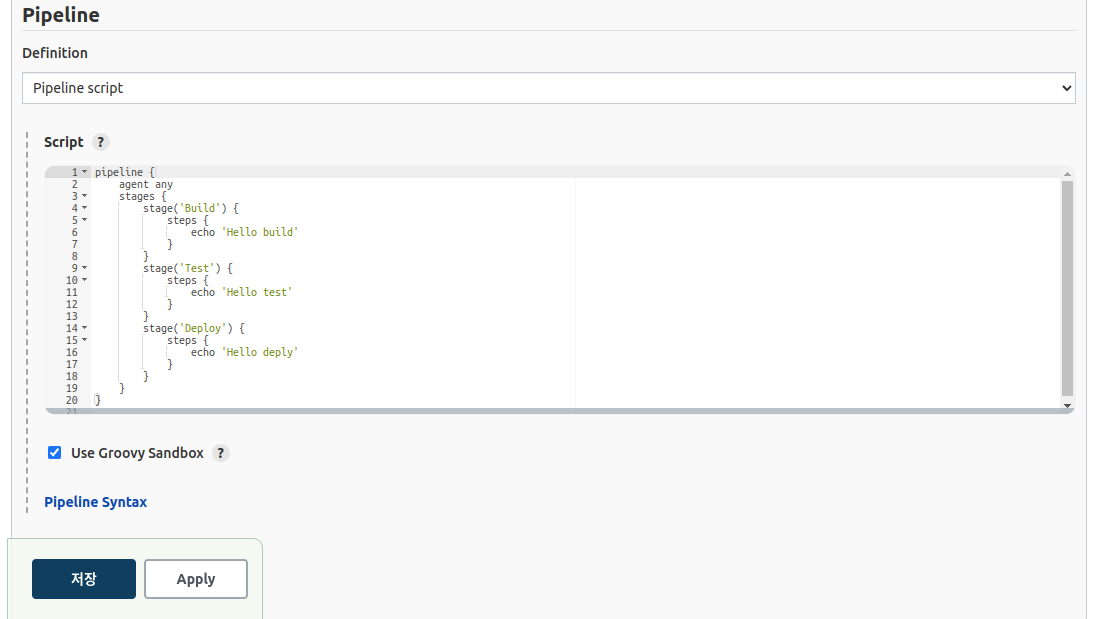
Write example Code 'Build', 'Test', 'Deploy'
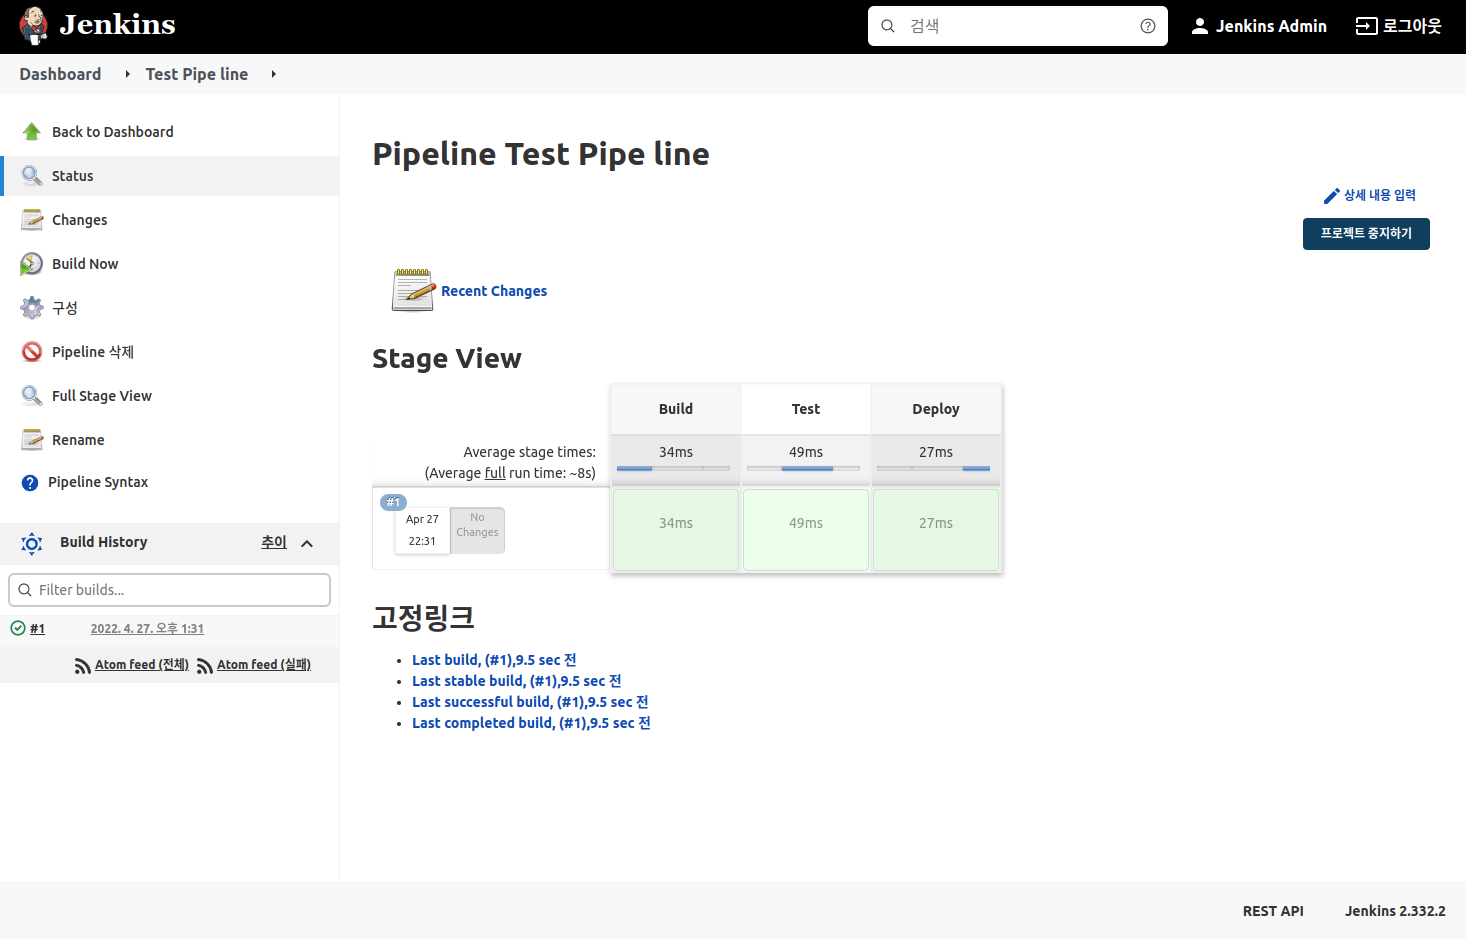
Step.6 - Monitoring
Build Now를 누르면 아래와 같이 작업이 진행 됩니다.
Step.7 - Advanced
Agent를 추가할 수 있습니다.
# jenkins-values.yaml
additionalAgents:
  test-agent:
    podName: "test-agent"
    customJenkinsLabels: "test-agent"
    image: "jenkins/inbound-agent"
// jenkins Pipeline
pipeline {
agent {
label 'test-agent'
}
stages {
stage('Build') {
steps {
echo 'Hello build'
}
}
stage('Test') {
steps {
echo 'Hello test'
}
}
stage('Deploy') {
steps {
echo 'Hello deply'
}
}
}
}참조 웹사이트
https://helm.sh/
Github.com/jenkinsci - helm-charts
medium.com/@jyson88 - kubernetes helm jenkins 사용
Create a PV
$ kubectl create namespace jenkins$ kubectl apply -f jenkins-volume.yaml
minikube ssh "sudo chown -R 1000:1000 /data/jenkins-volume"$ kubectl apply -n jenkins -f jenkins-sa.yaml$ helm install jenkins -n jenkins -f jenkins-values.yaml jenkins/jenkinsjsonpath="{.data.jenkins-admin-password}"
secret=$(kubectl get secret -n jenkins jenkins -o jsonpath=$jsonpath)
echo $(echo $secret | base64 --decode)jsonpath="{.spec.ports[0].nodePort}"
NODE_PORT=$(kubectl get -n jenkins -o jsonpath=$jsonpath services jenkins)
jsonpath="{.items[0].status.addresses[0].address}"
NODE_IP=$(kubectl get nodes -n jenkins -o jsonpath=$jsonpath)
echo http://$NODE_IP:$NODE_PORT/login$ kubectl get pods -n jenkins참조 웹사이트
https://www.jenkins.io/doc/book/installing/kubernetes/#create-a-persistent-volume
https://stackoverflow.com/questions/52309342/run-command-on-minikube-startup