three.js에는 작업하기 용이하게 해주는 여러 유틸리티가 있는데 그 걸 셋팅하는 방법을 정리하려고 한다!
AmbientLight
작업하기에 앞서 조명을 추가로 작업해주려 한다.
<script>
	// 은은한 전체 조명
	const embientLight = new THREE.AmbientLight('white', 0.5); ⭐️
	scene.add(embientLight); ⭐️

    // 직적접인 조명
	const light = new THREE.DirectionalLight('white', 1);
	scene.add(light);
</script>
기존에 셋팅했던 DirectionalLight는 태양광 처럼 위에서 아래로 떨어지는 직접적인 조명인데
AmbientLight는 scene에 전체적으로 은은하게 퍼지는 조명을 뜻한다!
DirectionalLight와 동일하게 인자로는 색상, 빛의 강도를 조절 가능하다!
AxesHelper
AxesHelper는 축을 의미
<script>
	// AxesHelper
	const AxesHelper = new THREE.AxesHelper(3);
	scene.add(AxesHelper);
</script>
AxesHelper 상수에 threeJS 기능인 AxesHelper를 불러준다.
AxesHelper(n) 여기에서 n은 AxesHelper의 크기를 말한다.
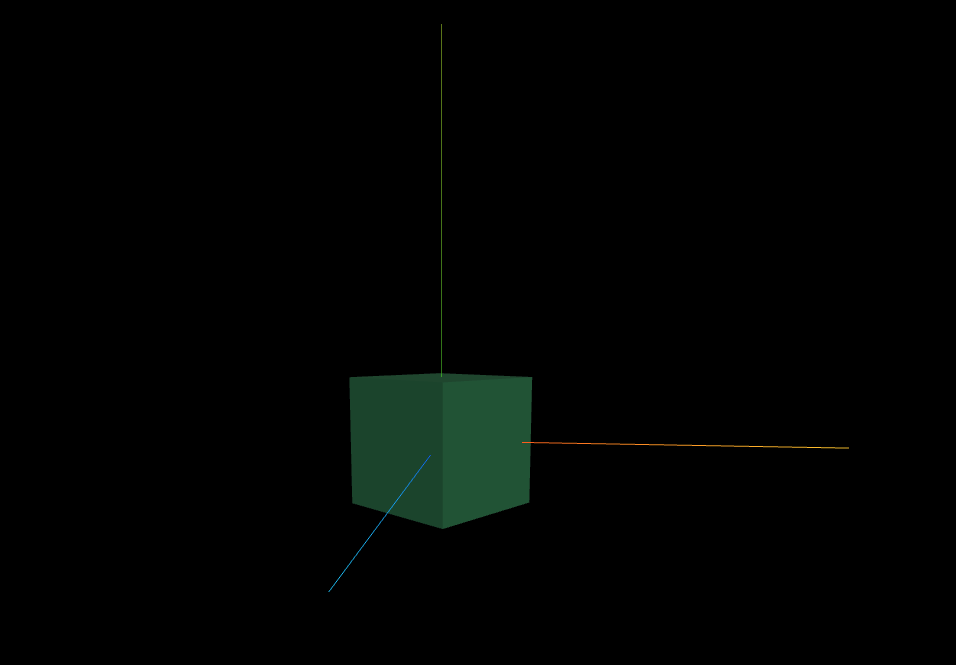
화면을 살짝 돌려면 x,y,z축을 안내하는 축이 나타난다.
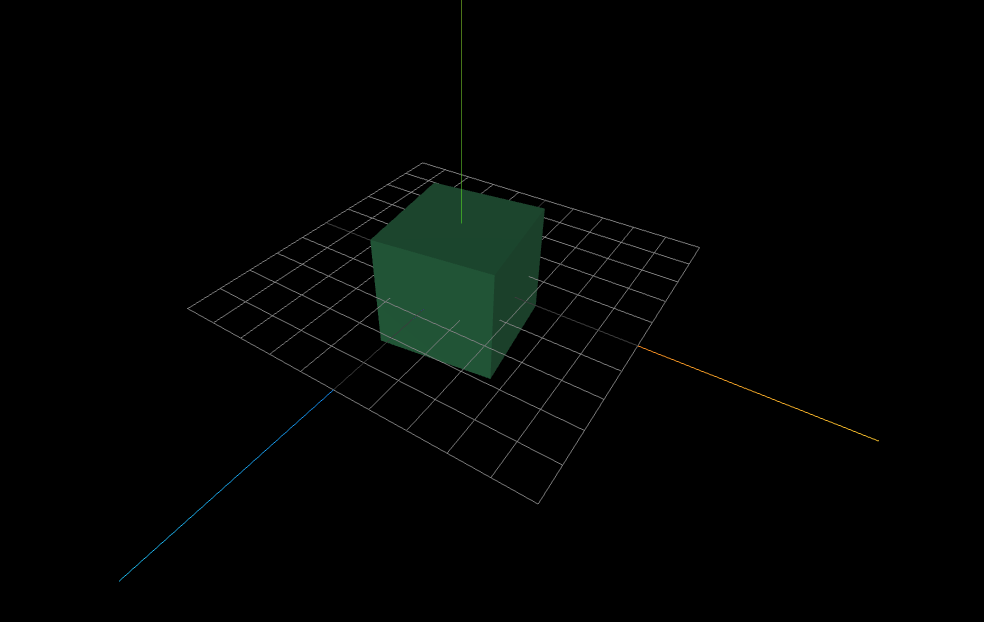
GridHelper
GridHelper는 그리드 가이드를 의미
<script>
	// GridHelper
	const GridHelper = new THREE.GridHelper(3);
	scene.add(GridHelper);
</script>
AxesHelper와 동일하게 셋팅을 진행해주면 아래와 같이 grid가 셋팅이 된다.
stats.js
초당 프레임을 확인하는 기능을 설치하려고 하는데 three.js 기본기능으로는 존재하지 않는다!
stats.js는 라이브러리로 따로 추가를 해줘야 한다!
우선 터미널을 열고서 ctrl + c를 눌러 서버를 종료해준 후에
npm i stats.js 라고 다시 기입해준다.
설치가 완료되었다면 npm start를 눌러 서버를 실행!
<script>
	import Stats from 'stats.js';
</script>
그 후에는 script로 stats를 import 해준다.
<script>
	// Stats
    const stats = new Stats();
    document.body.append(stats.domElement);
</script>
그 후에는 stats 상수를 선언, three.js 라이브러리가 아니기에 new Stats라고 셋팅해준다.
그리고 해당 stats 기능을 document.body에 넣어주는데 추가해줄 때 stats.domElement로 요소를 넣어준다!
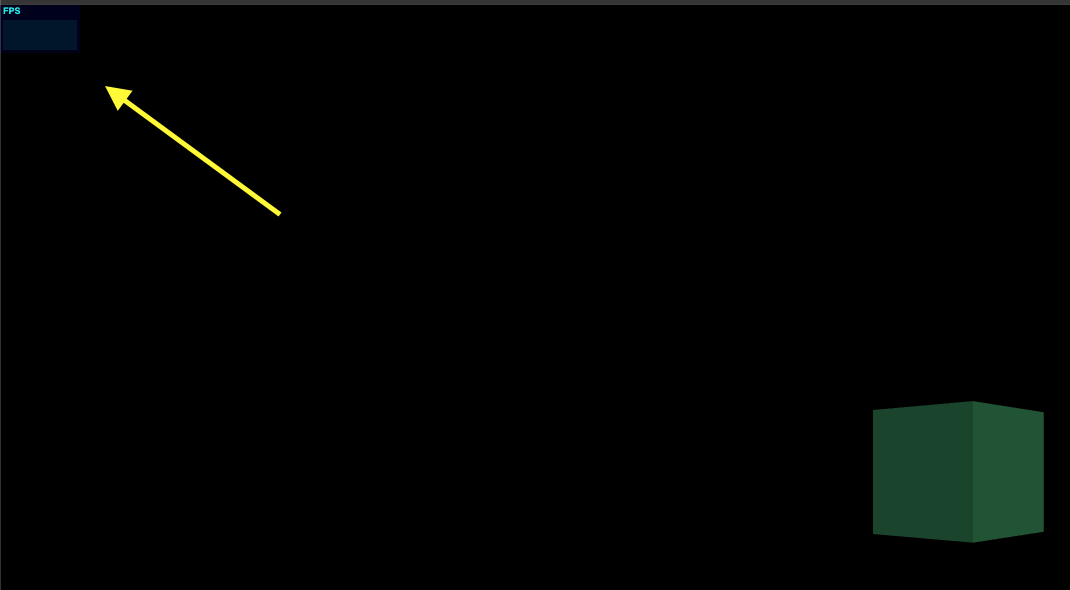
그렇다면 페이지 왼쪽 상단에 초당 프레임을 확인할 수 있는 창
frame per seconds이 노출이 되지만!! 실행이 안되는걸 확인할 수 있다!
그 이유는 해당 기능은 매 초마다 몇프레임인지 확인을 해야하기 때문이다.
<script>
	function draw() {
		const time = clock.getElapsedTime();

        stats.update();⭐️
		mesh.rotation.y = time;

		renderer.render(scene, camera);
		renderer.setAnimationLoop(draw);
	}
</script>
이럴때는 이전부터 사용해온 매초마다 반복 실행하는 함수인 draw 함수에 적용하면 된다!
해당 함수 안에서 해당 라이브러리를 업데이트 해주는 함수인 update()를 선언해주면
정상적으로 fps 값이 노출되는걸 확인할 수 있다.
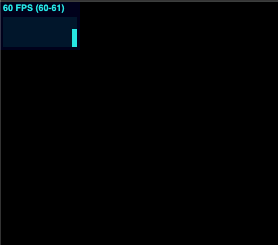
초당 60fps가 나오니 정상적으로 성능이 구현되는걸 알 수 있다!