참고: 조코딩 - 완전 쉽게 파이썬으로 텍스트 및 이미지 크롤링하기 | 완성형 서비스 만들기 1강
https://www.youtube.com/watch?v=ZTJjW7XuHIY&list=PLU9-uwewPMe2-vtJAgWB6SNhHcTjJDgEO
파이썬 - 크롤링
파이썬을 활용해서 서비스를 만드는 실습을 따라해 보기로 함.
1. 환경설정 - 구름 IDE + 파이썬
파이썬 언어로 Beautiful soup, Requests 라이브러리 사용.
로컬 환경에서 하기엔 설치 등이 귀찮으니 클라우드형 이용함.
구름 IDE에서 컨테이너 생성. 스텍은 파이썬으로 (이름 crawling)
컨테이너 실행해서 가상 환경에 입장.
index.py 파일에 코드 작성
2. 예제 실행 (위키피디아)
참고 : 패키지(라이브러리)
pip install 패키지명
특정 역할 하는 외부프로그램 개념. 미리만들어진 기능.
Beautiful soup 라이브러리
HTML, XML 구문 분석을 위한 파이썬 패키지(라이브러리)
위키백과에 예시코드 복사해서 실행(실행창에 키보드 위쪽 키 +엔터)
오류: 모듈이 설치되지 않아서 생김.
모듈 설치: 명령창에 pip install bs4 입력.
다시 실행.
from bs4 import BeautifulSoup
from urllib.request import urlopen

with urlopen('https://en.wikipedia.org/wiki/Main_Page') as response:
    soup = BeautifulSoup(response, 'html.parser')
    for anchor in soup.find_all('a'):
        print(anchor.get('href', '/'))
코드 설명
위에서 불러운 urlopen으로 링크를 리스폰스로 담겠다. with as 구문 다음처럼 바꾸기 가능.
beautiful soup 함수 이용해서 리스폰스 넣고 html.parser이용해서 분석한 다음 변수 soup에 담아줌
for 문 이용해서 soup에서 모든 a태그 찾아서 변수 anchor 에 넣기
anchor 를 하나씩 가져와서 주소를 프린트해라.
from bs4 import BeautifulSoup
from urllib.request import urlopen
response = urlopen('https://en.wikipedia.org/wiki/Main_Page')
soup = BeautifulSoup(response, 'html.parser')
for anchor in soup.find_all('a'):
    print(anchor.get('href', '/'))
3. 응용 - 실시간 검색 순위 크롤링 & 저장
사이트에서 실시간 검색 부분 코드를 보고 그 코드 가져올 수 있는 특징 잡아서 활용.
예) 스팬 테그이면서 클래스가 xx 인것
문법은 외우지 말고 검색해서 공식 문서 참고해라.
python
response = urlopen('사이트 주소')
soup = BeautifulSoup(response, 'html.parser')
for anchor in soup.select("스펜.클래스이름")
    print(anchor)
현재 네이버와 다음에 실시간 검색 순위 서비스 폐지됬기 때문에 추천검색어로 대체함.
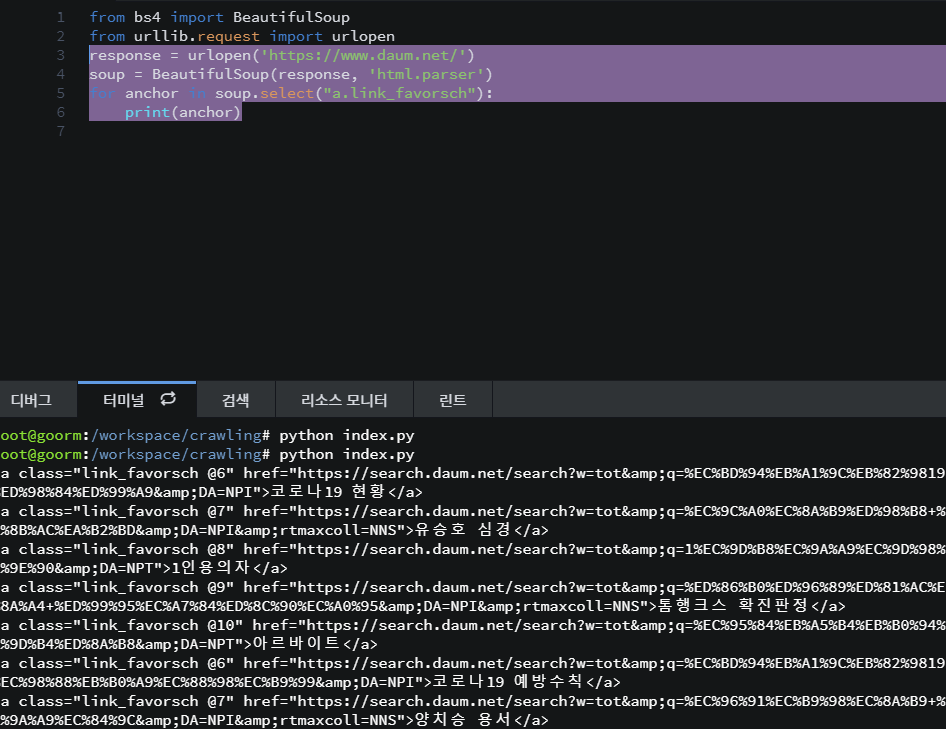
response = urlopen('https://www.daum.net/')
soup = BeautifulSoup(response, 'html.parser')
for anchor in soup.select("a.link_favorsch"):
    print(anchor)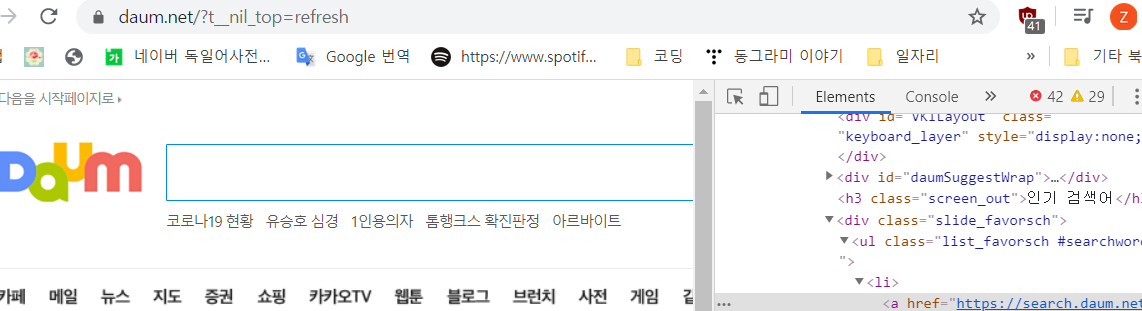
예쁘게 하기
결과에서 내용만 뽑아오기
.get 활용 : print(soup.get_text())
print(anchor.get_test())순위추가
i = 1
for anchor in soup.select("a.link_favorsch"):
    print(str(i) + "위: " + anchor.get_text())
    i += 1
추가: 텍스트 파일로 저장하기
파이썬으로 텍스트 파일 쓰는 문법 검색 ㄱㄱ
f = open("C:/doit/새파일.txt", 'w')
for i in range(1, 11):
    data = "%d번째 줄입니다.\n" % i
    f.write(data)
f.close()
이걸 활용해서...
c 드라이브 아니니까 지워줌.
from bs4 import BeautifulSoup
from urllib.request import urlopen
response = urlopen('https://www.daum.net/')
soup = BeautifulSoup(response, 'html.parser')
i = 1
f = open("새파일.txt", 'w')
for anchor in soup.select("a.link_favorsch"):
    data = str(i) + "위: " + anchor.get_text() + "\n"
    i += 1
    f.write(data)
f.close()
이렇게 하면 프린트로 출력되는 대신 새파일이 생성됨.

4. 이미지 크롤링
라이브러리 사용 - 사진 한번에 크롤링 하기
특정 검색어를 입력해서 나온 이미지들 주소를 모아서 이미지 파일 저장.. 그러나 시간 많이 듬.. 이쯤에서.. 누군가 이 기능을 라이브러리 형태로 만들었을 것이다!! -> 찾아 쓰자
google_images_download 라이브러리 활용
pip install로 설치.
새파일 만들고 예시코드 복붙.
from google_images_download import google_images_download   #importing the library

response = google_images_download.googleimagesdownload()   #class instantiation

arguments = {"keywords":"Polar bears,baloons,Beaches","limit":20,"print_urls":True}   #creating list of arguments
paths = response.download(arguments)   #passing the arguments to the function
print(paths)   #printing absolute paths of the downloaded images
키워드랑 리미트만 조절하면 원하는거 가능.
또, input argument로 옵션을 살펴서 원하는 기능 가져오기 가능.
예) format 으로 원하는 확장자만 다운받을 수 있게.
나는 내가 좋아하는 배우 세명을 해보겠음.
실행되지 않음.
음.. 실행법을 찾아봐야 겠다,.
참고1. https://ultrakid.tistory.com/13
from urllib.request import urlopen
from bs4 import BeautifulSoup as bs
from urllib.parse import quote_plus

baseUrl = 'https://search.naver.com/search.naver?where=image&sm=tab_jum&query='
plusUrl = input('검색어를 입력하세요 : ')
# 한글 검색 자동 변환
url = baseUrl + quote_plus(plusUrl)
html = urlopen(url)
soup = bs(html, "html.parser")
img = soup.find_all(class_='_img')

n = 1
for i in img:
    imgUrl = i['data-source']
    with urlopen(imgUrl) as f:
        with open('./img/' + plusUrl + str(n)+'.jpg','wb') as h: # w - write b - binary
            img = f.read()
            h.write(img)
    n += 1
print('다운로드 완료')
soup.find_all("a", limit=2)
로 개수 제한
결과:
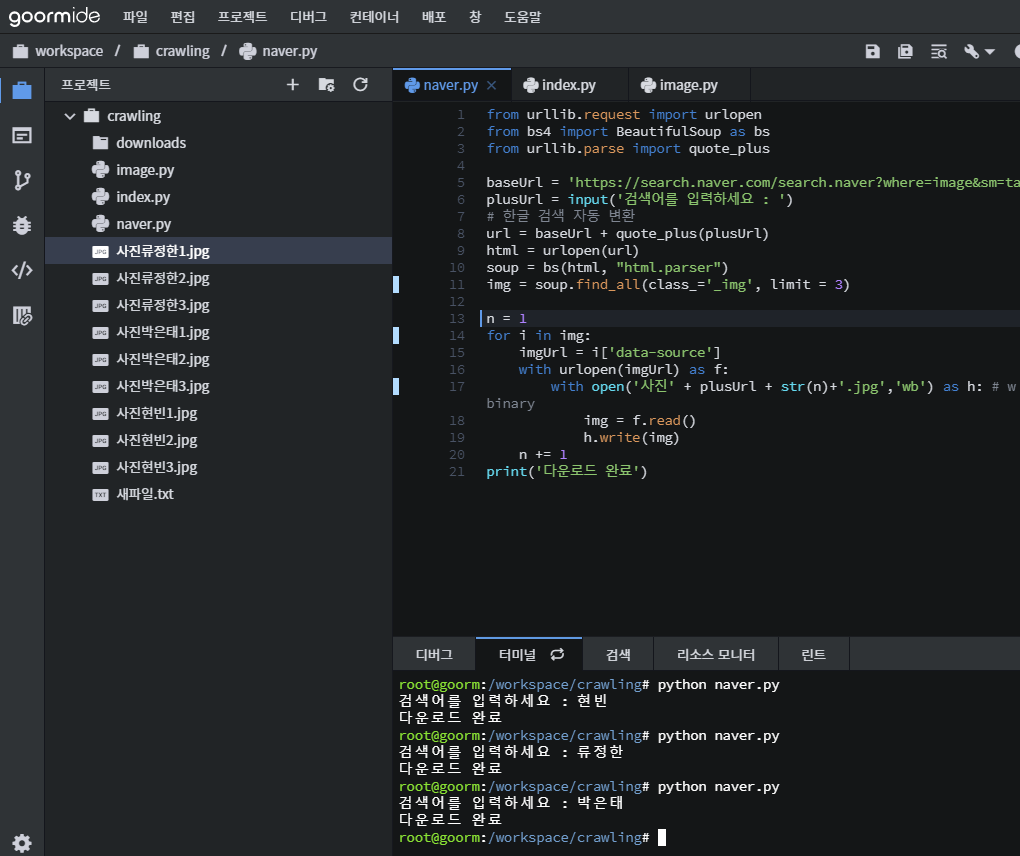
라이브러리 쓰는것 만큼 예쁘진 않지만 사진을 가져올 수 있음.
다운 받은 것 로컬 컴에 저장하려면 - 마우스 오른쪽 > 파일 다운로드 zip으로 받아서 압출 풀기

10개의 댓글

전체적으로 다운로드완료라고 되는데 사진처럼 저는 왼쪽 다운로드폴더에 사진들이없어요.... 어떻게 해야 생기나요 ㅠㅠ 아직 하루밖에 되지않아 자세히 알려주실수있으면 부탁드립니다 ㅠㅠ

검색어를 입력하세요 : 강아지
Traceback (most recent call last):
File "naver.py", line 17, in
with open('./img/' + plusUrl + str(n)+'.jpg','wb') as h: # w - write b - binary
FileNotFoundError: [Errno 2] No such file or directory: './img/강아지1.jpg'
이런게 떠요 다운로드 완료가 안뜨고


똑같이 했는데 저는 왜 이런 에러가 뜨는 걸까요?
Traceback (most recent call last): File "naver.py", line 17, in with open('./img/' + plusUrl + str(n)+'.jpg','wb') as h: # w - write b - binary FileNotFoundError: [Errno 2] No such file or directory: './img/google1.jpg'