로펀님의 Supabase 강의를 듣고 작성한 글입니다.

서두
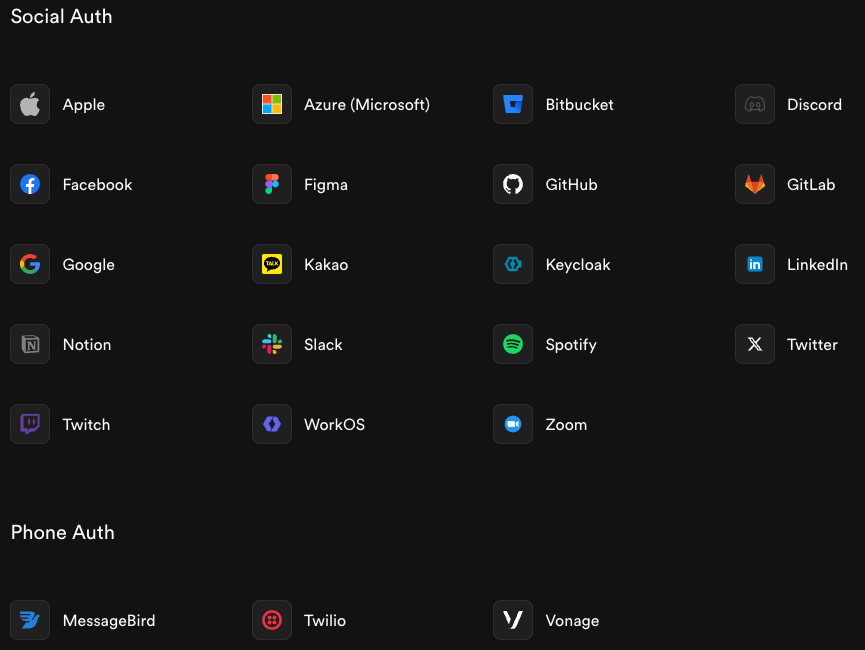
Supabase Auth는 Supabase의 핵심 기능 중 하나로 어플리케이션 개발 시 인증과 인가 기능을 쉽게 구현할 수 있도록 도와준다. Email / Password 인증 방식부터 패스워드 없이 인증할 수 있는 OTP, Magic link 방식 그리고 써드 파티 프로바이더와 연동한 OAuth 방식까지 다양한 인증 방식을 제공한다. 아래는 Supabase Auth와 연동가능한 프로바이더 목록이다.
Supabase Auth를 이용한 인증 구현 (Password-base Auth)
다음은 Confirmation URL 방식을 이용한 Email / Password 인증 예시를 소개한다. 아래와 같은 순서로 회원 가입과 로그인이 진행된다.
- 먼저, Client는 Supabase로 회원가입 요청을 한다. 아래 코드와 같이 signUp 함수를 Email, Password, redirect_to 인자와 함께 호출한다. 이 후 회원 가입 완료한 뒤에는 signInWithPassword 함수를 호출해 로그인을 시도할 수 있다.
const { data, error } = await supabase.auth.signUp({
	email,
	password,
	options: {
		emailRedirectTo: "http://localhost:3000/signup/confirm",
	},
});

async function signInWithEmail() {
  const { data, error } = await supabase.auth.signInWithPassword({
    email: 'example@email.com',
    password: 'example-password',
  })
}- Supabase는 회원가입 처리와 인증 링크가 담긴 이메일을 전송한다. Auth에서 제공하는 Email Template의 {{ .ConfirmationURL }} 라는 Message varible을 이용해 아래처럼 이메일을 작성할 수 있다. Supabase 공식 홈페이지 > Dashboard > Auth > Configuration > Email Template 에서 이메일 양식을 커스터마이징 할 수 있다.
<h2>Confirm your signup</h2>

<p>Follow this link to confirm your user:</p>
<p>
	<a href="{{.ConfirmationURL}}">Confirm your email</a>
</p>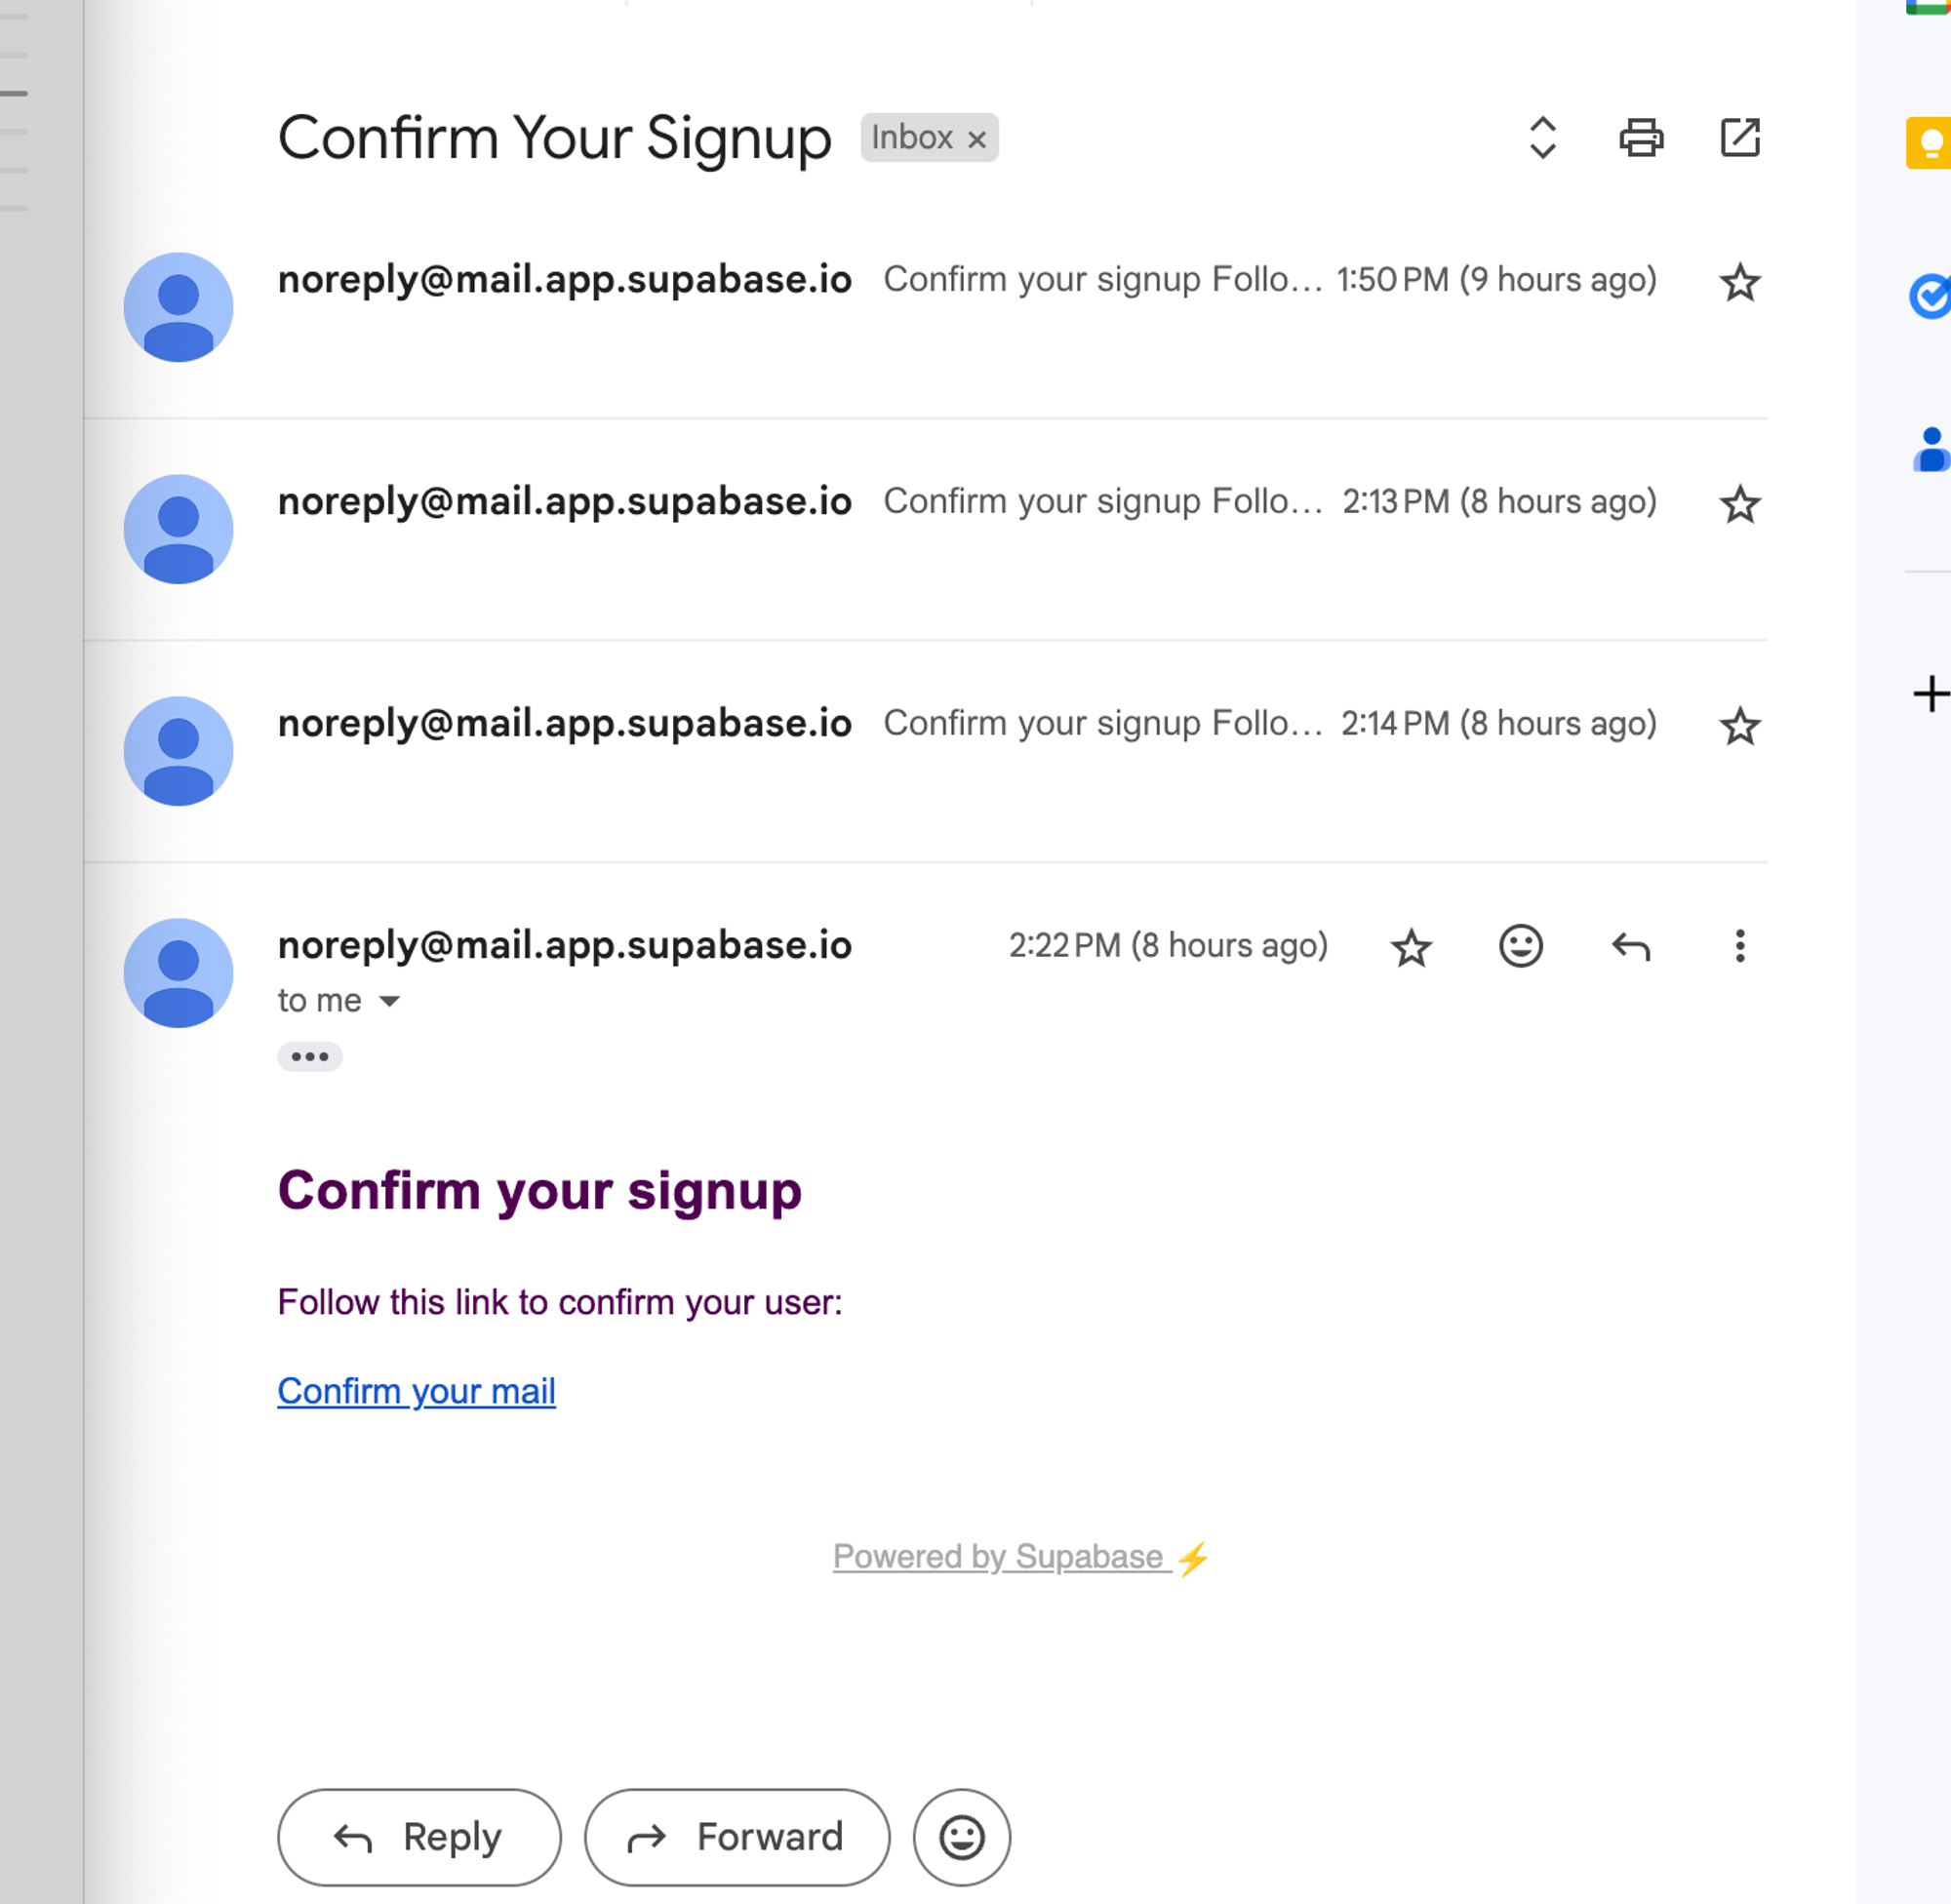
- 유저는 전송된 이메일에 첨부된 인증 링크를 클릭해 이후 회원 가입 로직을 진행한다.
- 유저가 클릭하는 인증 링크는 다음과 같은 형태로 되어 있다. https://{projectId}.supabase.co/auth/v1/verify?token={tokenHash}&redirect_to={redirectTo}
- Supabase 서버에서 본인 인증을 마치면 redirect_to 파라미터에 적힌 링크로 리다이렉트를 하게 되는데 이 때 code 파라미터가 붙는다. 만약, redirect_to 파라미터가 http://localhost:3000/signup/confirm 이라고 한다면 리다이렉트하는 url은 http://localhost:3000/signup/confirm?code=abcdefgh 의 형태가 된다.
- 이후, Web Client는 url에 붙은 code 파라미터를 이용해 로그인 세션을 획득할 수 있다. 아래는 code 파라미터를 추출해 Supabase에게 세션 정보를 획득하는 예시 코드이다.
import { NextResponse } from "next/server";
import { createServerSupabaseClient } from "utils/supabase/server";

// localhost:3000/signup/confirm/?code=...
export async function GET(request: Request) {
  const requestUrl = new URL(request.url);
  const code = requestUrl.searchParams.get("code");

  if (code) {
    const supabase = await createServerSupabaseClient();
    await supabase.auth.exchangeCodeForSession(code);
  }

  // localhost:3000/
  return NextResponse.redirect(requestUrl.origin);
}
결론
Supabase Auth가 제공하는 signup, signin 함수를 호출함으로써 쉽게 인증 기능을 구현할 수 있다.
참조

fullstack developer & maker