[React] CRA로 React + TypeScript 프로젝트 세팅 (w. ESLint, Prettier, Styled-Component)
개요
- CRA(create-react-app)로 React + TypeScript 프로젝트 생성
- 프로젝트에 ESLint, Prettier 설치 및 설정 적용
- styled-components와 GlobalStyle 적용
React + TypeScript 프로젝트 생성
$ npx create-react-app <프로젝트명> --template typescript- 위의 명령어를 실행하여 React + TypeScript 프로젝트를 생성한다.
$ npm i --save react react-dom typescript
$ npm i --save-dev @types/react @types/react-dom @types/node- 프로젝트 생성 후, 위의 명령어를 실행하여 TypeScript 프로젝트에 필요한 라이브러리들을 설치한다.
- 라이브러리 설치 후, tsconfig.json 파일을 프로젝트의 루트 디렉터리에 생성한다.
{
  "compilerOptions": {
    "target": "es6",
    "lib": [
      "dom",
      "dom.iterable",
      "esnext"
    ],
    "baseUrl": "./src", // 파일을 절대경로로 import 하기 위한 옵션.
    "allowJs": true,
    "skipLibCheck": true,
    "esModuleInterop": true,
    "allowSyntheticDefaultImports": true,
    "strict": true,
    "forceConsistentCasingInFileNames": true,
    "noFallthroughCasesInSwitch": true,
    "module": "esnext",
    "moduleResolution": "node",
    "resolveJsonModule": true,
    "isolatedModules": true,
    "noEmit": true,
    "jsx": "react-jsx"
  },
  "include": [
    "src"
  ],
}- tsconfig.json 파일에 위의 내용을 입력하고, 저장한다.
- 각종 옵션에 대한 설명은 TSConfig Reference에서 확인할 수 있다.
ESLint, Prettier 설치 및 설정 적용
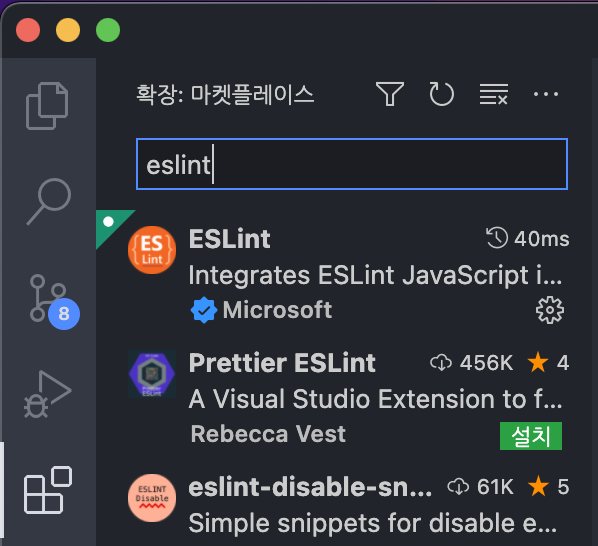
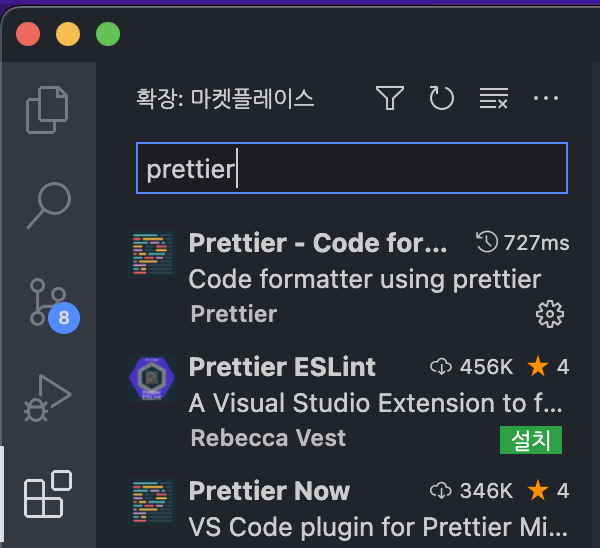
1. ESLint, Prettier Extension 설치 (Visual Studio Code)
- VSCode 사이드바의 5번째 탭(확장 / Extension)을 클릭하고, ESLint와 Prettier를 각각 설치한다.
2. ESLint 설치 및 초기 설정
$ npm install -D eslint- 위의 명령어를 실행하여 ESLint 패키지를 설치한다.
$ npx eslint --init- 프로젝트의 루트 폴더에서 위의 명령어를 실행하여 ESLint 초기 설정을 수행한다.
How would you like to use ESLint?

What type of modules does your project use?

Which framework does your project use?

Does your project use TypeScript? (y/N)

Where does your code run? (Press space to select, a to toggle all, i to > invert selection)

What format do you want your config file to be in? (Use arrow keys)

The config that you've selected requires the following dependencies:
@typescript-eslint/eslint-plugin@latest @typescript-eslint/parser@latest
Would you like to install them now with npm? (Y/n)- 방향키, 엔터키를 이용하여 프로젝트에 맞게 답변을 입력한다.
Does your project use TypeScript?(y/N), Would you like to install them now with npm?(Y/n)의 두 질문에는 Y를 입력하여 관련 플러그인 등을 설치한다.
3. 부가적인 ESLint 플러그인 설치
// airbnb의 리액트 관련 규칙 설정 플러그인
$ npm i -D eslint-config-airbnb # 리액트 관련 규칙 O
또는
$ npm i -D eslint-config-airbnb-base # 리액트 관련 규칙 X

// 이외의 플러그인들
$ npm i -D eslint-plugin-react eslint-plugin-react-hooks
$ npm i -D eslint-plugin-jsx-a11y eslint-plugin-import eslint-plugin-prettier eslint-config-prettier
eslint-plugin-import: ES6의 import, export 구문을 지원하기 위한 플러그인eslint-plugin-react: React 관련 규칙이 들어있는 플러그인eslint-plugin-react-hooks: React Hooks 관련 규칙이 들어있는 플러그인eslint-plugin-jsx-a11y: JSX요소의 접근성 규칙에 대한 정적 검사 플러그인
4. eslintrc.js 파일 설정
- 위의 플러그인들이 설치되고 나면, 프로젝트 루트 폴더에 .eslintrc.js 파일이 생성된다.
module.exports = {
  parser: '@typescript-eslint/parser',
  plugins: ['@typescript-eslint', 'prettier'],
  extends: [
    'airbnb', // airbnb-base를 설치한 경우 airbnb-base
    'plugin:react/recommended',
    'plugin:jsx-a11y/recommended',
    'plugin:import/errors',
    'plugin:import/warnings',
    'plugin:@typescript-eslint/recommended',
    'plugin:prettier/recommended',
  ],
  rules: {
    'prettier/prettier': ['error', { singleQuote: true }],
    'comma-dangle': ['error', 'always-multiline'],
    'linebreak-style': 0,
    'import/prefer-default-export': 0,
    'import/extensions': 0,
    'no-use-before-define': 0,
    'import/no-unresolved': 0,
    'react/react-in-jsx-scope': 0,
    'import/no-extraneous-dependencies': 0, // 테스트 또는 개발환경을 구성하는 파일에서는 devDependency 사용을 허용
    'no-shadow': 0,
    'react/prop-types': 0,
    'react/jsx-filename-extension': [
      2,
      { extensions: ['.js', '.jsx', '.ts', '.tsx'] },
    ],
    'jsx-a11y/no-noninteractive-element-interactions': 0,
    '@typescript-eslint/explicit-module-boundary-types': 0,
  },
  settings: {
    'import/resolver': {
      node: {
        extensions: ['.js', '.jsx', '.ts', '.tsx'],
      },
    },
  },
};
- .eslintrc.js 파일에 위의 내용을 입력하고, 저장한다.
- 각종 옵션에 대한 설명은 eslint.org에서 확인할 수 있다.
5. Prettier 설치
$ npm install -D prettier- 위의 명령어를 실행하여 Prettier 패키지를 설치한다.
6. 루트 폴더에 .prettierrc 파일 생성
- 프로젝트의 루트 폴더에 .prettierrc 파일을 생성한다.
{
  "singleQuote": true,
  "semi": true,
  "useTabs": false,
  "tabWidth": 2,
  "trailingComma": "all",
  "printWidth": 80,
  "arrowParens": "always",
  "orderedImports": true,
  "bracketSpacing": true,
  "jsxBracketSameLine": false
}- 위의 내용을 입력하고, 저장한다.
- 각종 옵션에 대한 설명은 prettier.io에서 확인할 수 있다.
styled-components 설치 및 GlobalStyle 적용 (Optional)
$ npm i styled-components
$ npm i @types/styled-components- 프로젝트에 styled-components를 사용할 경우, 위의 명령어를 실행하여 styled-components를 설치한다.
$ npm i styled-reset- styled-components 설치 후, CSS 초기화(Reset CSS)를 위해 위의 명령어를 실행하여 styled-reset을 설치한다.
- 설치 후, 전역 스타일 적용을 위한 파일을 생성한다.
- 필자는 globalStyle.tsx 라는 이름의 파일을 생성하여 사용하였다.
// globalStyle.tsx
import { createGlobalStyle } from 'styled-components';
import reset from 'styled-reset';

const GlobalStyle = createGlobalStyle`
  // Reset CSS
  ${reset}

  * {
    box-sizing: border-box;
  }

  a {
    color: inherit;
    text-decoration: none;
  }

`;

export default GlobalStyle;
- 전역 스타일로 적용할 내용을 입력하고, 저장한다.
// index.tsx
import React from 'react';
import ReactDOM from 'react-dom';
import './index.css';
import GlobalStyle from 'theme/globalStyle';
import App from './App';

ReactDOM.render(
  <React.StrictMode>
    <GlobalStyle />
    <App />
  </React.StrictMode>,
  document.getElementById('root'),
);- 전역 스타일 적용을 원하는 파일에서 GlobalStyle을 import하여 사용하면 적용이 가능하다.
모든 설정 완료 후 디렉터리 구조 예시

References
[React] create-react-app & Typescript 초기 세팅 완벽 정리
eslint.org
prettier.io
TSConfig Reference

블로그 이전 >> suyoung.vercel.app