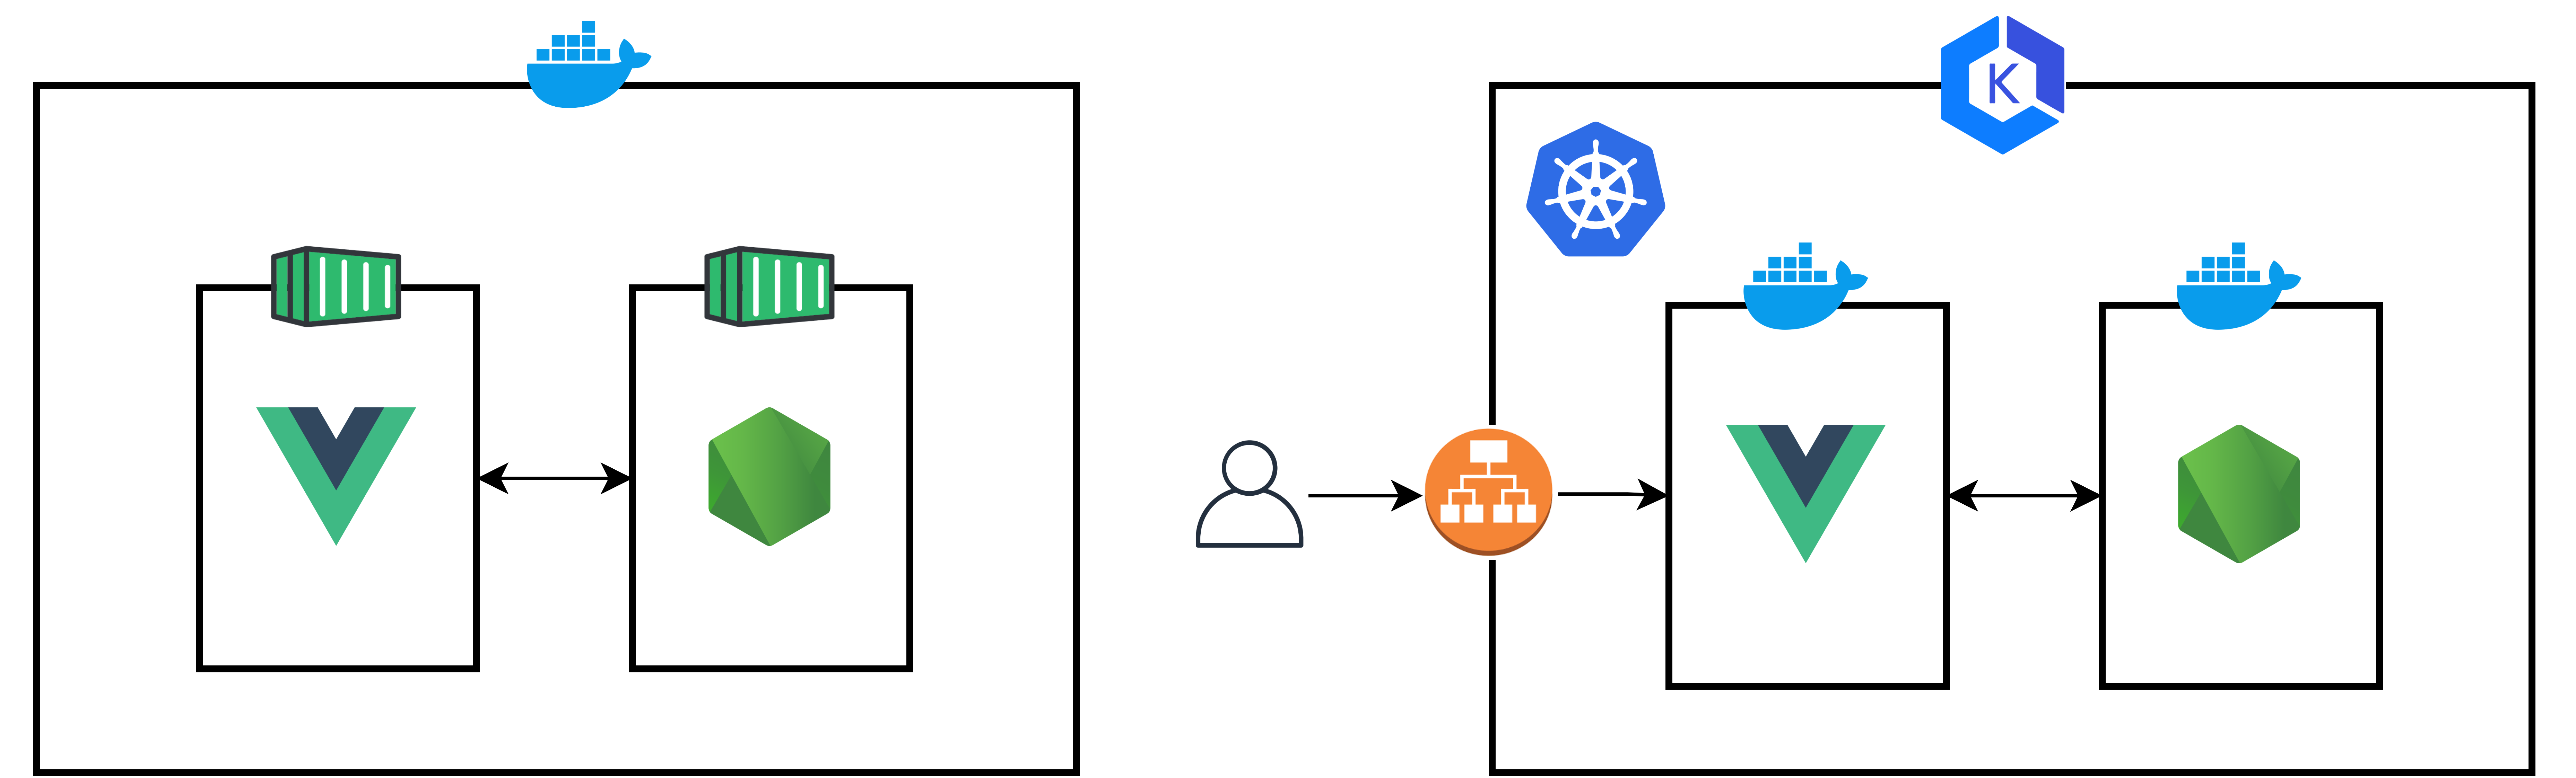
 전체 인프라를 구축하기 이전 왼쪽과 같이 온프레미스 도커 환경에서 각 컨테이너간의 테스트를 마치고 최종적으로는 K8S를 통해 서비스하는 것이 목표
각 컨테이너는 Webpack이나 vue-cli-service의 결과 빌드 파일을 서빙한다.
Vue App Dockerize
Production build
https://cli.vuejs.org/guide/
vue-cli-service build produces a production-ready bundle in the dist/ directory, with minification for JS/CSS/HTML and auto vendor chunk splitting for better caching. The chunk manifest is inlined into the HTML.
yarn build
npx vue-cli-service build
Dockerize 이전 build에 문제가 없는지 위 명령어들로 빌드하여 검증한다.
Dockerize
# Build Stage
FROM node:lts-alpine as build-stage
WORKDIR /app
COPY package*.json ./
RUN npm install
COPY . .
RUN yarn build

# Production Stage
FROM nginx:stable-alpine as production-stage
COPY --from=build-stage /app/dist /usr/share/nginx/html
EXPOSE 80
CMD ["nginx", "-g", "daemon off;"]
위와 같이 Build, Production Stage를 나누어 Dockerfile을 작성한다.
build가 완료된 Vue 서비스는 nginx를 통해 배포된다.
docker build -t judemin/hearus-front-vue .
docker run -it -p 8090:80 --rm --name hearus-front-vue judemin/hearus-front-vue
이후 docker build를 통해 이미지를 생성하고 8090 포트를 포워딩 해준다.
/docker-entrypoint.sh: /docker-entrypoint.d/ is not empty, will attempt to perform configuration
/docker-entrypoint.sh: Looking for shell scripts in /docker-entrypoint.d/
/docker-entrypoint.sh: Launching /docker-entrypoint.d/10-listen-on-ipv6-by-default.sh
10-listen-on-ipv6-by-default.sh: info: Getting the checksum of /etc/nginx/conf.d/default.conf
10-listen-on-ipv6-by-default.sh: info: Enabled listen on IPv6 in /etc/nginx/conf.d/default.conf
/docker-entrypoint.sh: Launching /docker-entrypoint.d/20-envsubst-on-templates.sh
/docker-entrypoint.sh: Launching /docker-entrypoint.d/30-tune-worker-processes.sh
/docker-entrypoint.sh: Configuration complete; ready for start up
2023/12/21 05:29:12 [notice] 1#1: using the "epoll" event method
2023/12/21 05:29:12 [notice] 1#1: nginx/1.24.0
2023/12/21 05:29:12 [notice] 1#1: built by gcc 12.2.1 20220924 (Alpine 12.2.1_git20220924-r4)
2023/12/21 05:29:12 [notice] 1#1: OS: Linux 5.10.102.1-microsoft-standard-WSL2
2023/12/21 05:29:12 [notice] 1#1: getrlimit(RLIMIT_NOFILE): 1048576:1048576
2023/12/21 05:29:12 [notice] 1#1: start worker processes
...
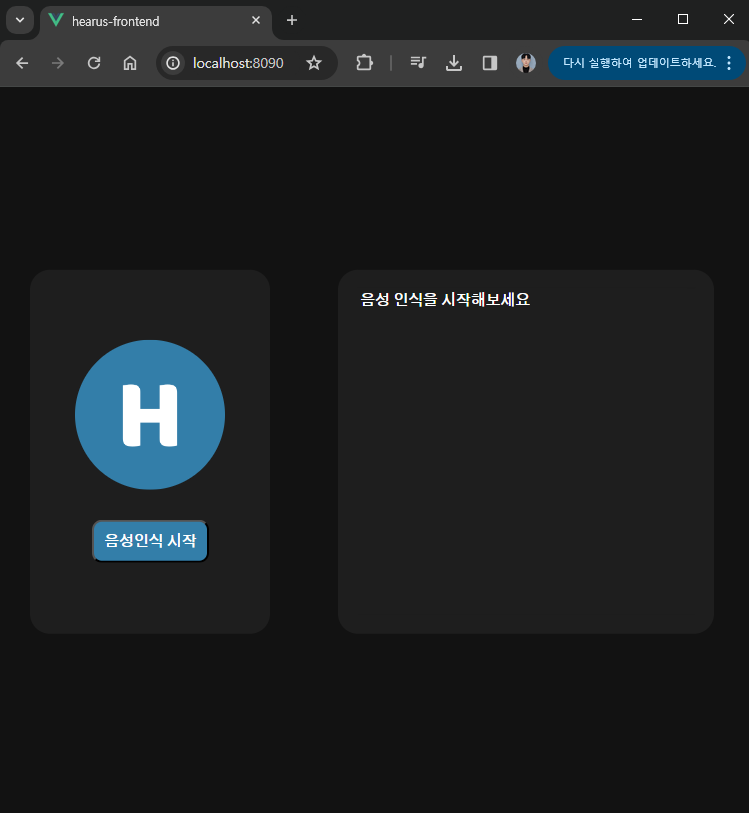
172.17.0.1 - - [21/Dec/2023:05:29:48 +0000] "GET / HTTP/1.1" 200 616 "-" "Mozilla/5.0 (Windows NT 10.0; Win64; x64) AppleWebKit/537.36 (KHTML, like Gecko) Chrome/119.0.0.0 Safari/537.36" "-"
172.17.0.1 - - [21/Dec/2023:05:29:48 +0000] "GET /js/chunk-vendors.a2a1c1ff.js HTTP/1.1" 200 133943 "http://localhost:8090/" "Mozilla/5.0 (Windows NT 10.0; Win64; x64) AppleWebKit/537.36 (KHTML, like Gecko) Chrome/119.0.0.0 Safari/537.36" "-"
172.17.0.1 - - [21/Dec/2023:05:29:48 +0000] "GET /css/app.f3036a9d.css HTTP/1.1" 200 1464 "http://localhost:8090/" "Mozilla/5.0 (Windows NT 10.0; Win64; x64) AppleWebKit/537.36 (KHTML, like Gecko) Chrome/119.0.0.0 Safari/537.36" "-"위 로그처럼 정상적으로 8090 포트에서 요청을 잘 처리하는 것을 볼 수 있다.
Client Socket Token
export default {
data() {
return {
clientToken: '',
...
};
};
methods: {
async startRecording() {
const stream = await navigator.mediaDevices.getUserMedia({ audio: true });
this.mediaRecorder = new MediaRecorder(stream);
this.mediaRecorder.ondataavailable = (event) => {
if (event.data.size > 0) {
this.socket.emit('clientData', this.clientToken);
this.socket.emit('audioData', event.data);
}
};
...
};
generateRandomToken(length = 10) {
const characters = 'ABCDEFGHIJKLMNOPQRSTUVWXYZabcdefghijklmnopqrstuvwxyz0123456789';
let token = '';
for (let i = 0; i < length; i++) {
token += characters.charAt(Math.floor(Math.random() * characters.length));
}
return token;
},
mounted() {
this.clientToken = this.generateRandomToken();
console.log(this.clientToken);
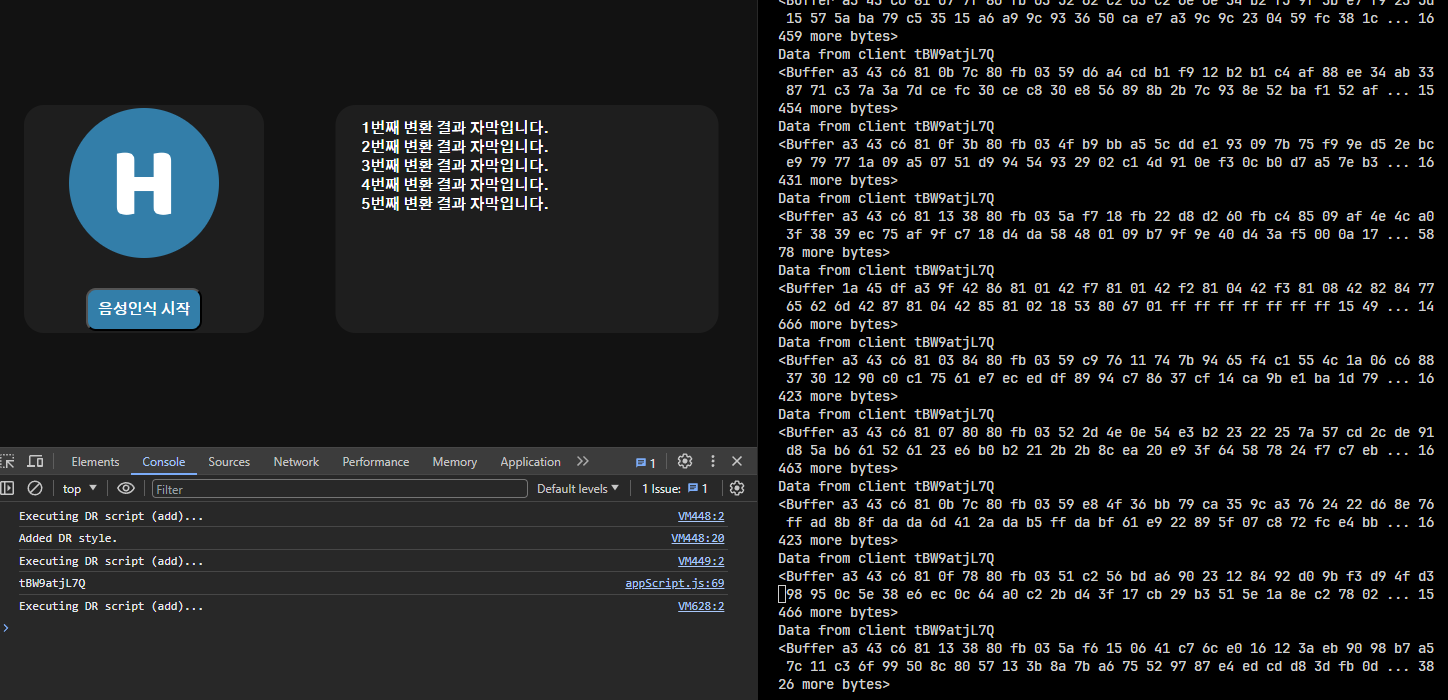
...현재 어떠한 Socket의 클라이언트가 요청을 보냈는지 알 수 없으므로
appScript.js에서 위와 같이 최초 socket 연결을 수행할 떄 token을 생성한다.
이후 매 요청을 전송할때마다 clientToken을 emit한다.
io.on('connection', (clientSocket) => {
console.log('Socket Client connected');
clientSocket.on('clientData', (data) => {
console.log('Data from client ' + data);
});
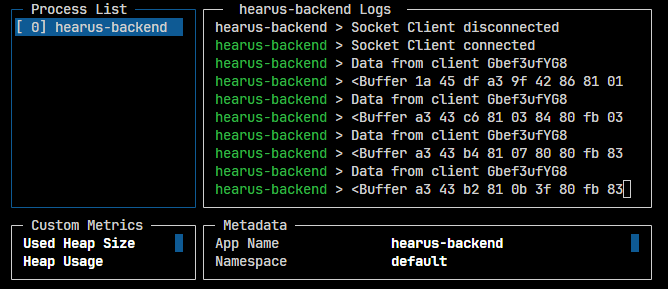
...백엔드의 socket.js에서 위와 같이 clientData를 받아 출력해주면
아래 이미지와 같이 client를 구분해줄 수 있다.
Express Server Dockerize
pm2 Setting
module.exports = {
    apps: [{
        name: 'hearus-backend',
        script: './app.js',
        instances: 0,
      	exec_mode: 'cluster'
    }]
}
무중단 서비스, 인스턴스 관리를 위해 ecosystem.config.js를 정의한다.
instances을 0으로 설정하면 현재 프로세서의 수만큼 node 인스턴스를 생성한다.
  "scripts": {
    "start": "nodemon app.js",
    "production": "pm2 start ecosystem.config.js"
  },
또한 package.json production을 추가하면 pm2를 통해 서버를 시작할 수 있다.
npm run production
npx pm2 monit
이후 pm2 monit을 통해 현재 서비스되고 있는 서버를 확인한다.
Dockerize
FROM node:lts-alpine as build-stage

WORKDIR /app
COPY . .

ENV NODE_ENV=production
ENV PORT=3000

VOLUME ["/app"]

RUN npm install
EXPOSE $PORT

ENTRYPOINT [ "pm2-runtime", "start", "ecosystem.config.js" ]Dockerfile을 위와 같이 작성한다.
이때 pm2를 통해 시작하면 docker exec -it에서 튕겨나오기 때문에
pm2-runtime을 이용해 foreground에서 pm2 app을 실행한다
docker build -t judemin/hearus-back-node .
docker run -it --rm -p 3000:3000 --name hearus-back-node judemin/hearus-back-node
이후 위 명령어로 이미지를 생성하고 컨테이너를 생성한다.
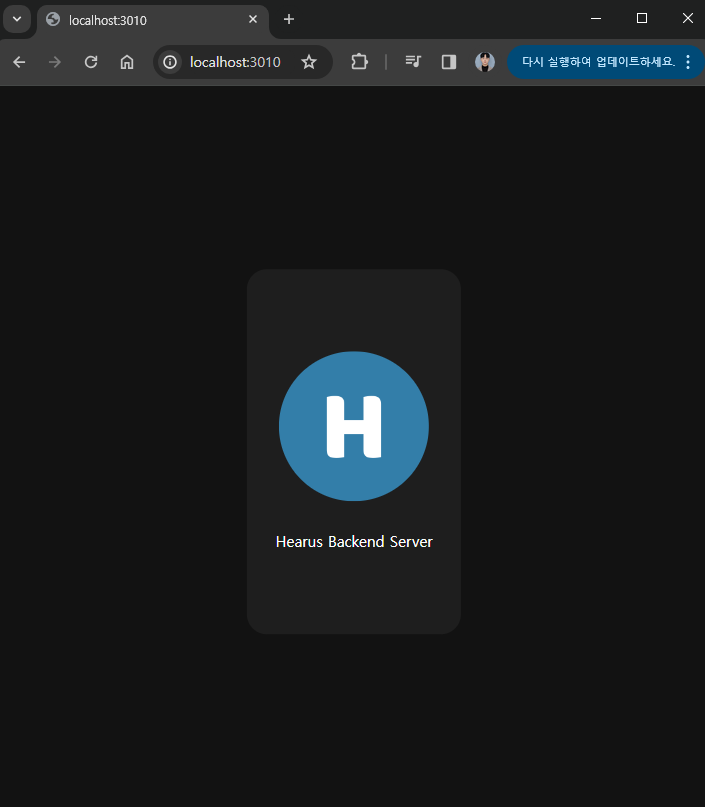 위 이미지와 같이 정상적으로 서버가 구동됨을 확인할 수 있고
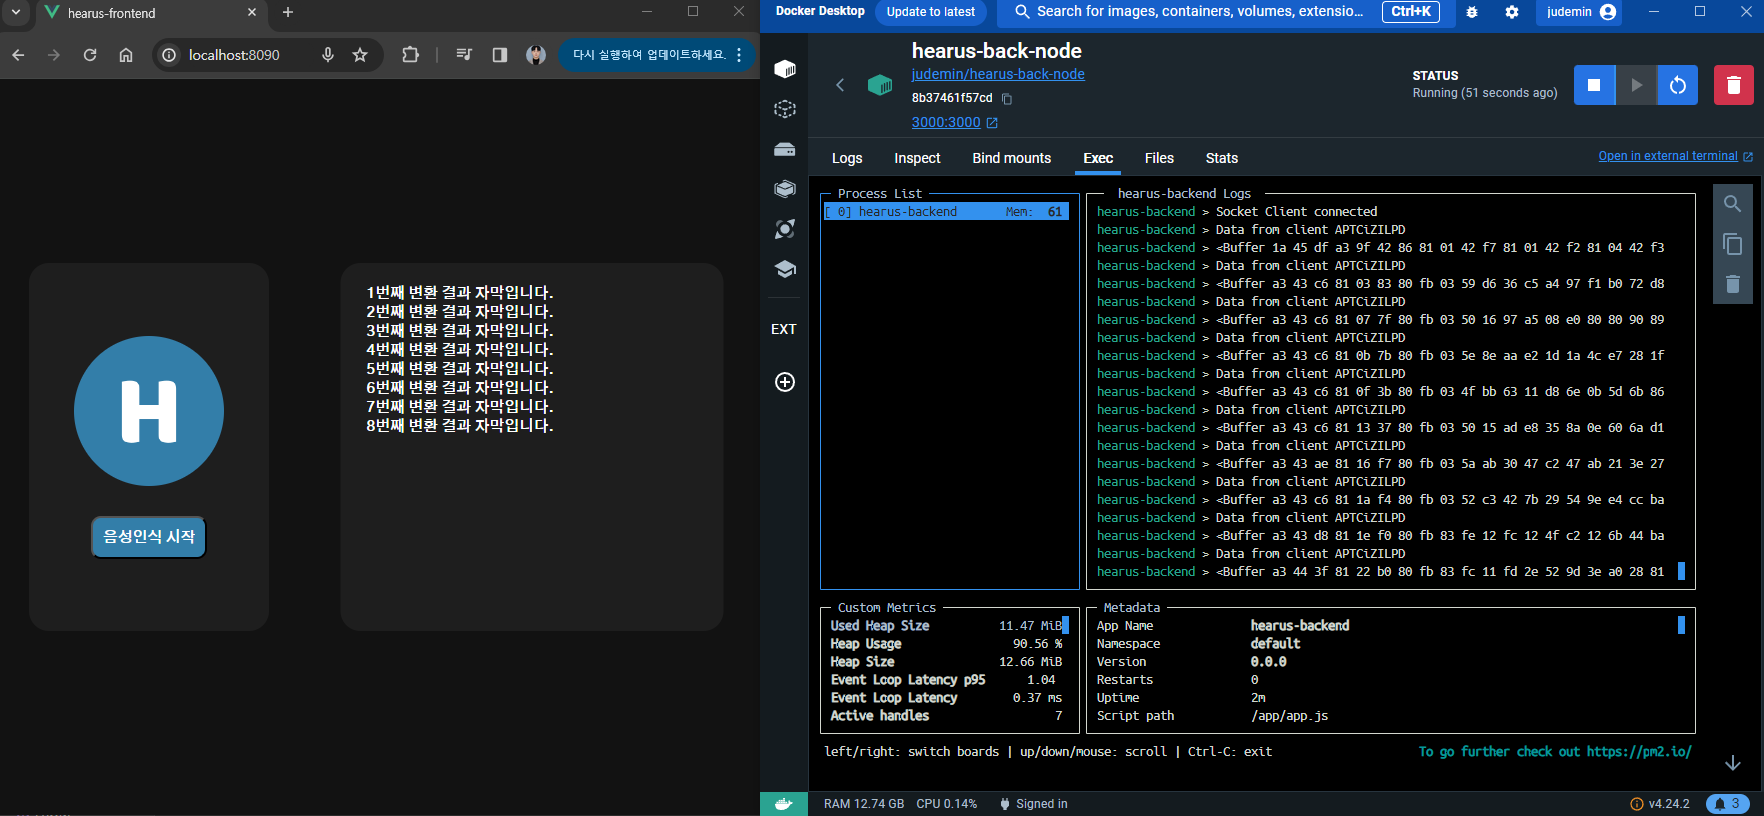 현재 온프레미스 환경이기 때문에
 localhost 통신을 확인할 수 있다.
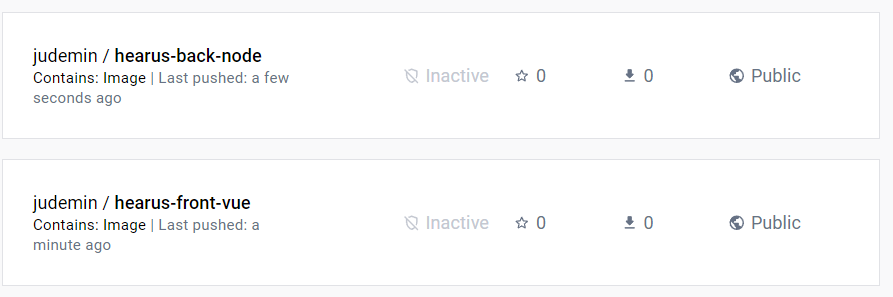
Docker Hub Image
docker login
docker push judemin/hearus-front-vue
docker push judemin/hearus-back-node
최종적으로 생성한 도커 이미지를 docker hub에 push한다.