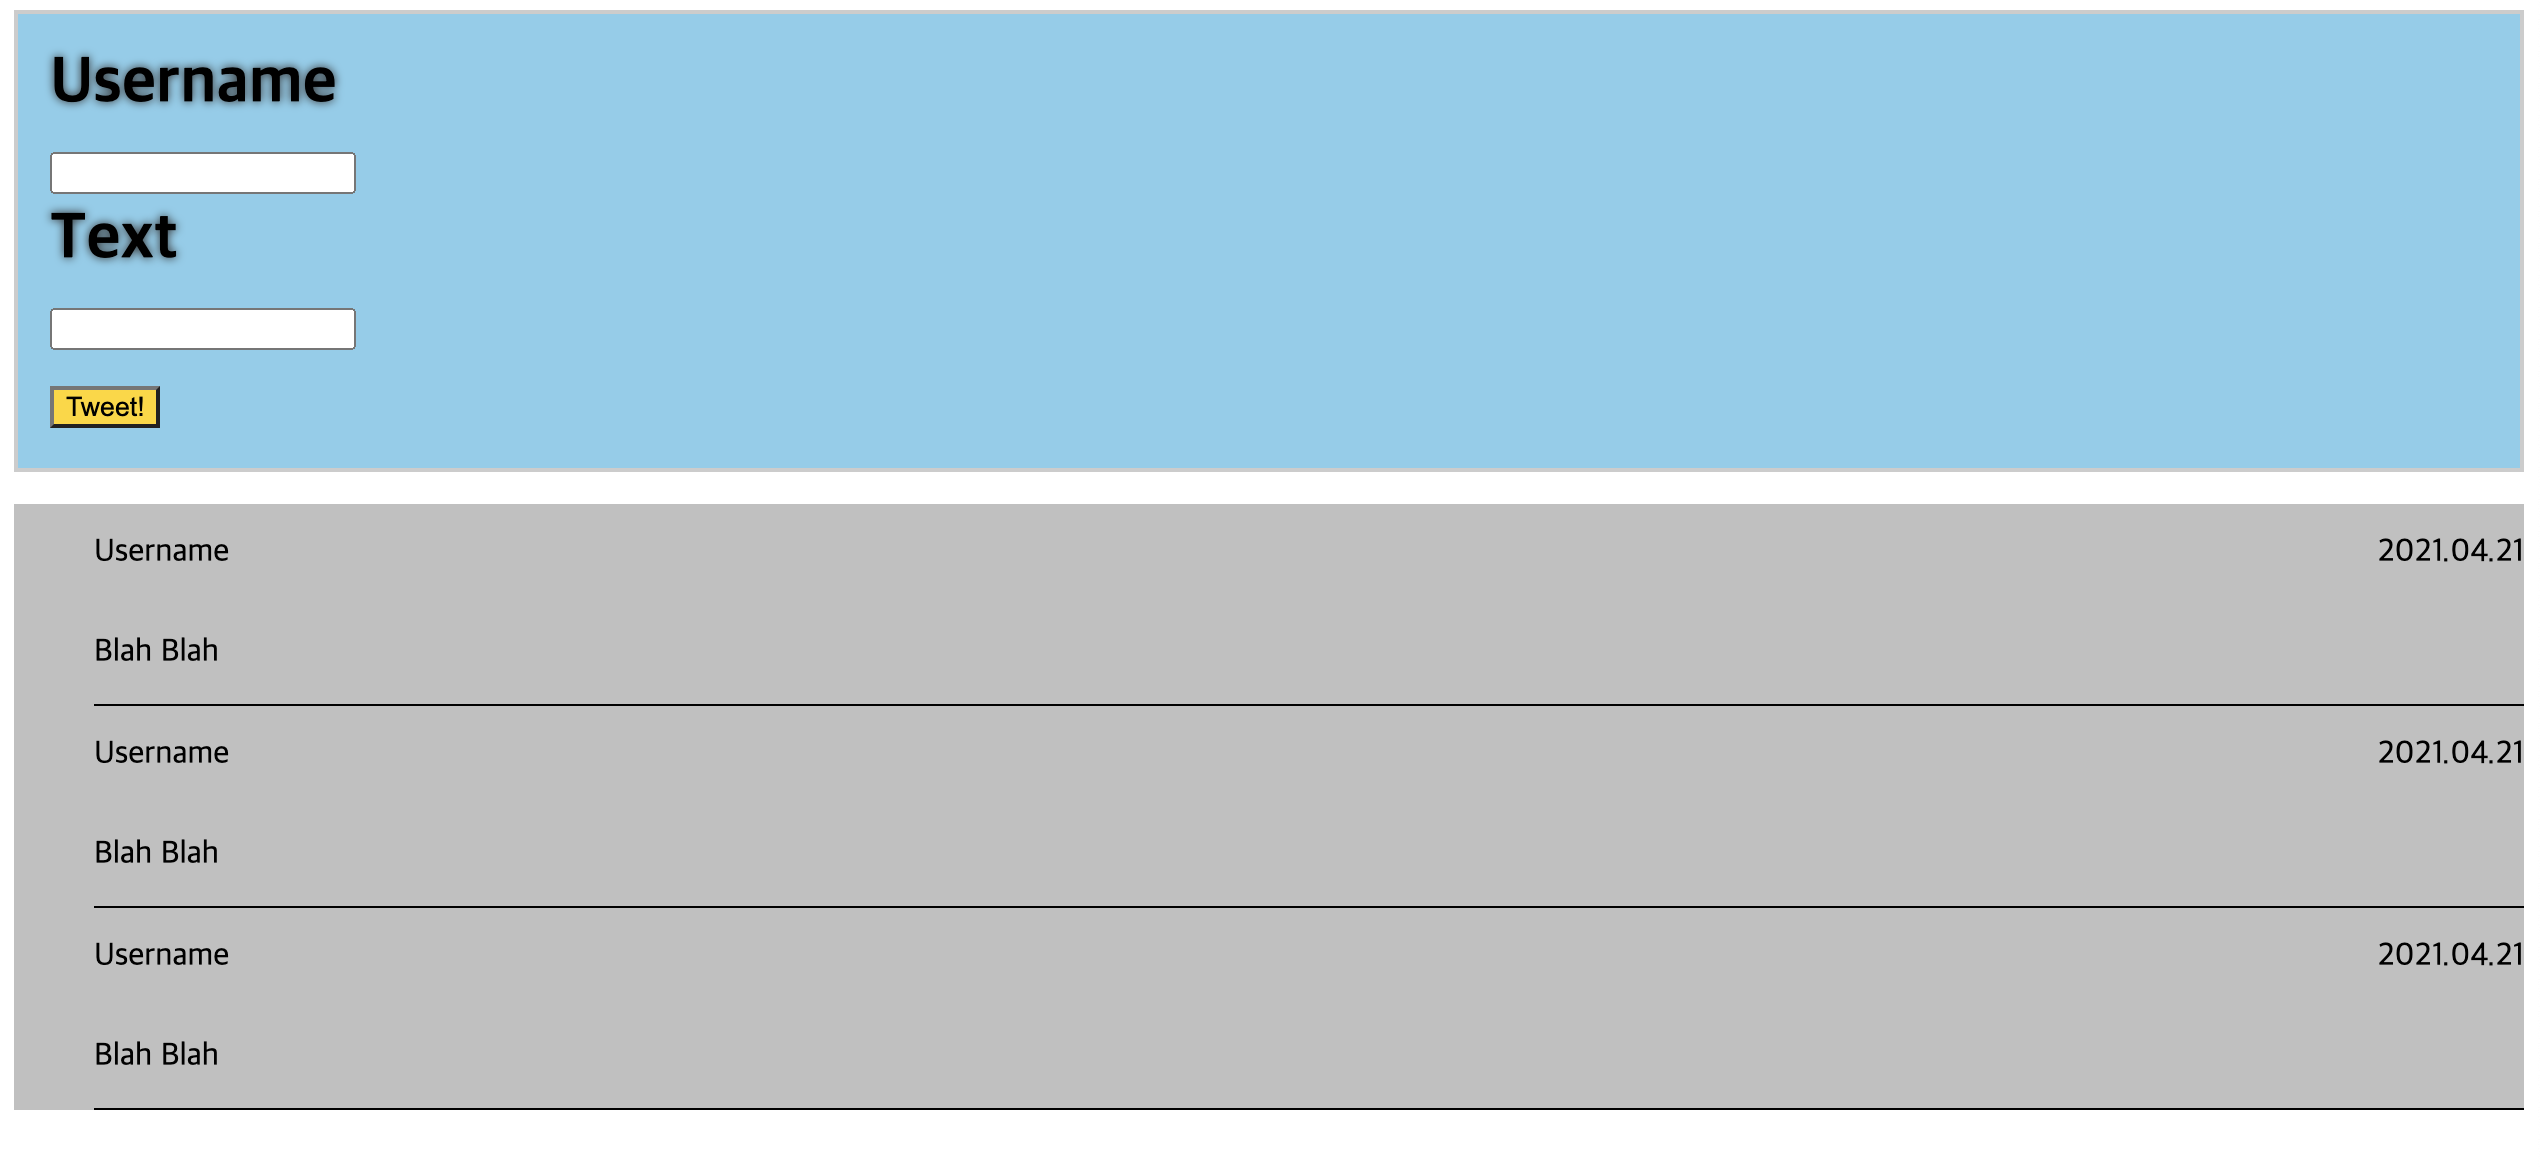
<!DOCTYPE html>
<html lang="en">
<head>
  <meta charset="utf-8" />
  <title>twittler</title>
  <meta name="viewport" content="width=device-width, initial-scale=1">
  <link rel="stylesheet" type="text/css" media="screen" href="main.css" />
  <script src="data.js"></script>
</head>
<body>
  <!-- 여기에 HTML 구조를 작성하세요. 아래 코드는 예제이며, 얼마든지 바꿀 수 있습니다 -->

  <div id ="input">
    <div>Username</div>
    <input type = 'text'></input>
    <div>Text</div>
    <input type = 'text'></input><br>
    <button>Tweet!</button>
  </div>

  <div class = "tweet">
    <ul>
      <li class = "container">
        <div>
          <div>Username</div>
          <div></div>
          <div>2021.04.21</div>
        </div>
        <div>Blah Blah</div>
      </li>
      <li class = "container">
        <div>
          <div>Username</div>
          <div></div>
          <div>2021.04.21</div>
        </div>
        <div>Blah Blah</div>
      </li>
      <li class = "container">
        <div>
          <div>Username</div>
          <div></div>
          <div>2021.04.21</div>
        </div>
        <div>Blah Blah</div>
      </li>
    </ul>
</div>
  <script src="script.js"></script>
</body>
</html>
#input {
font-size: 2em;
font-family: sans-serif;
font-weight: bold;
border: 2px solid #ccc;
/* border-radius: 1em; */
color: black;
background-color: skyblue;
text-shadow: 0 0 5px #333;
text-align: left;
margin: 0em;
padding: 0.5em;
}
button {
background: gold;
}
ul{
list-style: none;
background: silver;
}
li {
border-bottom: 1px solid black;
line-height: 50px;
}
.container > div:first-child{
display: flex;
}
.container > div:first-child > div{
flex : 1 1 auto;
}
.container > div:first-child > div:last-child{
text-align: right;
}페어와 함께 꾸민 홈페이지다. 비록 하드코딩으로 짠 홈페이지지만 막상 색깔도 입히고 이것저것 만져서 해보니 나름 뿌듯했다. CSS에서 셀렉터를 어떻게 지정하고 사용하는지, 또한 Flexbox로 레이아웃 잡는 것도 해봤고, flex속성의 하위속성을 이용하여 이것저것 위치도 바꿔보고 디자인도 바꿔보니 재밌었다.
