> 어떤 항목을 검사할 수 있을까?
난이도가 너무 높았던 걸까. 혹은 현실성이 부족했을까. 웹 접근성 검사는 사실 사람이 어떤 부분을 신경 써야 할지 인지한 상태로 직접 체크하는 편이 훨씬 효율적일 수 있다. 물론 그마저도 프로그램을 제작한다면 편리하겠지만 제작 난이도가 매우 높고 웹 접근성 검사란 것 자체가 수치화가 가능한 지표를 확인하거나 명확한 기준이 있는 것은 아니기 때문에 애매한 점이 많다. 특히 지금처럼 파일을 업로드하여 코드만을 통해 검사하는 방식은 어찌보면 한계가 매우 크다고 볼 수 있다.
이런 생각에 사실 마음이 살짝 꺾였다. 하지만 기왕 시작했으니 끝은 맺어야겠다. 단순 img 태그에 alt 속성이 있는지 확인하는 기능만으로도 필요한 상황, 사람이 있을 수 있다. 훗날 기회가 된다면 정말 제대로 된 웹 접근성 검사 도구를 만들어 보고 싶다는 생각과 함께, 우선 현재 상황에서 확실하게 검사할 수 있는 항목을 추려보았다.
html
img태그에src,alt속성 여부 검사table태그에caption이나summary속성 여부 검사frame,iframe태그에title속성 여부 검사lang언어 설정 여부 검사<meata name='viewport'>여부 검사- 비디오, 오디오에
autoplay속성 여부 검사 (없어야 함)- 멀티미디어 콘텐츠에
track태그 여부 (자막, 설명 등을 제공하기 위함)
css
- 텍스트 단위 :
em,rem사용 여부- 텍스트 간격 :
line-height,letter-spacing,word-spacing여부, 값 확인
> validator 구현
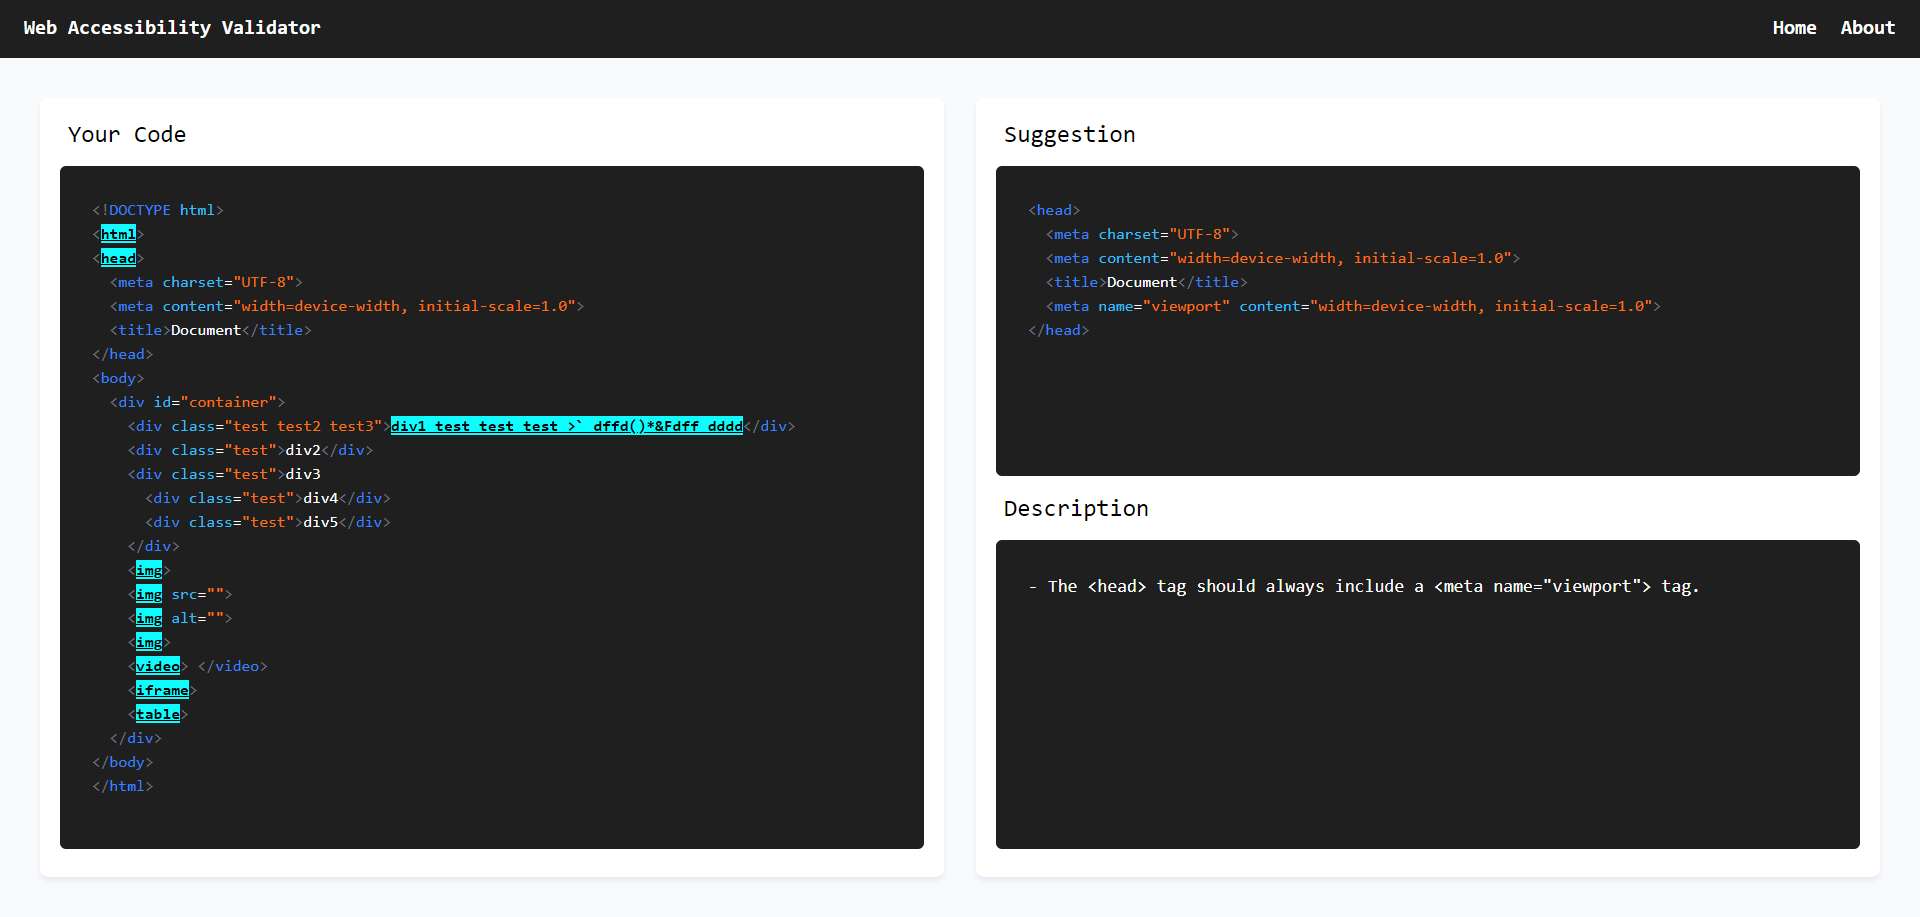
각 노드를 검사하여 문제가 있으면 해당 노드에 Suggestion 객체를 담아줄 생각이었다. 그래서 해당 노드를 클릭하면 노드의 Suggestion을 참조하여 dispatch하고 이에 따라 Right가 변화하는 구조를 떠올렸다.
우선 Suggestion 객체를 만들어 주었는데, class를 사용하면 어떨까 생각했다.
export class HTMLSuggestion {
  private node: HTMLType;
  private suggestionNode: HTMLType;
  private description: string[];

  constructor(node: HTMLType) {
    this.node = node;
    this.suggestionNode = JSON.parse(JSON.stringify(node));
    this.description = [];
  }

  hasProblem() {
    return this.description.length > 0 ? true : false;
  }

  getSuggestion() {
    return {
      node: this.node,
      suggestionNode: this.suggestionNode,
      description: this.description,
    }
  }

  getNode(): HTMLType {
    return this.node;
  }

  getSuggestionNode(): HTMLType {
    return this.suggestionNode;
  }

  getDescription(): string[] {
    return this.description;
  }

  addDescription(description: string) {
    this.description.push(description);
  }
}
알고리즘 공부를 하며 class를 익히게 되었다. 아무래도 js는 heap이나 연결리스트는 존재하지 않기에 직접 class를 활용하여 구현해야 했는데, 그때 직접 구현해 보며 class의 장점을 알게 되었다.
사실 이 과정에서도 몇 가지 마음에 들지 않는 부분이 있었다. 첫째로 애초에 Suggestion이란 class는 Right에 출력할 코드를 나타내는 class인데 기존 노드와 제안된 노드를 모두 담고 있는 점이 별로였다.
둘째, 뒤늦게 알게 된 사실인데 class 또한 직렬화가 불가능하여 redux toolkit에 사용하면 안 되었다. 결국 그냥 serializableCheck 옵션을 꺼 주었다.
셋째, 현재 태그 단위의 검사에만 효율적이다. 단순 Suggestion만의 문제는 아닌데, 우선 자식, 부모, 형제 태그를 가지고 있지 않아 검사에 한계가 있다. 기존의 ChildNode를 커스텀하는 과정에서 이를 담아두지 않아서 생긴 문제. 처음엔 담아두지 않아도 어차피 하나의 노드에 접근하고 자식이 있으면 재귀호출을 하고 형제 노드의 경우는 루프를 돌기에 괜찮지 않을까 생각했었는데, 이는 어리석은 판단이었다.
이래서 설계가 중요하다. 처음에 설계를 잘 하지 않으면 결국 뒤에 가서 후회한다. 또 설계를 잘하기 위해선 학습이 필요하다. 이번 프로젝트는 처음 사용하는 스택도 있었고 몰랐던 사실 또한 많았기에 애초부터 힘든 일이긴 했다. 반대로 그만큼 이번 기회를 통해 많이 배우게 되었다.
아래는 validator 코드 예제다.
import { Element, HTMLNode, HTMLSuggestion, HTMLType, ProcessingInstruction, Text } from 'utils/types';
import { imgValidator } from 'validator/html/img';
import { aValidator } from 'validator/html/a';

export const HTMLValidator = (parsedHTMLCode: HTMLNode): HTMLNode => {
  Object.values(parsedHTMLCode).forEach(node => {
    if (isText(node)) TextValidator(node);
    if (isElement(node)) ElementValidator(node);
  });
  return parsedHTMLCode;
}

const isText = (node: HTMLType): node is Text => node.type === 'Text';
const isElement = (node: HTMLType): node is Element => node.type === 'Element';
const isProcessingInstruction = (node: HTMLType): node is ProcessingInstruction => node.type === 'ProcessingInstruction';

const getSuggestion = (node: HTMLType): HTMLSuggestion => {
  if (node.suggestion !== undefined) return node.suggestion;
  const suggestion = new HTMLSuggestion(node);
  node.suggestion = suggestion;
  return suggestion;
}

const TextValidator = (node: Text) => {
  // 스크립트(xss) 검사 추가
}

const ElementValidator = (node: Element) => {
  const suggestion = getSuggestion(node);

  imgValidator(suggestion);
  aValidator(suggestion);

  if (node.children !== undefined) {
    HTMLValidator(node.children);
  }
}
(↑validator/html/index.ts)
import { Element, HTMLSuggestion } from 'utils/types'

export const imgValidator = (suggestion: HTMLSuggestion) => {
  let hasProblem = false;
  const node = suggestion.getNode() as Element;
  const suggestionNode = suggestion.getSuggestionNode() as Element;

  if (node.name !== 'img') return;

  // img 태그에 src 속성이 존재하지 않는 경우
  if (!hasSrc(node)) {
    hasProblem = true;
    suggestionNode.attribs['src'] = './img.png';
    suggestion.addDescription(`The <img> tag should always include an 'src' attribute.`)
  }

  // img 태그에 alt 속성이 존재하지 않는 경우
  if (!hasAlt(node)) {
    hasProblem = true;
    suggestionNode.attribs['alt'] = 'my image';
    suggestion.addDescription(`The <img> tag should always include an 'alt' attribute for web accessibility.`)
  }

  // img 태그에 title 속성이 존재하는 경우
  if (hasTitle(node)) {
    hasProblem = true;
    delete suggestionNode.attribs['title'];
    suggestion.addDescription(`The <img> tag must have an 'alt' attribute, not just a 'title' attribute.`)
  }
}

const hasSrc = (node: Element): boolean => {
  if (!node.attribs.hasOwnProperty('src')) return false;
  return true;
}

const hasAlt = (node: Element): boolean => {
  if (!node.attribs.hasOwnProperty('alt')) return false;
  return true;
}

const hasTitle = (node: Element): boolean => {
  if (!node.attribs.hasOwnProperty('title')) return false;
  return true;
}
(↑validator/html/img.ts)
> validator 적용
이제 문제가 있는 노드에 담아 준 Suggestion을 바탕으로 클릭 이벤트를 주는 부분을 구현하면 된다.
const useDispatchSuggestion = (suggestion: HTMLSuggestion | undefined ) => {
  const dispatch = useDispatch();

  const dispatchSuggestion = () => {
    if (suggestion) {
      dispatch(setSelectedCode({ node_1: suggestion.getSuggestionNode()}));
      dispatch(setDescription(suggestion.getDescription()));
    }
  }
  return dispatchSuggestion;
}

const OpeningTag = ({ name, suggestion }: { name: string, suggestion: HTMLSuggestion | undefined }) => {
  const dispatchSuggestion = useDispatchSuggestion(suggestion);

  return (
    <>
      <span className='lt-gt'>{`<`}</span>
      <span
        className={`tag-name${(suggestion && suggestion.hasProblem()) ? ' suggestion' : ''}`}
        onClick={dispatchSuggestion}
      >
        {`${name}`}
      </span>
    </>
  );
}
이 과정에서도 문제가 있는데, setSelectCode 부분에서 node_1을 key로 담아 dispatch하고 있다. 이 역시 처음엔 직렬화를 막기 위해 짠 코드였는데, 후에 serializableCheck 옵션을 뒤늦게 꺼 의미가 없게 되었다.
> 끝
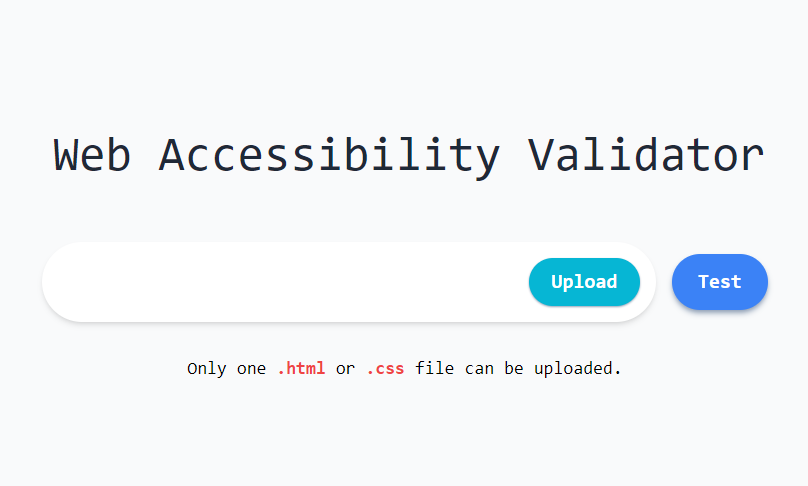
되게 많은 것을 느낀 이번 챕터였다. 부족한 것도 많이 깨닫고 배운 점도 많았다. 그래도 어찌저찌 화면에 나름의 결과물을 띄우니 만족스러웠다. 아래는 현재까지의 결과물이다.