
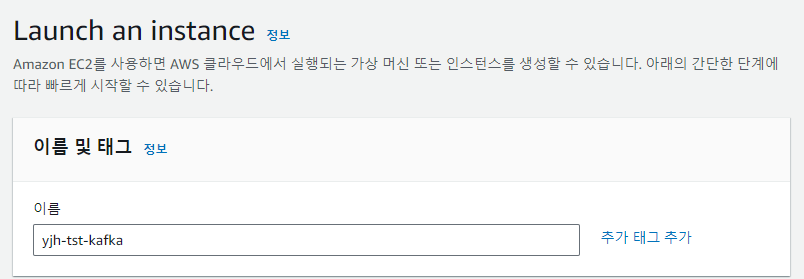
인스턴스 생성
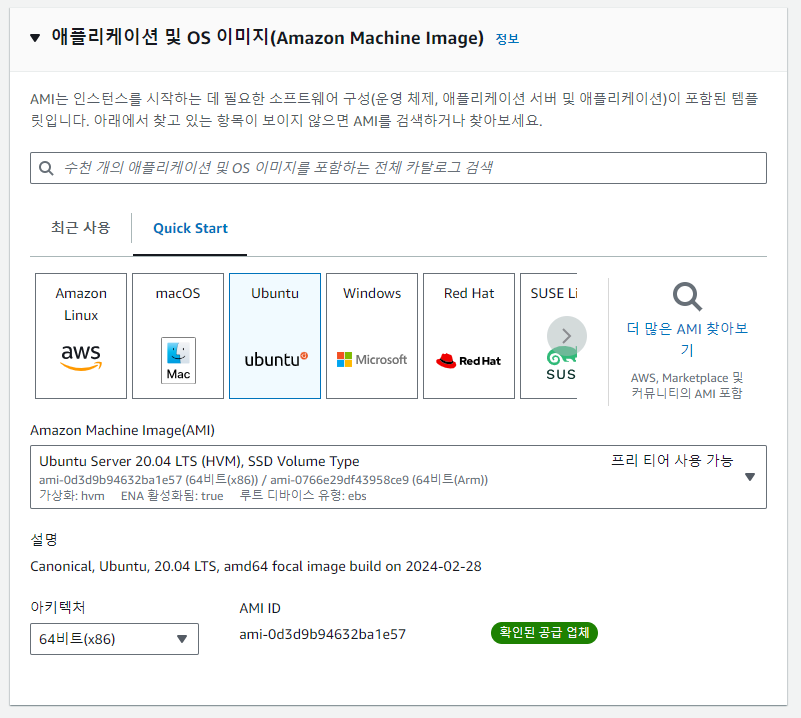
- ubuntu 20.04 버전으로 설치
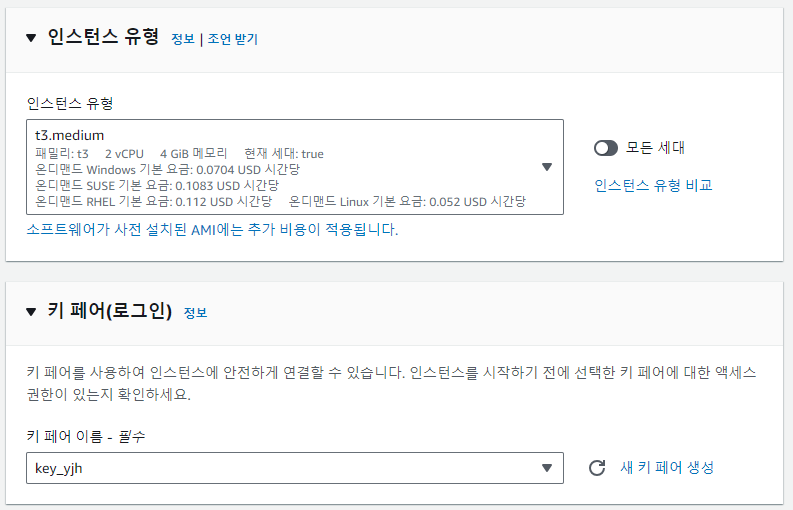
- 메모리 최소 4GB 확보를 위해 t3.medium 선택
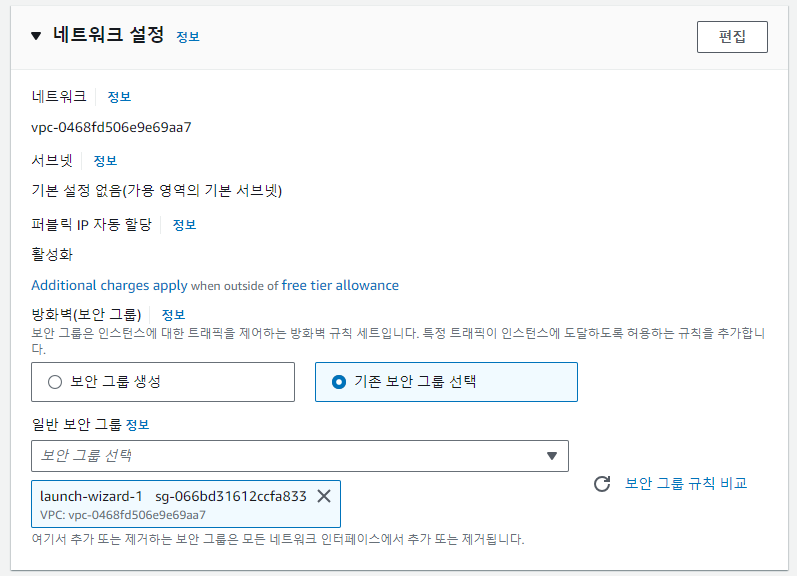
- 보안그룹
- 접속할 PC 기준으로 열어주기
- PORT : 22, 3389(remote desktop), 9092(kafka), 2181(zookeeper), ICMP(ping)
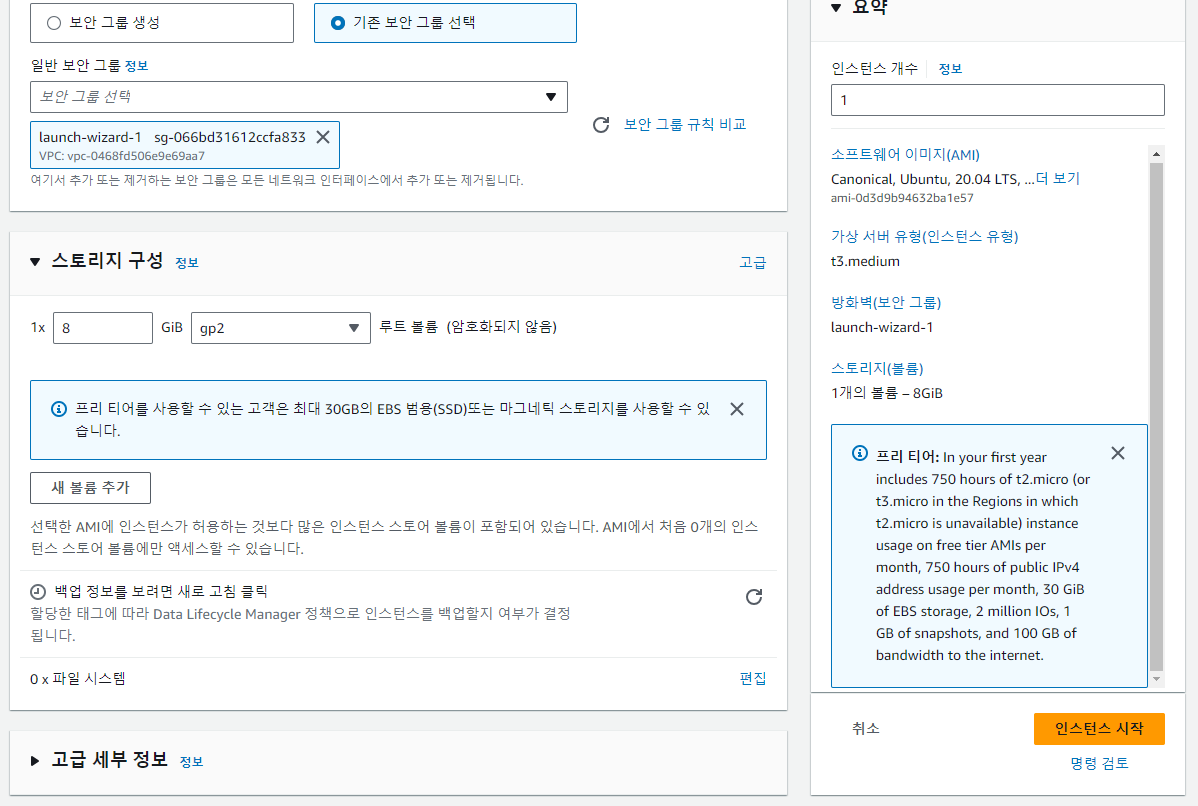
- 나머지는 수정 없이 생성
SSH 접속
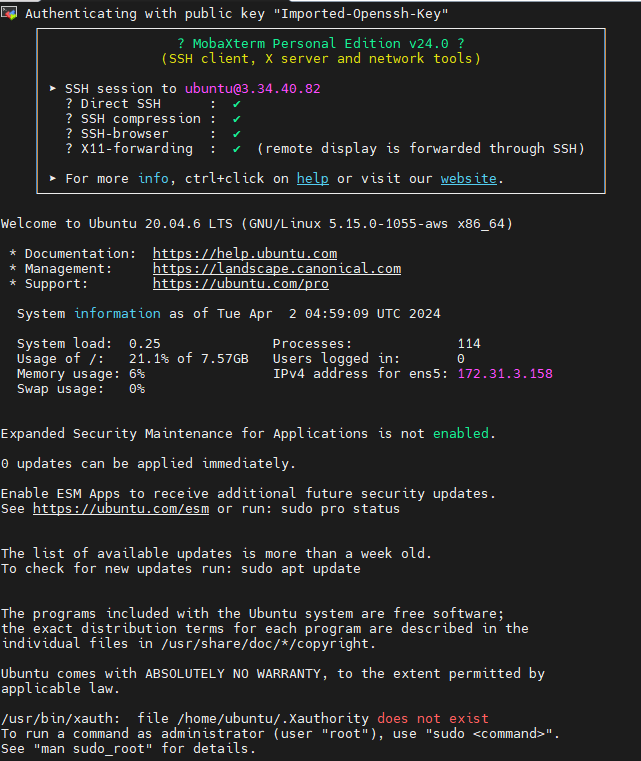
- 퍼블릭 IPv4 주소 + username(ubuntu) + pem key 사용
환경 셋팅
ubuntu@ip-172-31-3-158:~$ sudo apt update -y
ubuntu@ip-172-31-3-158:~$ sudo apt upgrade -y

# 데스크톱용 계정 생성
# 패스워드 외 그냥 엔터
ubuntu@ip-172-31-3-158:~$ sudo adduser yjh
Adding user `yjh' ...
Adding new group `yjh' (1001) ...
Adding new user `yjh' (1001) with group `yjh' ...
Creating home directory `/home/yjh' ...
Copying files from `/etc/skel' ...
New password:
Retype new password:
passwd: password updated successfully
Changing the user information for yjh
Enter the new value, or press ENTER for the default
        Full Name []:
        Room Number []:
        Work Phone []:
        Home Phone []:
        Other []:
Is the information correct? [Y/n] Y

# sudo 그룹에 계정 추가
ubuntu@ip-172-31-3-158:~$ sudo gpasswd -a yjh sudo

# desktop 환경 설치
ubuntu@ip-172-31-3-158:~$ sudo apt -y install ubuntu-desktop
ubuntu@ip-172-31-3-158:~$ sudo apt install -y xrdp
# new cursor 무효화
ubuntu@ip-172-31-3-158:~$ sudo sed -e 's/^new_cursors=true/new_cursors=false/g' -i /etc/xrdp/xrdp.ini
ubuntu@ip-172-31-3-158:~$ sudo systemctl restart xrdp
ubuntu@ip-172-31-3-158:~$ sudo systemctl enable xrdp.service
ubuntu@ip-172-31-3-158:~$ systemctl list-unit-files -t service |grep xrdp
xrdp-sesman.service                            enabled         enabled
xrdp.service                                   enabled         enabled

# xsession 파일 작성
ubuntu@ip-172-31-3-158:~$ su yjh
Password:
To run a command as administrator (user "root"), use "sudo <command>".
See "man sudo_root" for details.

yjh@ip-172-31-3-158:/home/ubuntu$ cd
yjh@ip-172-31-3-158:~$ DESKTOP=/usr/share/ubuntu:/usr/local/share/:/usr/share/:/var/lib/snapd/desktop/
yjh@ip-172-31-3-158:~$ cat <<EOF > ~/.xsessionrc
> export GNOME_SHELL_SESSION_MODE=ubuntu
> export XDG_CURRENT_DESKTOP=ubuntu:GNOME
> export XDG_DATA_DIRS=${DESKTOP}
> export XDG_CONFIG_DIRS=/etc/xdg/xdg-ubuntu:/etc/xdg
> EOF

# Authentication Required 다이어로그를 회피
yjh@ip-172-31-3-158:~$ cat <<EOF | sudo tee /etc/polkit-1/localauthority/50-local.d/xrdp-color-manager.pkla
> [Networkmanager]
> Identity=unix-user:*
> Action=org.freedesktop.color-manager.create-device
> ResultAny=no
> ResultInactive=no
> ResultActive=yes
> EOF
[sudo] password for yjh:
[Networkmanager]
Identity=unix-user:*
Action=org.freedesktop.color-manager.create-device
ResultAny=no
ResultInactive=no
ResultActive=yes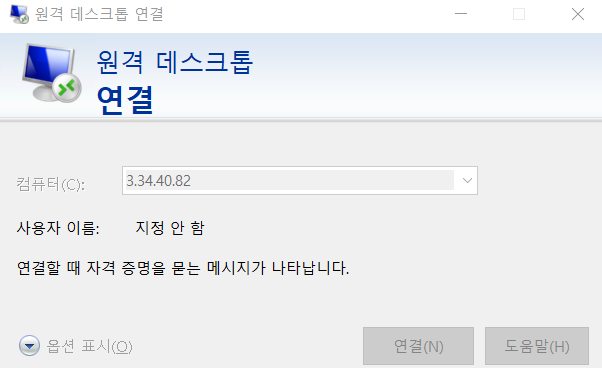
-
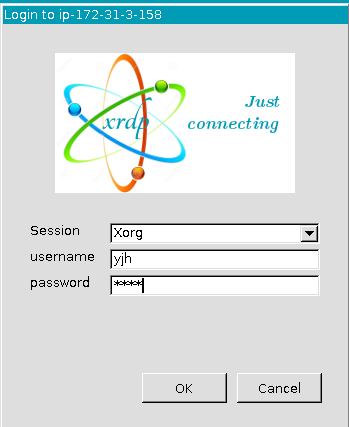
원격 데스크톱 접속
-
라이브러리 설치
ubuntu@ip-172-31-3-158:~$ sudo apt install net-tools
yjh@ip-172-31-3-158:~Desktop$ sudo apt-get install openjdk-11-jdk
yjh@ip-172-31-3-158:~Desktop$ java -version
confluent 설치
- Confluent kafka previous version 검색해서 7.1.2버전 community tarball 설치


- 압축 해제

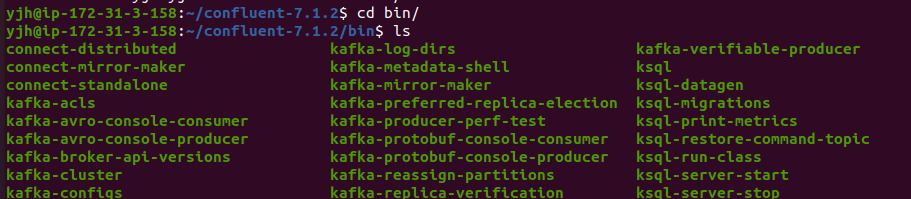
- command 파일 확인 가능
- 환경변수 설정
- confluent 경로 확인 후 .bashrc 하단에 추가
yjh@ip-172-31-3-158:~$ vim .bashrc export CONFLUENT_HOME=/home/yjh/confluent export PATH=:$PATH:$CONFLUENT_HOME/bin # :wq yjh@ip-172-31-3-158:~$ echo $CONFLUENT_HOME /home/yjh/confluent- 계정 로그인 시 자동 적용되는 환경변수
서비스 실행 스크립트 작성
zookeeper
yjh@ip-172-31-3-158:~/confluent$ vi zoo_start.sh
$CONFLUENT_HOME/bin/zookeeper-server-start $CONFLUENT_HOME/etc/kafka/zookeeper.properties- 실행
yjh@ip-172-31-3-158:~/confluent$ sh zoo_start.shkafka
yjh@ip-172-31-3-158:~/confluent$ vi kafka_start.sh
$CONFLUENT_HOME/bin/kafka-server-start $CONFLUENT_HOME/etc/kafka/server.properties- 실행
yjh@ip-172-31-3-158:~/confluent$ sh kafka_start.sh종료는?
- kafka -> zookeeper 순으로 ps 번호 찾아서 kill
- bin 폴더의
kafka-server-stop/zookeeper-server-stop스크립트 사용 - 화면에서 실행되고 있는 프로세스
ctrl + c로 종료
중 택 1
로그 경로 변경
Default 설정대로 하면 VM 재기동 시 /tmp/kafka-logs, 리소스 등 삭제 처리가 된다.
로그용 폴더 생성
yjh@ip-172-31-3-158:~$ mkdir data
yjh@ip-172-31-3-158:~$ cd data
yjh@ip-172-31-3-158:~/data$ mkdir kafka-logs
yjh@ip-172-31-3-158:~/data$ cd kafka-logs/
yjh@ip-172-31-3-158:~/data/kafka-logs$ pwd
/home/yjh/data/kafka-logs

yjh@ip-172-31-3-158:~/data$ mkdir zookeeper
yjh@ip-172-31-3-158:~/data$ cd zookeeper/
yjh@ip-172-31-3-158:~/data/zookeeper$ pwd
/home/yjh/data/zookeeper
server.properties, zookeeper.properties의 log.dirs 수정
yjh@ip-172-31-3-158:~/data/kafka-logs$ cd $CONFLUENT_HOME/etc/kafka
yjh@ip-172-31-3-158:~/confluent/etc/kafka$ vim server.properties

log.dirs=/home/yjh/data/kafka-logs

yjh@ip-172-31-3-158:~/confluent/etc/kafka$ vim zookeeper.properties

dataDir=/home/yjh/data/zookeeper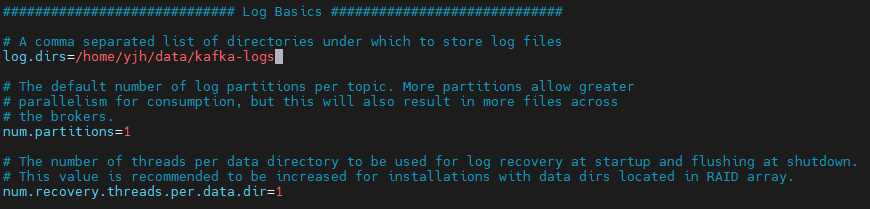

로그 저장 경로 바뀐 것 확인


