
반응형 웹
반응형 웹이란?
- 웹 페이지 하나로도 데스크톱, 태블릿PC, 스마트폰에 맞게 디자인이 자동으로 반응해서 변경되는 웹 페이지를 이야기함.
- 장점
- 유지보수가 용이함
- 개발 효율성이 증가
- 미디어 쿼리(Media query)를 사용하여 개발함.
JavaScript
자바스크립트란?
- 웹 페이지에서 복잡한 기능을 구현할 수 있도록 하는 스크립팅 언어 또는 프로그래밍 언어러, Java와는 별개로 다른 언어이다.
자바스크립트 기본용어
- 표현식 : 값을 만들어내는 간단한 코드
- 문장 : 프로그래밍 언어에 실행할 수 있는 코드의 최소단위
- 종결 : 문장 마지막에 세미콜론(;) 또는 줄 바꿈
- 키워드 : 자바스크립트를 처음 만들 때 정히잰 특별한 의미가 부여된 단어
- 식별자 : 자바스크립트에서 변수나 함수 등에 이름을 붙일 때 사용하는 단어
자바스크립트 출력
alert(출력하고자 하는 명령어)
자바스크립트와 자바의 차이점
- Java는 OOP 프로그래밍 언어인 반면, Java Script는 OOP 스크립팅 언어이다. 또한 JS에서는 문자열이 따로 없기때문에, 모든 숫자, 문자를
var의 객체로 지정한다.
자바스크립트 변수선언 및 출력
!DOCTYPE html>
<html>
<head>
<meta charset='utf-8'>
<meta http-equiv='X-UA-Compatible' content='IE=edge'>
<title>Page Title</title>
<meta name='viewport' content='width=device-width, initial-scale=1'>
<script>
// 한줄주석
/*
여러줄 주석
*/
var radious = 10;
var pi = 3.14159265;
var greetiong = 'Hello there!'; // 작은 따옴표도 문자 출력 가능
// 출력
alert(radious * radious * pi)
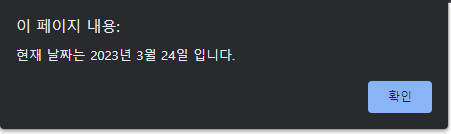
var date = new Date();
// 요소 추출
var year = date.getFullYear();
var month = date.getMonth() + 1; // 11까지만 존재하기 때문에 +1을 해주어야 함.
var day = date.getDate();
alert( '현재 날짜는 ' + year + '년 ' + month + '월 ' + day + '일 입니다.' )
</script>
</head>
<body>
<h1>Hello, Javascript!</h1>
</body>
</html>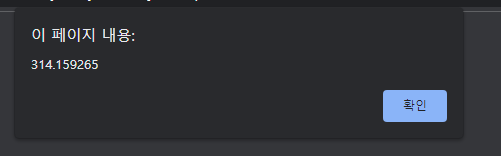

자바스크립트 함수
<!DOCTYPE html>
<html>
<head>
<meta charset='utf-8'>
<meta http-equiv='X-UA-Compatible' content='IE=edge'>
<title>자바스크립트 함수</title>
<meta name='viewport' content='width=device-width, initial-scale=1'>
<script>
// 익명함수
var fnc = function () {
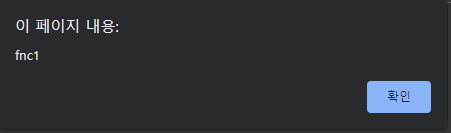
alert('fnc1');
console.log('fnc1 출력');
}
alert(fnc);
fnc();
/*---------- 위나 아래나 기능적으로는 별 차이가 없음. ----------*/
// 일반함수
function fnc2() {
alert('fnc2');
console.log('fnc2 출력');
}
alert(fnsc2);
fnc();
</script>
</head>
<body>
</body>
</html>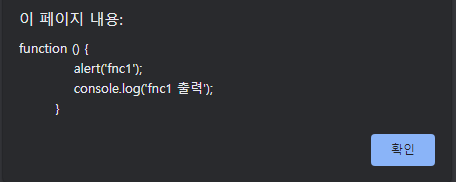
자바스크립트 일반/익명함수
<!DOCTYPE html>
<html>
<head>
    <meta charset='utf-8'>
    <meta http-equiv='X-UA-Compatible' content='IE=edge'>
    <title>익명함수/일반함수</title>
    <meta name='viewport' content='width=device-width, initial-scale=1'>
    <script>
        var fnc1 = function() { alert('fnc1A'); }; // 이부분 무시
        var fnc1 = function() { alert('fnc1B'); };

        fnc1();
        /* ---------------------------------------------------------------- */
        var fnc2 = function() { alert('fnc2A'); };
        function fnc2() { alert('fnc2B'); }; // 이부분 무시

        fnc2();
    </script>
</head>
<body>

</body>
</html>
자바 스크립트 기능
<!DOCTYPE html>
<html>
<head>
    <meta charset='utf-8'>
    <meta http-equiv='X-UA-Compatible' content='IE=edge'>
    <title>익명함수/일반함수</title>
    <meta name='viewport' content='width=device-width, initial-scale=1'>
    <script>

        /* 매개변수 */
        function times(x) {
            return x * x;
        }

        function plus (x, y){
            return x + y;
        }

        alert( times(4) ) // 16 출력.
        alert( plus(2, 3) ) // 5 출력
        /* ----------------------------------------------------------------------- */
        function procTentimes(func) {
            for(var i=0; i < 3; i++){
                func();
            }
        }

        var callback = function () {
            alert('호출!');
        }

        procTentimes(callback); //"호출!" 세번출력

    </script>
</head>
<body>

</body>
</html>
호출이 총 세번 출력된다.
자바스크립트 문서 객체모델
<!DOCTYPE html>
<html>
<head>
    <meta charset='utf-8'>
    <meta http-equiv='X-UA-Compatible' content='IE=edge'>
    <title>Page Title</title>
    <meta name='viewport' content='width=device-width, initial-scale=1'>
    <script>
        // 페이지가 렌더링이 완료되고 나면 아래를 실행. (<h1>과 <p>를 받아오기 위해서. )
        window.onload = function() {
         // style 변경은 body에 마지막에 위치해야한다.
        document.querySelector('h1').style.backgroundColor = 'red';
        document.querySelector('h1').style.color = 'white';
        document.querySelector('h1').style.fontSize = '50px';
        document.querySelector('h1').style.fontStyle = 'Italic';
        }
    </script>
</head>
<body>
    <h1>Lorem ipsum dolor sit amet.</h1>
    <p>Lorem ipsum dolor sit amet consectetur adipisicing elit.</p>
    <script>
         var h1Style = document.querySelector('h1').style; // 코드 양이 많다면 변수로 선언하여 보기 간편하게 줄일 수 있음!
        h1Style.backgroundColor = 'blue' // 1. 페이지 렌더링때 같이 실행되는 부분.
    </script>
</body>
</html>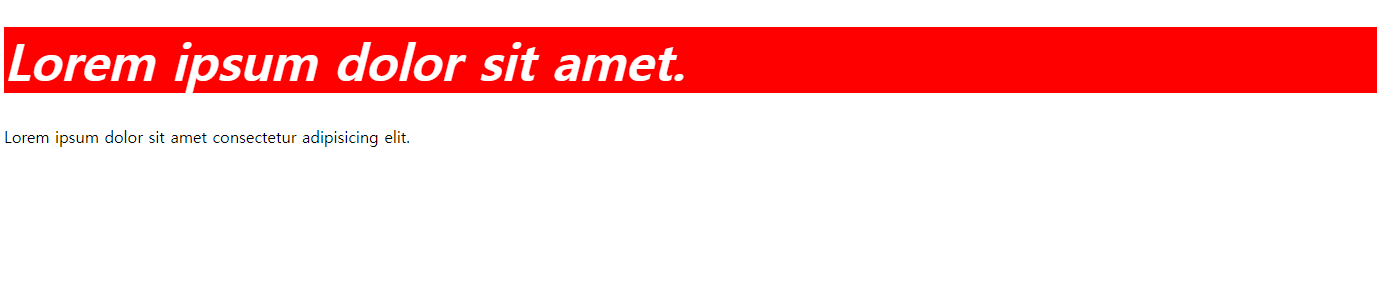
<!DOCTYPE html>
<html>
<head>
    <meta charset='utf-8'>
    <meta http-equiv='X-UA-Compatible' content='IE=edge'>
    <title>자바스크림트 DOM</title>
    <meta name='viewport' content='width=device-width, initial-scale=1'>
    <link rel='stylesheet' type='text/css' media='screen' href='main.css'>
    <script>
        window.onload = function() {
            var header = document.getElementById('header');

            header.style.color ='blue';
            header.style.backgroundColor = 'yellow';
            header.innerHTML = '자바스크립에서 변경함!'; // <h1>이 가려지고 이 문자가 출력됨.

            var h1 = document.querySelector('h1'); // 같은 태그 중 하나만 가져옴
            h1.style.color = 'red';
            h1.style.backgroundColor = '#222222';
            h1.innerHTML = 'querySelector';

            var headings = document.querySelectorAll('h1');
            for (var i = 1; i < headings.length; i++) {
                var heading = headings[i];
                heading.style.color = 'orange';
                heading.style.backgroundColor = '#ff0000';
                heading.innerHTML = 'querySelectorAll';
            }
        };
    </script>
</head>
<body>
    <h1 id="header">Lorem ipsum dolor sit amet.</h1>
    <h1>Lorem ipsum dolor sit amet.</h1>
    <h1>Lorem ipsum dolor sit amet.</h1>
</body>
</html>
그라데이션
<!DOCTYPE html>
<html>
<head>
    <meta charset='utf-8'>
    <meta http-equiv='X-UA-Compatible' content='IE=edge'>
    <title>그라데이션</title>
    <meta name='viewport' content='width=device-width, initial-scale=1'>
    <script>
        window.onload = function () {
            var output = '';
            for (var i = 0; i < 256; i++) {
                output += '<div></div>';
            }

            document.body.innerHTML = output;

            var divs = document.querySelectorAll('div');
            for ( var i = 0; i < divs.length; i++) {
                var div = divs[i];

                div.style.height = '2px';
                div.style.background = 'rgb(' + i + ',' + i + ',' + i +')'; //  'rgb(' + i + ',' + i/5 + ',' + i/5 +')';  <-- 빨간색 그라데이션임.
            }
        }
    </script>
</head>
<body>

</body>
</html>
변수선언을 이용한 사진출력
<!DOCTYPE html>
<html>
<head>
    <meta charset='utf-8'>
    <meta http-equiv='X-UA-Compatible' content='IE=edge'>
    <title>Page Title</title>
    <meta name='viewport' content='width=device-width, initial-scale=1'>
    <script>
        window.onload = function () {
            var img = document.getElementById('img');

            img.width = 300; img.height = 600; img.src = 'https://picsum.photos/' + img.width + '/' + img.height;
        }
    </script>
</head>
<body>
    <img id="img">
</body>
</html>
이벤트 기능 (더블클릭)
<!DOCTYPE html>
<html>
<head>
    <meta charset='utf-8'>
    <meta http-equiv='X-UA-Compatible' content='IE=edge'>
    <title>Page Title</title>
    <meta name='viewport' content='width=device-width, initial-scale=1'>
    <script>
        function fnc() {
            alert('더블클릭');
        }
    </script>
</head>
<body>
    <button ondblclick="alert('더블클릭');">더블클릭</button>
</body>
</html>
jQuery
jQuery를 작성하기 전, 먼저 아래의 사이트로 들어가자.
https://jquery.com/
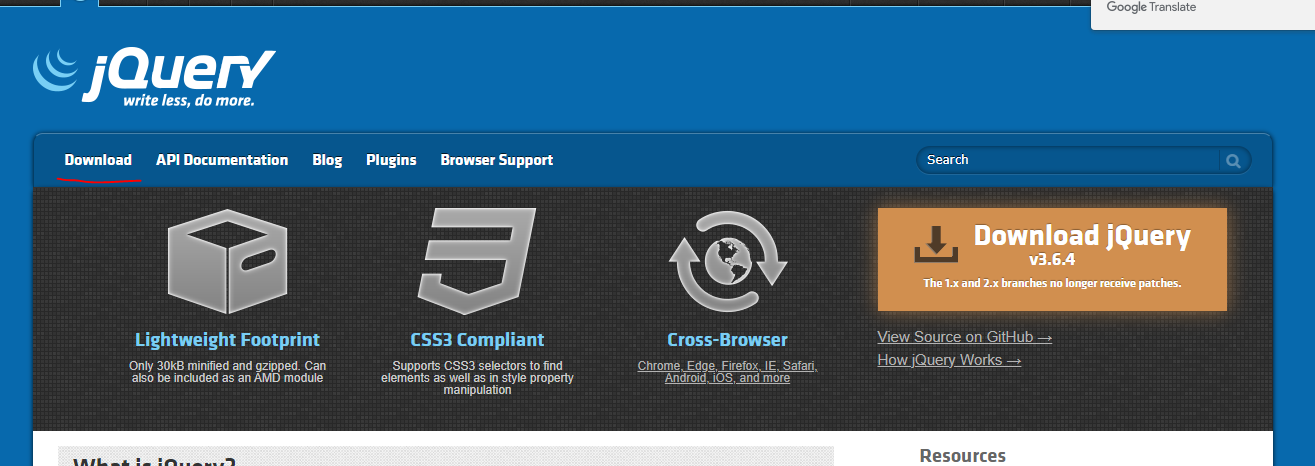
좌측 상단의 Download 클릭
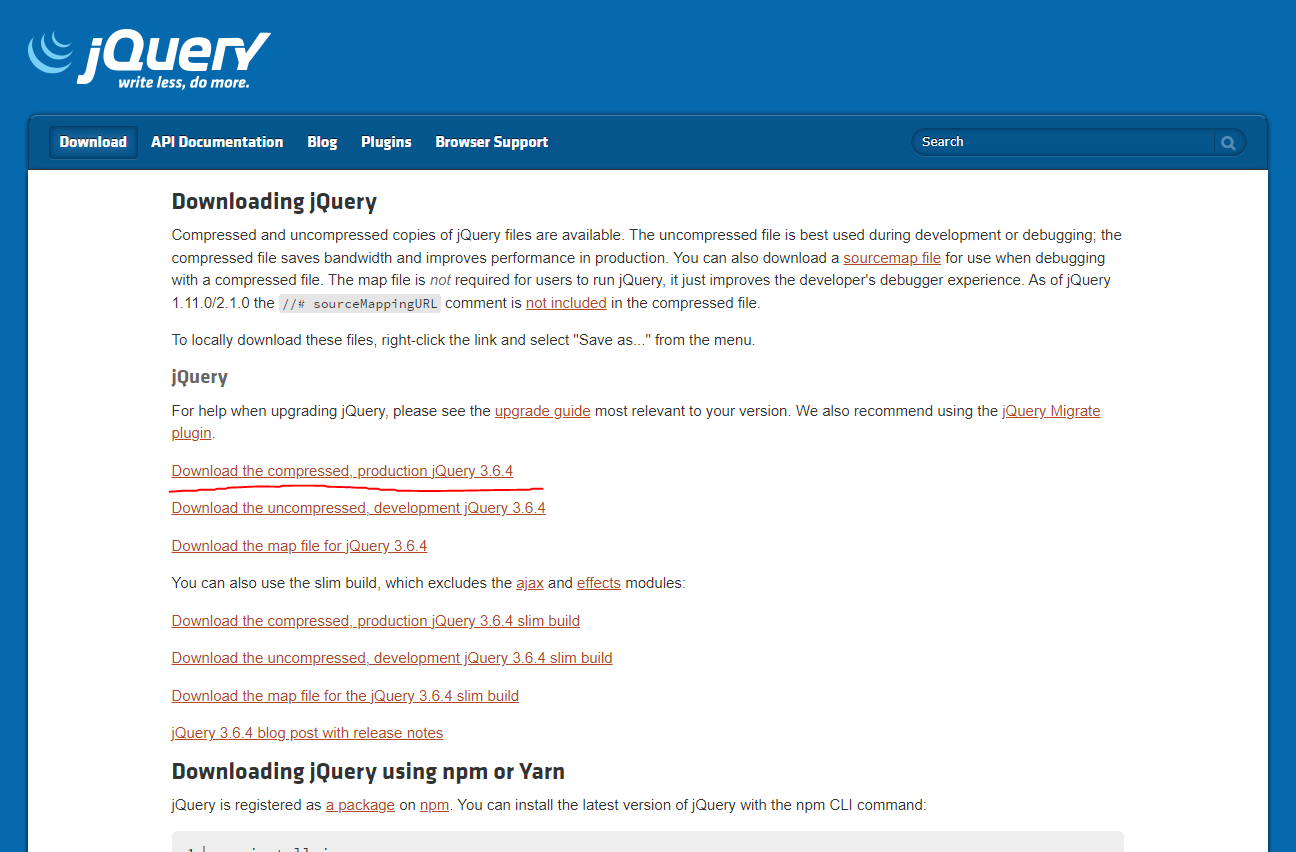
compressed 된 3.6.4 버전의 jQuery로 들어가면 수많은 코드들이 정렬되어있는데,우클릭하여 다른이름으로 저장해준다.
저장 위치는 기존에 설정해둔 레파지토리 안에 다른 폴더를 생성하여 저장해주었다.
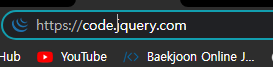
그리고 난 이후, 다시 원래 홈페이지로 돌아와서 https://뒤에 code.을 붙여주고 이동한다.
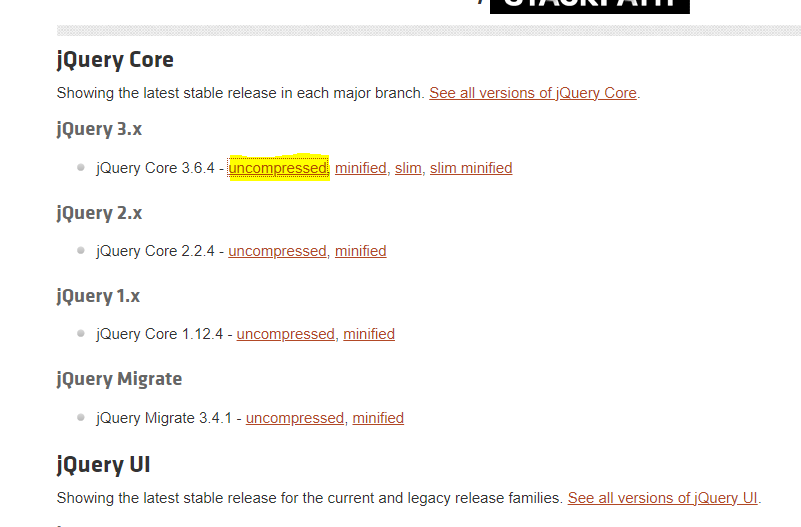
이동하고나서 방금 다운로드 버전에 알맞은 버전의 uncompressed 버튼을 눌러주면,
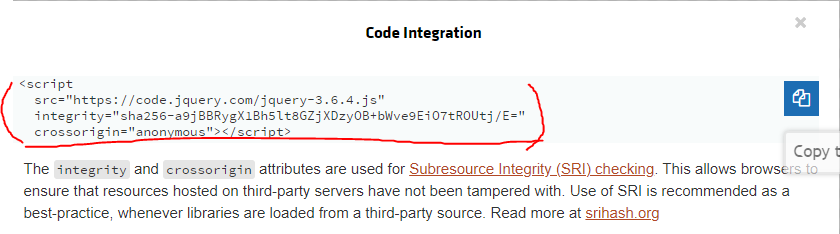
위와 같이 <script> 코드가 뜬다. 이를 복사해주도록 하자.
이제 jQuery를 사용할 준비가 모두 끝났다.
<!DOCTYPE html>
<html>

<head>
    <meta charset='utf-8'>
    <meta http-equiv='X-UA-Compatible' content='IE=edge'>
    <title>jQuery1</title>
    <meta name='viewport' content='width=device-width, initial-scale=1'>
    <script src="https://code.jquery.com/jquery-3.6.4.js"
            integrity="sha256-a9jBBRygX1Bh5lt8GZjXDzyOB+bWve9EiO7tROUtj/E="
            crossorigin = "anonymous"></script>
           <!-- 복사해두었던  코드를 위에 붙여넣기 해주자.-->
    <script>
        /* javascript 전통 이벤트 */
        // window.onload = function () {
        //     alert(' Hello, javascript ');
        // }
        /* jQuery 방식 이벤트 */
        $(document).ready(function () {
            alert('Hello, jQuery!!');
            $('h1').css('background-color', 'balck');
            $('h1').css('color', 'white');
            // fe50_dom.html 소스와 비교해보면 훨씬 소스간결, 쓰기도 편함.

            alert( $('script').attr('integrity'))
        });
    </script>
</head>
<body>
    <h1>hi</h1>
    <h1>hi</h1>
    <h1>hi</h1>
</body>
</html>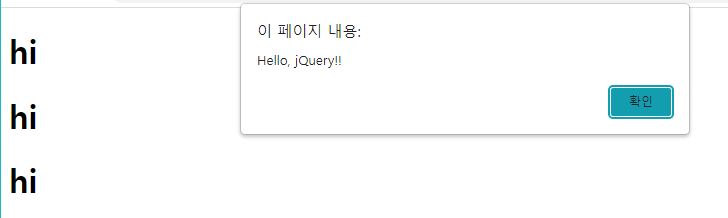
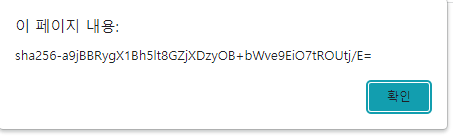
코드에 따라서 위의 메세지들이 차례대로 뜨게된다.
이번에는 이 jQuery를 이용하여 애니메이션 효과를 부여해보도록 하겠다.
<!DOCTYPE html>
<html>
<head>
    <meta charset='utf-8'>
    <meta http-equiv='X-UA-Compatible' content='IE=edge'>
    <title>jQuery2</title>
    <meta name='viewport' content='width=device-width, initial-scale=1'>
    <script src="https://code.jquery.com/jquery-3.6.4.min.js"
            integrity="sha256-oP6HI9z1XaZNBrJURtCoUT5SUnxFr8s3BzRl+cbzUq8="
            crossorigin="anonymous"></script>

    <script>
        $(document).ready(function () {
            $('#box').css({
                    width: '100px',
                    height: '100px',
                    backgroundColor: 'orange'
                }).on('click', function () {
                    $(this).css('background-color', 'red');
                    alert('안녕~');
                }).on('mouseenter', function () {
                    $(this).css('background-color', 'blue');
                    $(this).css('boder-radius', '50%');
                }).on('mouseleave', function () {
                    $(this).css('background-color', 'orange');
                    $(this).css('boder-radius', '0');
                });

                $('h1').hover(function() {
                    $(this).css(
                        'background-color', 'red',
                        'color', 'white'
                     );
                    })
            $('h1').on('mouseleave', function () {
                $(this).css({
                    'background-color': 'red',
                        'color': 'white'
                });
            }).on('mouseleave', function () {
                $(this).css({
                    'background-color': '',
                        'color': ''
                    });
                });

           $('a').click(function (e){
                alert('이동을 금지합니다.');

                e.preventDefault(); // 이벤트를 제거!
            })
            $('#btnToggle').click(function () {
                $('.page').fadeToggle('500ms');
            });
            $('#animation').click(function (e) {
                $('#box').animate ({
                    width: '300px',
                    opacity: 0.2,
                }, 1000);

            }).dblclick(function (e) {
                $('#box').animate({
                        width: '100px',
                        opacity: 1.0,
                }, 1000);
            });
        });
    </script>
</head>
<body>
    <div id = "box"></div>
    <br>
    <h1>CLICK</h1>
    <a href="https://www.google.com" >google</a>
    <button id="animation">애니메이션</button>
    <input type="button" value="show" id="btnToggle">
    <div class="page">
            <h1>Lorem ipsum dolor sit amet consectetur adipisicing elit.</h1>
            <p>Lorem ipsum dolor sit amet consectetur adipisicing elit. Minus iure debitis suscipit adipisci modi molestias dicta accusantium consequatur illo alias optio voluptatibus sapiente autem temporibus vero, sunt neque molestiae nam.</p>

    </div>
</body>
</html>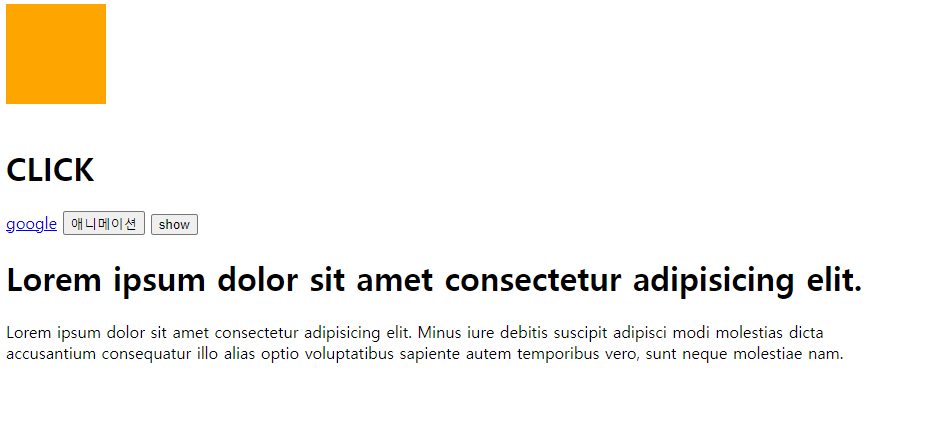
위와 같은 창이 뜨게된다.

마우스를 올려뒀을때
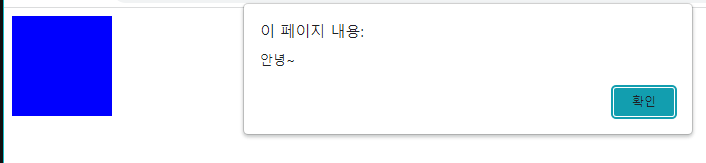
클릭을 했을때
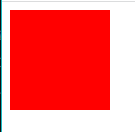
클릭을 하고 나면 사각형이 빨간색으로 변한다.
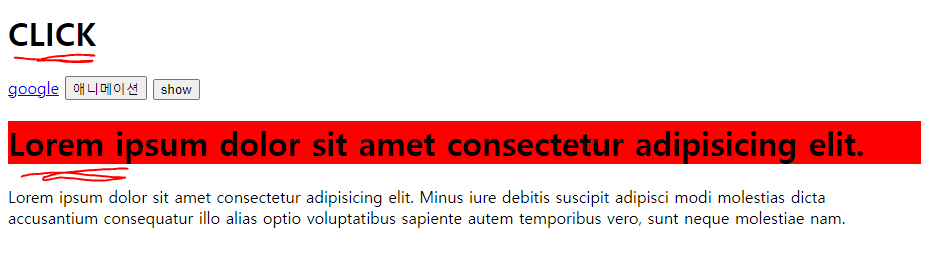
그리고 마우스를 올려두면 굵은 글씨체들에 빨간색 바탕으로 변한다
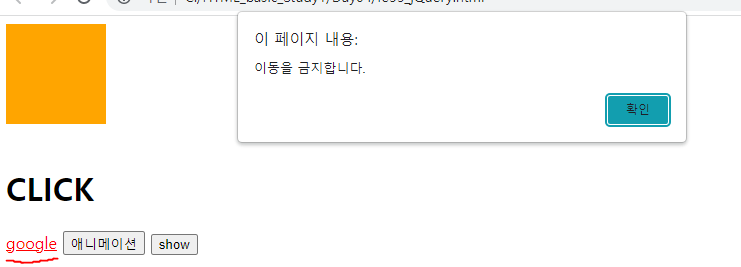
google 링크는 google.com으로 연결되어있지만 이동이 불가하다는 JS 메세지와 함께 이동 이벤트가 삭제되도록 하였고,

애니메이션 버튼을 클릭할 시
주황색 정사각형 박스가 색이 옅어지며 가로로 길게 늘어나고,
더블클릭을 하면 다시 원래대로 줄어들게 된다.
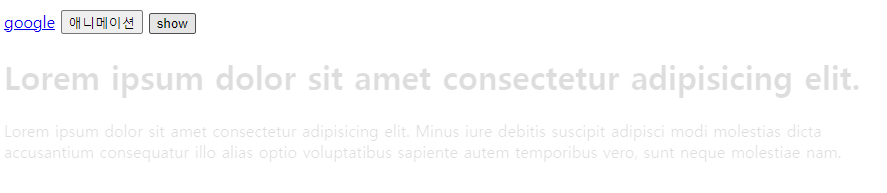
show 버튼을 누르게되면 fadeout,in 효과로 웹페이지의 본문 내용들이 천천히 사라지고 나타나게 된다.