📌 Intro
이전에, Custom Cell을 포함하는 UITableView로 화면을 구성해보았다.
이번에는 Custom Cell로 구성된 기본적인 UICollectionView를 구현해보려고 한다.
UICollectionView도 UITableView처럼 UIScrollView를 상속받는 Class이며, UITableView와 함께 UIKit을 통한 화면 구성의 기본이 되는 친구라고 볼 수 있겠다.
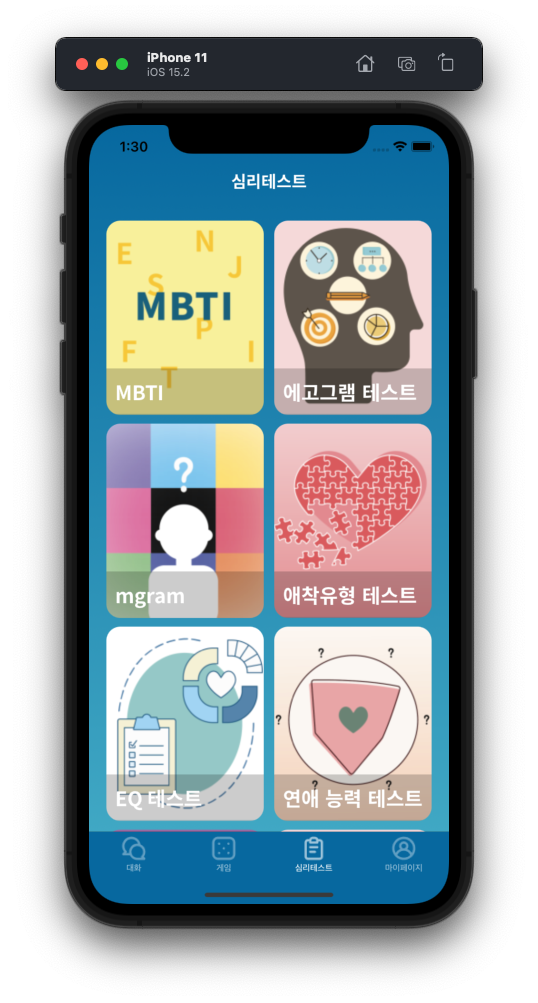
아래와 같은 화면을 만들어볼 것이고, Storyboard와 .xib등 UIKit에 기본적인 지식이 있다는 가정 하에 작성되었다.
💻 Implementation
1. Model(더미데이터) 구성
Test.swift 파일을 새로 만들어서, UICollectionView를 구성할 더미 데이터를 준비해주었다.
import UIKit

struct Test {
    let title: String
    var image: String
}

extension Test {
    static var data = [
        Test(title: "MBTI", image: "MBTI"),
        Test(title: "에고그램 테스트", image: "EgoGram"),
        Test(title: "mgram", image: "MGram"),
        Test(title: "애착유형 테스트", image: "Attach"),
        Test(title: "EQ 테스트", image: "EQTest"),
        Test(title: "연애 능력 테스트", image: "Date"),
        Test(title: "연락 유형 테스트", image: "Contact"),
        Test(title: "결혼상대 테스트", image: "Marry"),
    ]
}
2. UICollectionView 구성
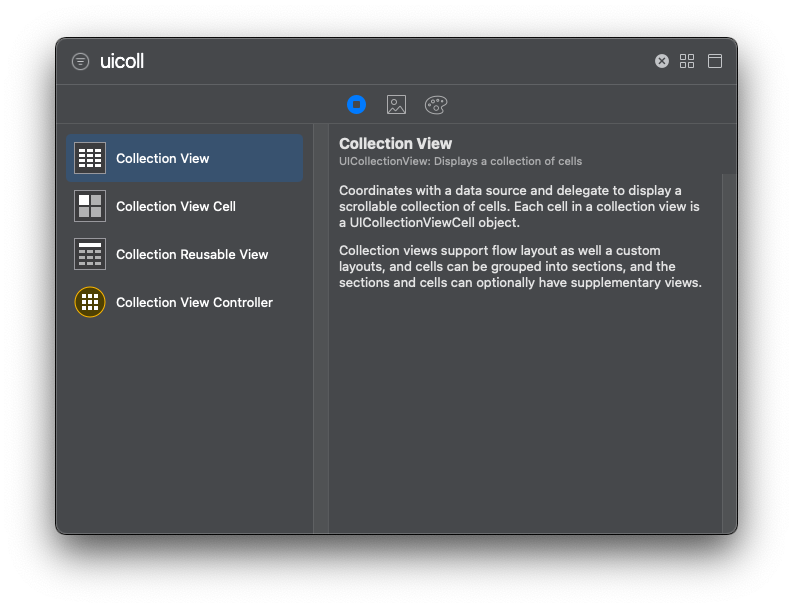
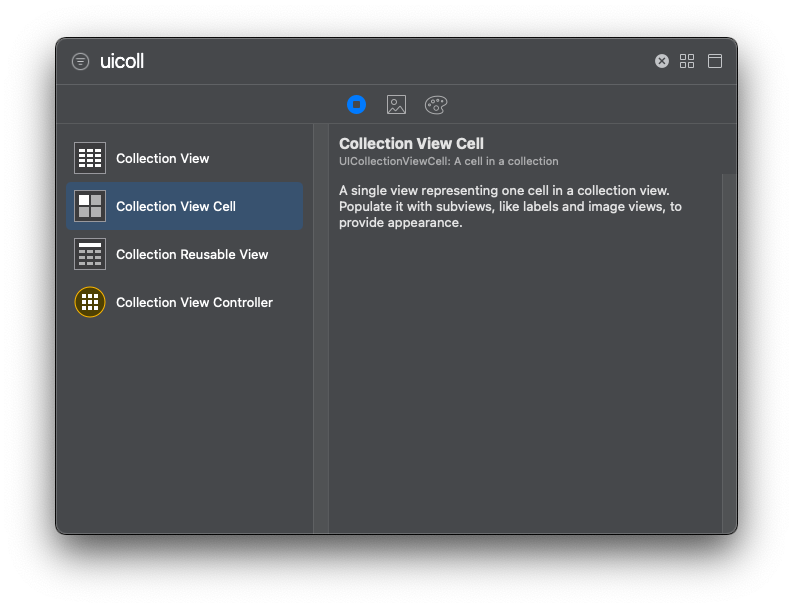
Storyboard에서 View에 UICollectionView를 추가한 뒤, 해당하는 Class와 IBOutlet으로 연결해준다.
import UIKit
class ViewController: UIViewController {
@IBOutlet weak var collectionView: UICollectionView!
override func viewDidLoad() {
super.viewDidLoad()
}
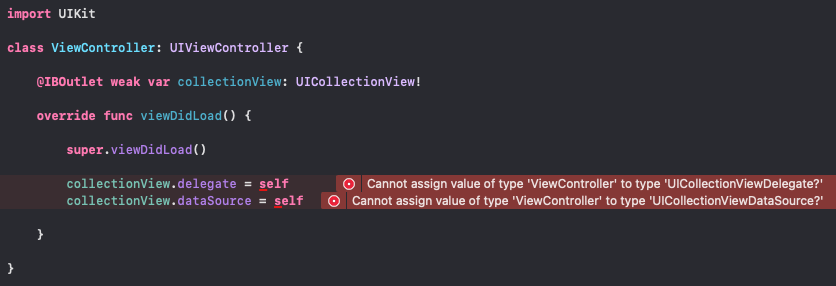
}연결한 UICollectionView의 객체 collectionView의 delegate와 datasource를 설정해주면, 아래와 같이 오류가 나타날 것이다. 둘 다 Fix를 눌러주면 알아서 필요한 클래스를 상속해주고 함수를 생성해준다.

UITableView와 마찬가지로, Section당 item 수를 정하는 함수와 Cell 설정을 할 수 있는 함수가 추가되었다.
모델의 데이터를 불러와서 item의 수를 정해준다.
// 데이터 불러오기
let testList = Test.data

// 데이터의 수에 따라 item 수 정해주기
func collectionView(_ collectionView: UICollectionView, numberOfItemsInSection section: Int) -> Int {
    testList.count
}
3. Custom Cell 만들기
이제, UICollectionView를 구성할 Cell을 꾸며보도록 하자.
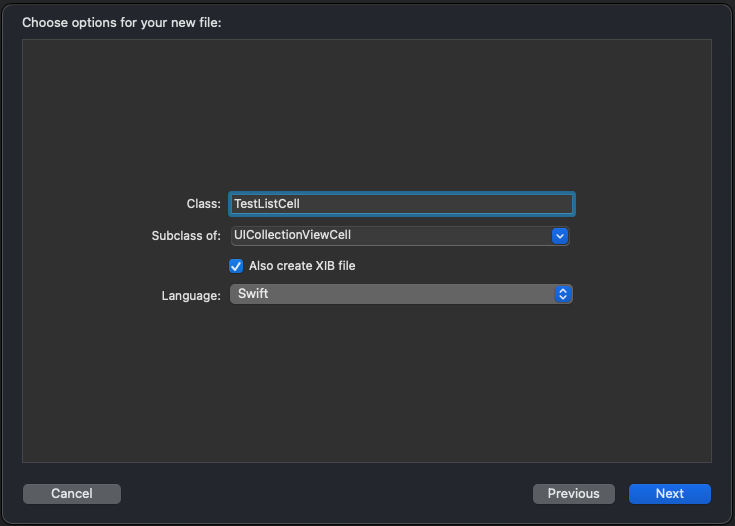
Cell을 만들고 싶은 위치에 Cocoa Touch Class로 파일을 생성한다.
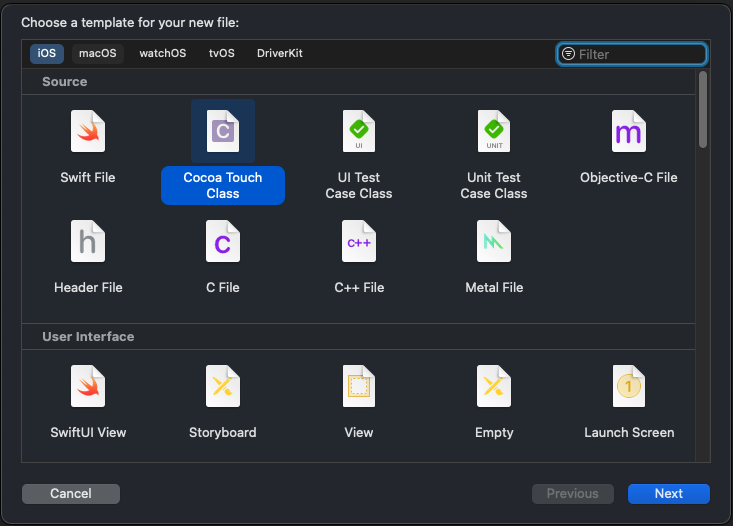
Cell의 이름을 정하고, Subclass를 UICollectionViewCell로 정해준다.
.xib 파일을 통해 Cell을 만들 것이므로 체크박스도 체크해주자.
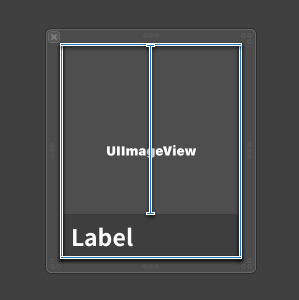
이제 생성된 .xib파일에 UICollectionViewCell을 추가해주고, 원하는 요소들을 추가해준 다음 Class와 IBOutlet을 연결해주자.
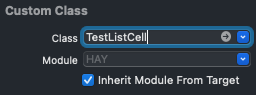
ViewController에서 .xib를 Register 해줄 것이기 때문에 Custom class로 연결하였다.
import UIKit

class TestListCell: UICollectionViewCell {

    @IBOutlet weak var testImage: UIImageView!
    @IBOutlet weak var testLabel: UILabel!

    override func awakeFromNib() {
        super.awakeFromNib()
        // Initialization code
    }

}
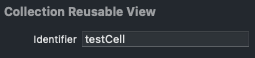
마지막으로, 만든 cell을 인식하는데 사용할 reuseIdentifier를 설정해주자.
4. Custom Cell Register
만든 Custom Cell을 UICollectionView가 들어 있는 ViewController에서 사용하려면, nib을 Register 해주어야 한다.
let cellName = "TestListCell"
let cellReuseIdentifier = "testCell"

private func registerXib() {
    let nibName = UINib(nibName: cellName, bundle: nil)
    collectionView.register(nibName, forCellWithReuseIdentifier: cellReuseIdentifier)
}
위와 같이 만든 함수를, viewDidLoad() 안에서 호출해주면 된다.
5. Custom Cell 적용
이제, 아까의 함수를 구현해주면 Custom Cell을 적용할 수 있다.
func collectionView(_ collectionView: UICollectionView, cellForItemAt indexPath: IndexPath) -> UICollectionViewCell {
    guard let cell = collectionView.dequeueReusableCell(withReuseIdentifier: cellReuseIdentifier, for: indexPath) as?
            TestListCell else {
                return UICollectionViewCell()
            }
    let target = testList[indexPath.row]

    let img = UIImage(named: "\(target.image).png")
    cell.testImage?.image = img
    cell.testLabel?.text = target.title

    return cell
}
6. 실행
이제 실행시키면, 아래와 같은 아름다운 화면을 마주할 수 있다.
전체 코드는 다음과 같다.
import UIKit

class ViewController: UIViewController, UICollectionViewDataSource, UICollectionViewDelegate {

    @IBOutlet weak var collectionView: UICollectionView!

    let testList = Test.data
    let cellName = "TestListCell"
    let cellReuseIdentifier = "testCell"

    func collectionView(_ collectionView: UICollectionView, numberOfItemsInSection section: Int) -> Int {
        return testList.count
    }

    func collectionView(_ collectionView: UICollectionView, cellForItemAt indexPath: IndexPath) -> UICollectionViewCell {
        guard let cell = collectionView.dequeueReusableCell(withReuseIdentifier: cellReuseIdentifier, for: indexPath) as?
                TestListCell else {
                    return UICollectionViewCell()
                }
        let target = testList[indexPath.row]

        let img = UIImage(named: "\(target.image).png")
        cell.testImage?.image = img
        cell.testLabel?.text = target.title

        return cell
    }

    @IBOutlet weak var background: UIView!

    override func viewDidLoad() {
        super.viewDidLoad()

        background.setGradient(color1: .primary ?? .white, color2: .subPrimary ?? .black)

        registerXib()

        collectionView.delegate = self
        collectionView.dataSource = self
        collectionView.backgroundColor = UIColor.clear.withAlphaComponent(0)
    }

    private func registerXib() {
        let nibName = UINib(nibName: cellName, bundle: nil)
        collectionView.register(nibName, forCellWithReuseIdentifier: cellReuseIdentifier)
    }

}
📌 Outro
Custom Cell과 UICollectionView를 사용하여 간단한 화면을 구성해보았다.
UITableView와 UICollectionView를 둘 다 사용해보니, UICollectionView가 더 활용 범위가 넓은 것 같았다.
두가지 Class를 자유자재로 사용할 수 있을 때까지 연습, 또 연습하자..!
printf("Thank You!\n");
printf("Posted by Thirsty Developer\n");