Vue 사용방법
기본적으로 Vue 사이트에 나온 방법 2가지와 plugin을 이용한 방법을 시도해본다.
🍊 1. CDN Vue 사용
가장 간단하며 따로 모듈을 설치할 필요가없다.
<script src="https://unpkg.com/vue@next"></script> 해당 부분을 index.html에 추가하여 사용한다.
CDN 사용 코드
<!DOCTYPE html>
<html lang="en">
<head>
    <meta charset="UTF-8">
    <title>Title</title>
    <script src="https://unpkg.com/vue@next"></script>
</head>
<body>
<div id="app">
    <div v-bind:class="{ orange : active}">{{counter}}</div>
    <button v-on:click="increase">Click me!</button>
</div>
</body>
<script>

  const App = {
    data() {
      return {
        counter: 0
      }
    },
    methods : {
      increase(){
        this.counter += 1;
      }
    }
  }

  const vm = Vue.createApp(App).mount('#app')
</script>
</html>
CDN 결과

가장 간단한 count를 할 수 있는 코드가 동작된다.
🍊 2. npm 입력을 통해 진행
npm install -g @vue/cli명령어 입력
=> desktop/ ... Roaming / .... vue.js 가 해당 부분에 저장된다.npm init vite-app package이름을 통해 폴더를 만든다.
=> 전반적인 package.json에 index.html / main.js / component 폴더 / App.vue 등 웬만한 것들이 만들어진다.cd package이름을 접속npm install을 통해 필요한 파일들을 추가
=>node_modules 폴더 생성npm run dev명령어로 vue를 진행시킨다.
이때 dev인 이유는
package.json의 scripts부분으
  "scripts": {
    "dev": "vite",
    "build": "vite build"
  },
이렇게 때문에 dev를 통해 vite를 진행한다.
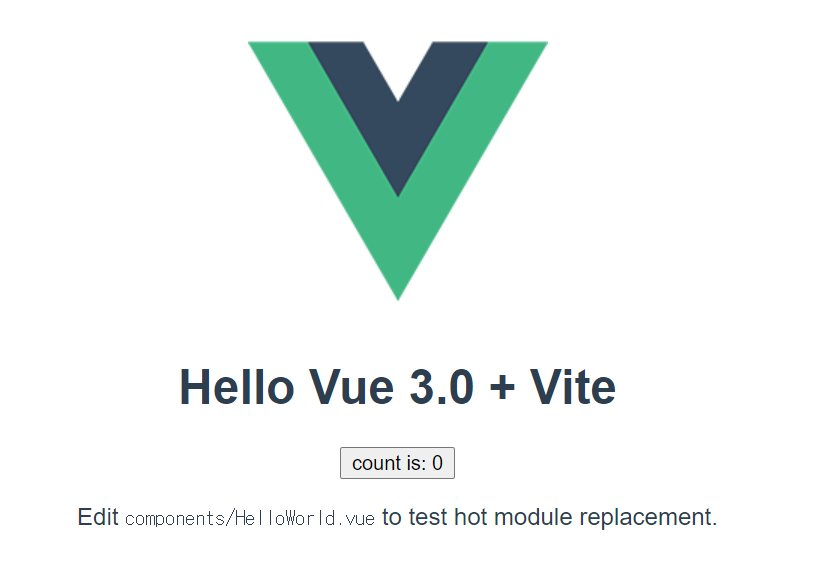
npm run dev 결과

해당 내용은 따로 파일의 수정없이 이러한 결과를 이미 갖고 있다. 마찬가지로 버튼을 누르면 반응한다.
🍊 3. 플러그인 설치 후 project 생성
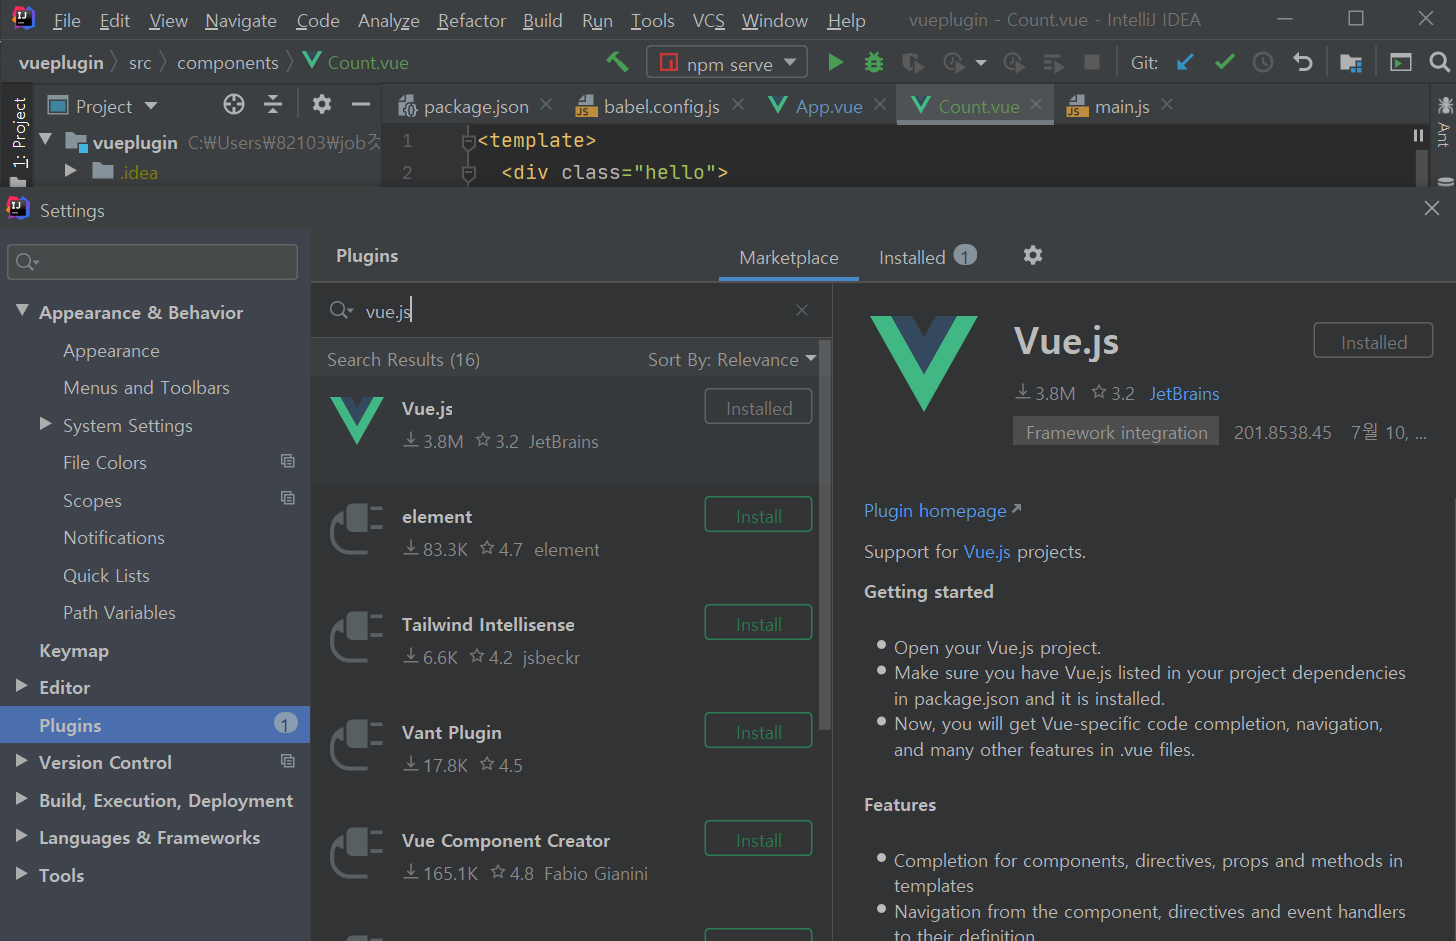
intellij의 settings -> plugin을 보면 vue.js를 확인 할 수 있다.

해당 내용을 다운받고 intellij를 다시 키고
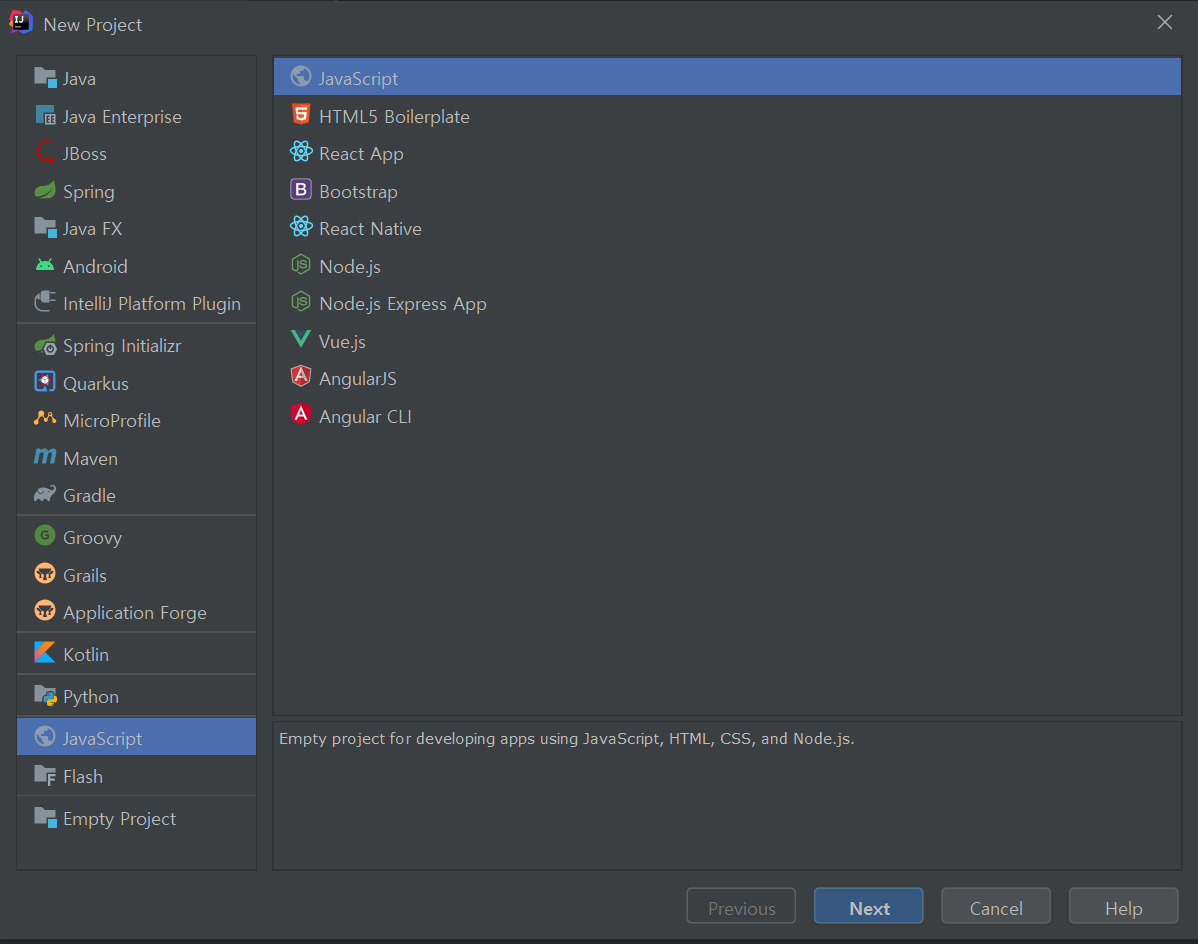
file->new->project를 하면 vue.js가 추가된다.

vue.js를 클릭해 project를 만들면 만들자마자
vue와 관련파일을 다운받고 여러 다운을 한다.
( 시간이 다소 걸린다. )
따로 index.html은 없고
main.js , App.vue , HelloWorld.vue가 존재한다.
이를 count와 관련하게 만들기 위하여
HelloWorld.vue 코드를 수정하고 이름을 Count.vue로 바꾸었다.
- Count.vue
<template>
  <div class="hello">
    <div>{{counter}}</div>
    <button v-on:click="increase">Click me!</button>
  </div>
</template>

<script>
export default {
  name: 'HelloWorld',
  props: {
    msg: String
  },
  data() {
    return {
      counter: 0
    }
  },
  methods : {
    increase(){
      this.counter += 1;
    }
  }
}
</script>- App.vue
<template>
  <div id="app">
    <img alt="Vue logo" src="./assets/logo.png">
    <Count msg="Welcome to Your Vue.js App"/>
  </div>
</template>

<script>
import Count from './components/Count.vue'

export default {
  name: 'App',
  components: {
    Count
  }
}
</script>

<style>
#app {
  font-family: Avenir, Helvetica, Arial, sans-serif;
  -webkit-font-smoothing: antialiased;
  -moz-osx-font-smoothing: grayscale;
  text-align: center;
  color: #2c3e50;
  margin-top: 60px;
}
</style>
App.vue 또한 HelloWorld 부분을 Count로 바꾸었다.
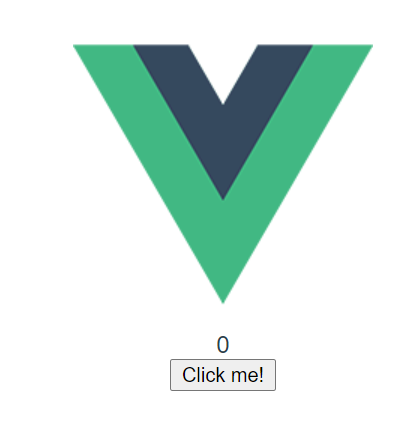
플러그인 Vue 결과

이와 같이 나타났고 버튼 클릭시 마찬가지로 같은 동작을 진행한다.
API 사용방법
🍊 CDN
const { createApp , h, nextTick } = Vue🍊 ES Module (npm)
import { createApp , h , nextTick } from 'vue'Vue 2와의 변경점
data, method 작성 방식의 변화 1
기존의 data, method 등의 선언이 전부 setup이라는 메소드 안으로 편입
- data ,method 사용
<template>
 <div class="name">
   {{ greet() }}
 </div>
</template>

<script>
 export default{
   data(){
     return {
       name : 'Kossie Coder1'
     }
   },
   methods:{
     greet(){
       return 'Hello,' + this.name
     }
   }
 }
</script>- setup 사용
<template>
  <div class="name">
    {{ greet }}
  </div>
</template>

<script>
   export default{
     setup(){
       const name = 'Kossie Coder1';

       const greeting = (name)=>{
         return 'Hello, ' + name;
       }

       const greet = greeting(name)

       return {
         greet
       }
     }
  }
</script>
data, method 작성 방식의 변화 2
- data ,method 사용
<template>
  <div
    class="name"
    @click="c"
  >
    {{ name }}
  </div>
</template>

<script>
   export default{
     data(){
       return {
         name : 'kozi koder1'
       }
     },
     methods : {
        c(){
          this.name = 'kozi koder'
        }
     }
  }
</script>- setup 사용
<template>
  <div
    class="name"
    @click="updateName"
  >
    {{ name }}
  </div>
</template>

<script>
  import {ref} from 'vue';
  export default{
    setup(){
      const name = ref('Kossie Coder1');

      const updateName = () => {
        name.value = 'Kossie Coder'
      }
      return {
        name,
        updateName
      }
    }
  }
</script>
클릭하면 Kossie Coder1이 Kossie Coder로 변한다.
템플릿 생성 방식의 변화
Vue2의 템플릿은 하나의 루트 엘리먼트만 허용하였습니다. 하지만 Vue3부터는 여러 개의 루트 엘리먼트를 갖는 컴포넌트(Fragment)를 지원
=> 필요없는 템플릿을 감싸는 태그가 사라졌다.
