vue-router
싱글 페이지 앱을 쉽게 만들 수 있도록 Vue.js의 코어와 긴밀히 통합
- HashMode
- HTML5 Mode (history API와 유사)
HashMode
사용방법
npm i vue-router@next 를 통한 설치
태그
- router-link : 링크 이동 역할
- router-view : 출력 역할
$값
- $route : 현재 페이지 정보
- $router : 현재 페이지 조작
vue-router 예시
- routers 폴더 생성
- routers/index.js
import {createRouter , createWebHashHistory} from 'vue-router'
import Home from  './Home'
import About from  './About'
import NotFound from './NotFound'
import DocsId from './DocsId'
import Docs from './Docs'

export default createRouter({
  history : createWebHashHistory(),
  routes : [
    {
      path : '/',
      name : 'home',
      component : Home
    },
    {
      path: '/about',
      name : 'about',
      component : About
    },
    {
      path:'/documents',
      component : Docs,
      // children : [
      //   {
      //     // '/:id'로 사용하지않게 조심
      //     path:':id',
      //     component:DocsId
      //   }
      // ]
    },
    {
      path : '/documents/:id',
      name : 'DocsId',
      component : DocsId
    },
    {
      path:'/:notFound(.*)',
      component : NotFound
    }
  ]
})
각각의 routes마다의 path를 부여하고 component를 지정하고
필요에따라 name을 설정한다.
- routers/Home.vue
<template>
    <h1>Home.vue</h1>
</template>

<script>
    export default{
      created(){
        console.log(this.$route)
      }
    }
</script>
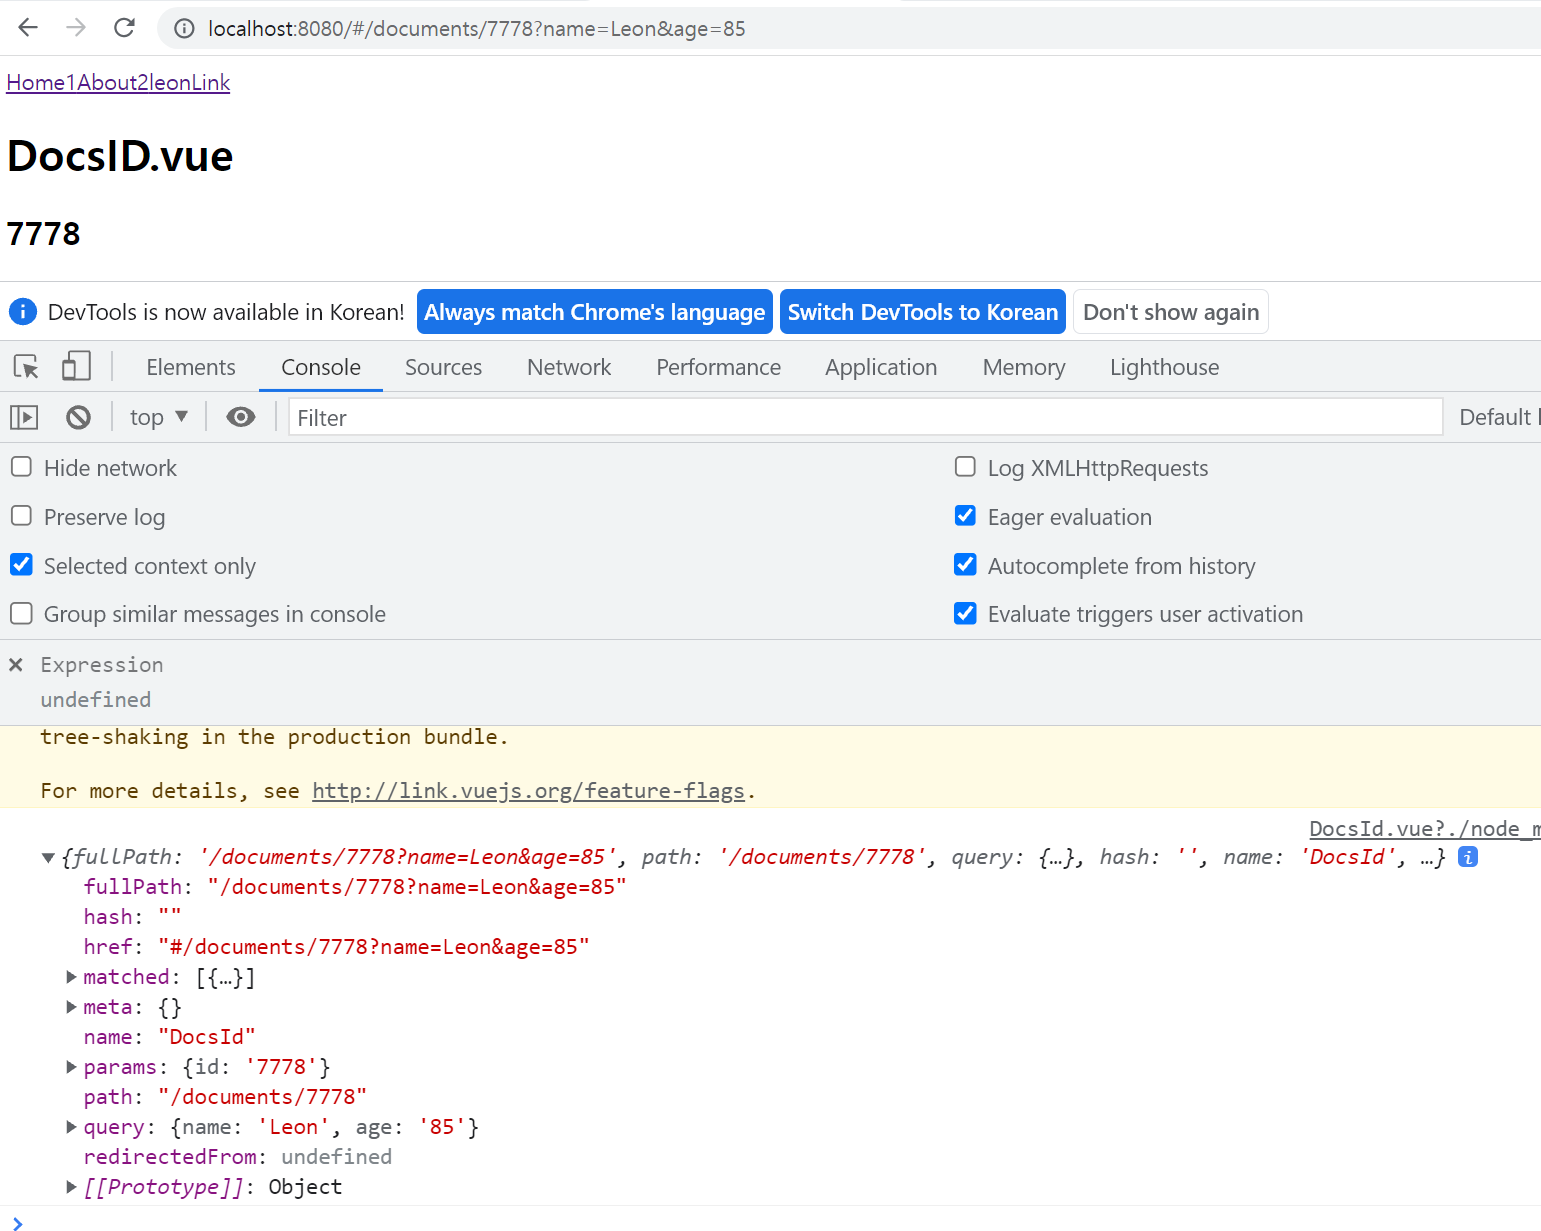
필요에 따라 this.$route를 통해 현재 페이지의 정보를 받아온다.
- routers/Docs.vue
<template>
    <h1>DocsID.vue</h1>
    <h2>{{$route.params.id}}</h2>
</template>
태그 안에서는 $router를 통해 사용한다.
- App.vue
<template>
    <RouterLink to="/">Home1</RouterLink>
    <RouterLink to="/about">About2</RouterLink>
    <RouterLink :to="{name:'DocsId',
                        params : {id:'7777'},
                        query:{name:'Leon',age:85}}">leonLink</RouterLink>
    <RouterView></RouterView>
    <button @click="$router.push({name : 'home'})"> Home </button>
    <button @click="$router.push({name : 'about'})"> About </button>
</template>

<script>
</script>
RouterLink 태그를 통해 정확한 link를 설정할 수도 있고
RouterView를 통해 대상의 결과를 보여준다.
- $router로 현재페이지를 조작하는 RouterLink와 같은 기능을 수행할 수 있다.
$route 속성
- fullPath
- href
- query
- params
query
/다음으로 나오는 내용으로 id를 통해 지정된다.
params
query 다음의
?로 시작하고&로 구분하여A=B로 값을 처리한다.

- params를 통해 7778 id를 찾고 query를 통해 각각의 name과 age를 얻는다.
HTML5 Mode
createWebHistory를 사용
#로 눈속임을 하는 Hash mode와 다르게/를 통해 실제 서버 전송을 한다
주의해야할 2가지
- webpack.config.js파일에
- output 옵션에
publicPath: "/",추가 ( 배포 )devServer : { historyApiFallback:true }옵션 추가 ( 개발 )
- historyApiFallback이란 HTML5의 History API를 사용하는 경우에 설정해놓은 url 이외의 url 경로로 접근했을때 404 responses를 받게 되는데 이때도 index.html을 서빙할지 결정하는 옵션
- true일 경우 기존 애셋과 매핑되지 안을 웹팩 개발 서버에 대한 모든 요청이 곧바로 “/“ 루트로 (index.html)로 라우팅
- 즉, true로 설정할 경우 서버로 요청한 대상이 없으니 루트로 가되 루트에서부터
/대상이 있을경우 (<RouterLink to="/about">About..</RouterLink>이런식으로 존재할 때 )
해당 대상처리를 할 수 있게한다.
