Ⅰ. 📚 오늘 배운 내용
- [prac] posting box 삽입
- Javascript 기초 문법
1) 변수
2) 자료형
3) 함수
4) 조건문
5) 반복문- [prac] javascript 연습 (반복문, 조건문 활용)
🔥 [prac] posting box 삽입
👉 output

👉 input
- box shadow 적용
box-shadow: 0px 0px 5px 0px gray;
(오른쪽, 아래, 블러정도, 두께, 색) - 부트스트랩 활용
- 별점 옵션 추가
- 버튼 간격 조정
margin-top과margin-right활용 - 반응형 설정
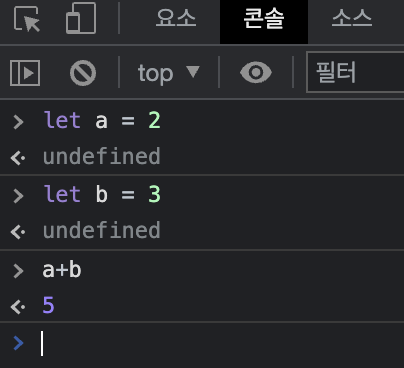
javascript 기초 문법
- 브라우저가 알아들을 수 있는 언어 (검사 > consol에서 확인 가능)
<head>내<script> ~ </script>영역 안에 표현
👉 output
👉 input
<head>
     <script>
        function hey(){
            alert('안녕!');
        }
    </script>
</head><body>
<div class="A">
<h1>내 생애 최고의 영화들</h1>
<button onclick="hey()">영화 기록하기</button>
</div>
</body>1) 변수 : 값
2) 자료형
구분 list dict let let a_list = ['수박','참외'] let a_dict = {'key':'value'} 값 추가 a_list.push(b_list) a_dict['key'] = value
(1) list 유형
let a_list = ['수박', '참외', '배']
a_list=[1]
➟ '참외'
① 값 추가
a_list.push('감')
a_list
➟ (4) ['수박', '참외', '배', '감']
② list에 다른 list 데이터 추가
ex) a_list에 b_list 추가let a_list = ['수박', '참외', '배', '감'] let b_list = ['철수', '영희'] a_list.push(b_list) a_list➟ ['수박', '참외', '배', '감', Array(2)]
ex) '철수' 값 구하기a_list[4][0]➟ '철수'
(2) dict 유형
key:value 구조
let a_dict = {'name':'bob','age':27}
a_dict['name']
➟ 'bob'
① dict 값 추가
a_dict['height'] = 180
➟ {name: 'bob', age: 27, height: 180}
3) 함수
(1) sum + alert
👉 output
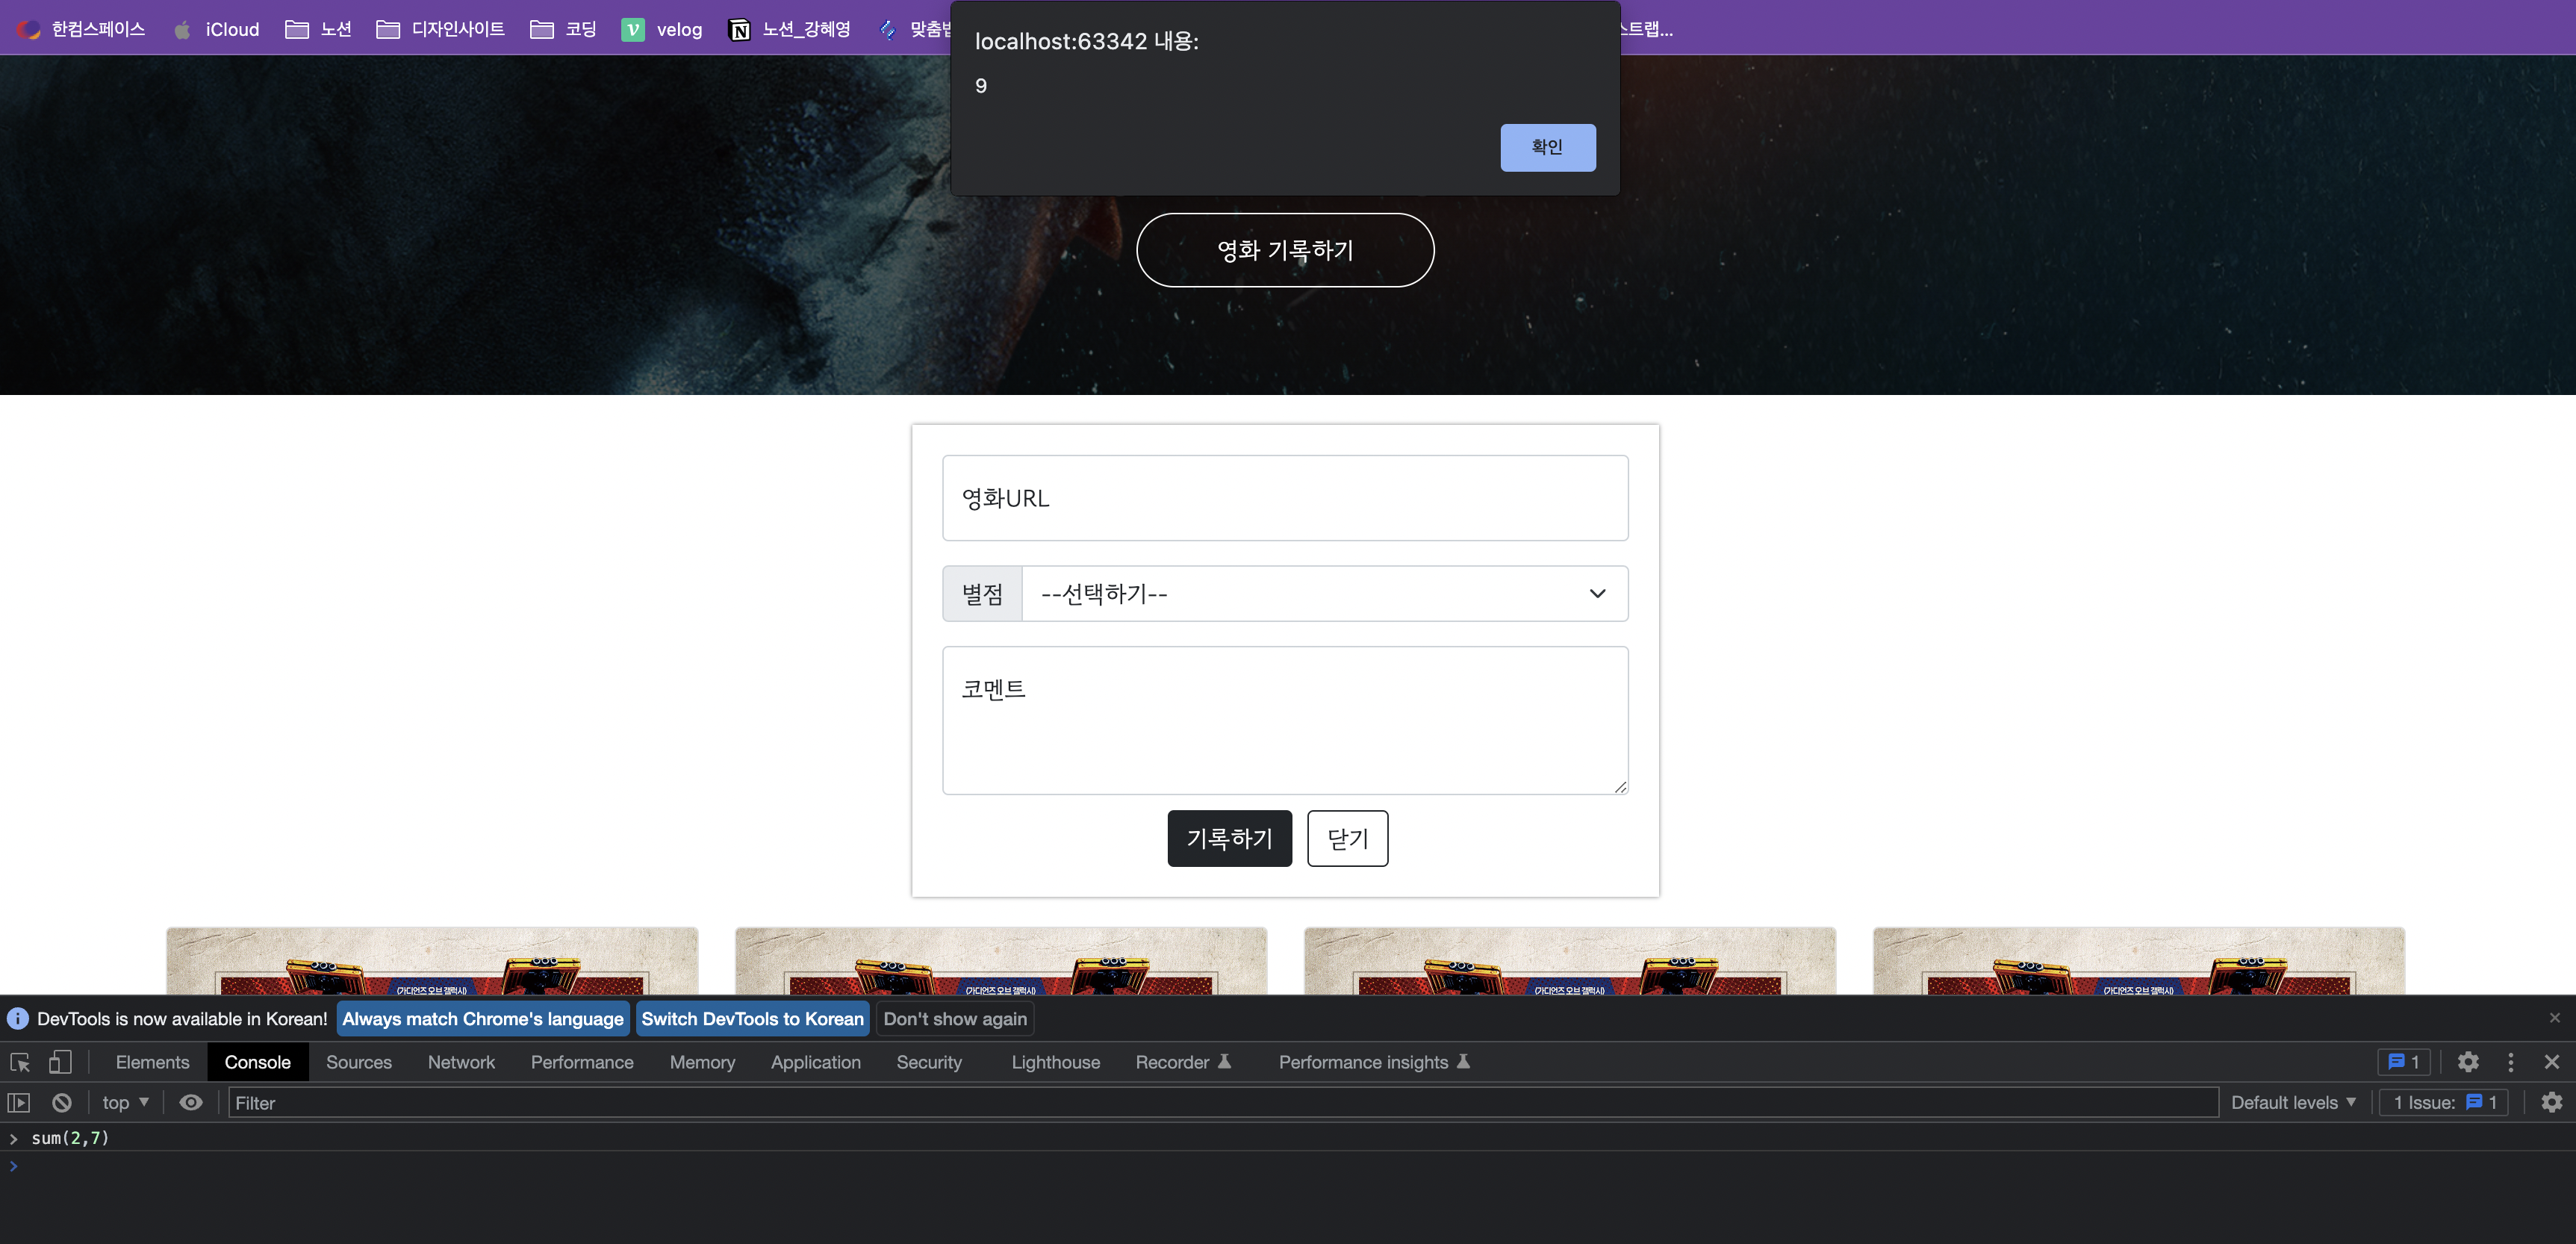
(2) sum + alert + return + result
👉 output
👉 input
<script>
	function sum(a,b) {
		alert('계산을 하자')
        return a+b
	}
	let result = sum(2,3)
	alert(result)
</script>
❗️return이 헷갈림❓
'return을 사용하면 값을 지정하지 않아도 함수를 호출한 곳으로 돌아간다'라던데 alert로 메시지 창이 나왔으니까, 계산을 하기 위해서 return을 다시 써줘야 하는 건가?
📍console.log 활용
알림창을 통해 검토하기 번거로울 때 alert를 대체하여 사용 가능
👉 output

(3) javascript 자체 함수
- split
ex) myemail 값에서 gmail 값 분리하기
let myemail = 'khyeiley@gmail.com'
myemail.split('@')
➟ (2) ['khyeiley', 'gmail.com']
myemail.split('@')[1]➟ 'gmail.com'
myemail.split('@')[1].split('.')[0]
➟ 'gmail'
4) 조건문
(1) if와 else
👉 output
5) 반복문
list와 dict이랑 자주 사용
(1) 반복문 + list
👉 output
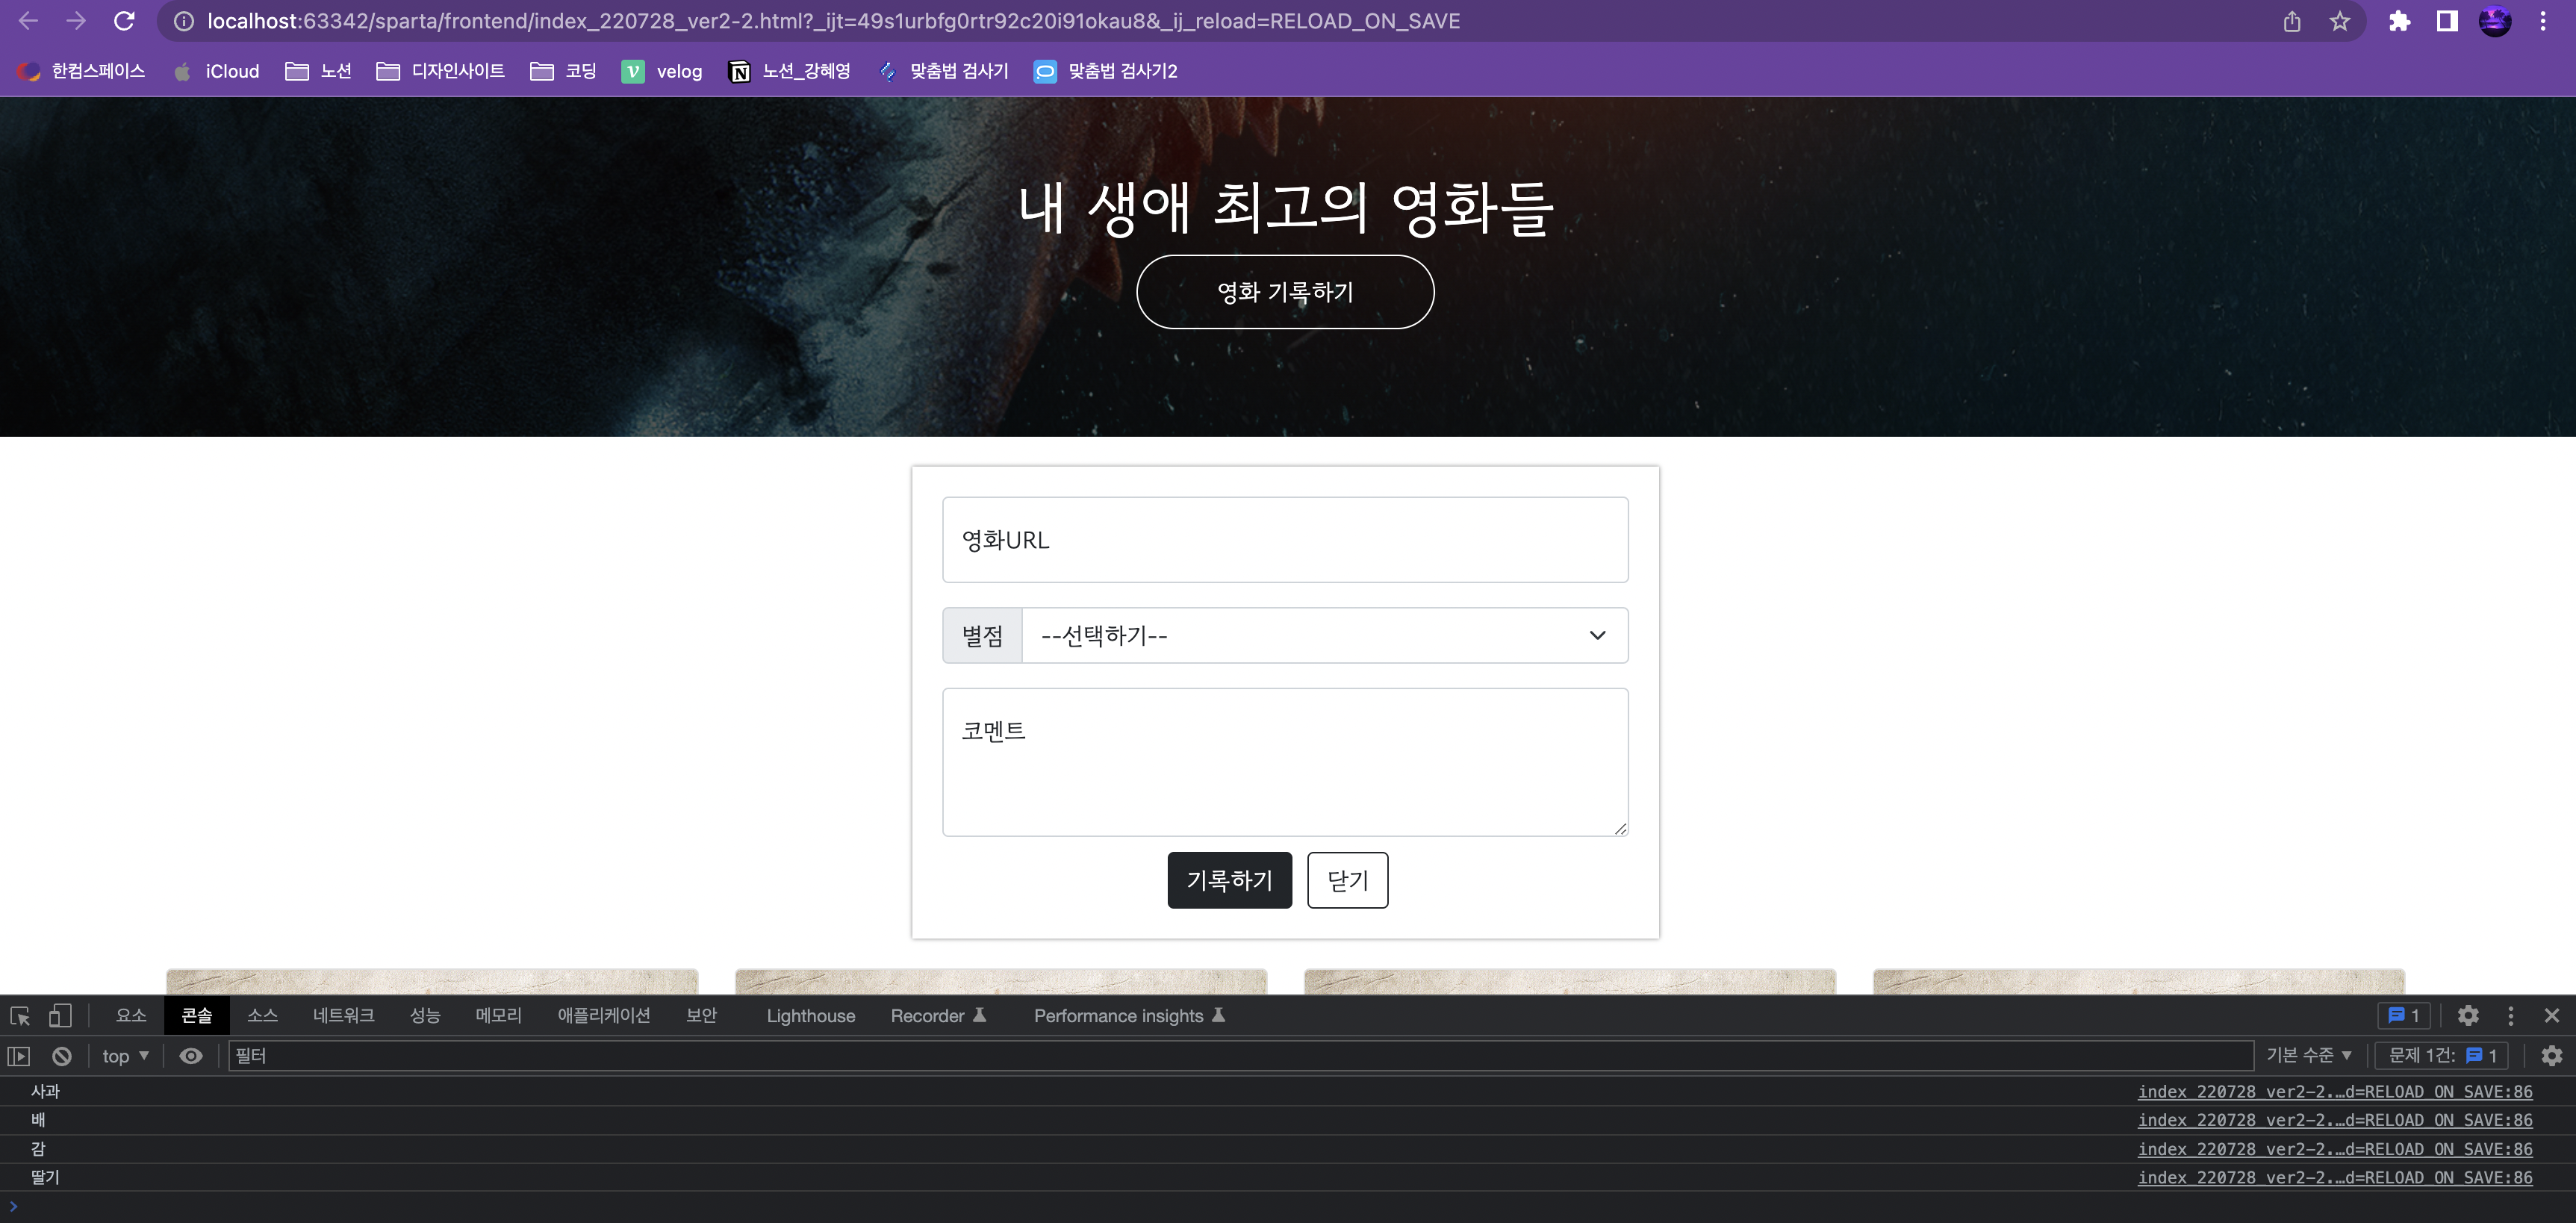
👉 input
<script>
    let a_list = ['사과','배','감','딸기']
    for (let i = 0; i < a_list.length; i++) {
		console.log(a_list[i])
    }
</script>
📍 for (let i = 0; i < a_list.length; i++)의 의미
i는 0부터 시작하고, a_list의 길이만큼 1씩 증가하라
(2) 반복문 + dict
<script>
let scores = [
{'name': '철수', 'score': 90},
{'name': '영희', 'score': 85},
{'name': '민수', 'score': 70},
{'name': '형준', 'score': 50},
{'name': '기남', 'score': 68},
{'name': '동희', 'score': 30},
]
for (let i = 0; i < scores.length; i++) {
console.log(scores[i])
}
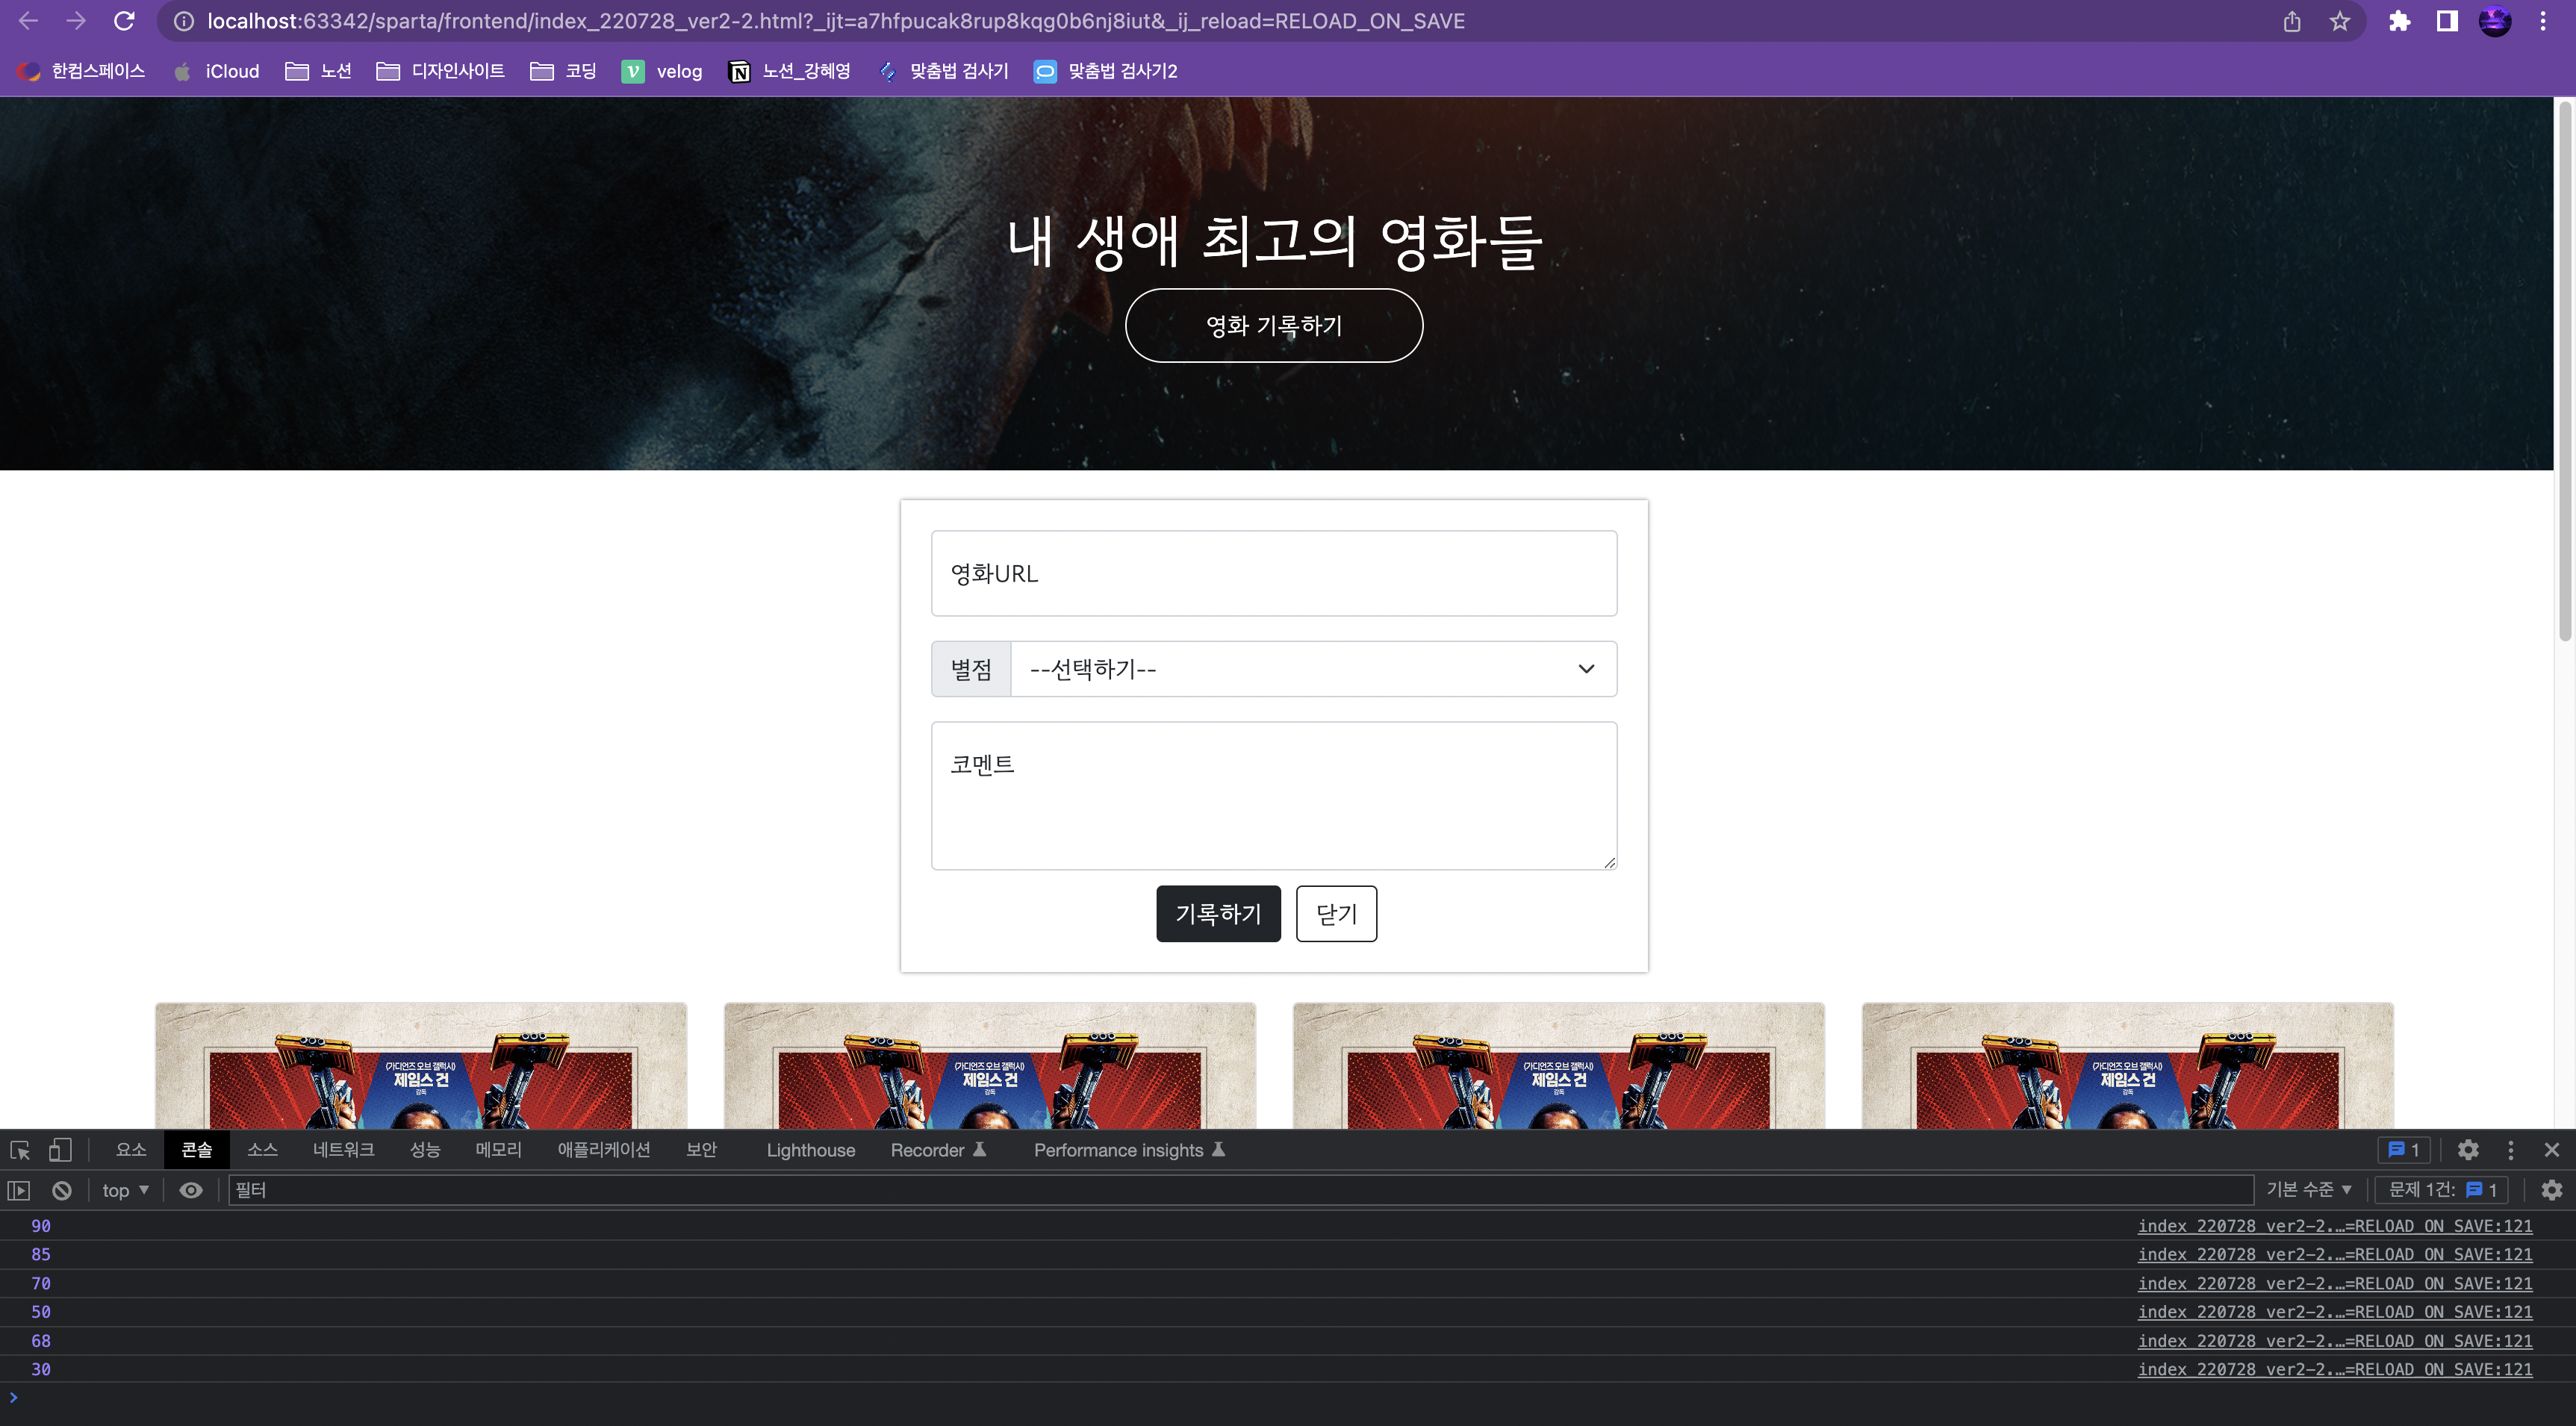
</script>ex) scores에서 'score' 값만 추출하기
👉 output
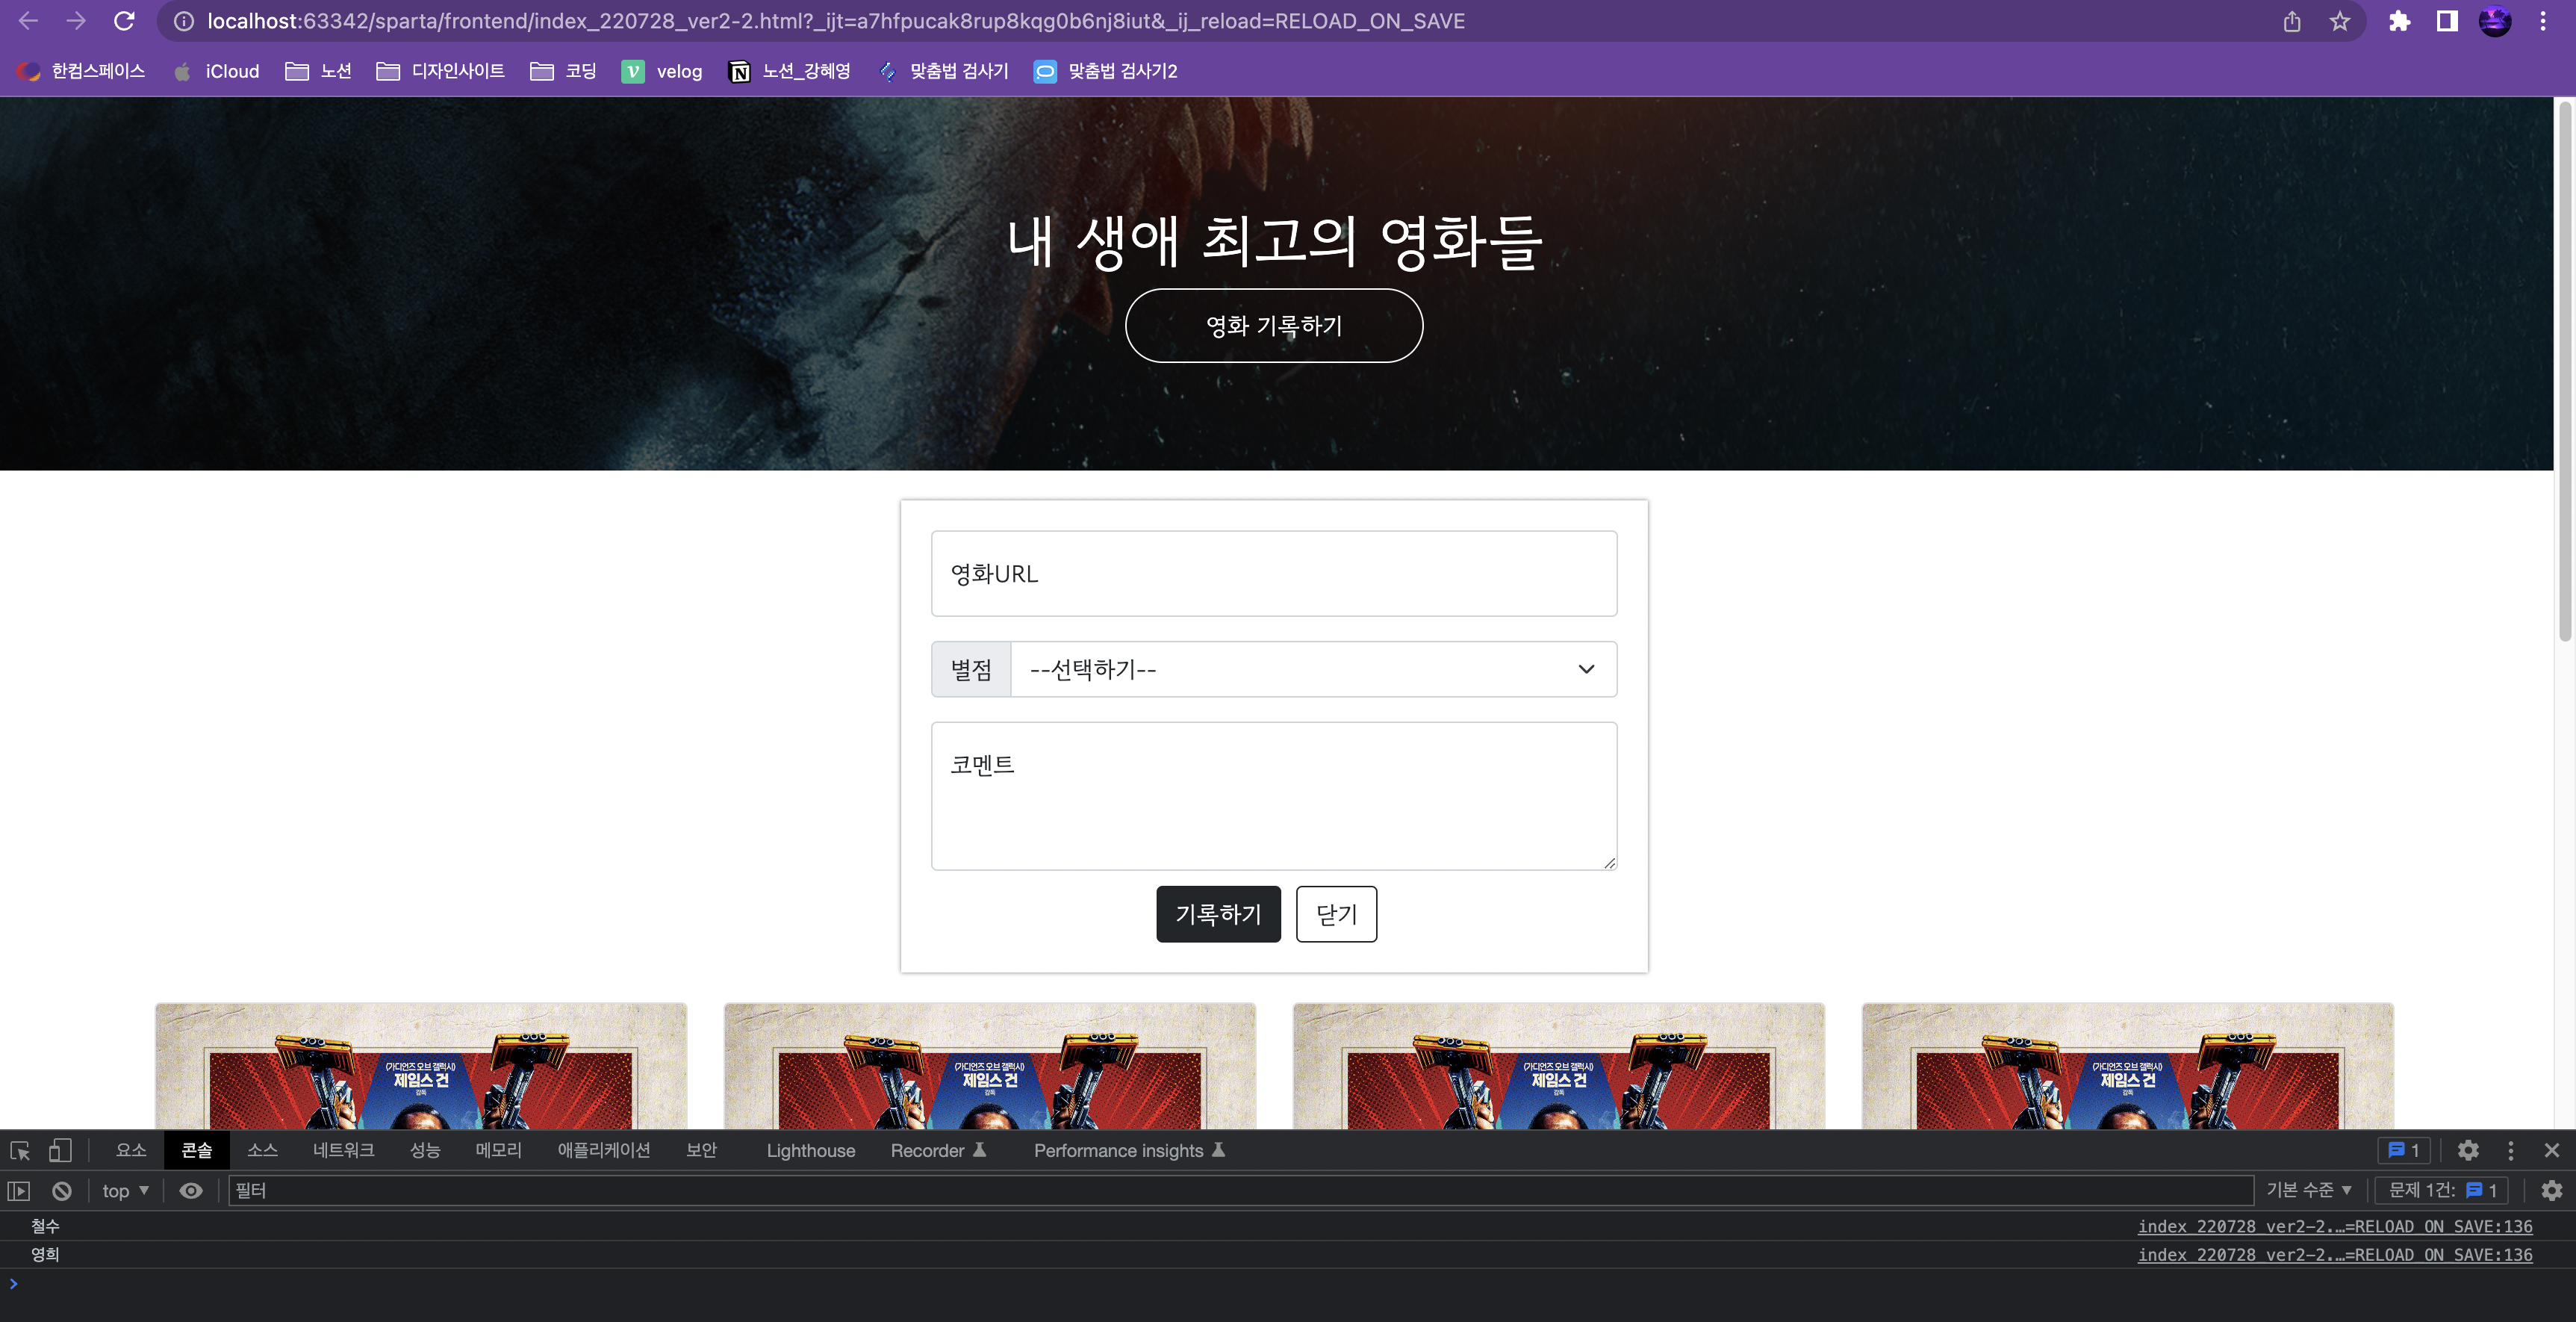
ex) score 값이 70이상인 이름 추출
👉 output
🔥 [prac] javascript 연습
서울시 미세먼지 지수(IDEX_MVL)가 40이하인 구 이름(MSRSTE_NM) 값 출력하기
👉 output
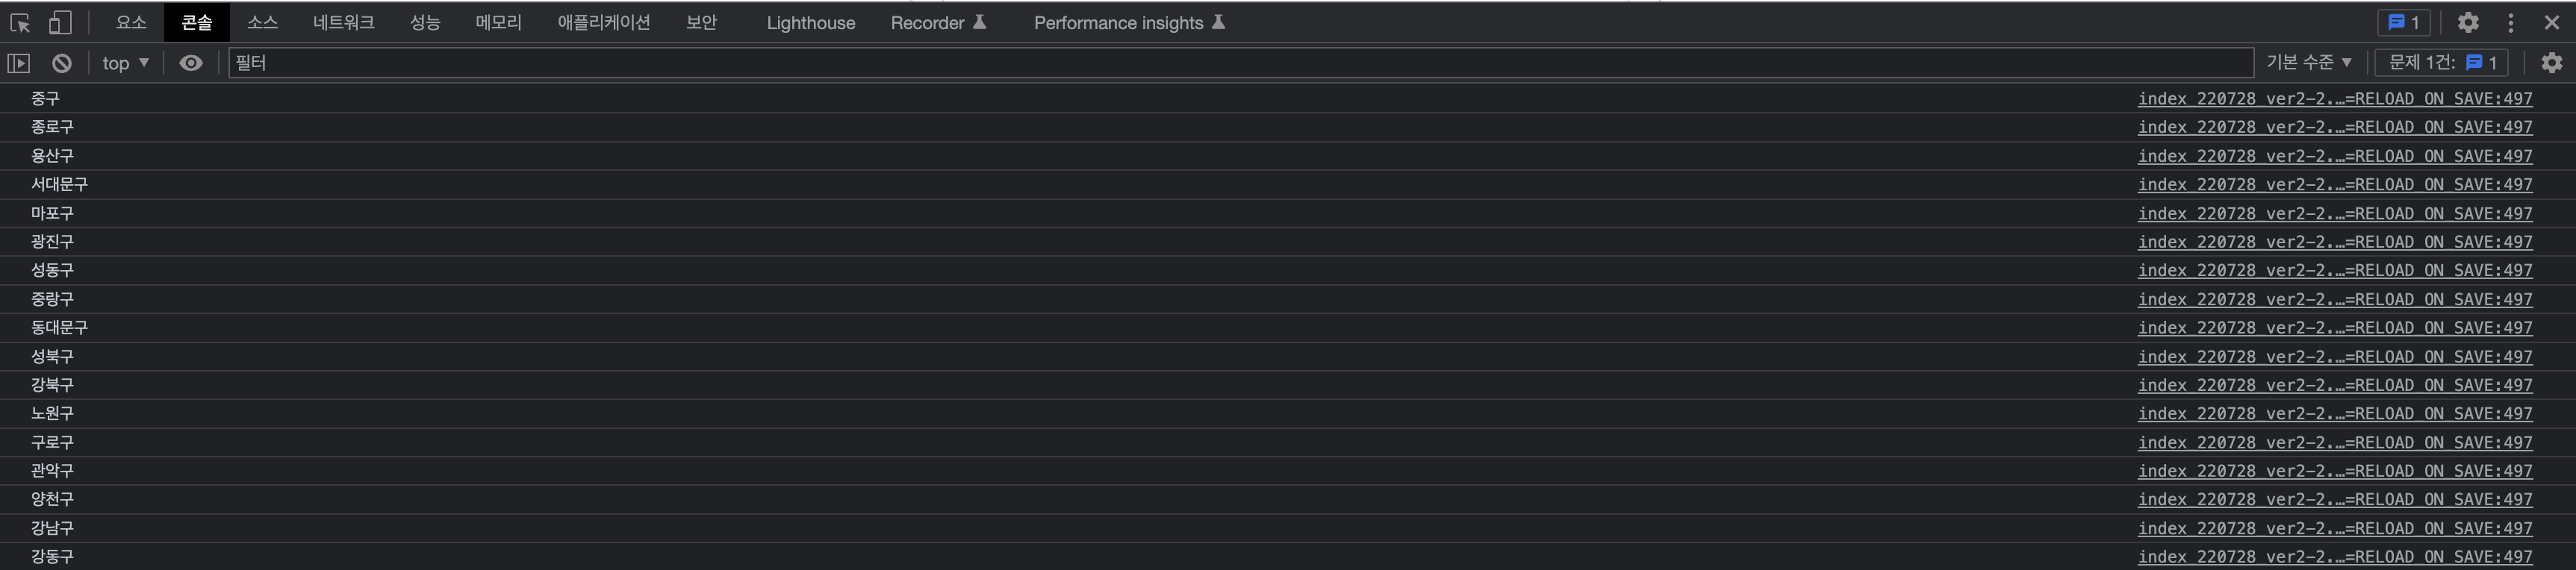
👉 input
<script>
let mise_list = [...];
  for (let i = 0; i < mise_list.length; i++) {
      if (mise_list[i]['IDEX_MVL'] < 40) {
          console.log(mise_list[i]['MSRSTE_NM'])
      }
  }
</script>
Ⅱ. 📝 회고
background-color와 width값을 적어줄 때 background-color를 먼저 적어야 적용이 된다. 간단한 건데 왜 오류 나는 지 알 수가 없어서 한참 헤맸다.
그리고 margin-right와 margin-top을 배운 것도 큰 수확이었다.
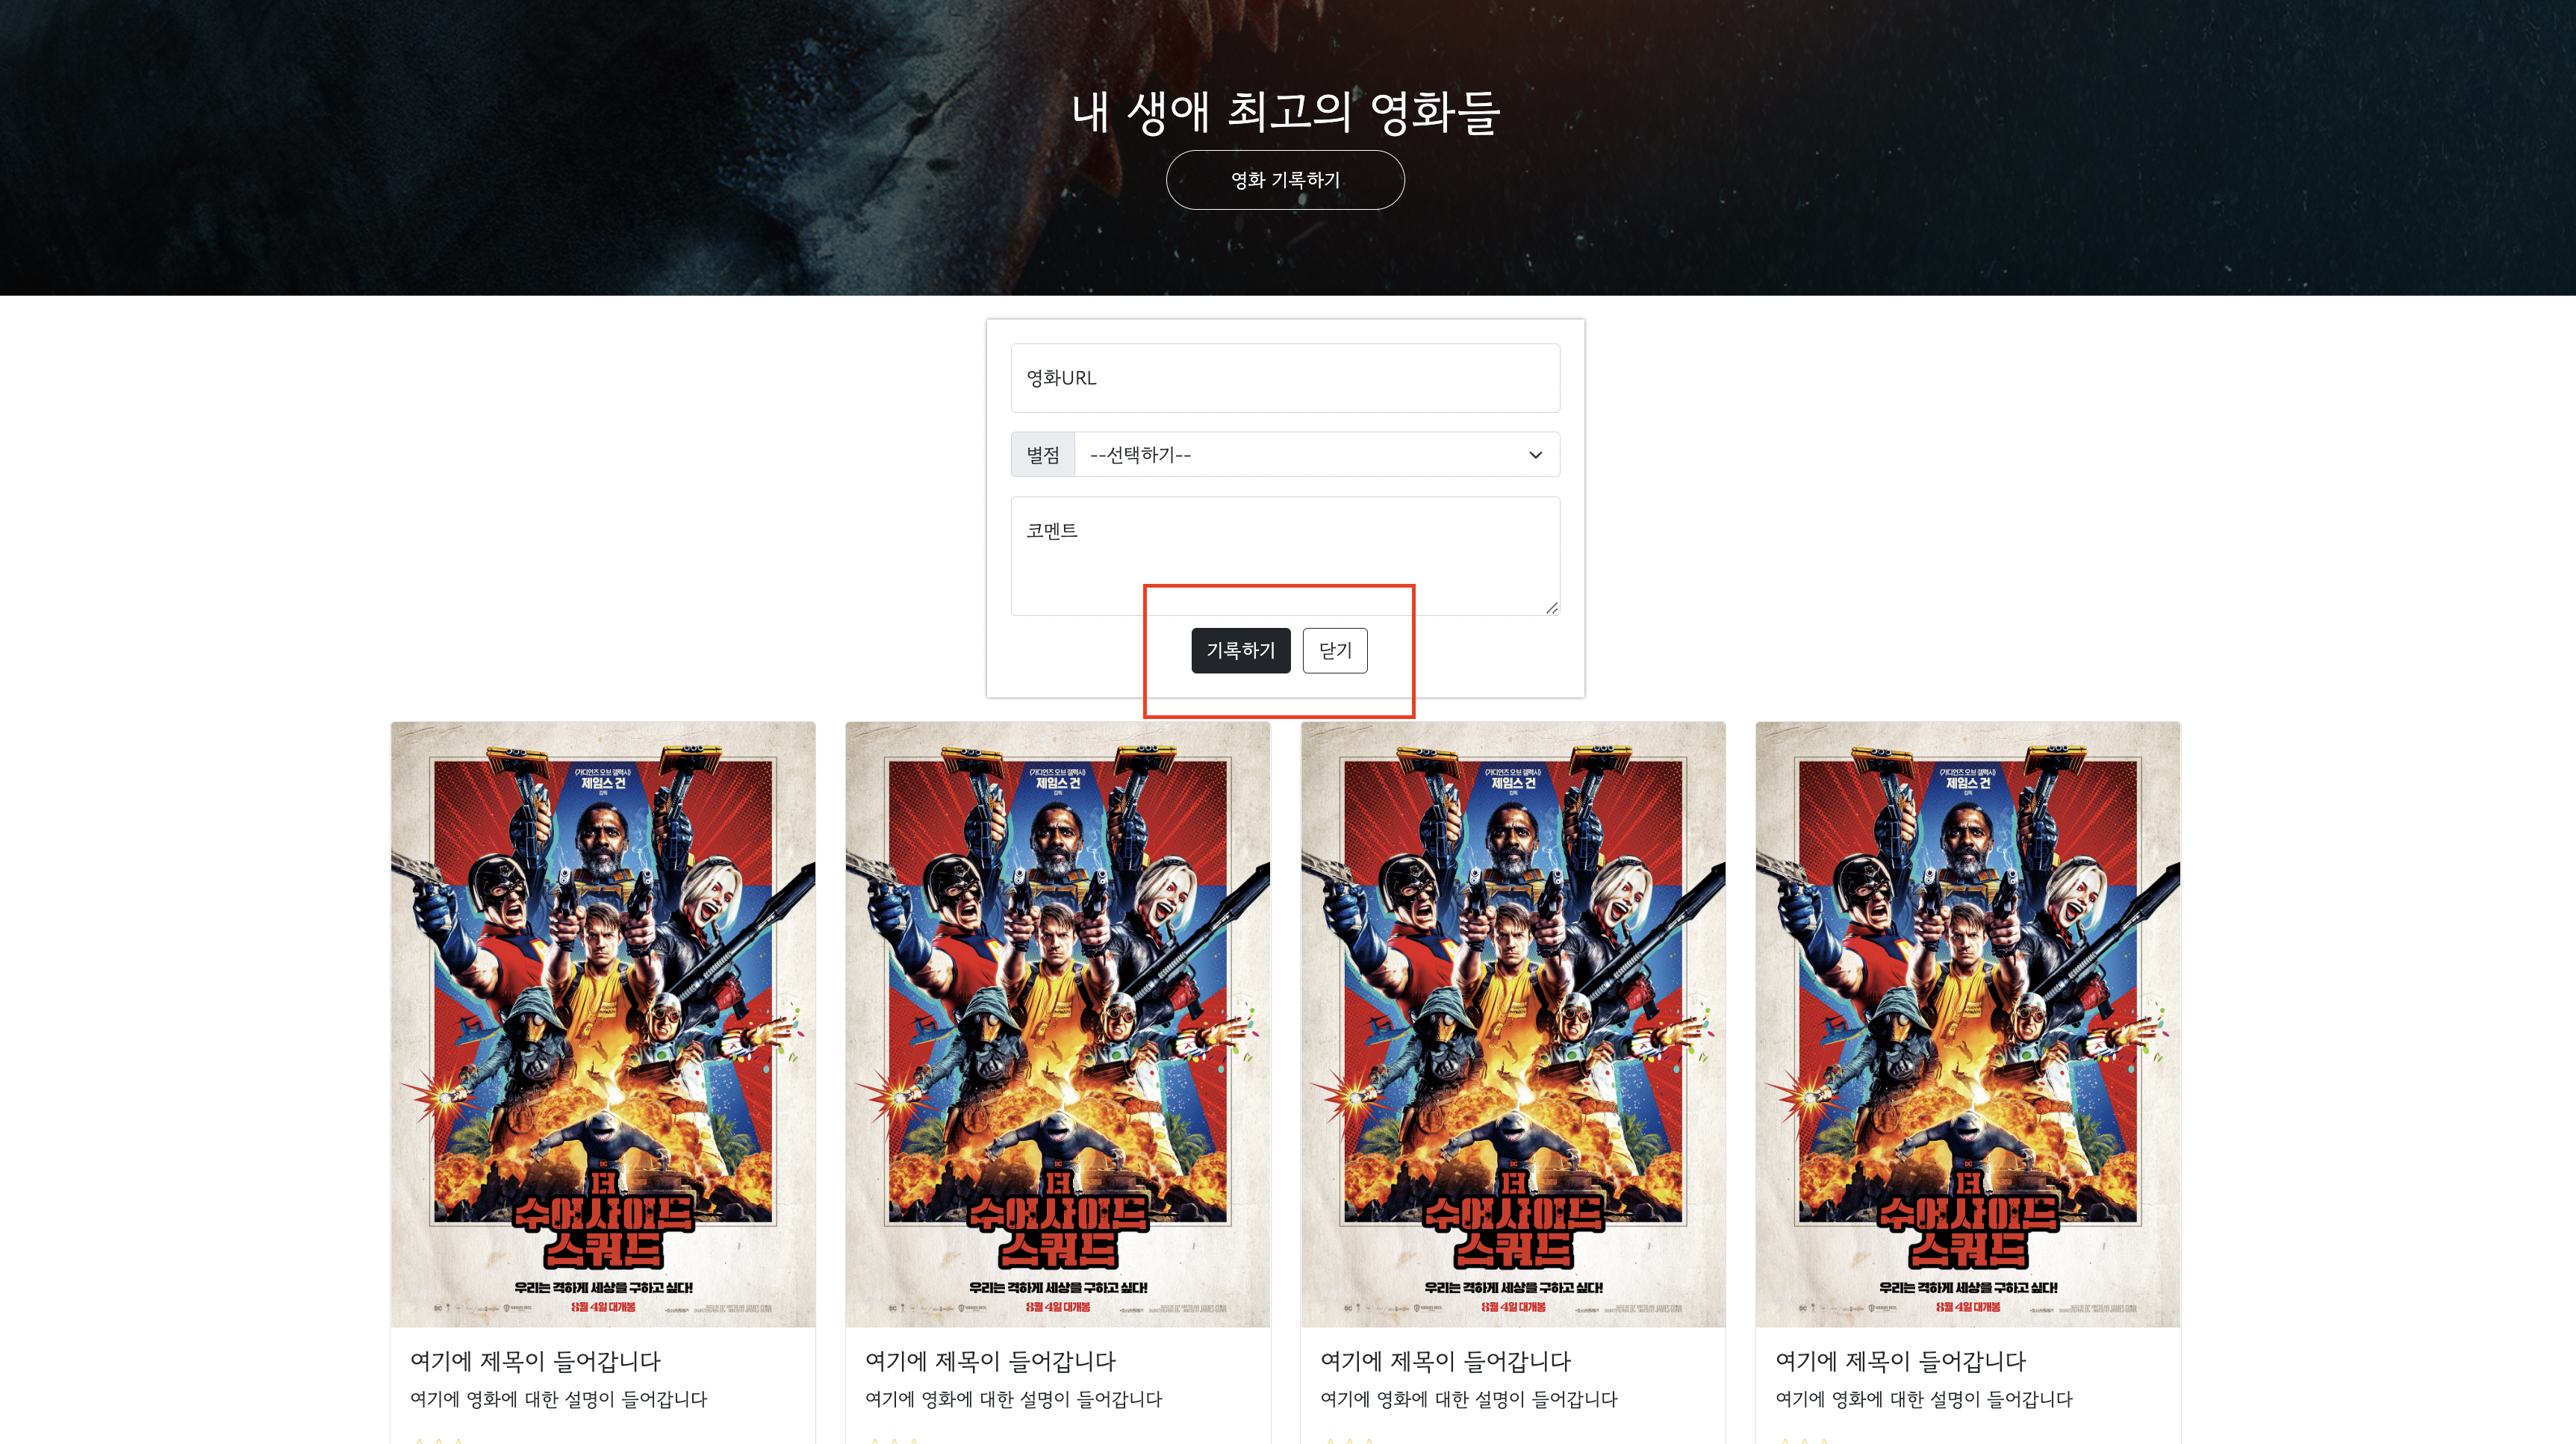
'[prac] posting box 삽입'을 혼자 해볼 때, 빨간 박스로 표시한 버튼 간에 간격을 버튼을 .postingbutton > button1과 .postingbutton > button2로 따로 적어서 margin: 0px 5px 0px 0px; 값을 넣는 방식으로 구현했다.
<style>
  .postingbutton > button1 {
      color: white;
      box-shadow: 0px 0px 2px 0px gray;

      background-color: rebeccapurple;
      border-radius: 2px;
      padding: 5px 10px 5px 10px;
      margin: 0px 5px 0px 0px;
  }

  .postingbutton > button2 {
      color: gray;
      background-color: white;
      box-shadow: 0px 0px 3px 0px gray;

      border: 1px solid gray;
      border-radius: 2px;

      padding: 5px 10px 5px 10px;
      margin: 0px 5px 0px 0px;
  }
</style>
🤯 너무 길고, 비효율적인 코드였다.
근데 margin-right을 쓰니까 버튼 구분없이 간단하게 버튼 간에 간격을 만들 수 있었다! 굿
<style>
  .mybutn{
   display: flex;
      flex-direction: row;
      justify-content: center;
      align-items: center;

   margin-top: 10px;
  }
  .mybutn > button {
   margin-right: 10px;
  }
</style>
height 같은 <style> 값은 head에서만 쓸 수 있는 줄 알았는데 <div>에도 적을 수 있다는 것도 배웠다.
<div>
<textarea class="form-control" placeholder="Leave a comment here" id="floatingTextarea2"
	style="height: 100px"></textarea>
</div>
Ⅲ. ☑️ TO DO
- 1주차 homework