JQUERY API
According to this reference
https://api.jquery.com/
- add(), remove()
Use addClass and removeClass
<!DOCTYPE html>
<html lang="en">
<head>
    <meta charset="UTF-8">
    <meta name="viewport" content="width=device-width, initial-scale=1.0">
    <title>Document</title>
</head>
<body>
    <div style="width: 200px;height: 200px;",
    class="newcolor2"></div>
</body>

<style>
.newcolor1{
    background-color: bisque;
}
.newcolor2{
    background-color: black;
}
</style>

<script src="http://code.jquery.com/jquery-3.5.0.js">
</script>
<script language="javascript">
$(document)
.on('click','div', function(){
    $('div').removeClass('newcolor2');
    $('div').addClass('newcolor1');
    return false;
})
</script>
</html>
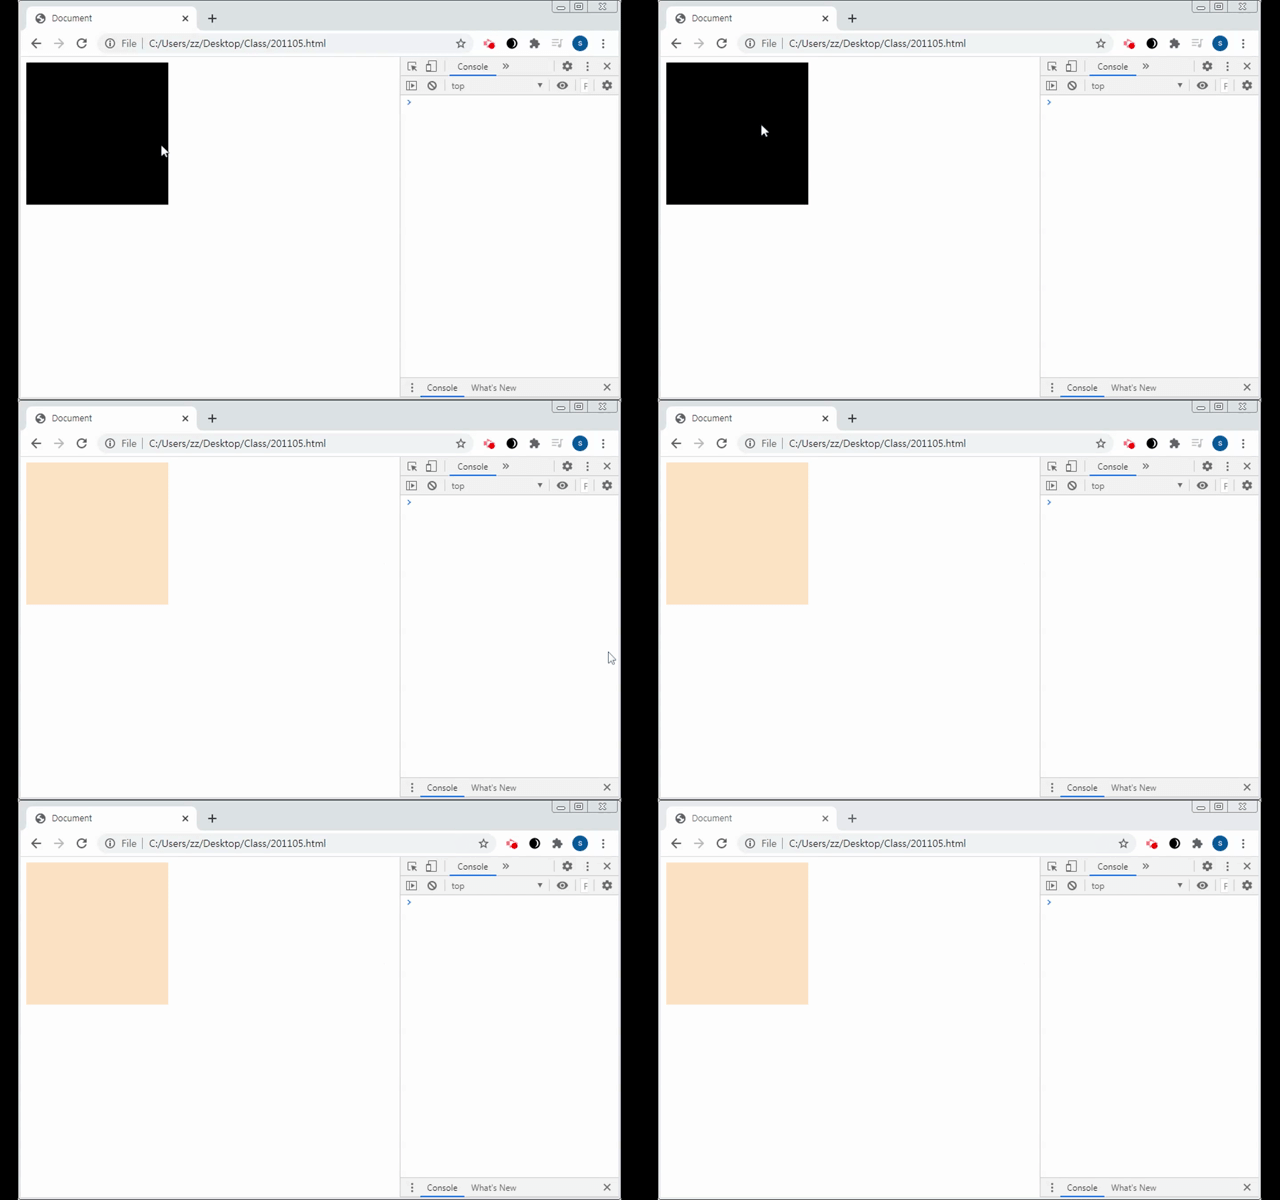
-result

- toggle
toggleClass: 번갈아가면서 addClass, removeClass를 실행함
<!DOCTYPE html>
<html lang="en">
<head>
    <meta charset="UTF-8">
    <meta name="viewport" content="width=device-width, initial-scale=1.0">
    <title>Document</title>
</head>
<body>
    <div style="width: 200px;height: 200px;",
    class="newcolor2"></div>
    <input type="button" value="stop" id="btnStop">
</body>

<style>
.newcolor1{
    background-color: bisque;
}
.newcolor2{
    background-color: black;
}
</style>

<script src="http://code.jquery.com/jquery-3.5.0.js">
</script>
<script language="javascript">
$(document)
.on('click','div', function(){
    $('div').toggleClass('newcolor2');
    // $('div').removeClass('newcolor2');
    // $('div').addClass('newcolor1');
    return false;
})
.on('click','#btnStop', function(){

    return false;
})
</script>
</html>- after(), before()
특정 코드 밖에서 실행시켜줌
after - append
before - prepend
<!DOCTYPE html>
<html lang="en">
<head>
<meta charset="UTF-8">
<meta name="viewport" content="width=device-width, initial-scale=1.0">
<title>Document</title>
</head>
<body>
<!-- <div style="width: 200px;height: 200px;",
class="newcolor2"></div>
<input type="button" value="stop" id="btnStop"> -->
<table border="1">
<tr><td> </td><td> </td></tr>
</table><br>
<input type="button" id="btnApp" value="append"><br>
<input type="button" id="btnPre" value="prepend"><br>
<input type="button" id="btnAfter" value="after"><br>
<input type="button" id="btnBefore" value="before"><br>
</body>
<script src="http://code.jquery.com/jquery-3.5.0.js">
</script>
<script language="javascript">
$(document)
.on('click','div', function(){
$('div').toggleClass('newcolor2');
// $('div').removeClass('newcolor2');
// $('div').addClass('newcolor1');
return false;
})
.on('click','#btnApp', function(){
str='<tr><td>AA</td><td>BB</td></tr>';
$('table').append(str);
return false;
})
.on('click','#btnPre', function(){
str='<tr><td>CC</td><td>DD</td></tr>';
$('table').prepend(str);
return false;
})
//before/after는 table과 독립된 태그가 테이블 영역 밖의 앞 뒤로 추가됨
.on('click','#btnAfter', function(){
str='<input type=checkbox> Add behind';
$('table').after(str);
})
.on('click','#btnBefore', function(){
str='<input type=checkbox> Add front';
$('table').before(str);
})
</script>
</html>- practice : toggle
클릭할 때마다 색이 바뀌는 클래스 3개 만들기
<!DOCTYPE html>
<html lang="en">
<head>
<meta charset="UTF-8">
<meta name="viewport" content="width=device-width, initial-scale=1.0">
<title>Document</title>
</head>
<body>
<!-- <div style="width: 200px;height: 200px;",
class="newcolor2"></div>
<input type="button" value="stop" id="btnStop"> -->
<!-- <table border="1">
<tr><td> </td><td> </td></tr>
</table><br>
<input type="button" id="btnApp" value="append"><br>
<input type="button" id="btnPre" value="prepend"><br>
<input type="button" id="btnAfter" value="after"><br>
<input type="button" id="btnBefore" value="before"><br> -->
<div style="width: 50px; height: 50px;" class="class0"></div><br>
<div style="width: 50px; height: 50px;" class="class0"></div><br>
<div style="width: 50px; height: 50px;" class="class0"></div>
</body>
<style>
.class0{
background-color: cornsilk;
}
.class1{
background-color: black;
}
.class2{
background-color: deepskyblue;
}
.class3{
background-color: coral;
}
</style>
<script src="http://code.jquery.com/jquery-3.5.0.js">
</script>
<script language="javascript">
$(document)
.on('click','div:eq(0)', function(){
$(this).toggleClass('class1'); //this = div:eq(0)
return false;
})
.on('click','div:eq(1)', function(){
$(this).toggleClass('class2'); //this = div:eq(1)
return false;
})
.on('click','div:eq(2)', function(){
$(this).toggleClass('class3'); //this = div:eq(2)
return false;
})
//before/after는 table과 독립된 태그가 테이블 영역 밖의 앞 뒤로 추가됨
.on('click','#btnAfter', function(){
str='<input type=checkbox> Add behind';
$('table').after(str);
})
.on('click','#btnBefore', function(){
str='<input type=checkbox> Add front';
$('table').before(str);
})
</script>
</html>- or you can apply this code
in<style>the toggled class should be written last.
.class1{
background-color: black;
}
.class2{
background-color: deepskyblue;
}
.class3{
background-color: coral;
}
.class0{
background-color: cornsilk;
}
isn't working well
<!DOCTYPE html>
<html lang="en">
<head>
<meta charset="UTF-8">
<meta name="viewport" content="width=device-width, initial-scale=1.0">
<title>Document</title>
</head>
<body>
<!-- <div style="width: 200px;height: 200px;",
class="newcolor2"></div>
<input type="button" value="stop" id="btnStop"> -->
<!-- <table border="1">
<tr><td> </td><td> </td></tr>
</table><br>
<input type="button" id="btnApp" value="append"><br>
<input type="button" id="btnPre" value="prepend"><br>
<input type="button" id="btnAfter" value="after"><br>
<input type="button" id="btnBefore" value="before"><br> -->
<div style="width: 50px; height: 50px;" class="class1"></div><br>
<div style="width: 50px; height: 50px;" class="class2"></div><br>
<div style="width: 50px; height: 50px;" class="class3"></div>
</body>
<style>
.class1{
background-color: black;
}
.class2{
background-color: deepskyblue;
}
.class3{
background-color: coral;
}
.class0{
background-color: cornsilk;
}
</style>
<script src="http://code.jquery.com/jquery-3.5.0.js">
</script>
<script language="javascript">
$(document)
.on('click','.class1', function(){
$(this).toggleClass('class0'); //this = div:eq(0)
return false;
})
.on('click','.class2', function(){
$(this).toggleClass('class0'); //this = div:eq(1)
return false;
})
.on('click','.class3', function(){
$(this).toggleClass('class0'); //this = div:eq(2)
return false;
})
//before/after는 table과 독립된 태그가 테이블 영역 밖의 앞 뒤로 추가됨
.on('click','#btnAfter', function(){
str='<input type=checkbox> Add behind';
$('table').after(str);
})
.on('click','#btnBefore', function(){
str='<input type=checkbox> Add front';
$('table').before(str);
})
</script>
</html>- result
Selector
- $(
#id) - $(
.class) - $(
tagname) *: all HTML tags
.on('click', '*', function(){}): If anything is clicked in this html, execute function().
Event
.on(event, selector, function(){
})
1. click
2. dbclick : double click
3. focus :
4. blur : our of focus
5. mouseenter
6. mouseleave
7. mousemove
8. keypress
9. keydown
10. keyup : key~~ 들은 특정 key가 입력되었을 때, 특정한 것을 실행해라
- blur
<body>
    <div style="width: 50px; height: 50px;" class="class1"></div><br>
    <div style="width: 50px; height: 50px;" class="class2"></div><br>
    <div style="width: 50px; height: 50px;" class="class3"></div>
    <input type="text" id="txtname" size="20">
</body>
<style>
    .class1{
        background-color: black;
    }
    .class2{
        background-color: deepskyblue;
    }
    .class3{
        background-color: coral;
    }
    .class0{
        background-color: cornsilk;
    }
</style>

<script src="http://code.jquery.com/jquery-3.5.0.js">
</script>
<script language="javascript">
$(document)
.on('blur',`#txtname`, function(){
    if($(this).val()==''){
        alert('What is your name?')
    }
    return false;
})
.on('mousemove','.class1', function(){
    $(this).toggleClass('class0');  //this = div:eq(0)
    return false;
})
.on('click','.class2', function(){
    $(this).toggleClass('class0');  //this = div:eq(1)
    return false;
})
.on('click','.class3', function(){
    $(this).toggleClass('class0');  //this = div:eq(2)
    return false;
})
</script>
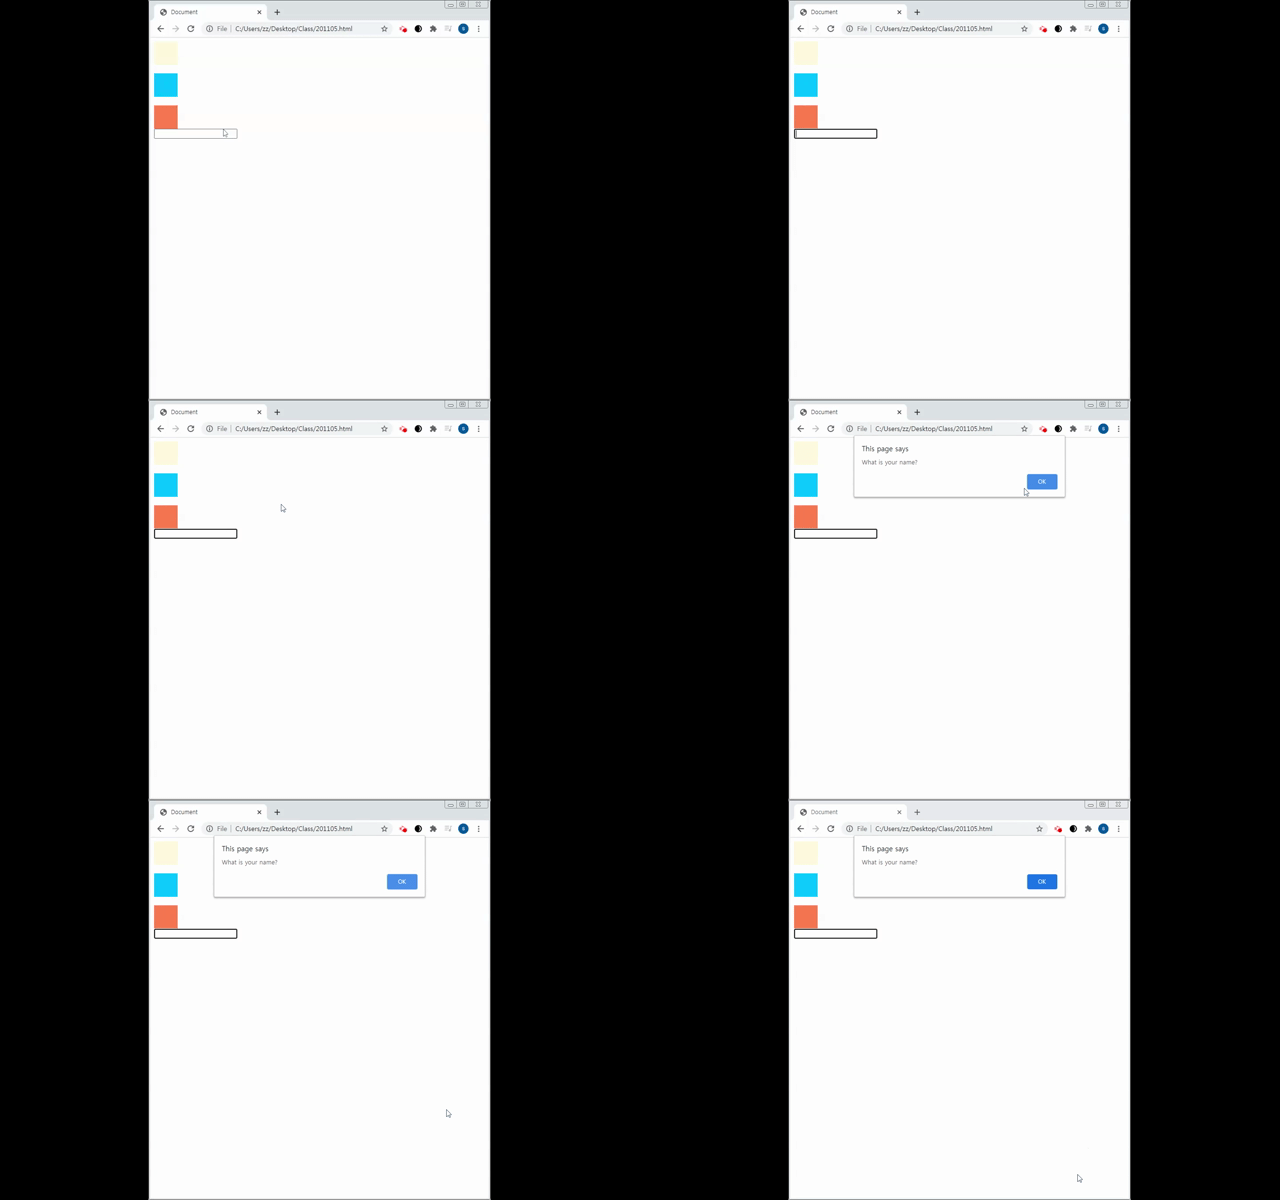
</html>- result(blur)

Ajax
데이터를 보내면 html 파일까지 다 보내서 번거롭고 시간이 오래걸림. 항상 한 페이지를 다 그려야됨
client - html(form) - server
- ajax : javascript communicate with server directly (send data type as XML and get data from server as XML)
- XML has 3 types : 1. text 2. json
- json : JavaScript Object Notation
- advantages of ajax
Refresh is not necessary when handling data. - example of ajax : 검색어 자동입력

Jquery call structure
$('#id').val = selector.method()
method() = getter
method(parameter) = setter
parseInt()
-
parseInt()
String >> Integer
ex)
var str='123';
var n = parseInt(str); // n=123
int n=Integer.parseInt(str) -
parseFloat(str)
String >> Float number
ex)
var n="123";
ex)
str = String(n);
str="+n;
animate()
<div id="clickme">
        Click here
      </div>
      <img id="book" src="C:\\Users\\Public\\Pictures\\Sample Pictures\\kitty.jpg" alt="" width="220px" height="300px"
        style="position: relative; left: 10px;">


$(document)
$( "#clickme" ).click(function() {
  $( "#book" ).animate({
    opacity: 0.25,
    left: "+=50",
    height: "toggle"
  }, 5000, function() {
    // Animation complete.
  });
});
-result

appendTo
.on('click','#btnApp', function(){
    str='<tr><td>AA</td><td>BB</td></tr>';
    $(str).appendTo('table');
return false;
})
append and appendTr results are exactly same.(usually)
attr()
$('input:check:checked').prop('checked',false)
= $('input:check:checked').attr('checked',false)
property = attribute (when it comes to computer science terms)
attribute and value
<input type=radio id=female name=gender>
input tag + three attributes : radio, id, name
==> $('input[type=radio][name=gender]:checked').prop/attr('id')
attributes can be inserted in []
^= start with
$= distortion characters
All HTML tags are DOM objects
(Attribute ends with ~ ^ selector : read!!)
졸아서 못들음
change()
.on('change','#seluser',function(){}) ==> #seluser 가 바뀔 때 function 실행
close()
closest()
후손이 조상을 찾을 때 씀
조상이 후손을 찾을 때는 XX 에러남
$('table').css('background-color','red'); 속성이 1개 일 때
$('table').css({background-color':'red','border':'1px solid red'}) 속성이 여러 개 일 때
- practice
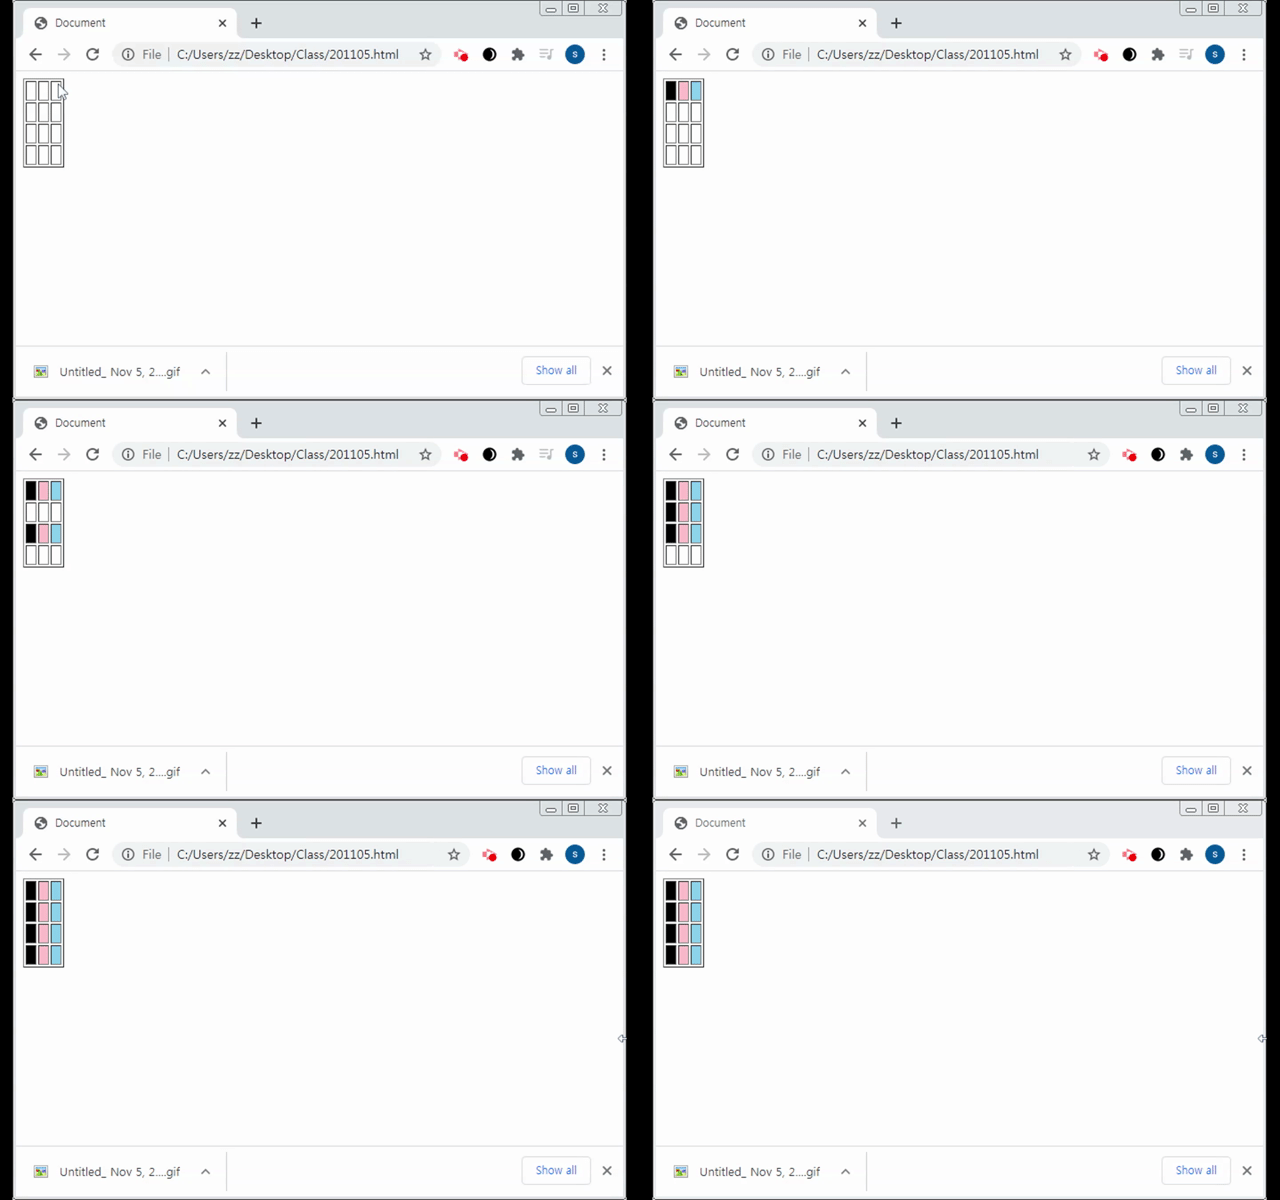
When <td> clicks, show black, pink, skyblue each tr tds
Use closest(), .eq(), CSS,
<table id=tbl border=1>
<tr><td> </td>
<td> </td><td> </td></tr>
<tr><td> </td>
<td> </td><td> </td></tr>
<tr><td> </td>
<td> </td><td> </td></tr>
<tr><td> </td>
<td> </td><td> </td></tr>
</table><br><br>
<!-- <input type=button value='view1'><br>
<input type=button value='view2'> -->
</body>
<script src="http://code.jquery.com/jquery-3.5.0.js">
</script>
<script language="javascript">
$(document)
.on('click','td', function(){
var n = ($(this).closest('tr')).index();
$('table tr:eq('+n+') td:eq(0)').css('background-color','black');
$('table tr:eq('+n+') td:eq(1)').css('background-color','pink');
$('table tr:eq('+n+') td:eq(2)').css('background-color','skyblue');
})
</script>this= clicked td- $(
'table tr:eq('+n+') td:eq(0)') : n is a variable, others are String.+is required to link them together.
-result

- Use
.findto shorten the previous code
.on('click','td', function(){
    var p=$(this).closest('tr');
    p.find('td:eq(0)').css('background-color','black');
    p.find('td:eq(1)').css('background-color','pink');
    p.find('td:eq(2)').css('background-color','skyblue');
})
example
Enter name, gender, mobile >> #btnSubmit
add name : gender : mobile : to the first table below
<table border=1>
</table><br><br>
<table>
<tr>
<td>name</td><td><input type="text" id=txtname size=12></td>
</tr>
<tr>
<td>gender</td><td><input type="radio" id=female name=gender size=12>female
<input type="radio" id=male name=gender size=12>male</td>
</tr>
<tr>
<td>mobile</td><td><input type="phone" id=mobile size=12></td>
</tr>
<tr>
<td colspan="2"><input type="button" id="btnSubmit" value="add">
<input type="button" id="btnReset" value="reset"></td>
</tr>
</table>- can use table:eq(0) or table:first-child
(1)appendTo with table:first-child
.on('click','#btnSubmit', function(){
    var name = $('#txtname').val();
    var gender=$('input:radio[name=gender]:checked').attr('id');
    var mobile = $('#mobile').val();

    var str='<tr><td>'+name+'</td><td>'+gender+'</td><td>'+mobile+'</td></tr>';
    $(str).appendTo("table:first-child");
    console.log("done")
})
In the whole <document>, there are two tables which are in <body>.
- click delete button, all data delete. Click reset button, enter area clears.
<!DOCTYPE html> <html lang="en"> <head> <meta charset="UTF-8"> <meta name="viewport" content="width=device-width, initial-scale=1.0"> <title>Document</title> </head> <body> <table border=1> </table><br><br> <table> <tr> <td>name</td><td><input type="text" id=txtname size=12></td> </tr> <tr> <td>gender</td><td><input type="radio" id=female name=gender size=12>female <input type="radio" id=male name=gender size=12>male</td> </tr> <tr> <td>mobile</td><td><input type="phone" id=mobile size=12></td> </tr> <tr> <td colspan="3"><input type="button" id="btnSubmit" value="add"> <input type="button" id="btnReset" value="reset"> <input type="button" id="btnDelete" value="delete"></td> </tr> </table> </body> <style>
