지금까지 배운 내용을 토대로 댓글 컴포넌트를 만들어보려 한다.
1. .jsx 파일 생성
Comment라는 이름의 리액트 함수 컴포넌트와 CommentList라는 이름의 리액트 함수 컴포넌트 생성
{/*Comment.jsx*/}

import React from "react";

function Comment(props) {
    return (
        <div>
            <h1>제가 만든 첫 컴포넌트입니다.</h1>
        </div>
    );
}

export default Comment;{/*CommentList.jsx파일*/}
//댓글 컴포넌트를 포함하고 있는 `댓글 목록 컴포넌트`
import React from "react";
import Comment from "./Comment";
function CommentList(props) {
return (
<div>
<Comment />
</div>
);
}
export default CommentList;
2. 만든 CommentList 컴포넌트를 실제 화면에 렌더링하기 위해 index.jsx 작성
{/*index.jsx파일*/}
import CommentList from './chapter_05/CommentList';

const root =ReactDOM.createRoot(document.getElementById('root'));
root.render(
  <React.StrictMode>
    <CommentList />
  </React.StrictMode>
)
3. Comment.jsx가 댓글창처럼 보이도록 Css 추가
import React from "react";

const styles = {
    wrapper: {
        margin: 8,
        padding: 8,
        display: "flex",
        flexDirection: "row",
        border: "1px solid grey",
        borderRadius: 16,
    },
    imageContainer: {},
    image: {
        width: 50,
        height: 50,
        borderRadius: 25,
    },
    contentContainer: {
        marginLeft: 8,
        display: "flex",
        flexDirection: "column",
        justifyContent: "center",
    },
    nameText: {
        color: "black",
        fontSize: 16,
        fontWeight: "bold",
    },
    commentText: {
        color: "black",
        fontSize: 16,
    },
};

function Comment(props) {
    return (
        <div style={styles.wrapper}>
            <div style={styles.imageContainer}>
                <img src="https://upload.wikimedia.org/wikipedia/commons/8/89/Portrait_Placeholder.png"
                style={styles.image}
                />
            </div>
            <div style={styles.contentContainer}>
                <span style={styles.nameText}>유재석</span>
                <span stlyr={styles.commentText}>
                    제가 만든 첫 컴포넌트입니다.
                </span>
            </div>
        </div>
    );
}

export default Comment;
- CSS: 실제 댓글 모양처럼 보이게 하기 위해 간단한 css 추가
- function Comment{}: 댓글을 작성한 사람의 이름과 댓글 내용을 함께 보여주도록 함
🔆실행화면

4. Comment 컴포넌트에 Props추가하기
Comment 컴포넌트에 표시되는 작성자와 댓글 내용을 동적으로 변경하기 위해 Props 추가할 것이다.

{/*CommentList.jsx파일*/}
import React from "react";
import Comment from "./Comment";

function CommentList(props) {
    return (
        <div>
            <Comment name={"고구마"} comment={"안녕하세요, 감자입니다."} />
            <Comment name={"박서준"} comment={"리액트, 재밌어요~!"} />
        </div>
    );
}

export default CommentList;
- 이름과, 내용에 각각 props.name, props.comment 값을 사용하도록 수정
- CommnetList 컴포넌트에 props를 추가 해주어야지 화면에 나온다.
💡 div안에 Comment를 추가해주면 댓글이 추가 생성된다.
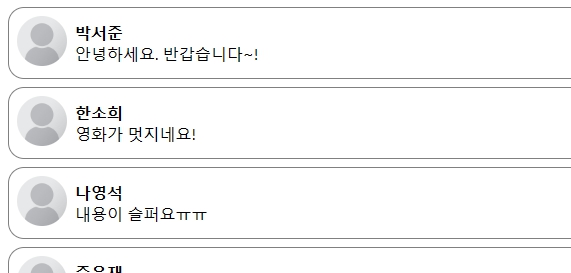
5. Comment 데이터를 별도의 객체로 분리하기
댓글 데이터를 별도의 객체로 분리해서 동적으로 받아온 데이터를 표시할 수 있는 구조로 변경
import React from "react";
import Comment from "./Comment";

const comments = [
    {
        name: "박서준",
        comment: "안녕하세요. 반갑습니다~!",
    },
    {
        name: "한소희",
        comment: "영화가 멋지네요!",
    },
    {
        name: "나영석",
        comment: "내용이 슬퍼요ㅠㅠ",
    },
    {
        name: "송강호",
        comment: "저도 오늘 영화보러 갈거에요:)",
    }
]

function CommentList(props) {
    return (
        <div>
            {comments.map((comment) => {
                return (
                    <Comment name={comment.name} comment={comment.comment} />
                );
            })}
        </div>
    );
}

export default CommentList;
- comments라는 배열을 만들어서 댓글 데이터를 담고 있는 객체를 담아준다.
- 자바스크립트 배열에 map함수를 써서 각 댓글 객체에 대해 커멘트 컴포넌트를 리턴하도록 한다.
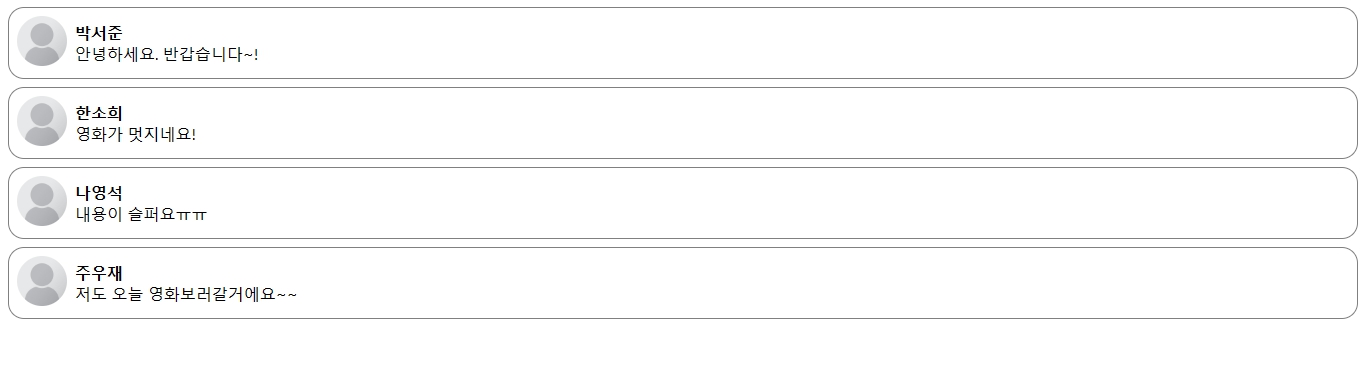
브라우저를 확인하면 댓글 객체의 수만큼 코멘트 컴포넌트가 렌더링 되어 나타난다!

📚 DevLog